Dragon fruit—also known as pitaya—is one of the most stunning and exotic fruits you can grow right at home. With its vibrant pink or yellow skin, speckled flesh, and refreshing flavor, dragon fruit not only tastes delicious but also adds tropical charm to any garden or balcony. What many beginners don’t realize is that dragon fruit is surprisingly easy to grow, even in containers, as long as you understand its basic needs. Whether you have a sunny backyard, a terrace garden, or even a small indoor space with bright light, this guide will help you grow strong, healthy dragon fruit plants that reward you with gorgeous blooms and fresh fruit.
In this complete beginner’s guide, you’ll learn everything from the ideal growing conditions and soil requirements to planting techniques, care routine, pruning, and harvesting. Let’s dive in!
What Is Dragon Fruit? A Quick Introduction
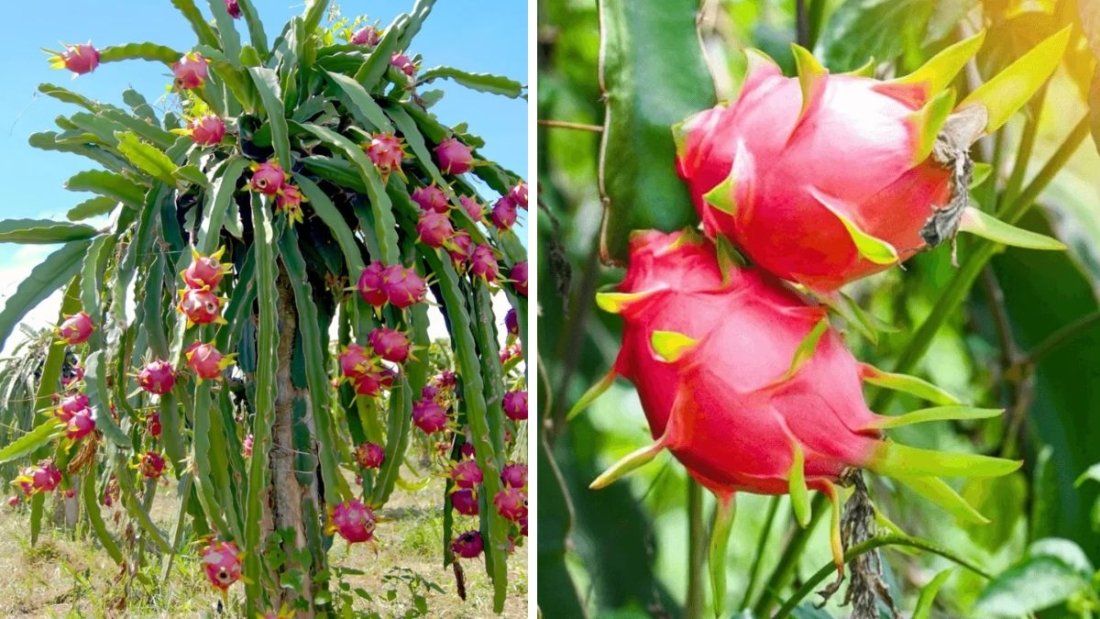
Dragon fruit comes from a climbing cactus species, Hylocereus and Selenicereus, native to Central and South America. Today, it’s grown worldwide in warm climates for its attractive, nutritious fruit.
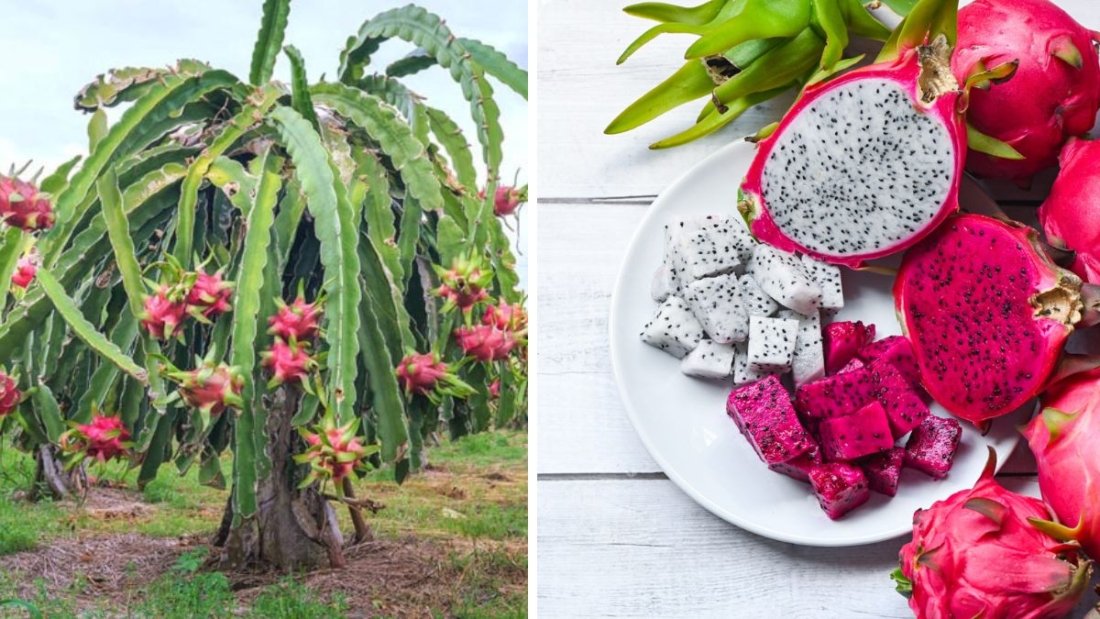
There are three major types:
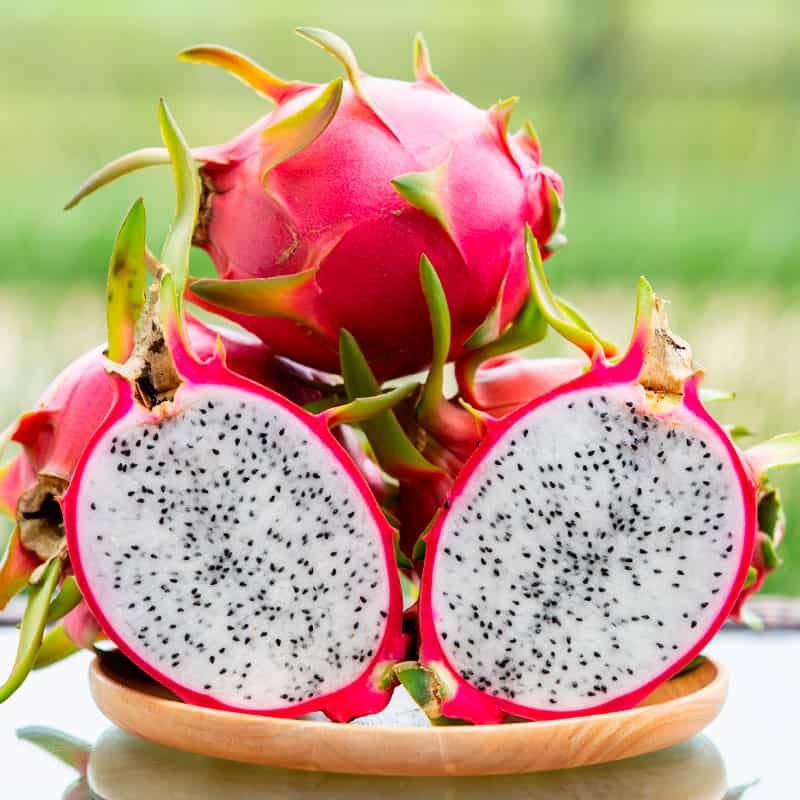
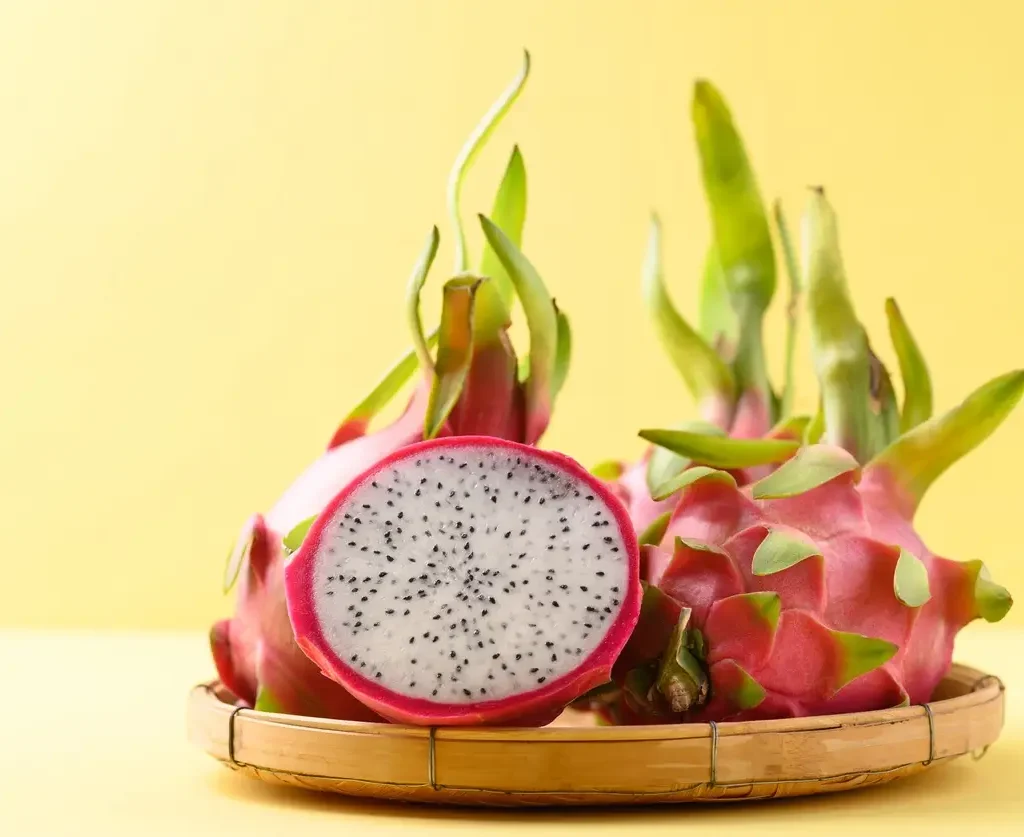
- Pink-skinned with white flesh
- Pink-skinned with red flesh
- Yellow-skinned with white flesh
All varieties are easy to grow at home, as each thrives in warm weather, bright sunlight, and well-draining soil.
Choosing the Right Spot for Your Dragon Fruit Plant
Dragon fruit plants love warmth and sunlight. To ensure healthy growth, choose a spot with:
1. Full Sunlight
Dragon fruit needs at least 6–8 hours of direct sunlight daily. More sun encourages better flowering and fruiting. Choose a sunny balcony, terrace, or garden area.
2. Warm Temperatures
They grow best in temperatures between 20°C to 32°C. Although dragon fruit is heat-tolerant, frost can damage or kill the plant. If you live in a cooler region, consider growing it in a pot and moving it indoors during winter.
3. Good Air Circulation
Airflow helps prevent fungal infections. Avoid cramped, overly shady areas.
The Best Soil for Dragon Fruit Plants
Like all cactus species, dragon fruit thrives in light, well-draining soil. Poor drainage can cause root rot, affecting overall plant health.
Soil Requirements:
- Loose, sandy, or loamy soil
- Well-draining (avoid heavy clay)
- pH between 6.0 and 7.0
- Rich in organic matter
Ideal Soil Mix for Potted Plants:
You can create your own mix:
- 40% garden soil
- 30% coarse sand or perlite
- 30% compost, coco peat, or well-rotted manure
The sand helps with drainage, while compost provides necessary nutrients.
How to Plant Dragon Fruit: Step-by-Step Guide
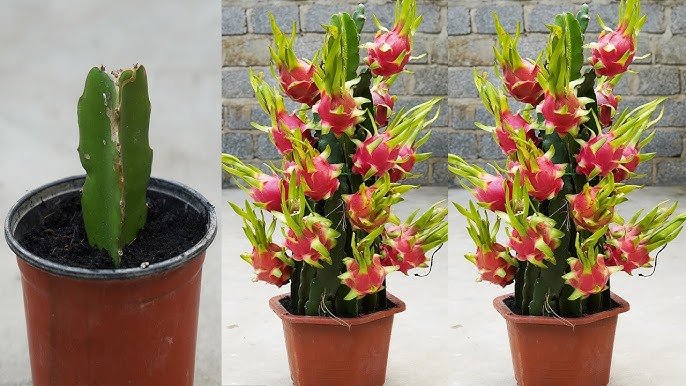
Dragon fruit can be grown from cuttings or seeds, but cuttings are much faster and reliable. Seeds may take several years to produce fruit, whereas cuttings fruit much sooner.
1. Growing Dragon Fruit from Cuttings (Recommended)
Selecting Cuttings:
Choose a healthy, mature stem section from an established dragon fruit plant. A cutting should be:
- 20–30 cm long
- Free of disease or damage
- Taken from a fruit-bearing plant for best results
Let the cutting dry for 2–3 days to form a callus. This prevents rot.
Planting Steps:
- Fill the pot or planting hole with well-draining soil mix.
- Insert the callused end 5–7 cm deep into the soil.
- Lightly water the soil.
- Provide support (a wooden stake, trellis, or cement pole) because dragon fruit is a climbing cactus.
Cuttings usually root within 2–4 weeks.
2. Growing Dragon Fruit from Seeds
If you prefer growing from seeds:
- Scoop seeds from a fresh dragon fruit.
- Rinse and dry them.
- Sow seeds on top of moist soil.
- Lightly cover them with a thin layer of soil.
- Keep in a warm, bright spot.
Seedlings appear in 10–15 days. However, fruit may take up to 5–6 years, so patience is key.
How to Care for Your Dragon Fruit Plant
Once your dragon fruit plant is established, proper care ensures healthy growth and abundant fruit.
1. Watering
Although dragon fruit is a cactus, it needs more water than typical desert varieties.
- Keep soil evenly moist, not soggy.
- Water when the top 2–3 inches of soil feel dry.
- Reduce watering during winter or rainy seasons.
Avoid overwatering, as this leads to fungal growth and root rot.
2. Providing Support
Dragon fruit grows as a climbing cactus, so support is essential.
You can use:
- Wooden stake
- Bamboo pole
- Concrete post
- Trellis
As the plant grows taller, gently tie it with soft cloth or garden tape to guide it upward. When it reaches the top of the support, encourage branching.
3. Fertilizing
Dragon fruit plants are heavy feeders, especially during the growth and fruiting seasons.
Fertilizer Routine:
- Apply compost or cow manure every 2–3 months.
- Use a balanced NPK fertilizer (10-10-10) during active growth.
- Apply phosphorus-rich fertilizer before flowering to improve bloom production.
- Add potassium to boost fruit size and flavor.
Organic options like bone meal, banana peel fertilizer, and seaweed extract also work well.
4. Pruning
Pruning keeps the plant tidy and promotes better fruiting.
When to Prune:
- After harvesting
- When stems crowd the plant
- If branches are damaged or diseased
How to Prune:
Remove excess branches, especially those growing inward. Focus energy on the healthiest, upward-growing stems.
Pruned cuttings can be used to grow new plants!
Flowering and Fruit Development
Dragon fruit flowers are large, stunning, and bloom only at night. They’re pollinated by moths, bats, and sometimes by hand.
Hand Pollination (For Better Fruit Set):
If your plant isn’t producing fruit:
- Collect pollen from the flower’s anthers using a small brush.
- Apply it to the stigma of the same flower or another flower.
- Do this late evening or early morning while flowers are open.
Fruit usually forms within 30–50 days after flowering.
Common Problems and How to Fix Them
Even though dragon fruit plants are hardy, they can face some issues.
1. Yellowing Stems
Caused by:
- Overwatering
- Poor drainage
- Nutrient deficiency
Fix: Improve soil drainage, reduce watering, and feed the plant.
2. Fungal Infections
Look for brown or black spots.
Fix:
- Cut off infected areas
- Improve ventilation
- Apply organic fungicide (neem oil works well)
3. Pests
Mealybugs, ants, and aphids may appear.
Fix:
Spray with neem oil or insecticidal soap every 7–10 days until pests disappear.
How Long Until Your Dragon Fruit Plant Produces Fruit?
- Cuttings: 1–2 years
- Seeds: 5–6 years
- Mature, well-cared-for plants can produce 3–6 fruiting cycles per year depending on climate.
Each fruit-bearing cycle can reward you with several delicious, homegrown dragon fruits.
Harvesting Your Dragon Fruit
Dragon fruits are ready for harvest when:
- The skin changes from green to bright pink, red, or yellow
- The fruit becomes slightly soft to touch
- The wings (leafy tips) begin to dry
Use garden shears to cut the fruit without damaging the stem.
Freshly harvested dragon fruit tastes far better than store-bought ones. Enjoy it chilled, in smoothies, salads, or dessert bowls!
Final Thoughts
Growing a dragon fruit plant at home is rewarding, easy, and enjoyable, even for beginners. With just a sunny spot, well-draining soil, a strong support structure, and regular care, you can cultivate a thriving plant that produces exotic, delicious fruits year after year.