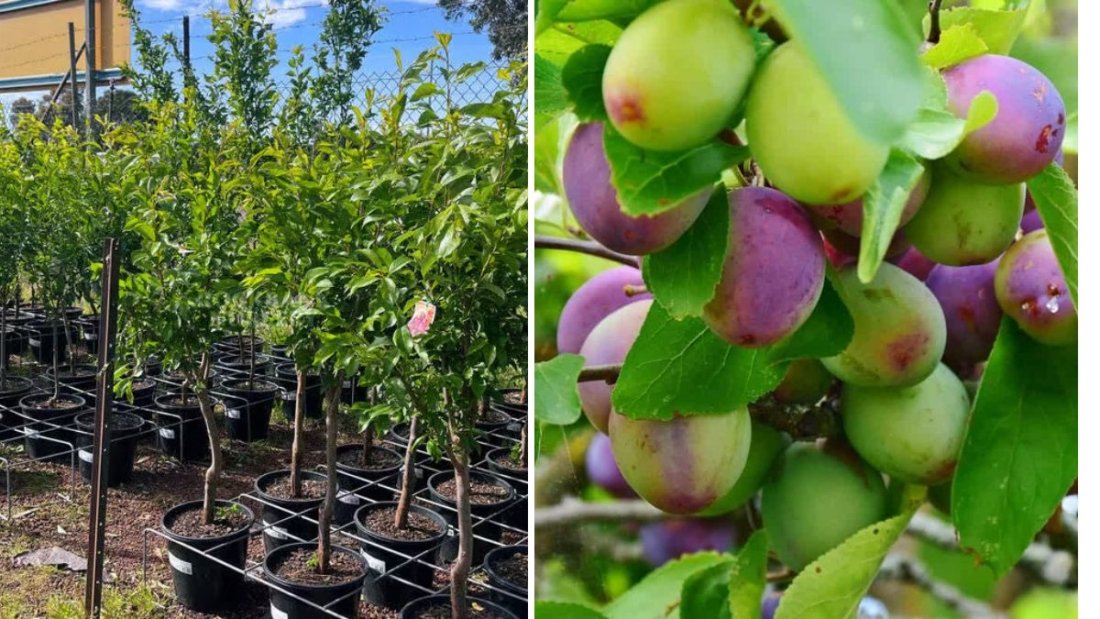
Growing your own plum trees can be one of the most rewarding experiences for any home gardener or fruit enthusiast. Among the many plum varieties available, the Satsuma Plum Tree (Prunus salicina ‘Satsuma’) stands out for its delicious, juicy red flesh and rich, sweet flavor with a hint of tartness. Originating from Japan and widely cultivated in warm regions, Satsuma plums are prized for their beauty, productivity, and taste.
If you’ve been thinking about growing your own Satsuma plum tree, this guide will walk you through everything you need to know — from selecting the right planting site to caring for your tree and enjoying a bountiful harvest.
What Makes the Satsuma Plum Special?

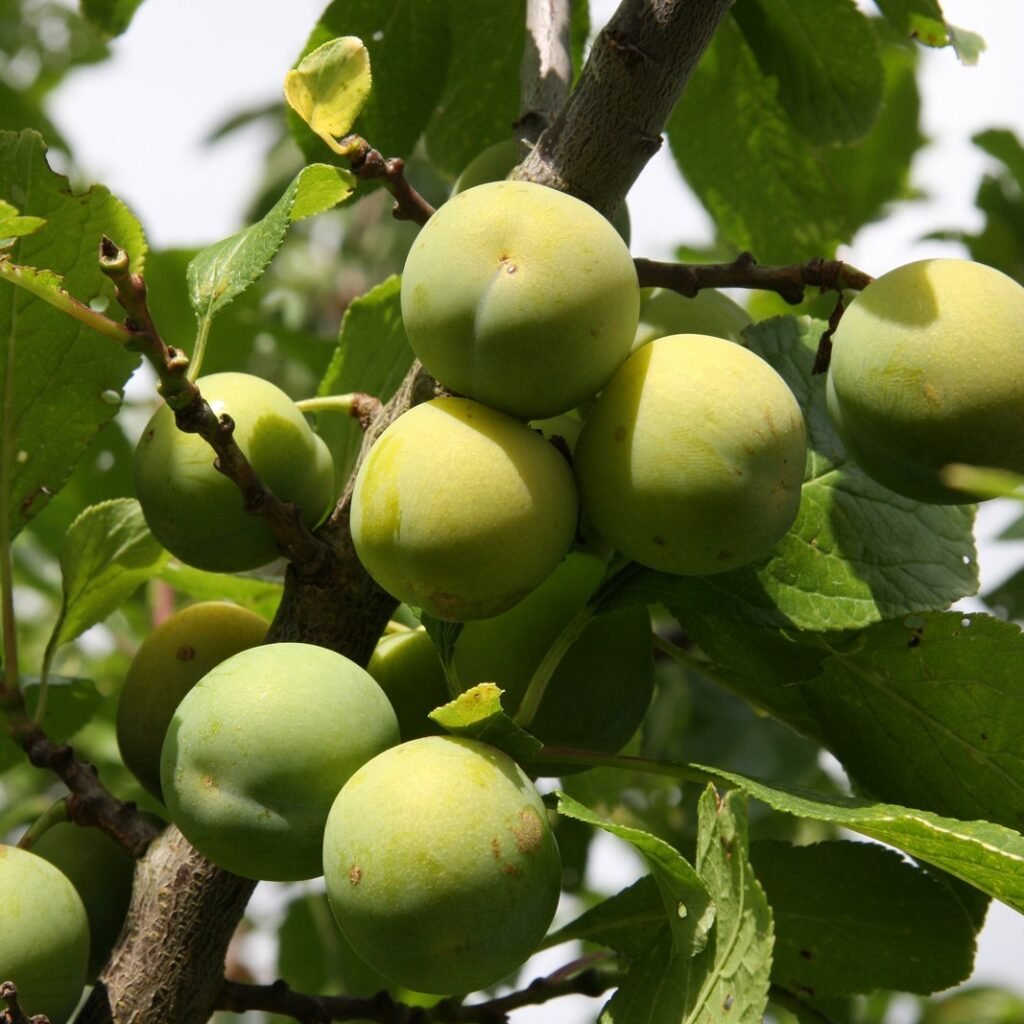
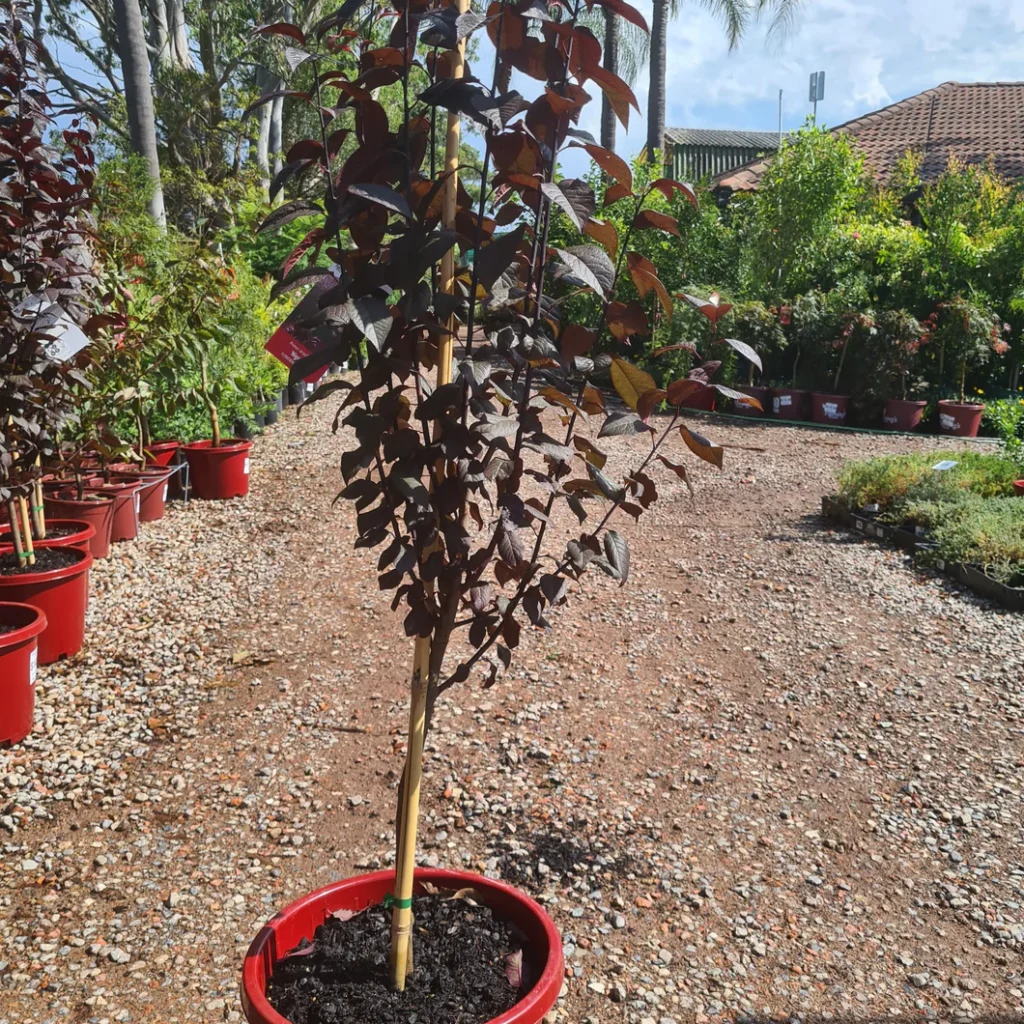
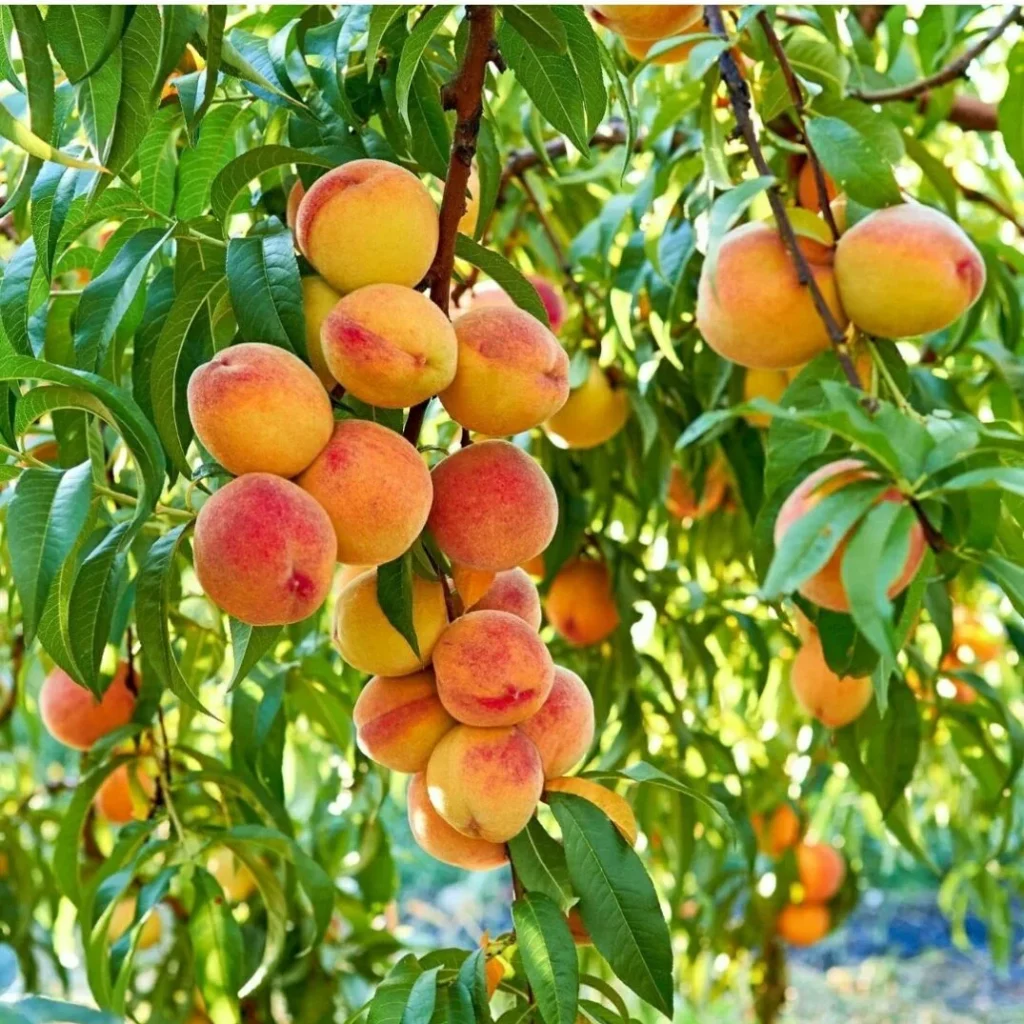
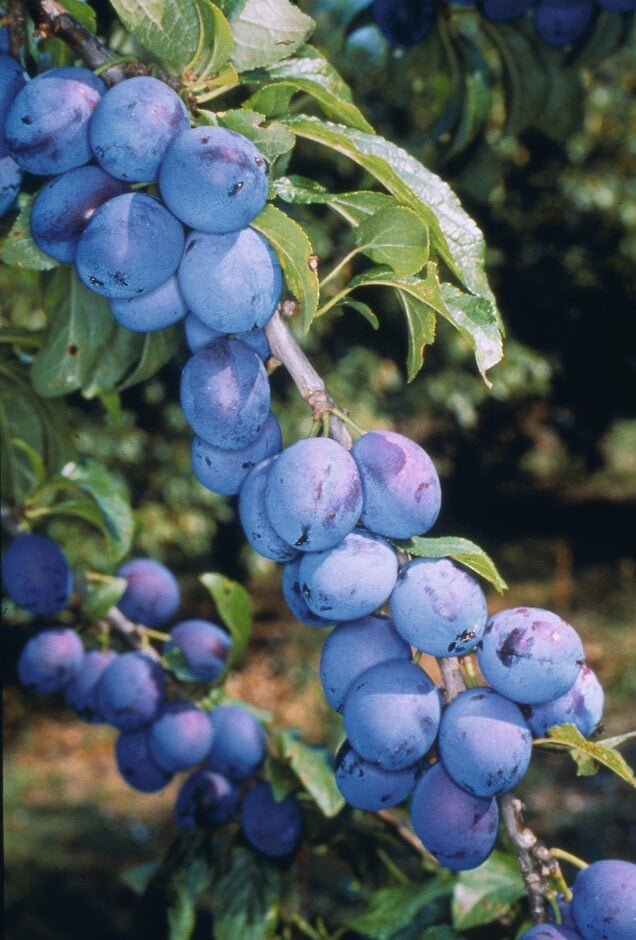
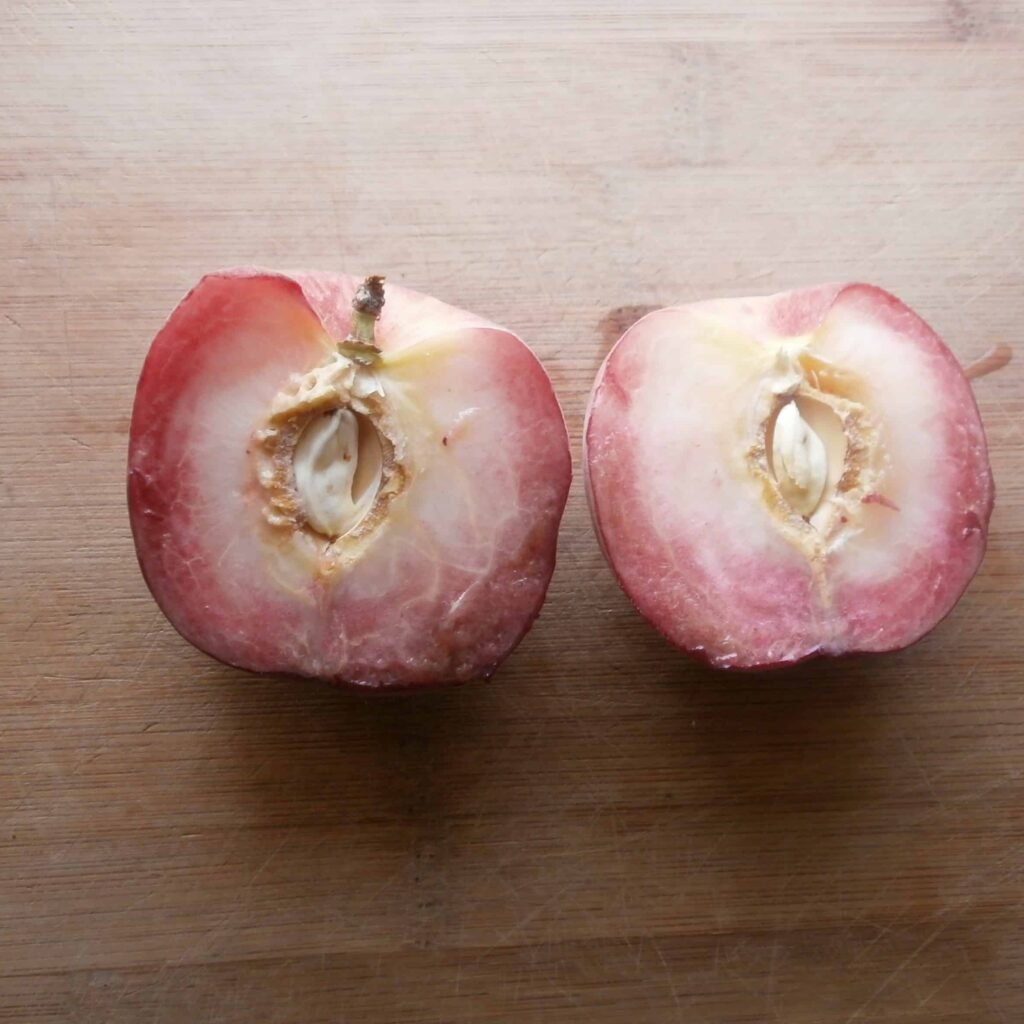
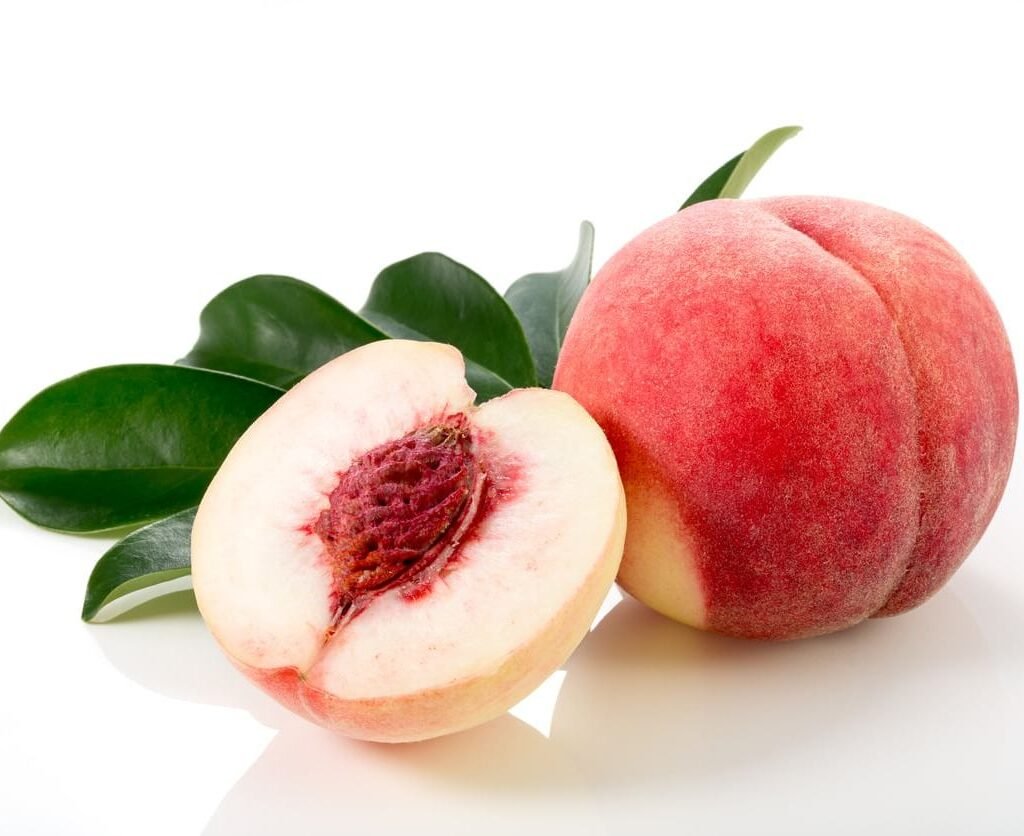
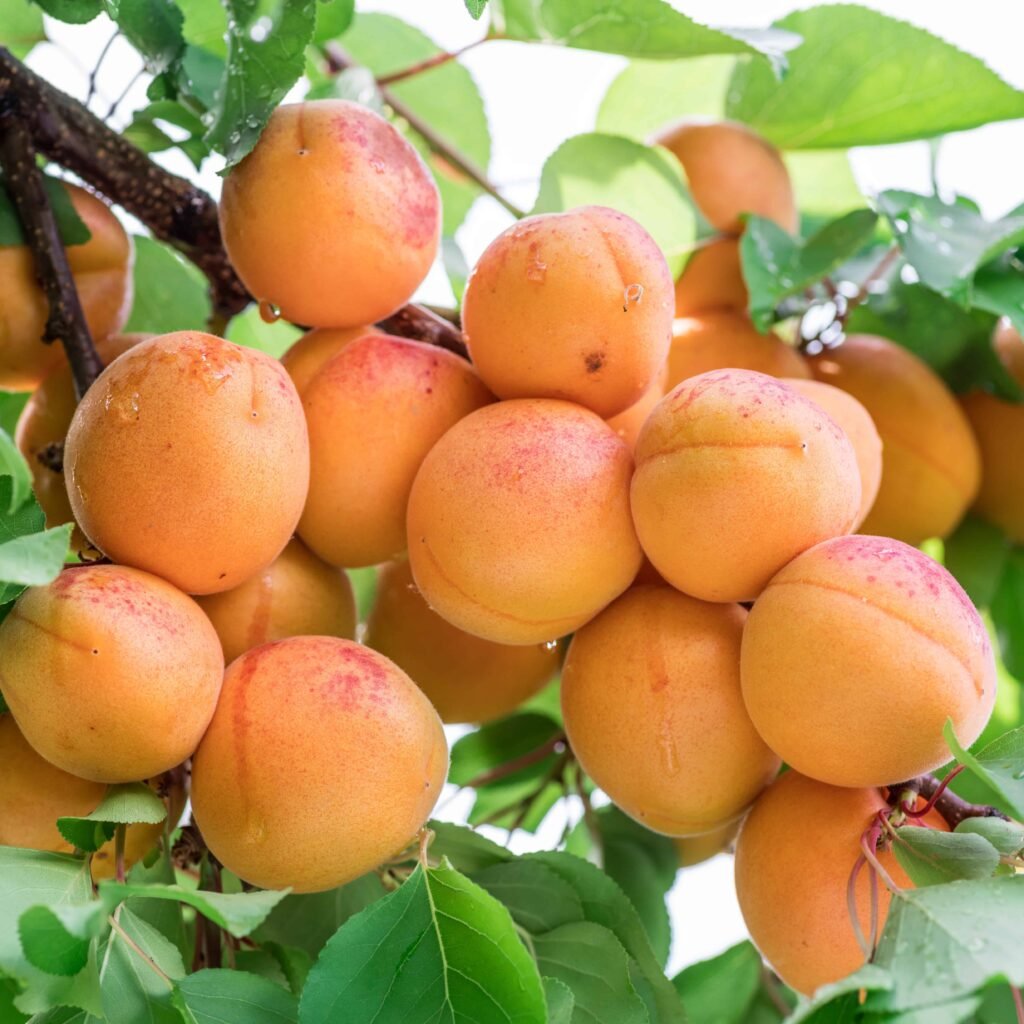
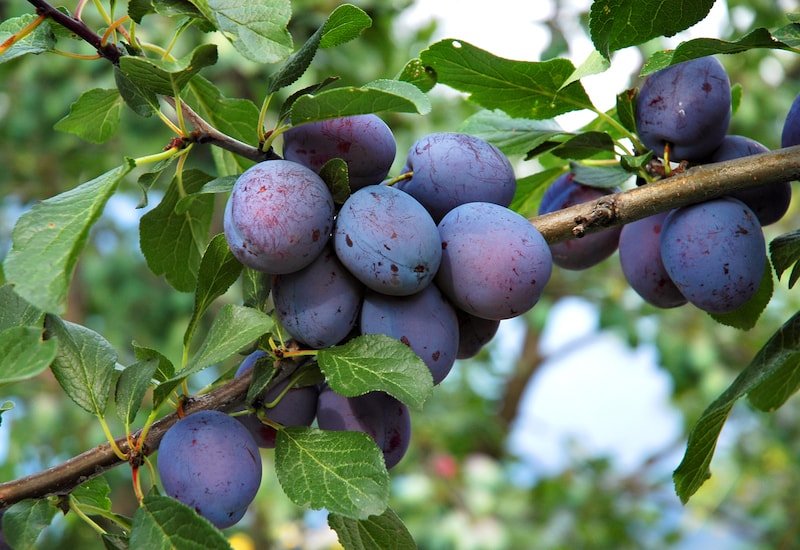
Satsuma plums belong to the Japanese plum family, known for their large, juicy fruits and beautiful spring blossoms. The fruits are deep red to purplish on the outside and feature a rich, dark red flesh inside. They’re excellent for eating fresh, making jams, baking, or even drying.
This variety is self-unfruitful, which means it requires another Japanese plum tree variety (like Santa Rosa, Methley, or Shiro) for cross-pollination and fruit set. However, once pollinated, it produces abundant fruit in mid to late summer.
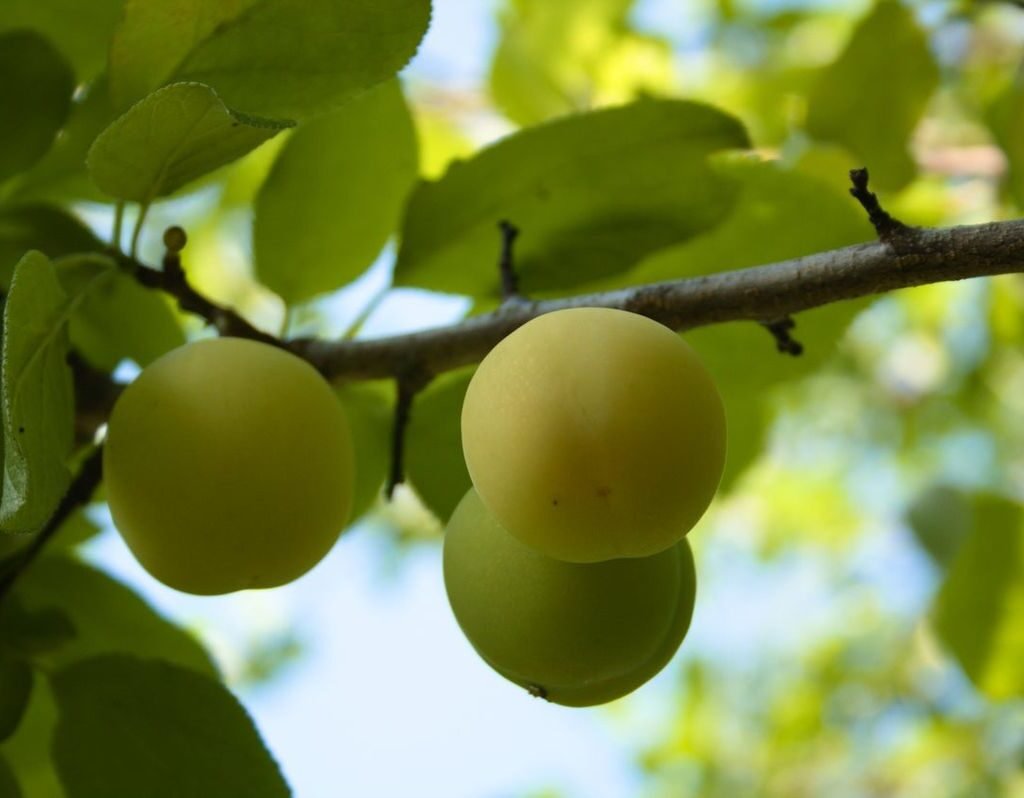
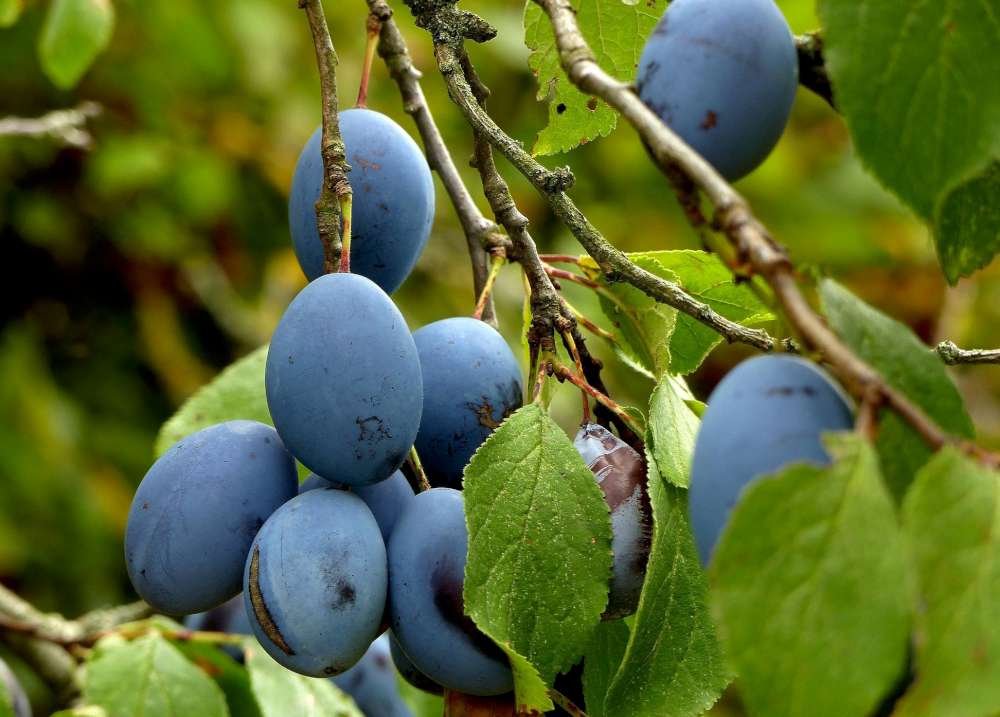
Satsuma plums also have a delightful ornamental value, with their white spring blossoms and glossy green leaves that turn golden in fall.
Ideal Growing Conditions
To grow a healthy and productive Satsuma plum tree, it’s important to provide the right environment.
1. Climate:
Satsuma plums thrive in USDA zones 5–9, preferring mild winters and warm, dry summers. They can tolerate short periods of frost but need around 400–500 chill hours (hours below 45°F) for proper flowering and fruiting.
2. Sunlight:
Choose a location with full sun exposure — at least 6 to 8 hours of direct sunlight daily. Plums love sunlight, and sufficient light ensures better flowering, fruiting, and fruit sweetness.
3. Soil Requirements:
Plum trees prefer well-draining loamy soil enriched with organic matter. Avoid planting in waterlogged or heavy clay soil, as this can lead to root rot.
- Ideal pH range: 6.0 to 7.5
- Before planting, improve soil texture by adding compost, aged manure, or organic mulch.
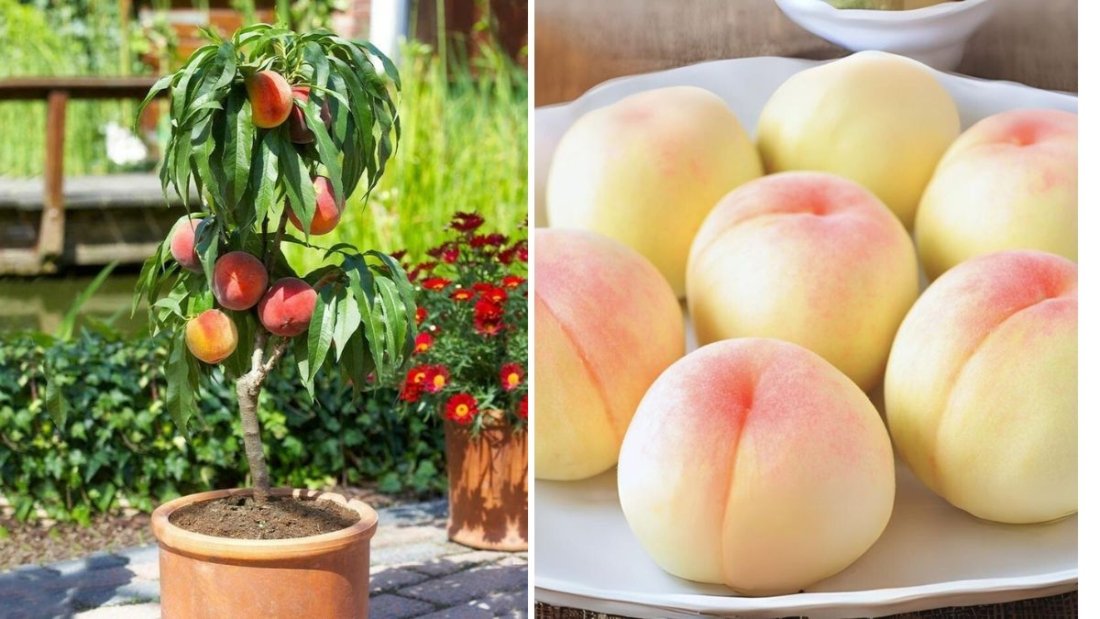
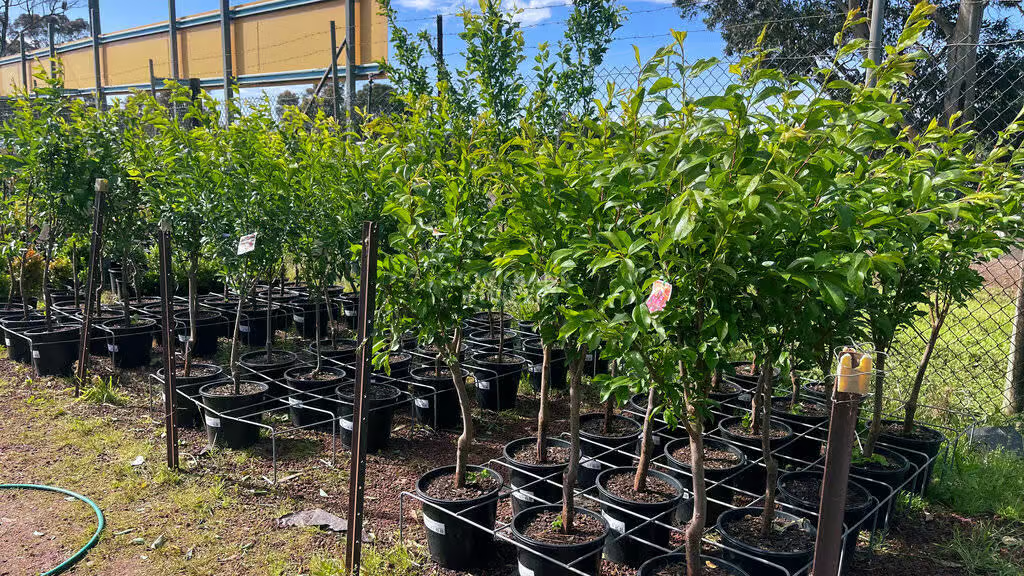
4. Space:
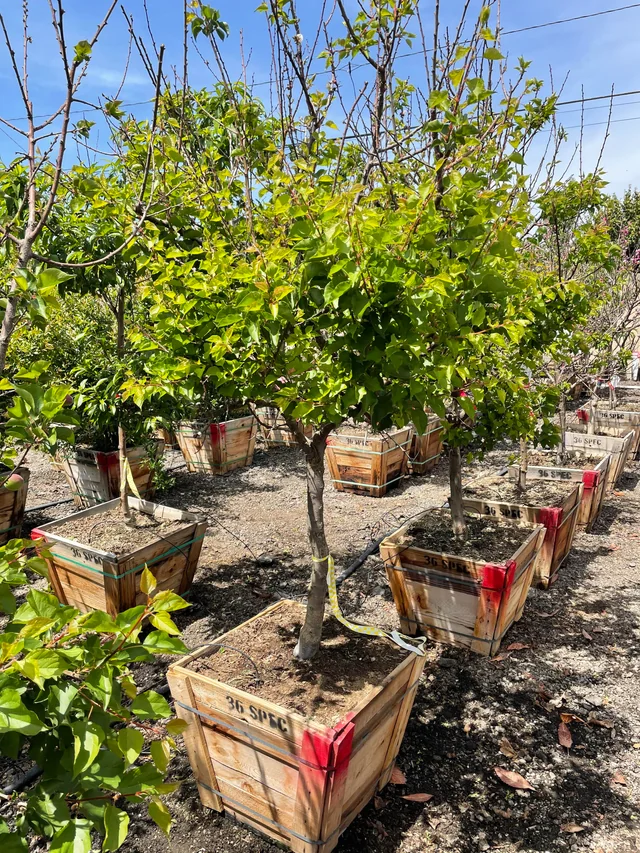
Give your plum tree enough space to grow. Standard trees need about 15–20 feet of spacing, while dwarf or semi-dwarf varieties can be planted 10–12 feet apart.
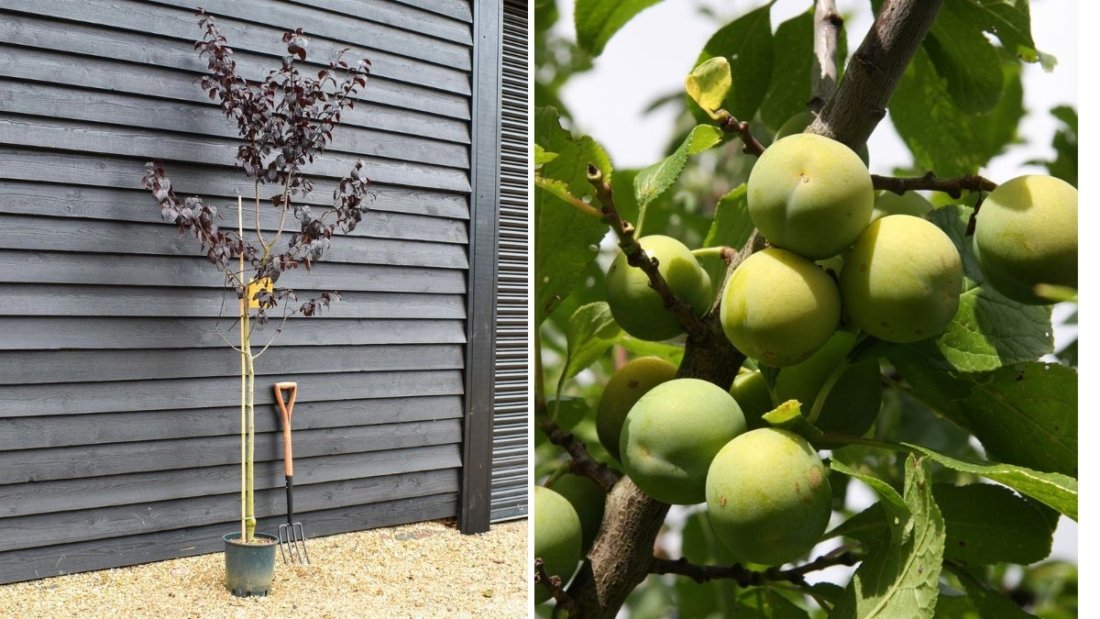
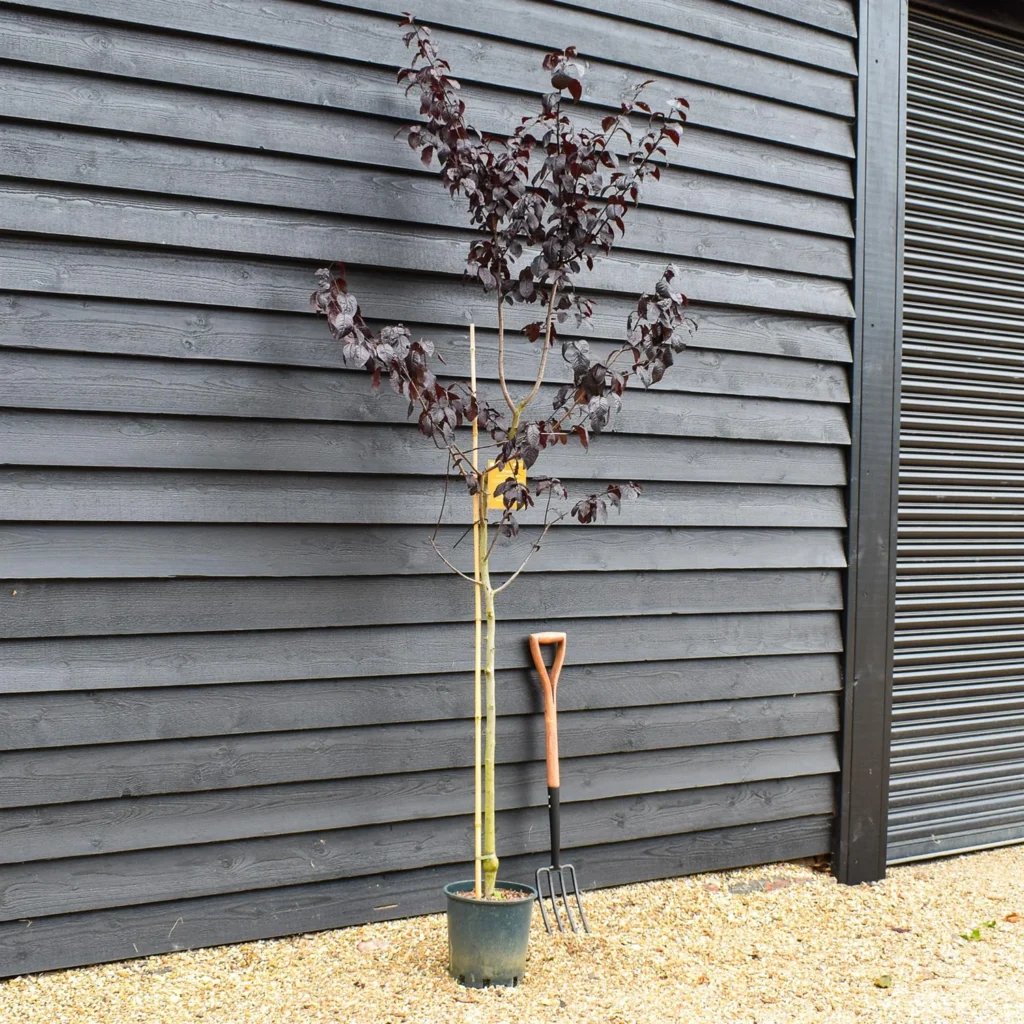
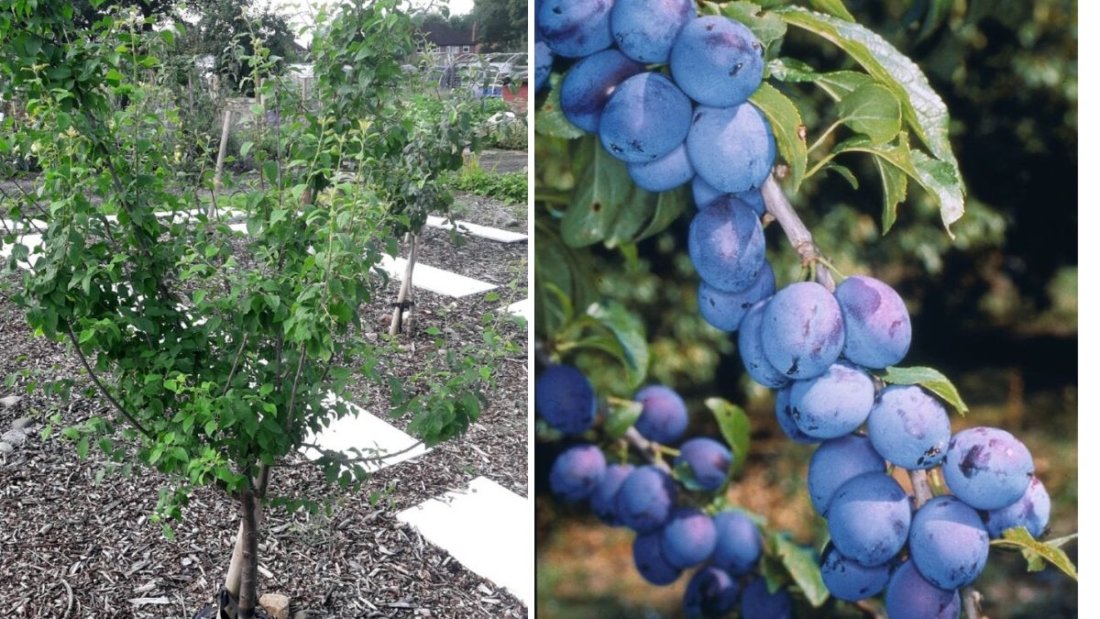
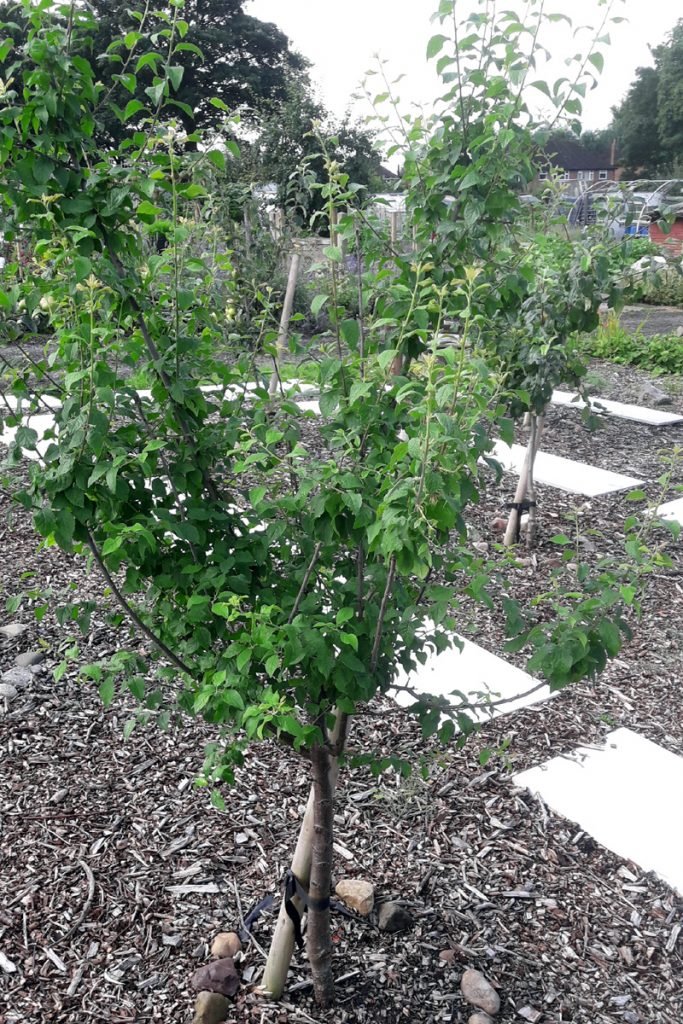
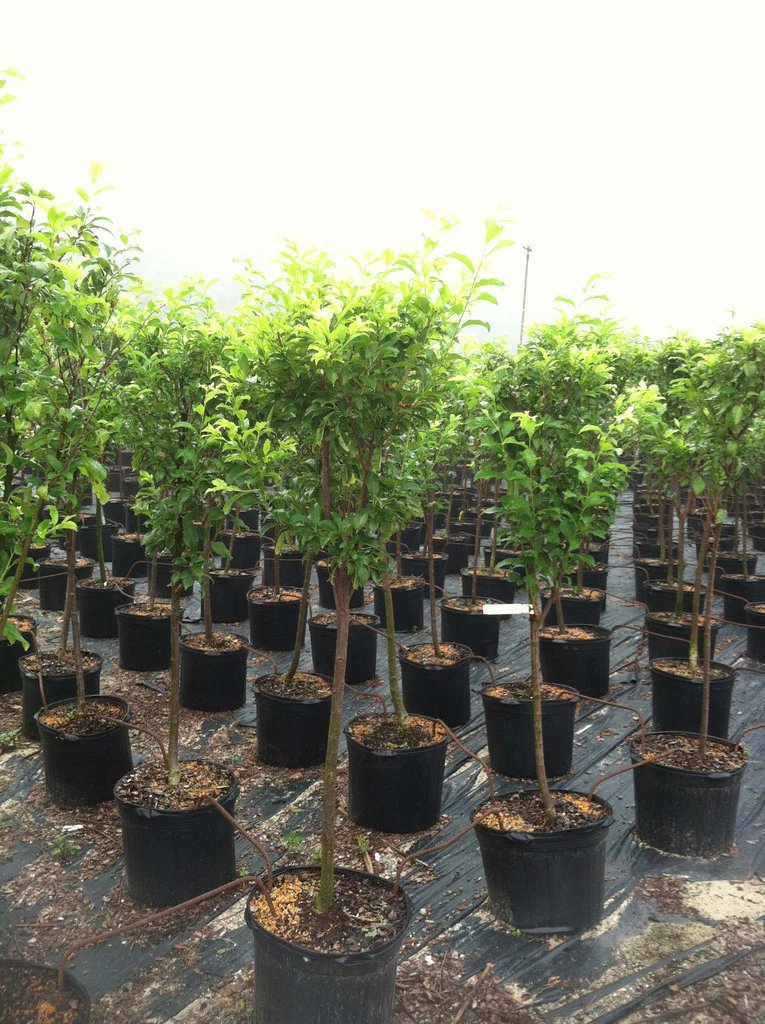
How to Plant a Satsuma Plum Tree
Planting correctly is crucial to ensure your Satsuma plum tree establishes well and grows vigorously.
Step 1: Choose the Right Time to Plant
The best time to plant a plum tree is late winter to early spring, while the tree is still dormant. In warmer climates, you can also plant in fall to allow roots to establish before summer.
Step 2: Prepare the Planting Hole
- Dig a hole about twice as wide and as deep as the tree’s root ball.
- Loosen the soil around the hole to help roots spread easily.
- Mix compost into the backfill soil for extra nutrients.
Step 3: Positioning the Tree
- Remove the tree from its container and gently untangle the roots.
- Place the tree in the hole so that the graft union (the bump on the trunk above the roots) sits 2–3 inches above soil level.
- Backfill with soil, gently firming it around the roots to remove air pockets.
Step 4: Water Thoroughly
Water deeply right after planting to help the soil settle around the roots. Keep the soil moist but not soggy during the first growing season.
Step 5: Mulching
Apply a 2–3 inch layer of mulch (like straw, wood chips, or leaves) around the base, leaving a small gap around the trunk. This helps retain moisture, regulate soil temperature, and suppress weeds.
Watering and Feeding Your Tree
1. Watering:
Satsuma plum trees need consistent moisture, especially during their first few years and when fruits are developing.
- Water once or twice a week during dry spells.
- Avoid overwatering — soggy soil can cause root rot.
- Drip irrigation or a slow soak at the base works best.
2. Fertilization:
Feed your plum tree regularly to promote strong growth and fruiting.
- In early spring, apply a balanced fertilizer (10-10-10 NPK).
- As the tree matures, switch to a fruit tree fertilizer high in potassium and phosphorus to encourage flowering and fruit set.
- Avoid excessive nitrogen, which promotes leafy growth at the expense of fruits.
You can also use compost or well-rotted manure annually to enrich soil health naturally.
Pruning and Shaping Your Satsuma Plum Tree
Pruning is essential for keeping your tree healthy, productive, and easy to harvest.
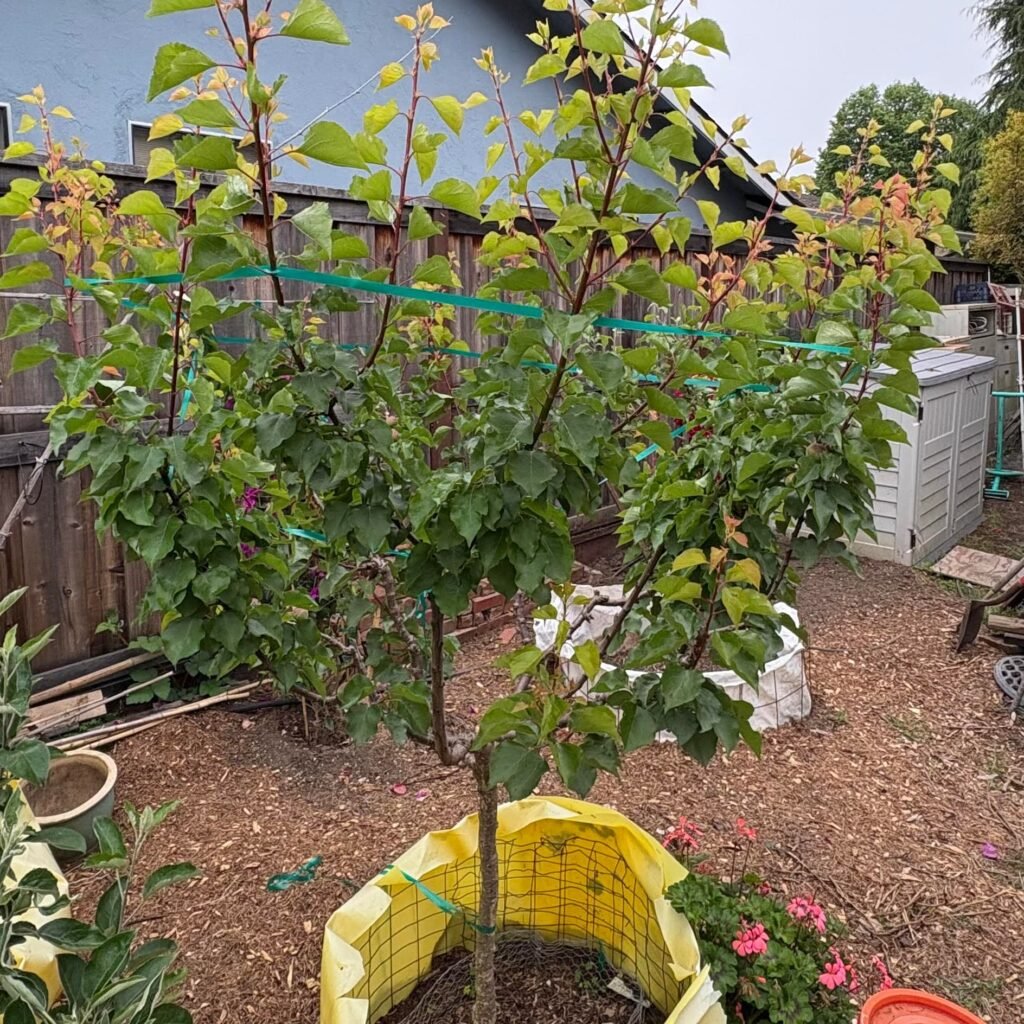
1. Training Young Trees:
In the first few years, shape the tree into an open-center or vase form — this allows sunlight to reach the inner branches and promotes air circulation.
2. Annual Pruning:
Prune during late winter or early spring before new growth begins.
- Remove any dead, diseased, or crossing branches.
- Thin out crowded branches to maintain a strong framework.
- Keep the tree around 8–10 feet tall for easier maintenance.
3. Summer Pruning:
Light pruning after harvest helps maintain the shape and encourages new growth for next year’s fruiting wood.
Pollination Tips
Since Satsuma plum trees are not self-pollinating, you’ll need another compatible Japanese plum nearby for successful fruit set.
Recommended pollinators include:
- Santa Rosa Plum
- Burbank Plum
- Methley Plum
- Shiro Plum
Plant your pollinator tree within 50 feet of your Satsuma plum to allow bees and other pollinators to transfer pollen effectively.
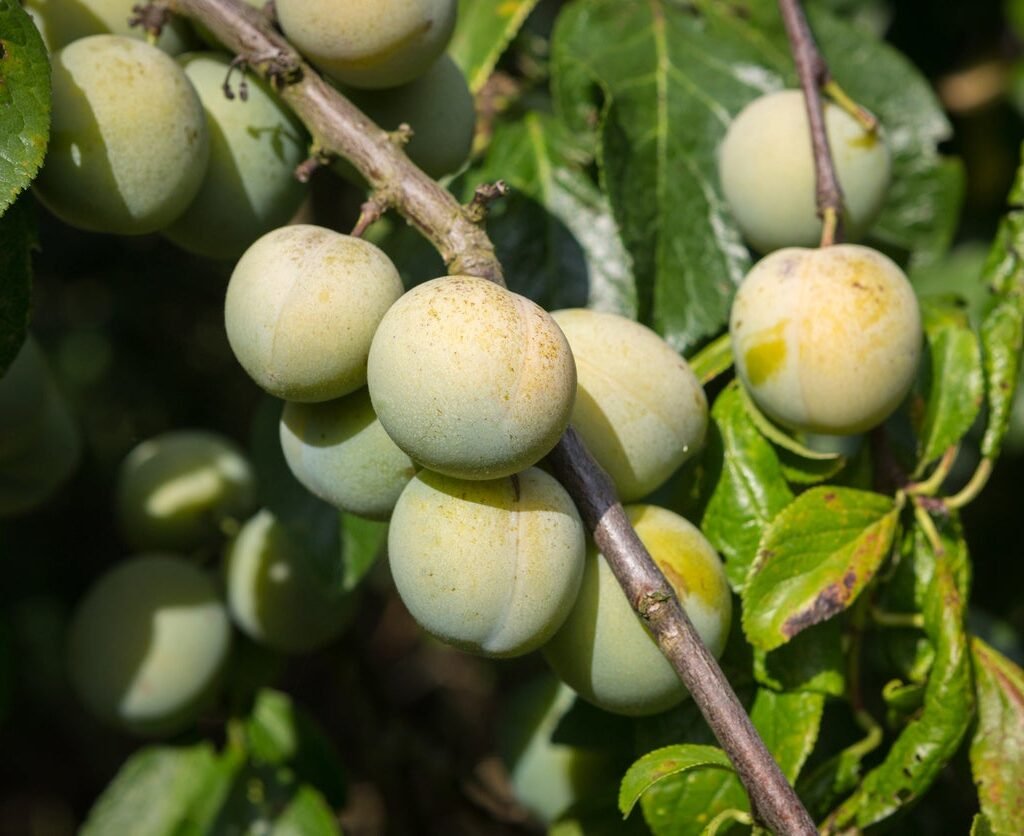
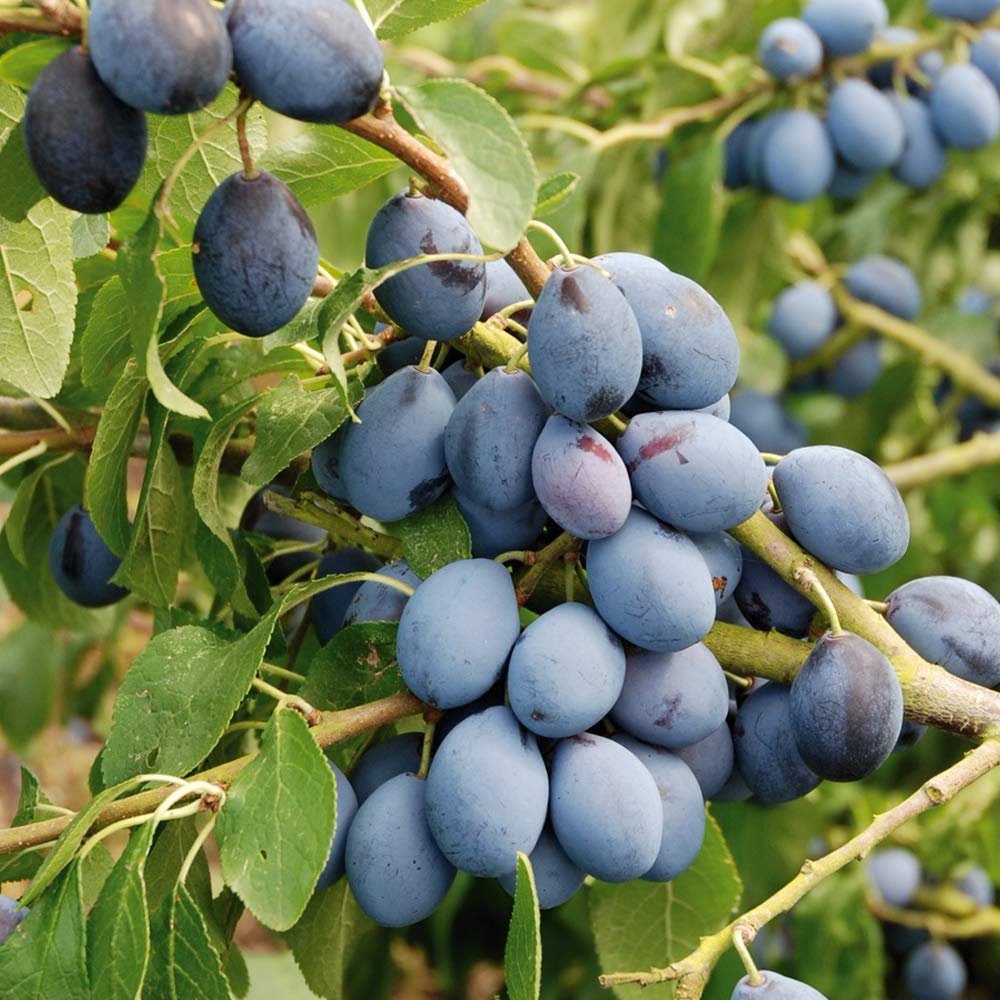
Flowering and Harvesting
Flowering:
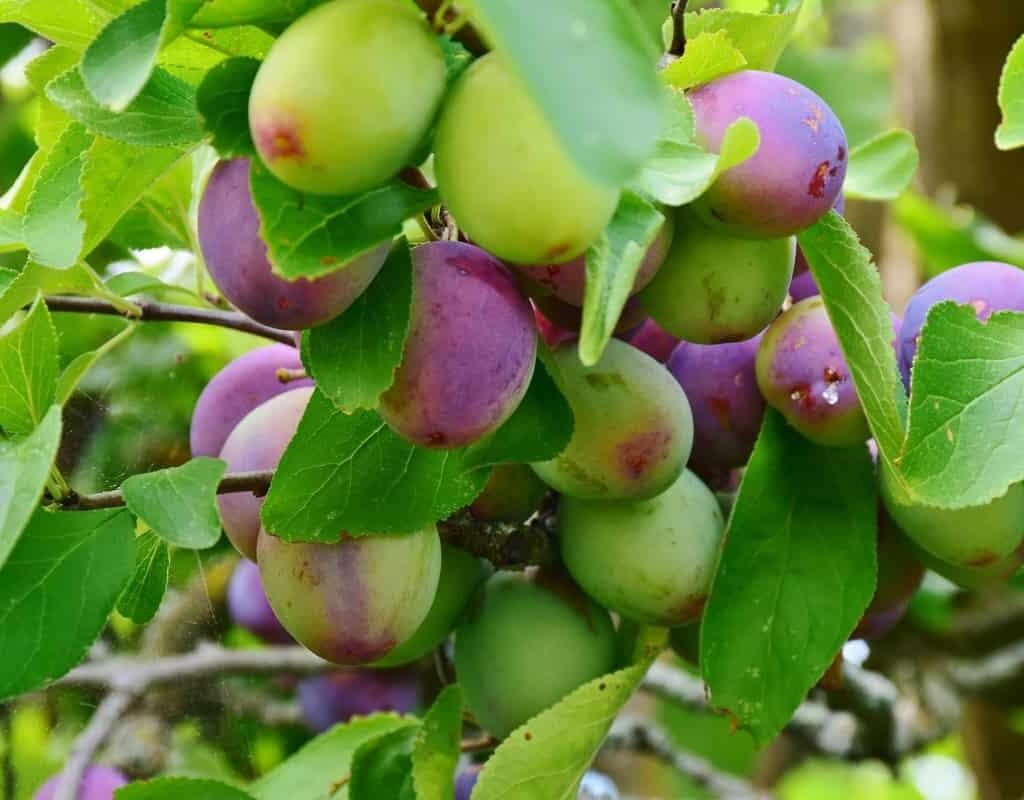
Satsuma plums bloom in early spring with clusters of white flowers. Late frosts can damage blossoms, so protect young trees if temperatures drop suddenly.
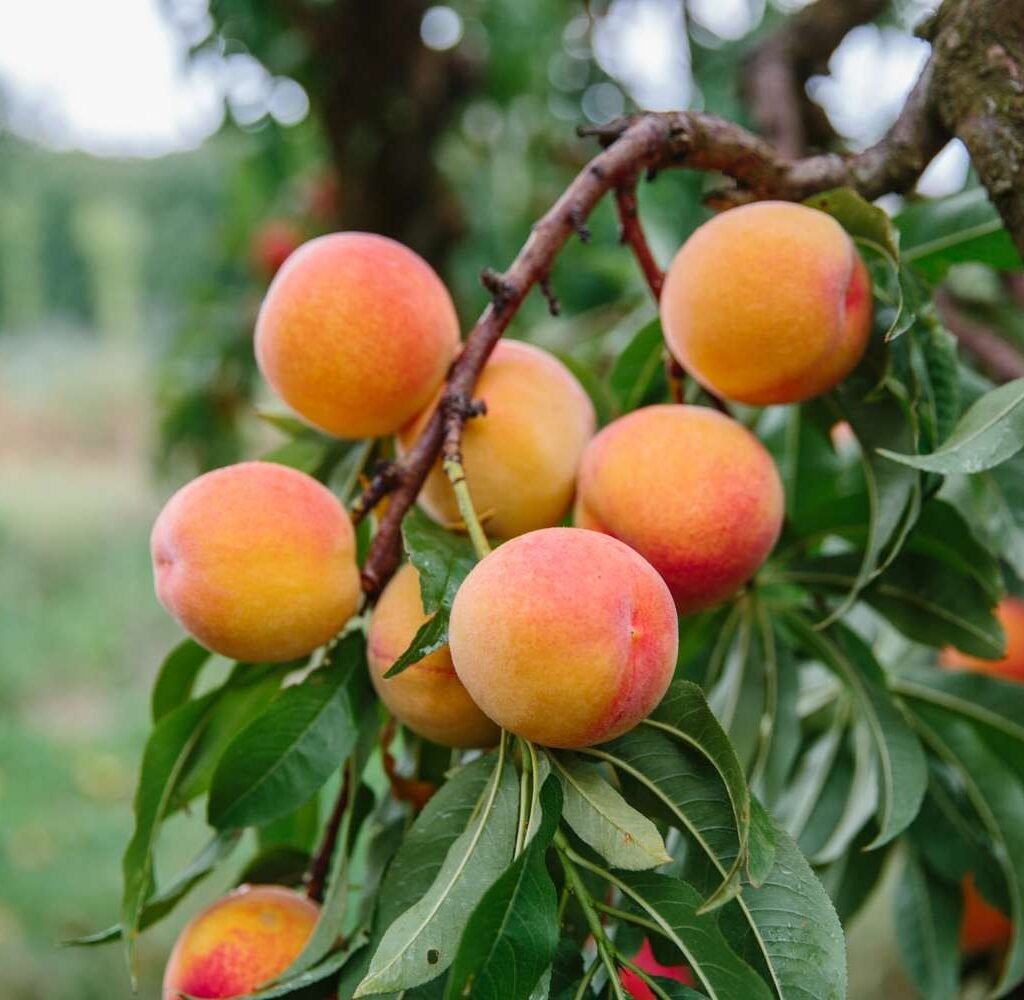
Harvest Time:
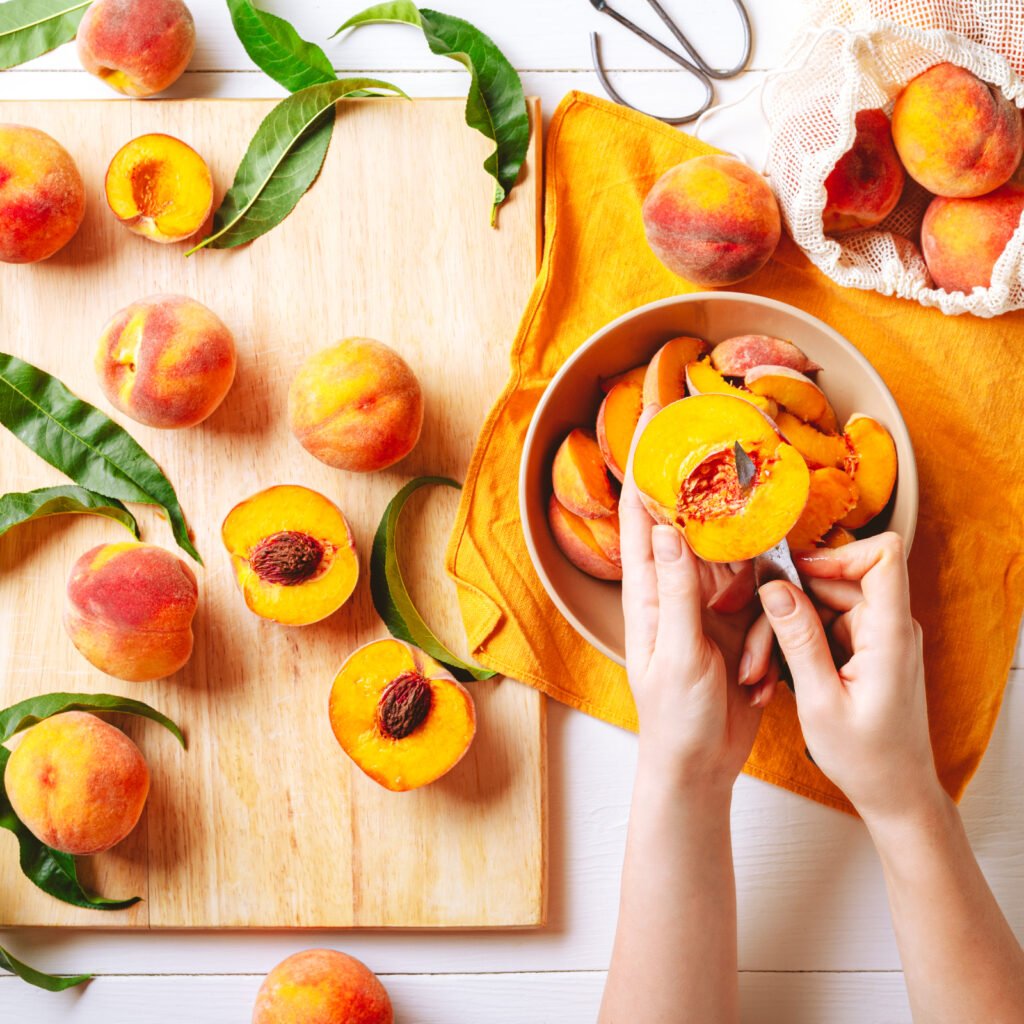
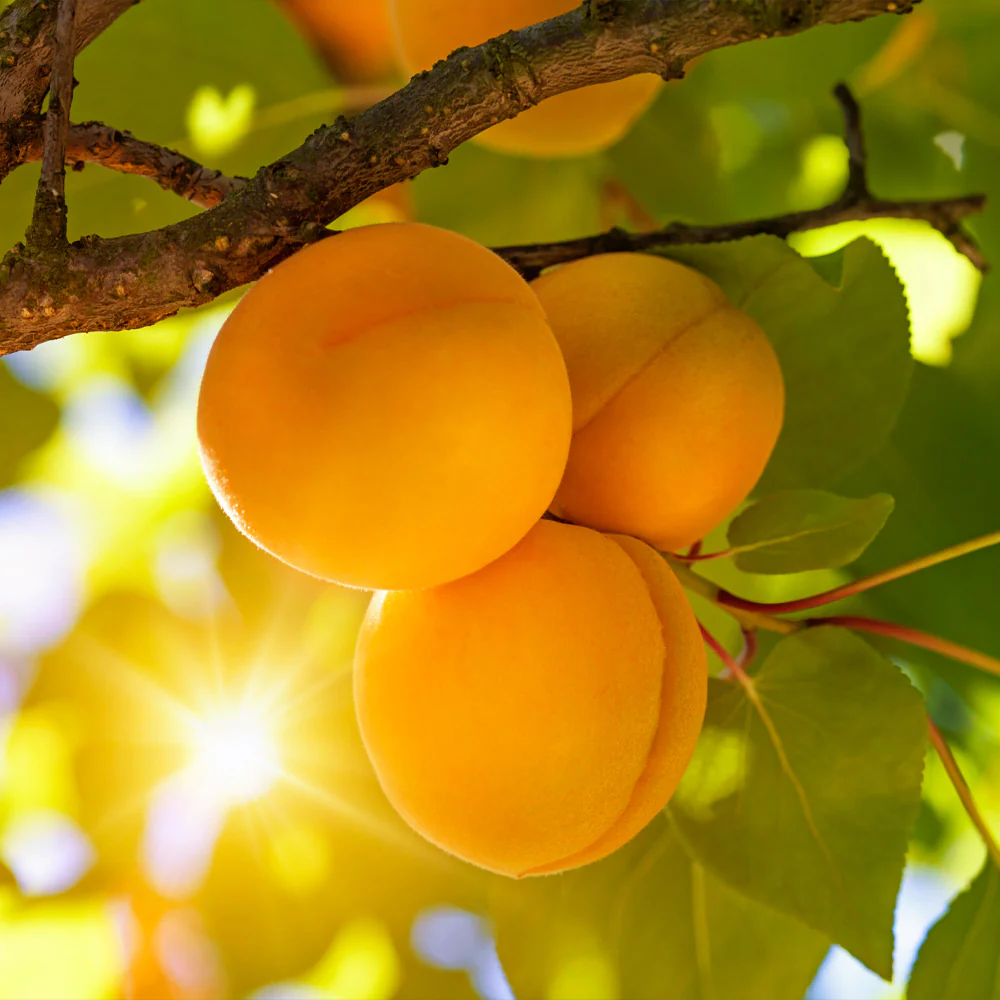
Fruits typically ripen in mid to late summer, depending on your local climate. You’ll know they’re ready when they turn deep red to purplish and feel slightly soft to the touch.
Harvesting Tips:
- Gently twist or cut fruits from the stem.
- Handle with care to avoid bruising.
- Fresh plums can be stored in the refrigerator for up to two weeks, or you can dry, can, or freeze them for longer storage.
Common Pests and Problems
While Satsuma plums are relatively easy to grow, they can face some challenges.
1. Pests:
- Aphids: Cause curling leaves and sticky residue. Use neem oil or insecticidal soap.
- Plum Curculio: Tiny beetles that damage developing fruit. Pick up fallen fruit and apply organic pest control sprays.
- Japanese Beetles: Handpick or use pheromone traps.
2. Diseases:
- Brown Rot: A fungal disease that affects flowers and fruit. Prune affected areas and apply a copper fungicide during bloom.
- Black Knot: Causes black growths on branches. Prune out and destroy infected parts.
Good air circulation, pruning, and keeping the area clean of fallen debris can significantly reduce disease risks.
Winter Care and Protection
In colder regions, protect young plum trees from frost and winter winds:
- Wrap the trunk with tree guards or burlap.
- Apply a thick layer of mulch to insulate roots.
- Avoid fertilizing late in the season — this can encourage tender new growth that’s easily damaged by frost.
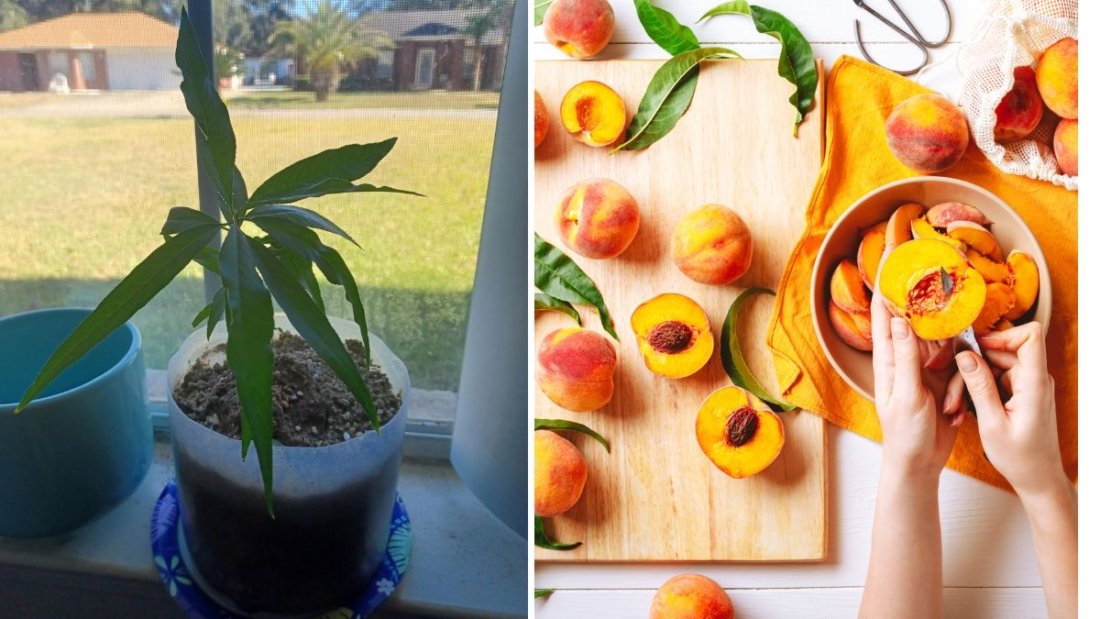
Enjoying the Fruits of Your Labor
Once your Satsuma plum tree matures, you’ll enjoy baskets of rich, flavorful plums year after year. These plums are perfect for fresh snacking, homemade plum jam, tarts, or even fermented plum wine. The satisfaction of harvesting fruit from your own tree is unmatched — it’s a testament to patience, care, and a bit of nature’s magic.
Final Thoughts
Growing a Satsuma plum tree is a delightful project for any gardener. With the right planting site, proper care, and a compatible pollinator, your tree will reward you with luscious, ruby-red plums and beautiful blossoms every spring.
Whether you’re cultivating it in a home orchard, a backyard garden, or a spacious landscape, the Satsuma plum is a treasure — ornamental in beauty and delicious in yield. Start your plum-growing journey today and bring a touch of sweetness to your garden for years to come.