
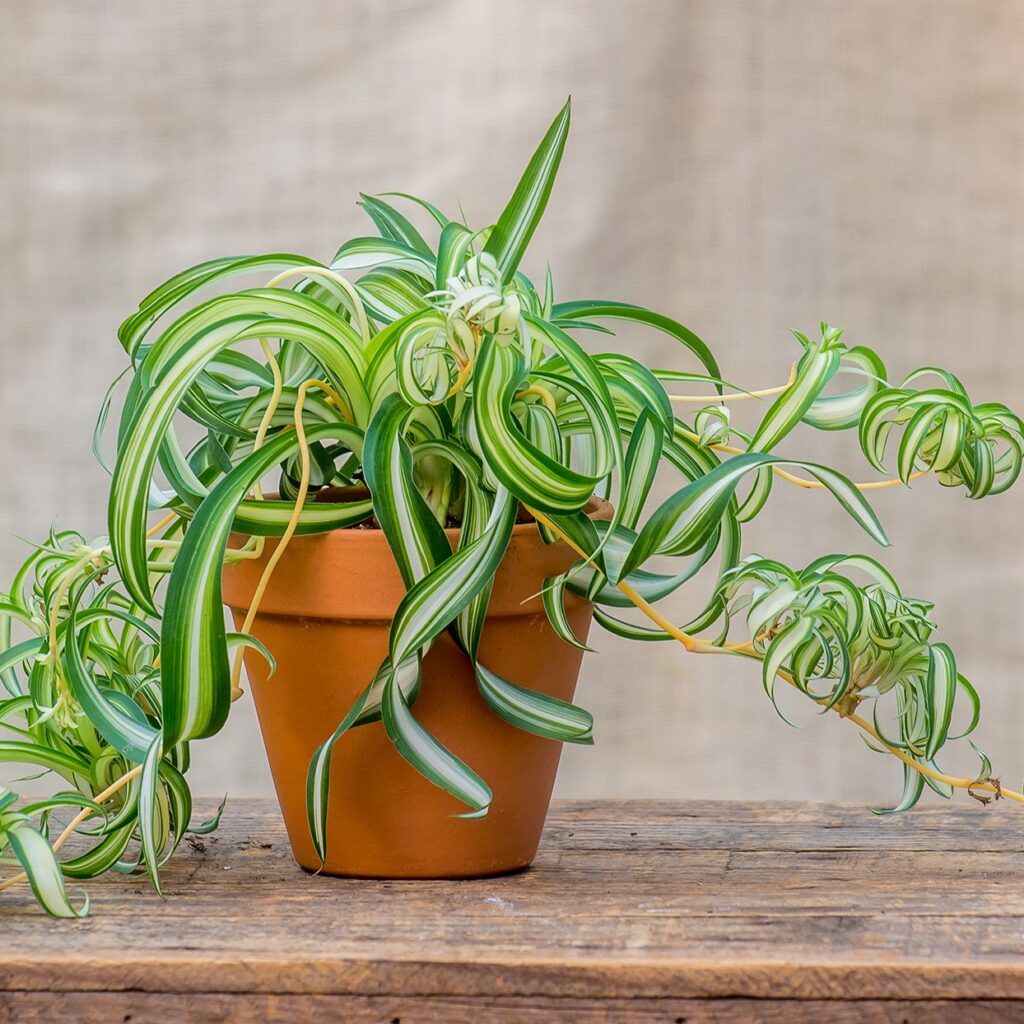
Spider plants (Chlorophytum comosum) are among the most popular and forgiving indoor plants, loved for their lush green foliage, graceful arching leaves, and charming baby “spiderettes.” They are perfect for beginners, as they adapt to different indoor conditions and still thrive with minimal attention. Beyond their beauty, spider plants are excellent air-purifiers, helping to remove harmful toxins from the air while adding fresh greenery to your home.
If you’ve been wanting to add one of these low-maintenance beauties to your indoor space, this guide will walk you step-by-step through how to start growing spider plants indoors like a pro.
Why Choose a Spider Plant for Indoors?
Before diving into the planting process, let’s look at why spider plants are such a great choice for your home:
- Beginner-friendly: They tolerate neglect, occasional missed watering, and variable light conditions.
- Fast-growing: You’ll see lush growth within weeks in the right environment.
- Air-purifying: NASA’s Clean Air Study listed spider plants among the best natural indoor air filters.
- Pet-safe: Non-toxic to cats and dogs, making them safe for pet households.
- Beautiful year-round: Their green or variegated leaves bring vibrancy no matter the season.
Step 1: Choosing the Right Spider Plant Variety
Spider plants come in a few main varieties, and your choice will depend on your aesthetic preference:
- Variegated Spider Plant (Chlorophytum comosum ‘Vittatum’): Green leaves with a creamy-white stripe down the center.
- Reverse Variegated Spider Plant (‘Variegatum’): Green center with white leaf margins.
- Solid Green Spider Plant: All-green leaves for a more classic foliage look.
- Bonnie Spider Plant: Compact variety with curly leaves, great for small spaces.
For beginners, the variegated variety is the most common and easiest to find.
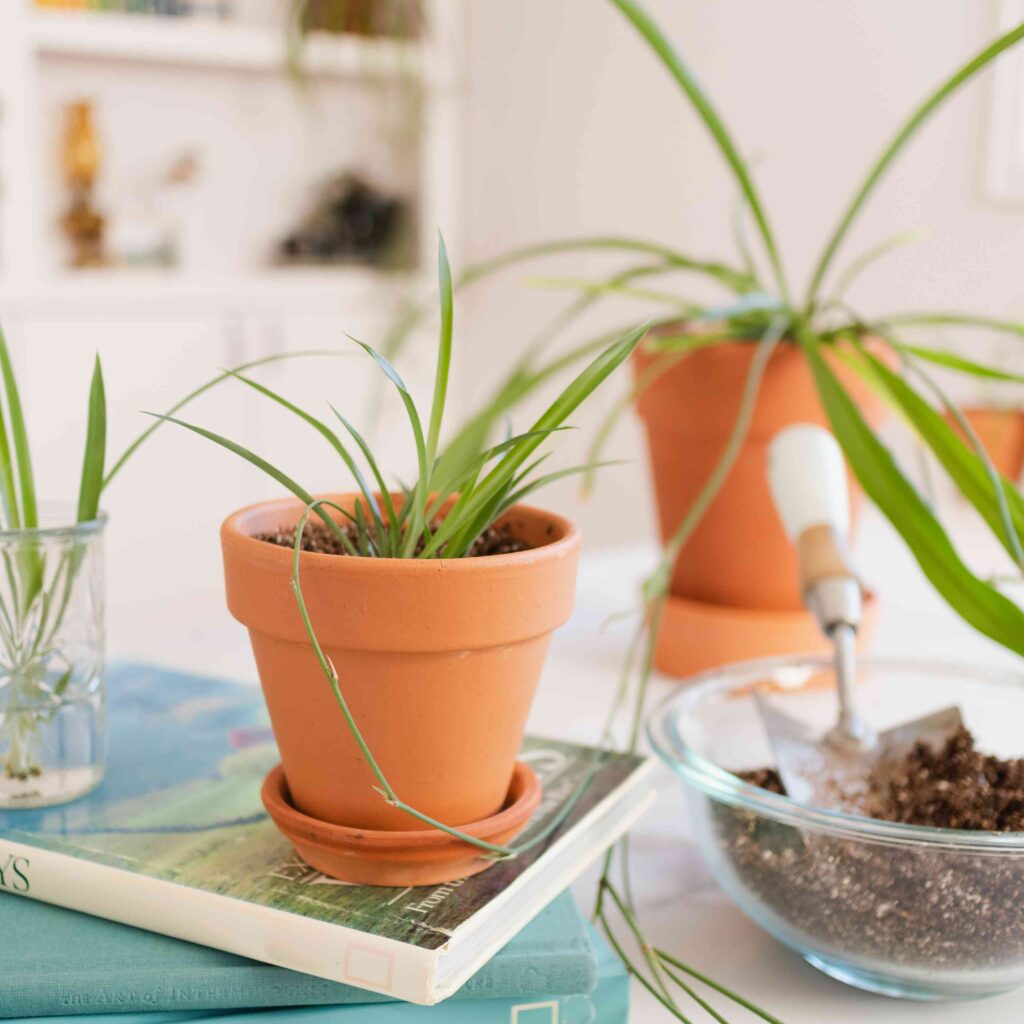
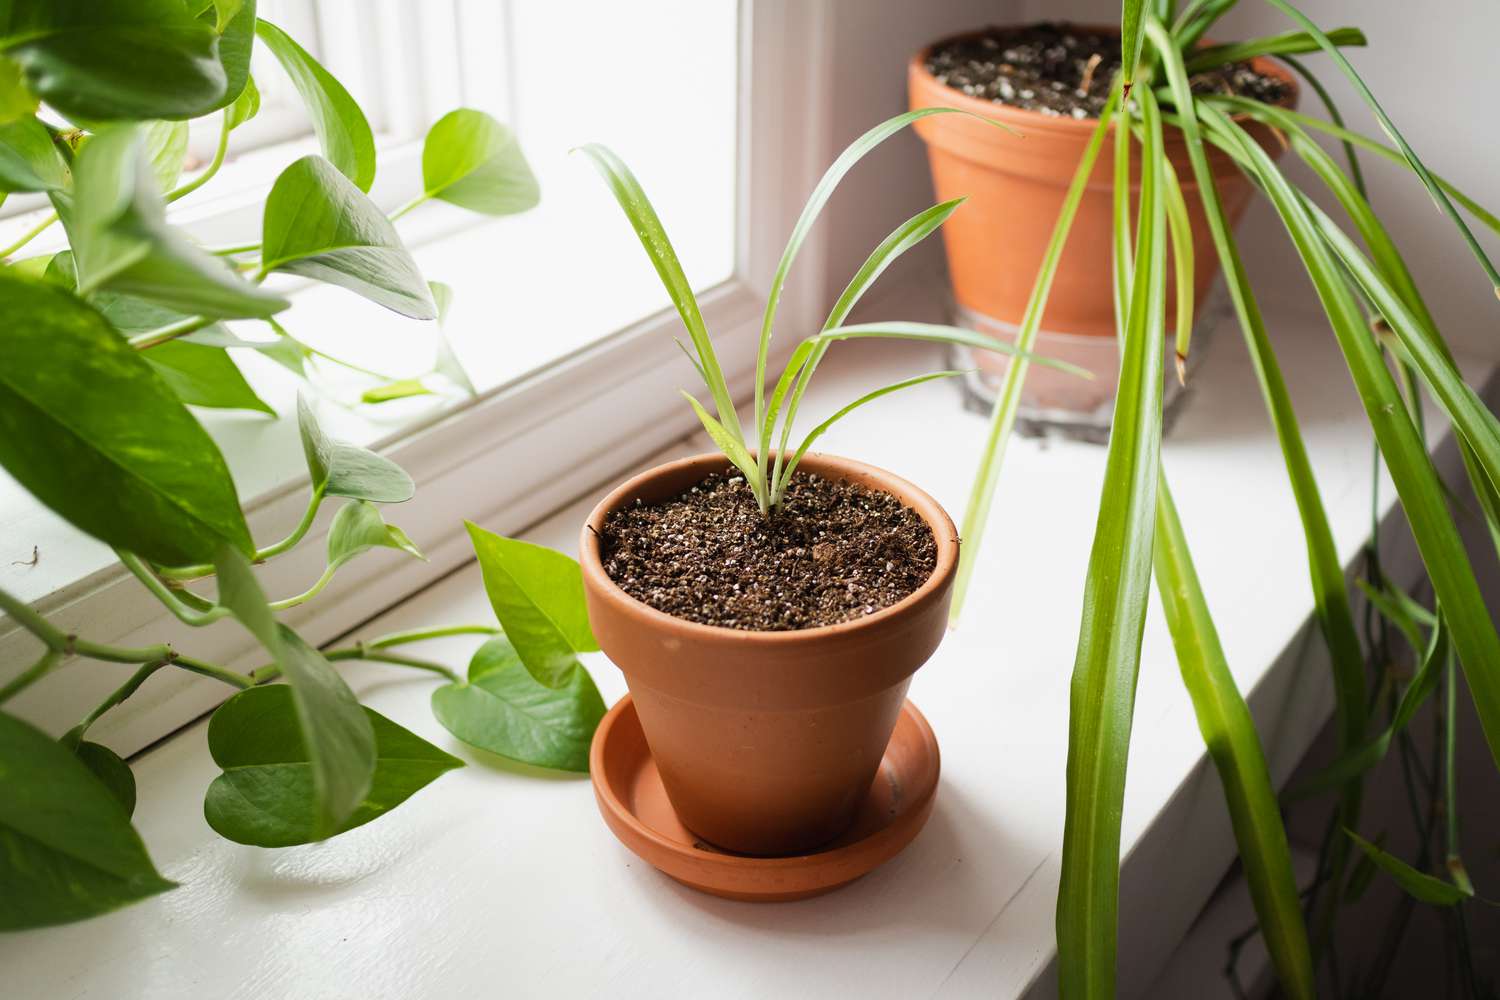
Step 2: Selecting a Pot and Soil
The right pot and soil setup will give your spider plant the best start.
Pot:
- Choose a pot 6–8 inches in diameter for young plants.
- Ensure it has good drainage holes to prevent waterlogging.
- Terracotta pots are great because they allow excess moisture to evaporate, but plastic pots retain water longer, which can be good if you tend to forget watering.
Soil:
- Use a well-draining potting mix — a combination of standard potting soil with a bit of perlite or sand works well.
- Avoid heavy, clay-like soils that retain too much moisture.
Pro Tip: Spider plants prefer slightly loamy soil that holds some moisture but drains well.

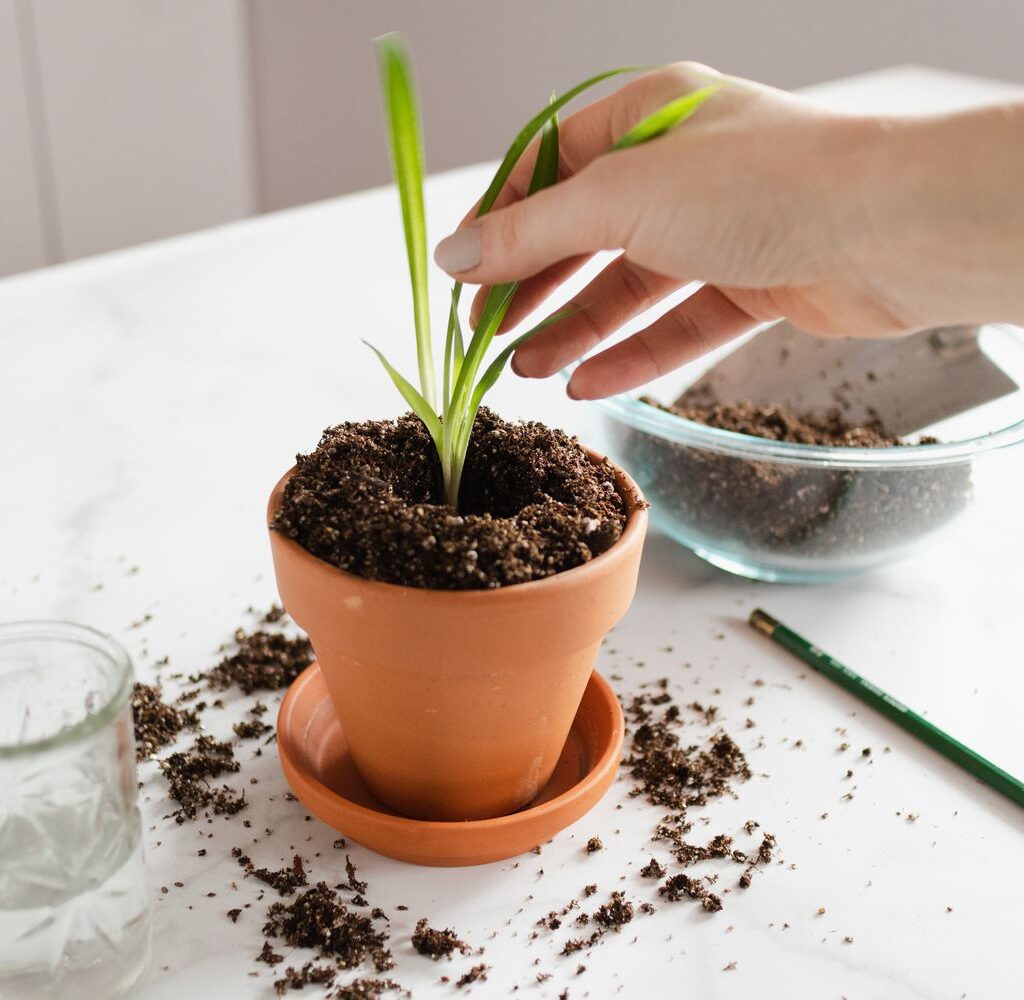
Step 3: Planting Your Spider Plant
If you’re starting with a nursery plant:
- Remove the plant gently from its container.
- Loosen the roots slightly to encourage new growth.
- Place it in your prepared pot, filling around the roots with soil.
- Press down lightly and water thoroughly.
If you’re starting from a spiderette (baby plant):
- Cut the baby plant from the mother plant once it has small roots.
- Plant it directly into moist potting soil or start it in water until roots are about 2 inches long, then transfer to soil.
Step 4: Light Requirements
Spider plants are adaptable but prefer bright, indirect light.
- Ideal: Place them near an east- or north-facing window.
- Avoid: Direct midday sun, which can scorch their leaves.
- Low Light: They can survive in low light but may grow more slowly and lose variegation.
If your home lacks natural light, LED grow lights can be a great substitute.
Step 5: Watering the Right Way
Overwatering is the most common mistake with spider plants.
Watering tips:
- Water when the top 1–2 inches of soil feel dry.
- Use room-temperature water.
- In spring and summer, you may water once a week; in winter, every 10–14 days may be enough.
- Ensure excess water drains out to prevent root rot.
Extra Note: Spider plants are sensitive to fluoride in tap water, which can cause brown tips on leaves. If possible, use filtered or rainwater.
Step 6: Maintaining the Right Humidity and Temperature
Spider plants love moderate humidity and average indoor temperatures.
- Temperature range: 60–75°F (16–24°C) is ideal.
- Humidity: Average household humidity is fine, but if your home is very dry (especially in winter), consider occasional misting or a humidity tray.
Step 7: Fertilizing for Healthy Growth
Feed your spider plant to keep it lush and vibrant.

- Use a balanced, water-soluble houseplant fertilizer (e.g., 10-10-10).
- Apply every 4–6 weeks during spring and summer.
- Skip fertilizing in winter when growth naturally slows.
Tip: Over-fertilizing can cause leaf tip burn, so always dilute fertilizer to half-strength.
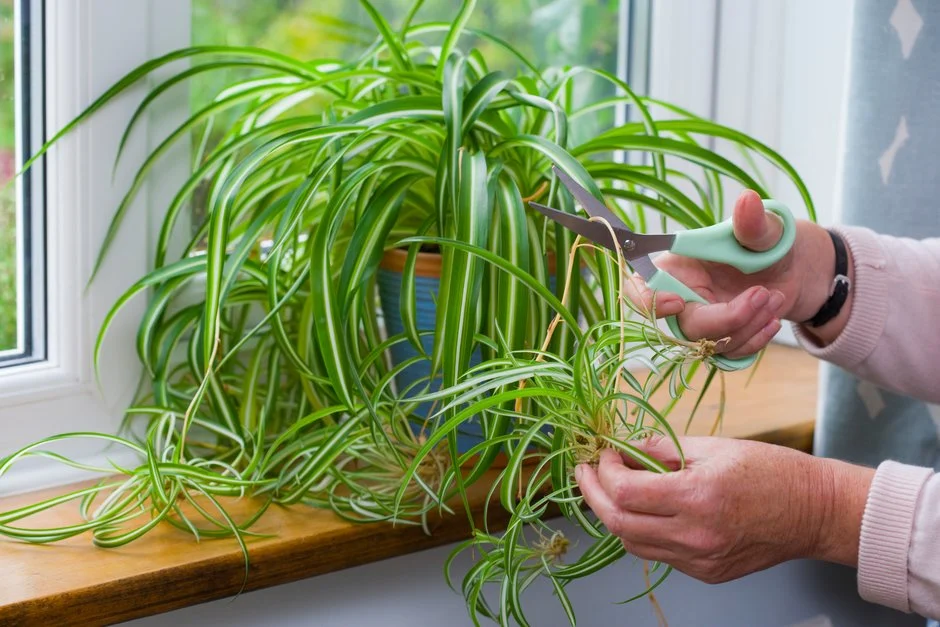
Step 8: Pruning and Grooming
Pruning keeps your spider plant looking fresh and healthy.
- Remove brown or yellow leaves with clean scissors.
- Trim leaf tips if they turn brown (cut diagonally for a natural look).
- Remove excess spiderettes if you want the plant to focus on leaf growth.
If the plant gets too crowded, you can divide it into smaller plants during repotting.
Step 9: Repotting When Needed
Spider plants grow quickly and may become root-bound.
Signs it’s time to repot:
- Roots are growing out of the drainage holes.
- Water drains too quickly.
- Plant looks crowded or stops growing.
Repot every 1–2 years in a pot 1–2 inches larger than the current one.
Step 10: Common Problems and Solutions
Even low-maintenance plants can run into small issues. Here’s how to solve them:
- Brown leaf tips: Usually caused by fluoride in water, low humidity, or over-fertilizing. Switch to filtered water and reduce fertilizer.
- Yellow leaves: Overwatering or poor drainage. Let soil dry before watering again.
- Drooping leaves: Underwatering or extreme temperature changes. Check soil moisture and keep in a stable location.
- Pests (spider mites, aphids, mealybugs): Wipe leaves with a damp cloth and use insecticidal soap if needed.
Step 11: Propagating Spider Plants
One of the joys of owning a spider plant is growing new plants from its babies.
Propagation methods:

- From spiderettes in soil: Plant directly into small pots with moist soil.
- From spiderettes in water: Place in a jar of water until roots grow, then transfer to soil.
- Division: During repotting, divide the root ball into smaller sections and replant.
These methods make spider plants a fantastic option for sharing with friends or expanding your indoor garden.
Step 12: Styling Your Spider Plant Indoors
Spider plants look stunning in various indoor settings:
- Hanging baskets to let the leaves and spiderettes cascade.
- On shelves for a touch of green at eye level.
- In macramé plant holders for a boho vibe.
- Grouped with other houseplants for a lush indoor jungle look.
Final Thoughts
Spider plants are a timeless favorite for a reason — they’re adaptable, beautiful, and almost effortless to care for. Whether you’re a beginner or a seasoned plant parent, learning how to start growing spider plants indoors will reward you with fresh greenery and natural charm all year round.
By choosing the right variety, providing well-draining soil, watering mindfully, and giving them the light they love, your spider plant will thrive and produce countless babies for years to come.
So, pick up a spider plant, give it a cozy spot, and enjoy the beauty and clean air it brings into your home.
Leave A Comment