
Orchids are known for their exotic, delicate blooms and graceful presence, making them one of the most cherished houseplants around the world. But while these beauties can be relatively easy to maintain, they sometimes fall victim to neglect, improper care, or environmental changes. If your orchid is looking sad with droopy leaves, shriveled roots, or missing flowers — don’t give up hope! With the right steps, you can revive an orchid plant and bring it back to its former, jaw-dropping glory.
In this detailed guide, we’ll walk you through everything you need to know about diagnosing the problem, restoring your orchid’s health, and keeping it vibrant for years to come.
Why Do Orchids Decline?
Orchids may appear delicate, but they’re surprisingly resilient. Understanding why your orchid is struggling is the first step to saving it.
Common reasons orchids decline:
- Overwatering: The #1 killer of orchids. Constantly wet roots lead to rot.
- Underwatering: Dry roots can’t absorb nutrients or support healthy leaves and blooms.
- Poor Drainage: Orchids need fast-draining soil and a pot with holes.
- Lack of Light: Insufficient sunlight weakens the plant and halts blooming.
- Temperature Stress: Orchids dislike sudden drops in temperature or drafts.
- Neglected Repotting: Old, compacted potting medium can suffocate roots.
- Pests or Diseases: Fungal infections, mites, or mealybugs can stress the plant.

How to Tell If Your Orchid Can Be Saved
Before taking action, assess your plant’s overall condition:
- Leaves: Are they limp, wrinkled, yellow, or leathery?
- Roots: Healthy roots are plump and green or silvery white when dry. Rotten roots turn mushy, dark brown, or black.
- Stem: Should feel firm, not shriveled.
- Flowers: Fading or falling flowers alone don’t mean disaster — orchids naturally go dormant after blooming.
Good news: If at least a few healthy roots and a firm stem remain, your orchid can bounce back.
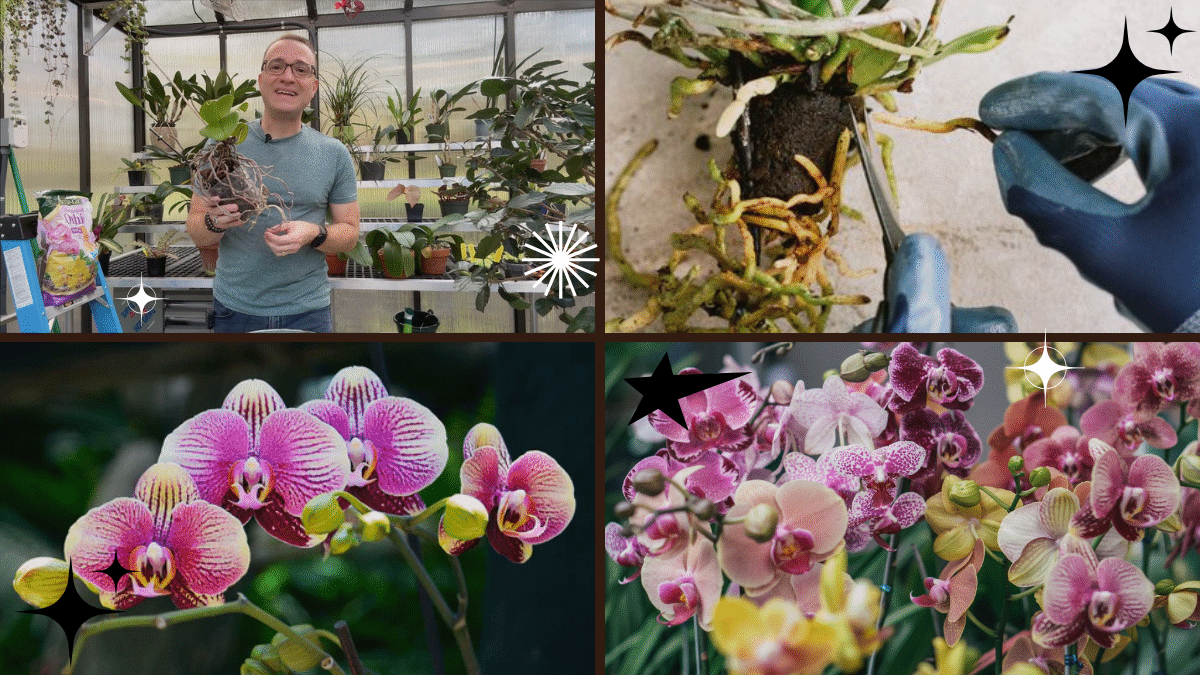
Step-by-Step: How to Revive an Orchid Plant
Let’s carefully nurse your orchid back to life with this thorough, gentle process.
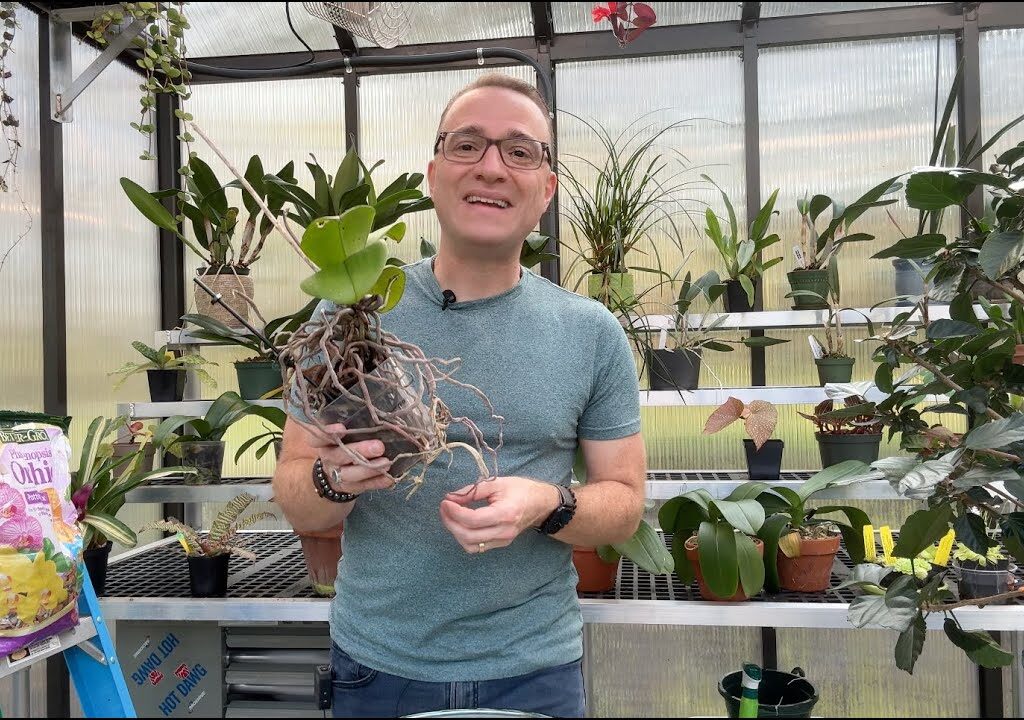
1. Remove the Orchid from Its Pot
First, take your orchid out of its container to check the root system. Gently loosen the potting medium around the roots. You might need to squeeze flexible pots or use a butter knife to ease it out if it’s stuck.

2. Trim Away Dead or Rotted Roots
Examine the roots closely. Healthy roots are firm and white, silvery, or green. Using sterilized scissors or pruning shears, cut off any:

- Black, mushy, or shriveled roots
- Moldy or rotten portions
Disinfect tools between cuts to avoid spreading potential disease.
3. Soak the Healthy Roots
After trimming, soak the remaining healthy roots in room-temperature water for about 30 minutes. This rehydrates them and prepares them for repotting.
Optional: Add a few drops of hydrogen peroxide or a diluted orchid-safe fungicide to the water to disinfect.
4. Replace the Old Potting Medium
Old orchid medium (like bark, moss, or perlite) breaks down over time, becoming compacted and retaining too much moisture.
Use fresh orchid-specific potting mix for proper airflow and drainage. You can find it at garden centers or online.
5. Choose the Right Pot
Use a clean pot with ample drainage holes. Transparent orchid pots are ideal as they let you monitor root health and moisture levels.
Tip: Avoid pots that are too large — orchids prefer snug homes for stability.
6. Repot the Orchid
Place the orchid back into the pot, spreading the roots out gently. Add fresh orchid mix around the roots, making sure the base of the plant is stable but not buried.

Do not pack the medium tightly — airflow is crucial.
7. Water Sparingly at First
Hold off on watering for 3-5 days to let any root cuts callous over, reducing the risk of rot. Afterward:
- Water thoroughly when the potting medium is nearly dry.
- Let water drain completely — never let roots sit in standing water.
Use lukewarm, filtered water for best results.
8. Provide Ideal Light and Temperature
Orchids thrive in bright, indirect sunlight. Place your revived plant near an east- or south-facing window with filtered light. Avoid direct sun, which can scorch leaves.
Ideal temperature:
- Day: 65–80°F (18–27°C)
- Night: 60–70°F (16–21°C)
Keep away from drafts, heaters, and cold windowsills.
9. Feed Lightly
Once your orchid starts showing signs of recovery (new roots, leaves, or firm growth), resume feeding with a balanced, diluted orchid fertilizer every 2-4 weeks during active growth.
Pro Tip: Use a “weakly, weekly” approach — dilute fertilizer to 1/4 strength.

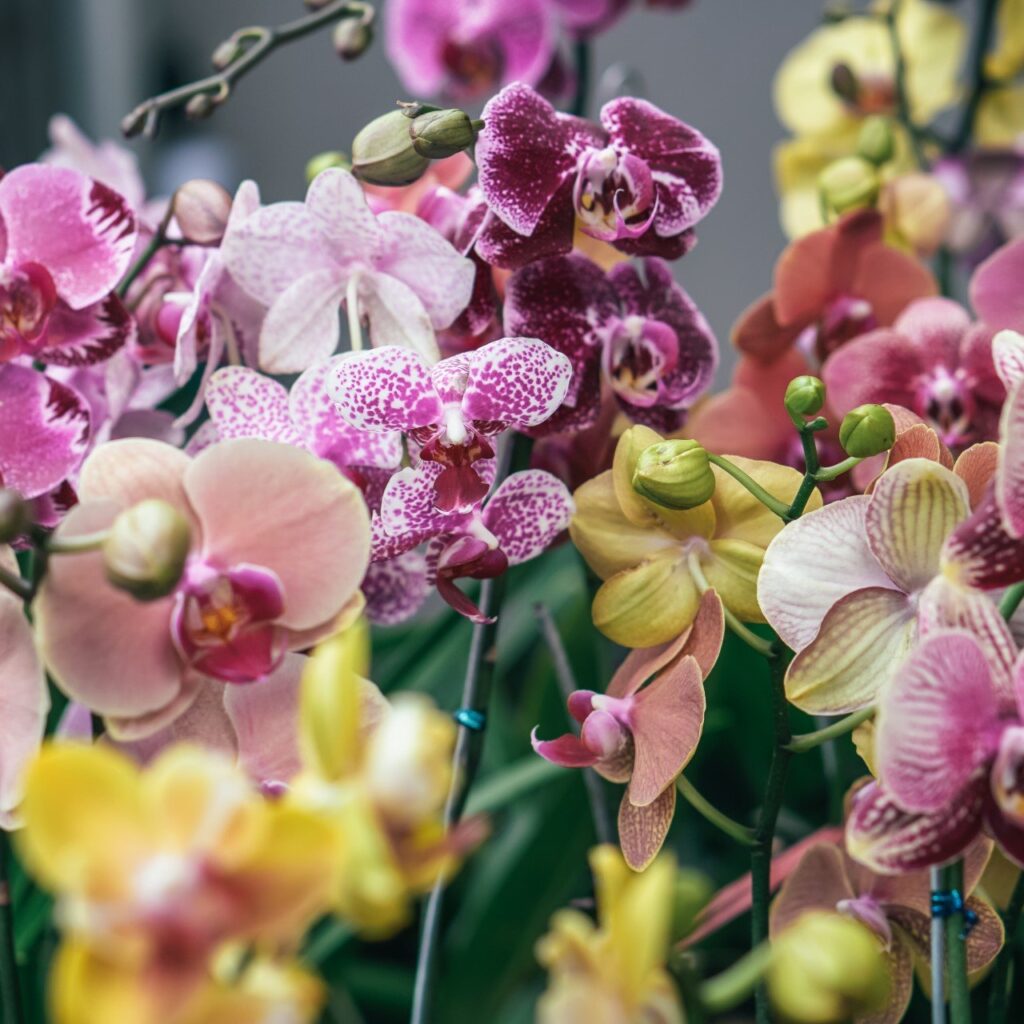
How to Encourage New Blooms
Once your orchid has regained strength, you’ll naturally want to see those beautiful blooms return. Here’s how to encourage flowering:
- Mimic natural light cycles: Ensure bright, indirect light during the day and slightly cooler nights.
- Provide slight temperature drops: Orchids bloom best when night temperatures are about 10°F lower than daytime.
- Use a bloom booster fertilizer once buds appear.
- Keep humidity around 50–70% with a pebble tray or humidifier.
Most orchids rebloom within 6-12 months after a healthy recovery period.
Common Orchid Reviving Mistakes to Avoid
Even with good intentions, it’s easy to make a few missteps when reviving orchids. Here’s what to watch for:
- Overwatering: The biggest revival mistake. Always let the potting medium dry out between waterings.
- Improper potting medium: Regular soil suffocates orchids — use only orchid bark, moss, or specialty mixes.
- Ignoring pests: Check for scale, mealybugs, or spider mites on leaves and roots.
- Placing in direct sun: Can lead to scorched leaves.
- Forcing immediate blooms: Patience is key — focus on restoring health before blooms return.
Bonus: Reviving an Orchid Without Roots
If your orchid has lost all its roots but still has healthy leaves and a stem, don’t panic — you can try the sphagnum moss method:
- Trim away any rotten parts.
- Wrap the base in moist sphagnum moss.
- Place it in a clear plastic cup with holes for ventilation.
- Keep it in a bright, humid spot.
- Mist lightly to maintain moisture.
- Wait patiently — new roots may appear in a few weeks.
Final Thoughts
Orchids might seem finicky, but with a little care and attention, even the saddest plant can make an inspiring comeback. Learning how to revive an orchid plant not only saves your current green beauty but also builds valuable skills for caring for future floral treasures.
The next time your orchid seems down for the count, remember — it’s likely just asking for a little help. And with these steps, you’ll soon be rewarded with glossy leaves, sturdy roots, and those iconic blooms that instantly brighten any room.
Leave A Comment