
Houseplants are more than just pretty accents for your windowsill or desk — they’re living companions that purify your air, brighten your mood, and bring nature indoors. And just like people outgrow their old homes, plants do too! Learning how to repot plants is an essential skill every plant parent should have in their green-thumb toolkit.
If your plants are starting to look cramped, droopy, or unhappy in their containers, it might be time to upgrade their living situation. In this comprehensive guide, we’ll show you when to repot, what you’ll need, and step-by-step instructions to safely and successfully give your plants a fresh new start.
Why Is Repotting Important for Plants?
Repotting isn’t only about aesthetics — it directly impacts your plant’s health and vitality. Here’s why giving your plant a new home matters:
- Prevents Root Bound Growth: When roots outgrow their pot, they start circling the inside, limiting their ability to absorb water and nutrients.
- Refreshes Nutrients: Over time, soil depletes its mineral content. New soil replenishes the nutrients your plant craves.
- Improves Drainage: Old soil can compact and retain too much moisture, leading to root rot.
- Encourages Growth: A slightly larger pot gives roots space to stretch, helping your plant grow stronger and fuller.
- Removes Pests and Diseases: Repotting can help get rid of soil-borne bugs, fungus, or root rot.
When Should You Repot Your Plants?
While it varies by species, most houseplants benefit from repotting every 1-2 years. Some fast-growing plants like pothos, monsteras, or spider plants might need repotting annually, while slow-growers like snake plants or succulents can go 2-3 years.
Signs your plant needs repotting:
- Roots growing out of drainage holes
- Water running straight through the pot
- Soil dries out unusually fast
- Plant appears top-heavy or unstable
- Soil is compacted or crusty
- Growth has slowed, despite proper care
Best time to repot:
Spring and early summer when plants are in their active growing season. Avoid repotting in fall and winter when plants are dormant.
What You’ll Need to Repot a Plant
Gather these essentials before starting:
- Your plant
- A new pot (1-2 inches larger in diameter than the current one)
- Fresh potting mix (specific to your plant type: cactus, orchid, houseplant, etc.)
- Gardening gloves
- Trowel or small spade
- Watering can
- Sterilized scissors or pruning shears
- Pebbles or stones (optional for extra drainage)
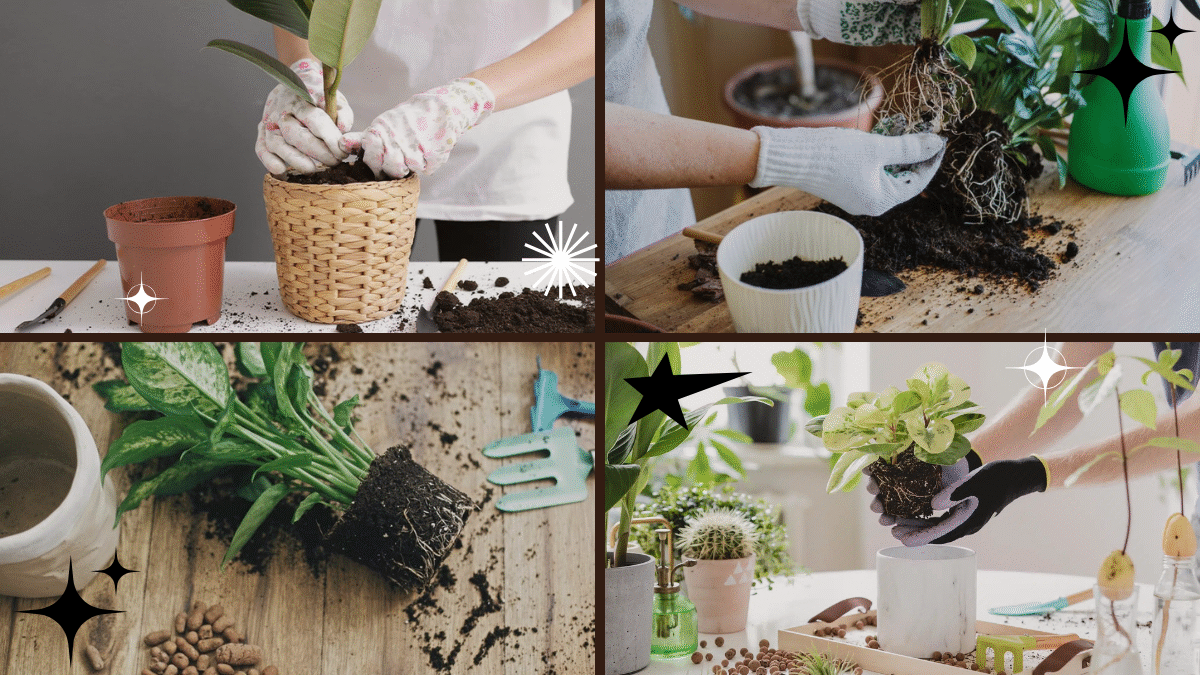
Step-by-Step: How to Repot a Plant
Follow these easy steps for a clean and stress-free repotting process.

Choose the Right Pot
Pick a pot that’s slightly larger than your current one. Too big, and the extra soil will stay wet too long, risking root rot. Look for a container with good drainage holes.
Tip: Terracotta pots help wick away moisture and are great for plants that like drier soil (like succulents and herbs).
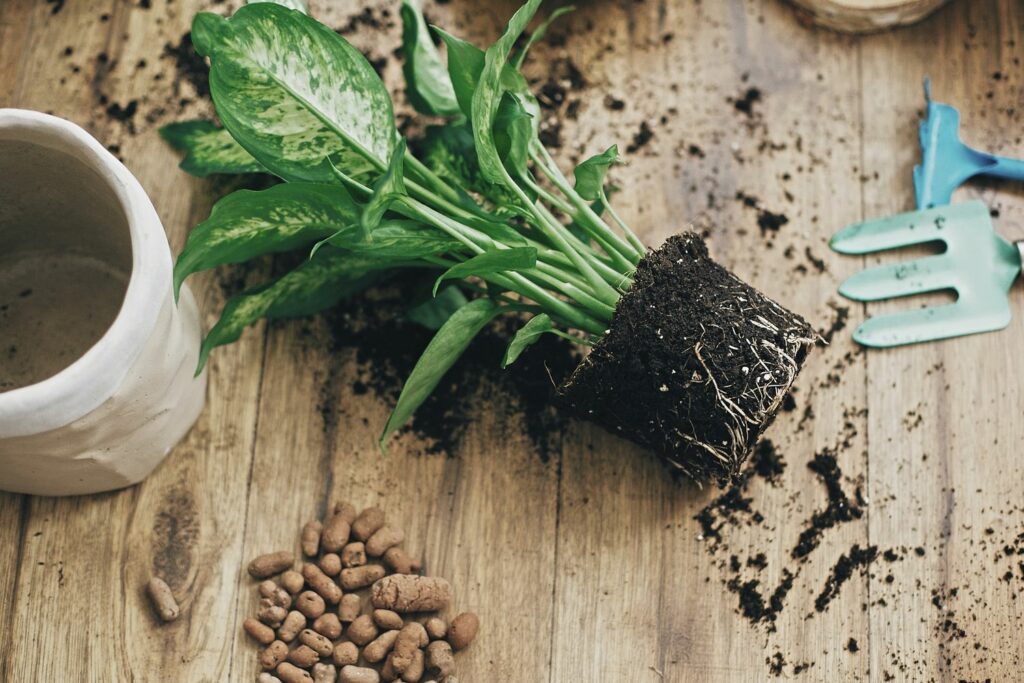
Prepare the New Pot
Place a small layer of pebbles or stones at the bottom (optional) to improve drainage. Then, add a layer of fresh potting mix — about 1/3 full.
Select soil that matches your plant’s needs:
- Succulent/cactus mix: Fast-draining, sandy soil
- Orchid mix: Chunky bark and moss
- General houseplant mix: Loamy, light, and airy
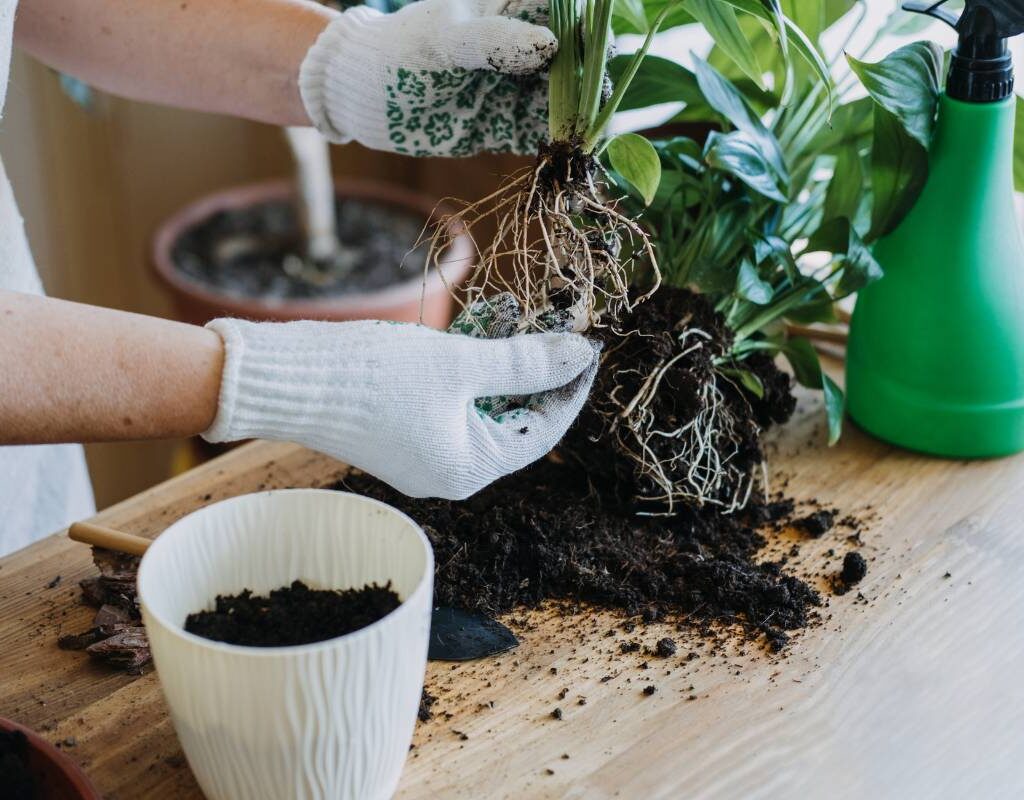
Remove the Plant from Its Old Pot
Turn the plant sideways, gently holding the base of the stems, and carefully slide it out. If it’s stuck:
- Tap the sides of the pot
- Loosen the soil with a trowel
- Squeeze flexible pots gently to release roots
Examine and Trim the Roots
Shake off excess old soil and inspect the roots. Healthy roots should be firm and white or light tan.
Trim away:
- Dead or blackened roots
- Mushy, waterlogged roots
- Excessively long, circling roots (to encourage outward growth)
Sterilize your scissors with rubbing alcohol before trimming to avoid spreading diseases.

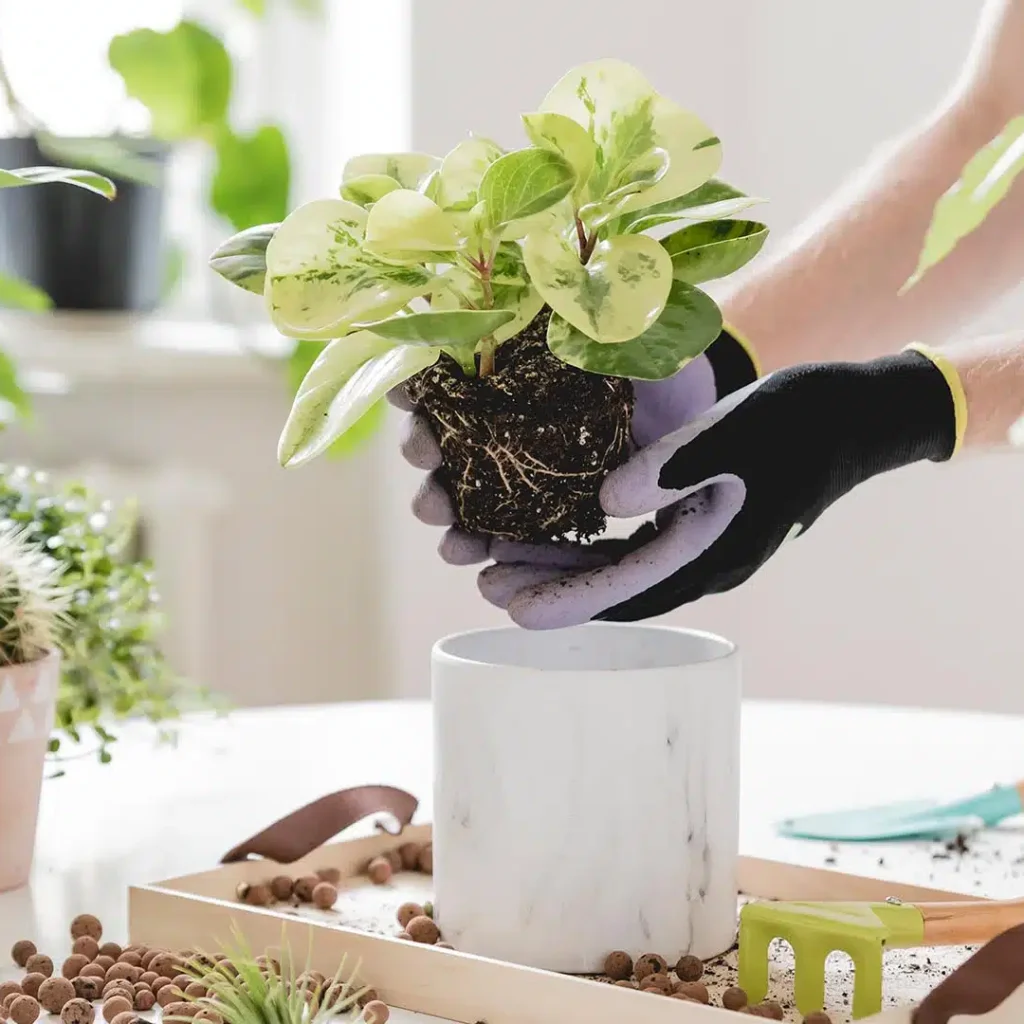
Position the Plant in Its New Pot
Place your plant in the center of the new pot, holding it at the same depth it was planted before — the soil line should be just below the pot’s rim.
Fill in around the plant with fresh soil, pressing gently to remove air pockets but avoid compacting it too tightly.
Water Thoroughly
After planting, give your green friend a good drink of water. This helps settle the soil around the roots and reduces transplant shock.
Tip: Wait 3-5 days before watering succulents or cacti after repotting to let trimmed roots callous over.
Post-Repotting Plant Care Tips
Repotting can be stressful for plants, so a little extra care ensures a smooth recovery:
- Keep out of direct sunlight for a few days
- Hold off on fertilizing for about 4 weeks
- Water when soil is dry to the touch (based on plant type)
- Watch for drooping or leaf drop — it’s normal for a few days after repotting
In a week or two, your plant should perk up and start growing again in its spacious new home!
Common Repotting Mistakes to Avoid
Even experienced plant lovers slip up sometimes. Here’s what to watch out for:
- Overpotting: Too big a pot can lead to soggy soil and root rot.
- Using the wrong soil: Always match the soil type to your plant’s needs.
- Burying leaves or stems: Can cause rot or attract pests.
- Skipping drainage: No drainage holes = drowning roots.
- Watering too soon after repotting succulents: Always let them dry out a bit first.
Bonus: How to Repot Multiple Plants or Baby Offshoots
If your plant has produced pups (like aloe or spider plants) or you have several small plants to repot, follow the same steps above but gently separate the smaller plants and give each its own appropriately-sized container.

Use rooting hormone powder for offshoots without established roots to encourage growth.
Final Thoughts
Learning how to repot plants is one of the simplest ways to show love to your leafy companions. A fresh pot and soil not only boost their health but also refresh your home’s décor.
Once you master this, you’ll notice your plants growing stronger, producing more leaves, and even sprouting adorable baby plants you can share with friends.
So go ahead — gather your gloves, some fresh soil, and your green gang. It’s time to give your plant babies a fresh, stylish new home!
Leave A Comment