

If your favorite houseplant is looking a little sad, its leaves yellowing, or its growth slowing down, it might be trying to tell you something: “I need a bigger home!” Just like us, plants need the right environment to thrive. And for potted plants, that sometimes means moving to a new pot with fresh soil and more space for their roots to stretch out.
Repotting is one of the most rewarding ways to show your plants some love. Done correctly, it encourages healthy growth, promotes lush, vibrant leaves, and prevents problems like root rot or nutrient deficiency. In this article, we’ll walk you through everything you need to know about how to repot a plant the right way — from spotting the signs it’s time to repot, choosing the perfect new container, to step-by-step instructions for a smooth transition.
Why Is Repotting Important?
Even the happiest, healthiest houseplants eventually outgrow their containers. Over time, their roots fill the pot, the soil gets compacted, and essential nutrients get depleted. Without repotting:
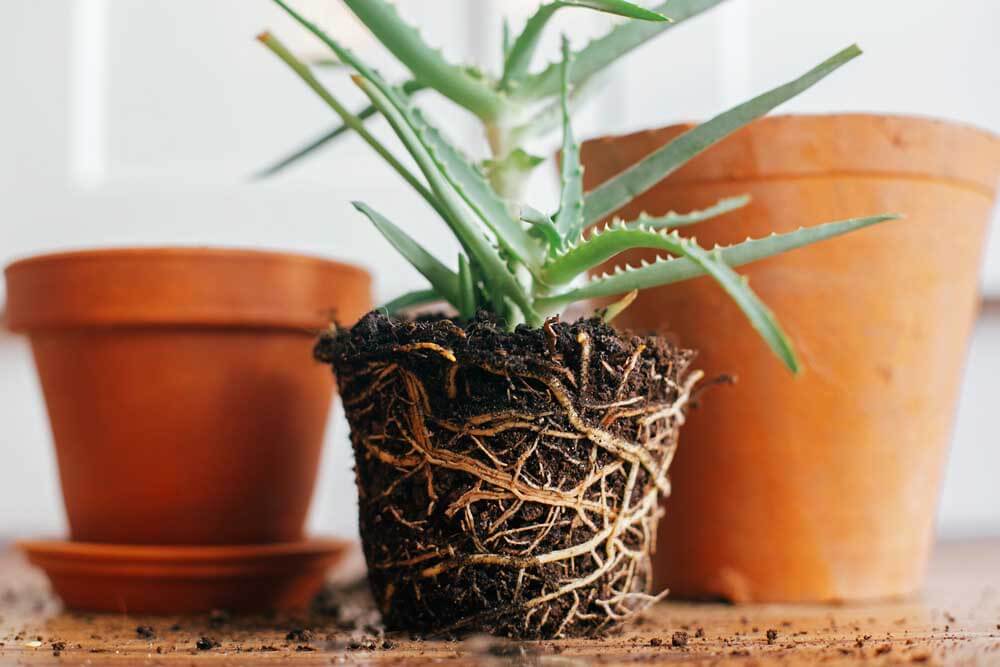
- Roots become crowded (root-bound) and can strangle themselves.
- Soil quality deteriorates, affecting water retention and nutrition.
- Water may drain too quickly or pool at the bottom.
- Growth slows down, and leaves may become dull or yellow.
Repotting refreshes the plant’s environment, giving it new soil packed with nutrients and more room for root growth — setting the stage for a healthier, more vibrant plant.
Signs Your Plant Needs Repotting
Wondering when it’s time to repot? Keep an eye out for these tell-tale signs:

- Roots are growing out of drainage holes.
- Water runs straight through the pot without soaking in.
- The plant looks top-heavy or unstable.
- Leaves are wilting, yellowing, or falling off despite regular care.
- Soil looks compacted, crusty, or depleted.
- You haven’t repotted in over a year (for fast growers) or 2-3 years (for slower growers).
Tip: The best time to repot most plants is in spring or early summer, during their active growing season. Avoid repotting in winter when plants are typically dormant.
What You’ll Need
Before getting started, gather a few simple tools and materials:
- A new pot (1-2 inches wider in diameter than the current one)
- Fresh potting mix suited to your plant type (e.g., cactus mix for succulents, peat-free mix for houseplants)
- Gardening gloves
- A small trowel or spoon
- Watering can
- Scissors or pruning shears (for trimming dead roots)
- Optional: broken pottery pieces or stones for drainage at the bottom of the pot
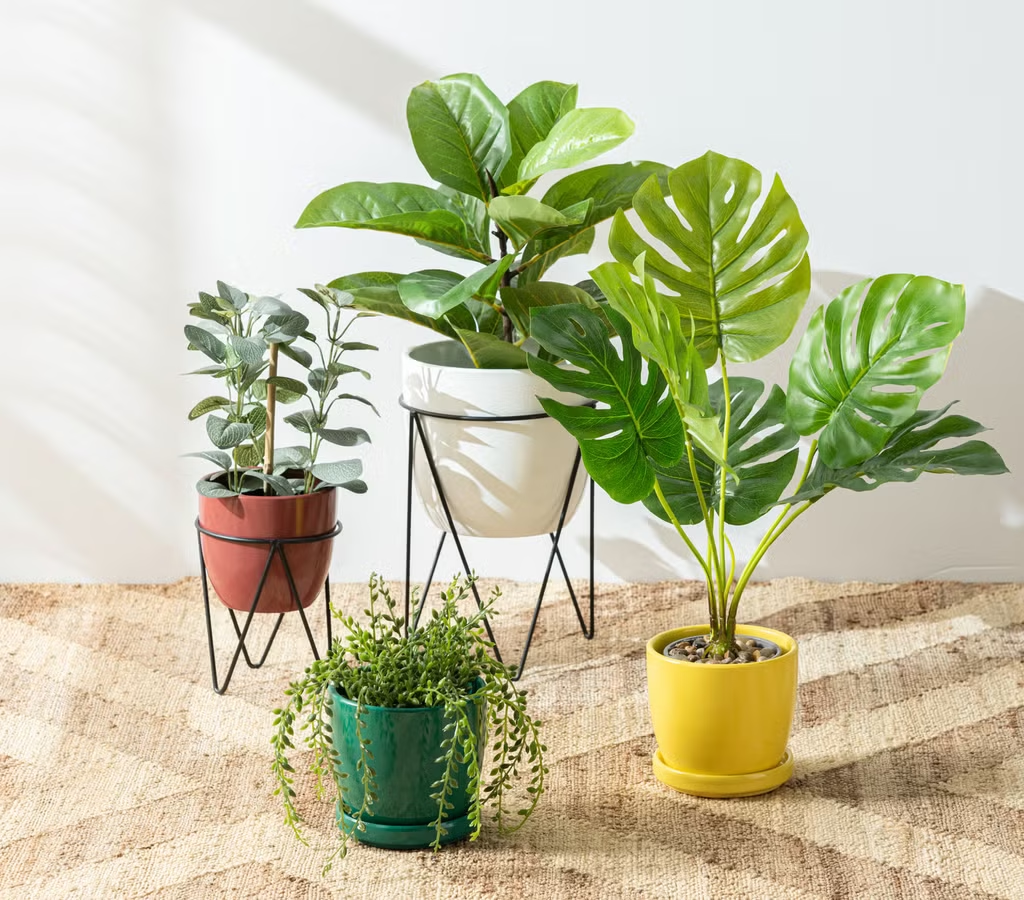
How to Choose the Right Pot
Picking the right pot is just as important as the repotting process itself. Here’s what to consider:
- Size: Choose a pot about 1–2 inches wider in diameter than the old one. Too large, and excess soil can retain water, risking root rot.
- Material: Terracotta is breathable and great for plants that prefer drier soil, while ceramic and plastic hold moisture longer.
- Drainage: Always pick a pot with drainage holes to avoid soggy soil and root rot.
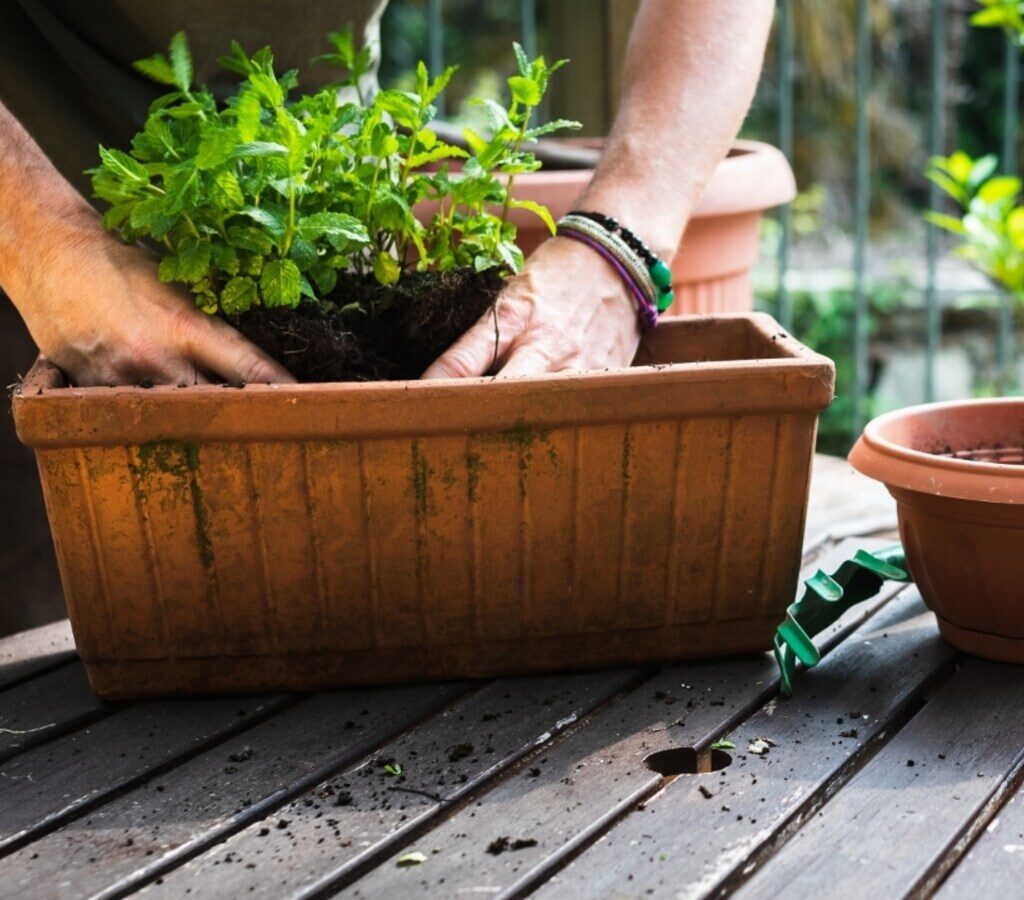
How to Repot a Plant: Step-by-Step
1. Prepare the New Pot
- Place a layer of broken pottery pieces, pebbles, or stones at the bottom to improve drainage (optional, but helpful).
- Add a thin layer of fresh potting mix.
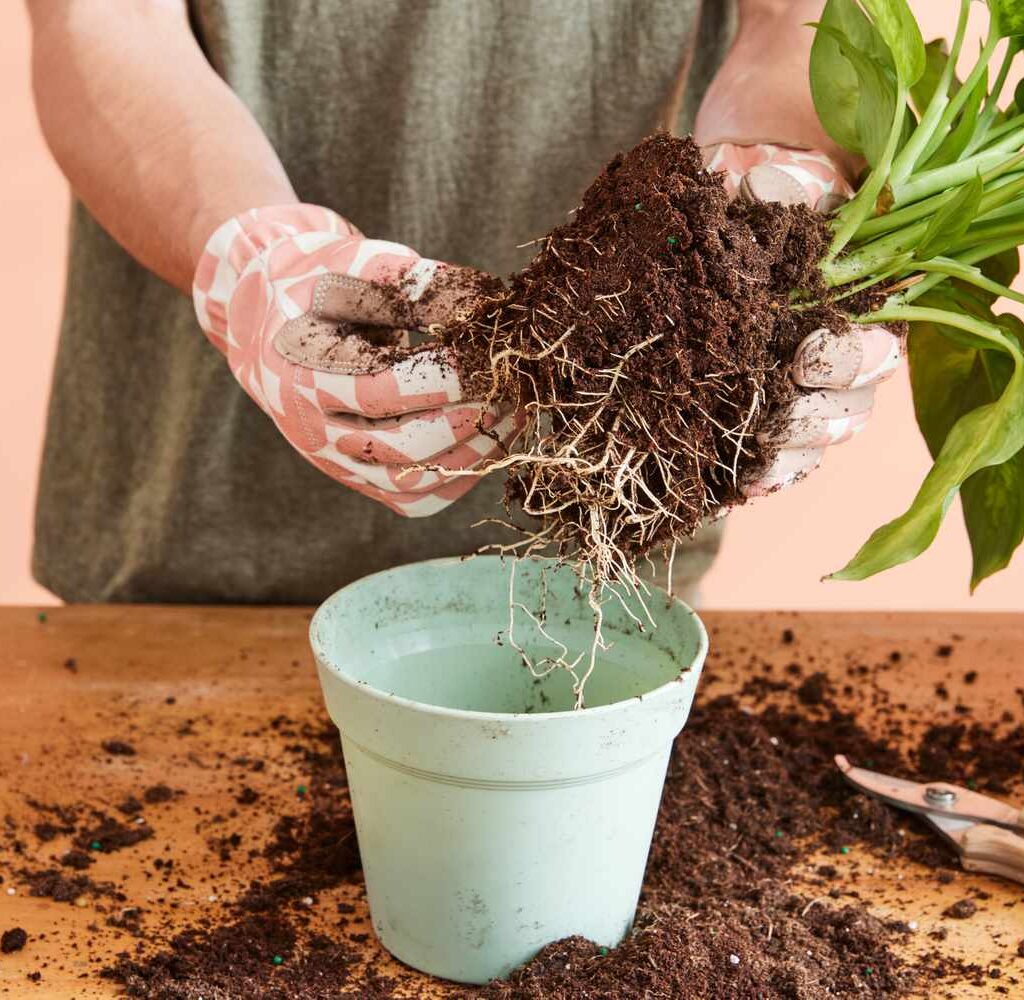
2. Remove the Plant from Its Old Pot
- Gently turn the plant sideways and hold it at the base of the stem.
- Tap the bottom and sides of the pot to loosen it.
- Carefully slide the plant out, supporting the root ball.
If it’s stuck:
Use a clean butter knife to loosen the edges without damaging roots.
3. Inspect and Trim the Roots
- Examine the roots for signs of rot (mushy, brown roots) or damage.
- Trim off any dead, brown, or excessively long roots with sterile scissors.
- If the roots are tightly wound in circles (root-bound), gently tease them apart to encourage outward growth.
4. Place the Plant in the New Pot
- Position the plant in the center of the new pot.
- Adjust the height so the top of the root ball sits about 1 inch below the rim.
- Fill in around the roots with fresh potting mix, gently patting it down but not compacting it too tightly.
Tip: Hold the plant upright as you fill to keep it centered and stable.
5. Water Thoroughly
- Give the plant a generous drink of water until it runs out of the drainage holes.
- This helps settle the soil and removes any air pockets.
6. Let It Rest
- Place the plant in a shaded, indirect light area for a few days to recover from transplant shock.
- Avoid fertilizing for 2-4 weeks — the new soil is already nutrient-rich.
Post-Repotting Care
After repotting, your plant might need a little extra TLC:
- Watch for signs of stress: Some drooping or yellowing is normal for a day or two.
- Resume regular watering schedule after the top inch of soil feels dry.
- Gradually reintroduce brighter light after a few days of rest.
- Clean the leaves with a damp cloth to remove dust and refresh the plant’s appearance.
Common Repotting Mistakes to Avoid
Even experienced plant parents can make a few missteps. Here’s what to watch out for:
- Choosing a pot that’s too big.
Excess soil holds too much moisture, risking root rot. - Overwatering right after repotting.
While the first soak is important, don’t keep the soil constantly wet afterward. - Ignoring root rot signs.
Always inspect and trim unhealthy roots before replanting. - Using poor-quality or inappropriate soil.
Match the soil type to the plant’s needs (succulents need fast-draining soil, tropical plants prefer moisture-retentive mixes). - Repotting at the wrong time.
Avoid repotting during a plant’s dormant phase unless absolutely necessary.
Benefits of Regular Repotting
When done correctly, repotting offers countless benefits:
- Promotes healthier root growth
- Prevents root rot and overcrowding
- Encourages faster, lusher foliage growth
- Improves soil nutrition and water retention
- Gives your plant a fresh aesthetic boost
A thriving plant with bright, glossy leaves and steady new growth is a rewarding sight — and repotting plays a big role in making that happen.
Final Thoughts
Repotting might seem intimidating at first, but it’s one of the simplest ways to boost your plant’s health and vitality. By giving your green companions fresh soil, a roomier pot, and a little post-repotting care, you’ll set them up for lush, vibrant, and long-lasting growth.
Whether you’re working with a tiny succulent, a sprawling pothos, or a dramatic fiddle-leaf fig, mastering the art of repotting will keep your home garden thriving for years to come.
Leave A Comment