
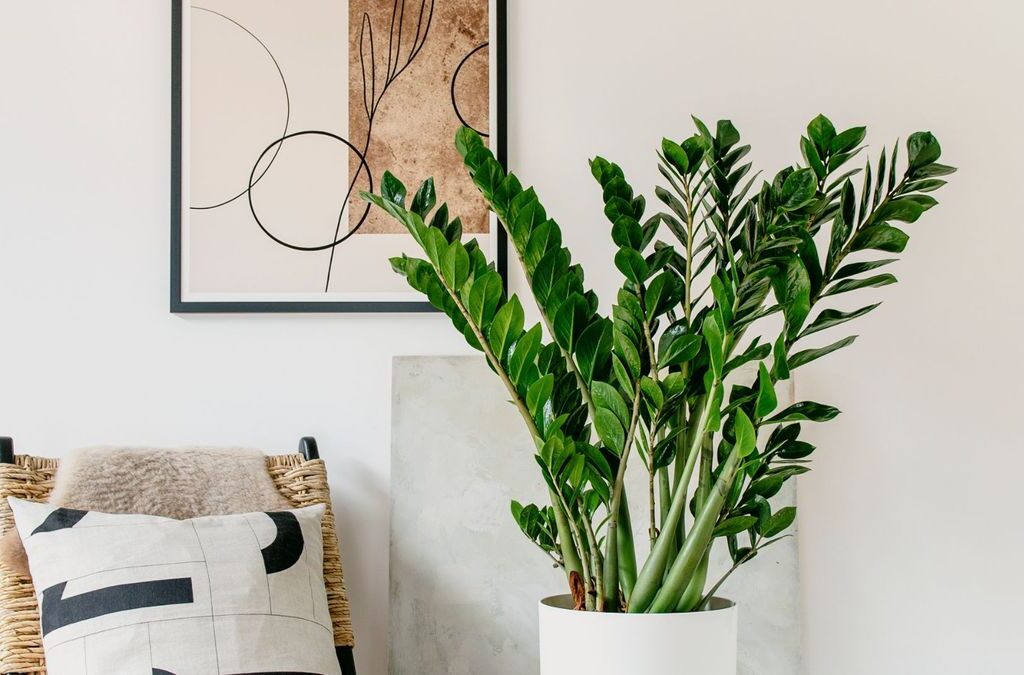
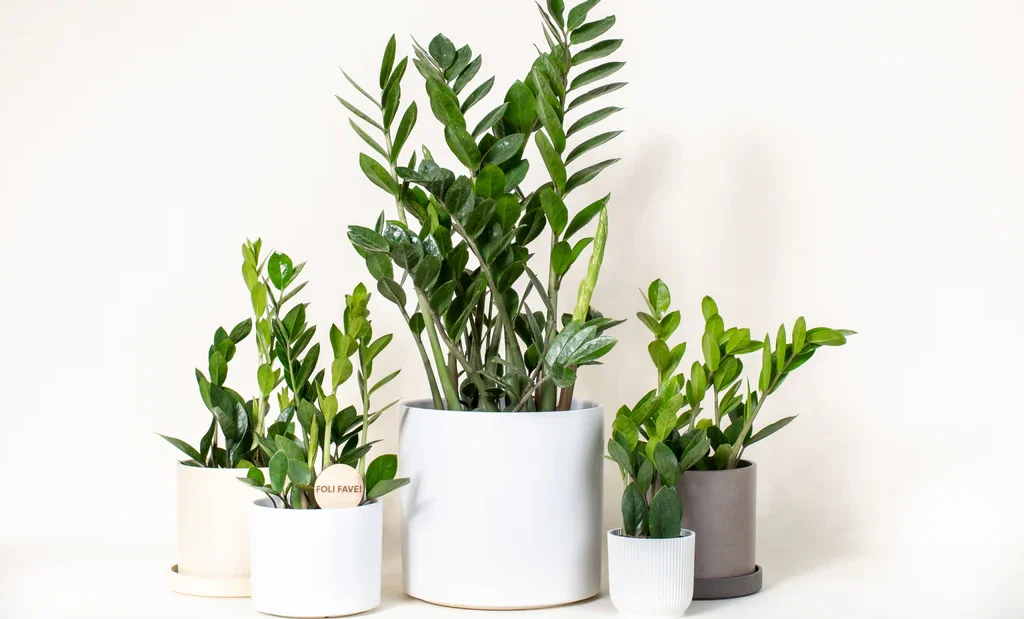
ZZ plants (Zamioculcas zamiifolia) have become a staple in modern homes and offices for their glossy, deep green leaves, striking upright form, and nearly indestructible nature. Known for their ability to thrive in low light, tolerate neglect, and purify the air, ZZ plants are the perfect choice for both new and seasoned plant enthusiasts. But what makes them even more appealing is how easily you can propagate them and grow new plants to expand your stylish indoor jungle.
In this detailed guide, we’ll show you exactly how to propagate a ZZ plant through three simple, effective methods. Whether you want to fill your home with their elegant foliage or share a hardy houseplant gift, propagating ZZ plants is a fun, rewarding process.
Why Propagate a ZZ Plant?
There are plenty of great reasons to multiply your ZZ plant collection:
- Create a cohesive look by placing multiple plants around your home or workspace.
- Save money by growing new plants instead of buying more.
- Gift meaningful greenery to friends and family.
- Rejuvenate an older plant by trimming back and propagating leggy stems.
- Learn and practice propagation techniques on one of the most forgiving plants around.
The Three Best Ways to Propagate a ZZ Plant
ZZ plants can be propagated through:
- Leaf Cuttings
- Stem Cuttings
- Division
Each method has its pros and a few considerations, but all are relatively easy and beginner-friendly.
What You’ll Need
Before you get started, gather these supplies:
- A mature ZZ plant
- Clean, sharp scissors or pruning shears
- Small pots or containers
- Well-draining potting mix (cactus or succulent mix works well)
- A clean jar or glass of water (if using water propagation)
- A bright, warm, indirect light location
- Optional: Rooting hormone powder
Method 1: Propagating ZZ Plant by Leaf Cuttings
This is a slow but simple method and perfect if you only have a few leaves to spare.
Step-by-Step Guide:
1. Select Healthy Leaves
Choose glossy, plump leaves from your ZZ plant. Avoid any with signs of yellowing or damage.
2. Cut the Leaves Cleanly
Use clean scissors or shears to snip off individual leaves from the stem, ensuring you cut close to the base.

3. Optional: Dip in Rooting Hormone
Dip the cut end of the leaf into rooting hormone powder to help speed up root formation. This step is optional but can encourage success.
4. Plant the Leaves
Insert the cut end of each leaf into a small pot filled with well-draining soil, about half an inch deep.
5. Water Lightly
Mist or lightly water the soil to keep it slightly moist but never soggy.
6. Place in Indirect Light
Set your pots in a warm spot with bright, indirect light. Avoid direct sunlight which can scorch tender cuttings.
7. Wait for Rhizomes
Over time — often several months — small rhizomes (bulb-like structures) will form at the base of the leaf, eventually growing roots and new shoots.
Note: This method requires patience as ZZ plants are slow growers. Visible results may take 6–9 months.
Method 2: Propagating ZZ Plant by Stem Cuttings
Faster than leaf propagation, this technique lets you root whole stems either in water or soil.
Step-by-Step Guide:
1. Select a Healthy Stem
Pick a strong, upright stem with at least two or three pairs of leaves.
2. Cut the Stem
Using clean, sharp scissors, cut the stem close to the soil line.

3. Remove Lower Leaves
Gently remove the bottom few leaves to expose at least 2 inches of bare stem for rooting.
4. Choose Your Propagation Medium
- In Water: Place the cut end of the stem in a jar or glass of clean water.
- In Soil: Plant the cut end directly into a pot filled with well-draining soil.
5. Water and Care
- Water Propagation: Change the water every week and keep the glass in indirect light.
- Soil Propagation: Water lightly and ensure the soil remains barely moist.
6. Root Development
Roots will start forming within 4–8 weeks. In water, you’ll see roots clearly. In soil, gently tug on the cutting after a month — resistance indicates root growth.
7. Transplant
Once substantial roots have developed (around 2 inches long), move the water-propagated cutting into soil.
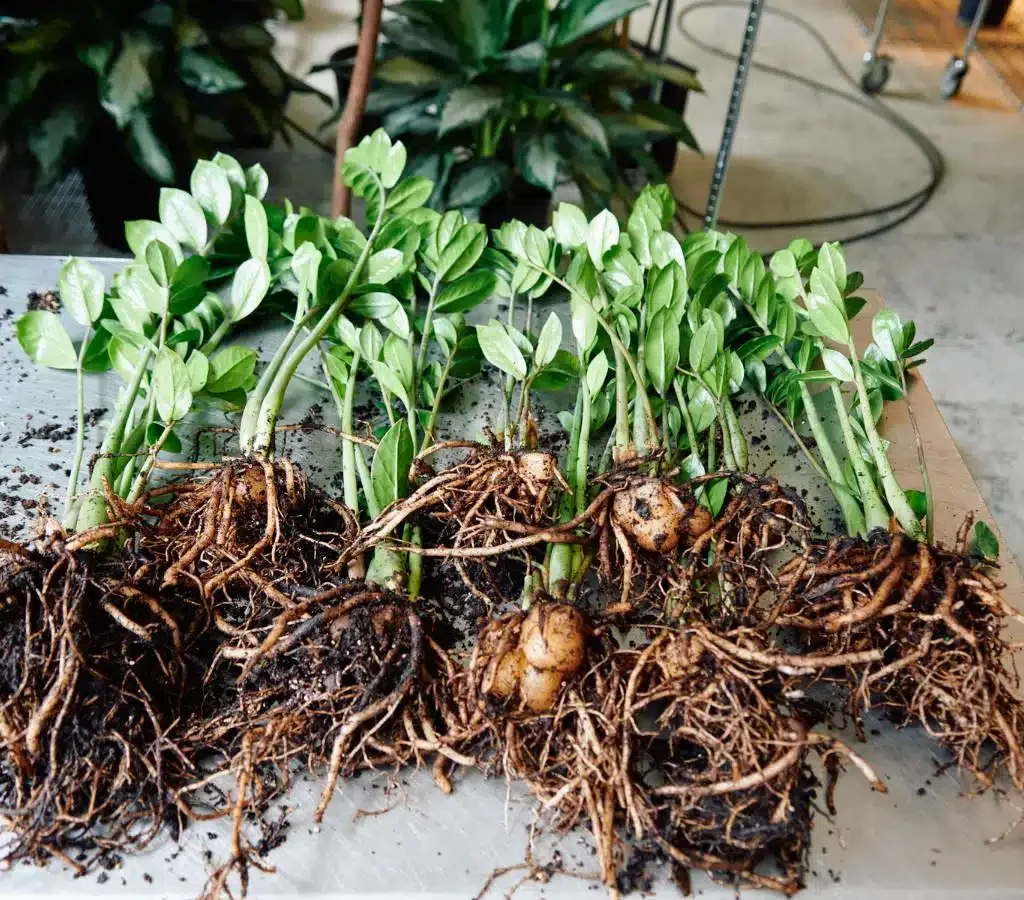
Method 3: Propagating ZZ Plant by Division
The quickest and most reliable method — ideal if your ZZ plant has multiple stems and a crowded pot.
Step-by-Step Guide:
1. Remove the Plant from the Pot
Gently take your ZZ plant out of its container. Loosen the soil around the roots.
2. Separate the Rhizomes
ZZ plants grow from thick, potato-like rhizomes beneath the soil. Carefully divide these with your hands or a clean knife. Each section should have at least one stem and attached roots.
3. Pot Each Section
Plant each divided section into its own pot with fresh, well-draining soil.
4. Water Sparingly
Water just enough to settle the soil and place the new plants in bright, indirect light.
5. Resume Normal Care
Once new growth appears (usually within 2–4 weeks), resume your regular ZZ plant care routine.
Post-Propagation Care Tips
After propagating, your new ZZ plants will need gentle care as they settle in.
- Light: Keep them in bright, indirect light. Avoid direct sun, especially for young cuttings.
- Watering: ZZ plants prefer dry soil over soggy conditions. Water only when the top inch feels dry.
- Humidity & Temperature: These tropical natives like temperatures between 65°F–80°F (18°C–27°C) and moderate humidity.
- Pest Check: Watch for common pests like spider mites or mealybugs and treat promptly if needed.
- Patience: ZZ plants are famously slow growers — be patient and trust the process.
Common Mistakes to Avoid
Even hardy plants like ZZ can falter if propagated incorrectly. Avoid these pitfalls:
- Skipping Rooting Time: Don’t rush the propagation process — especially with leaf cuttings.
- Overwatering: Excess moisture can lead to rot. ZZ plants prefer dryness.
- Using the Wrong Soil: Always opt for a light, well-draining mix designed for succulents or cacti.
- Too Much Sun: New cuttings are sensitive to direct light. Gradually introduce them to brighter spots once established.
Creative Ideas for Displaying Your Propagated ZZ Plants
Once your propagated plants are thriving, showcase them in creative ways:
- Clustered Planters: Group multiple ZZ plants together in a long, shallow container for a dramatic effect.
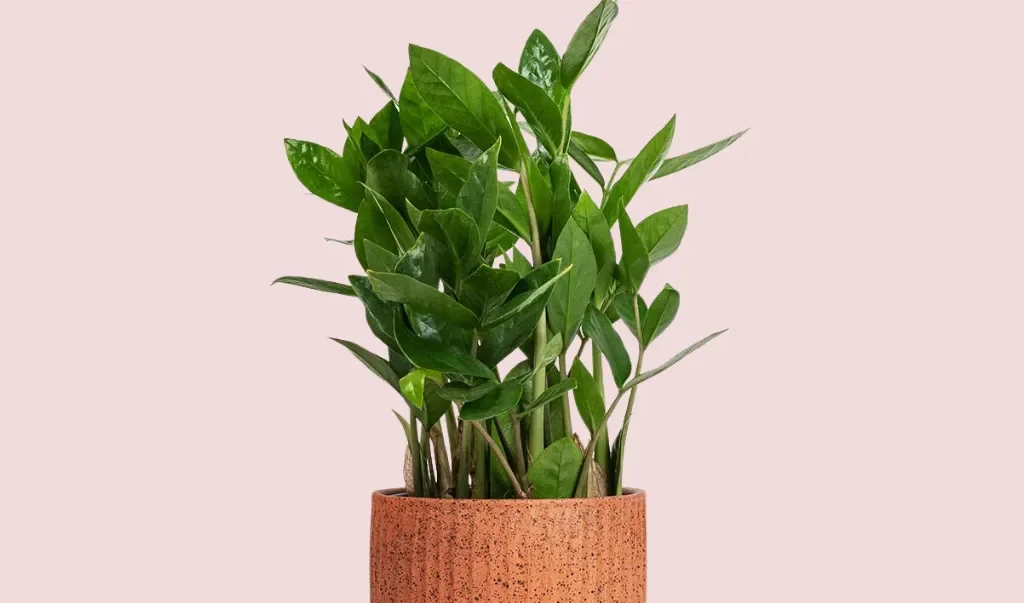
- Stylish Pots: Use modern, minimalist ceramic pots to match your home’s decor.
- Desk Buddies: Place small propagated ZZ plants in pretty containers on your work desk for a low-maintenance, mood-boosting addition.
- Gifting: Pot up a propagated ZZ plant and tie it with a ribbon — a stylish, symbolic gift for housewarmings or birthdays.
Conclusion
Propagating ZZ plants is a fantastic way to multiply your greenery, enhance your décor, and share the joy of hardy houseplants with others. Whether you choose leaf cuttings, stem cuttings, or division, each method offers a fun, easy way to grow new plants from your existing one.
With their lush, deep green foliage and nearly indestructible nature, ZZ plants not only add a stylish touch to any space but also symbolize resilience, growth, and good fortune. So grab your scissors, pick a method, and start propagating — your future stylish display awaits!
Leave A Comment