
If you’re a houseplant lover, chances are you already know about the charming spider plant (Chlorophytum comosum). With its arching green-and-white striped leaves and adorable dangling plantlets (often called “babies” or “pups”), this low-maintenance beauty is one of the easiest and most rewarding plants to care for. But did you know it’s also incredibly simple to multiply your collection for free?
In this article, we’ll walk you through how to propagate a spider plant using different methods, tips for healthy growth, and how to care for your newly propagated plants so you can fill your home (or share with friends) with lush greenery.
Why Propagate Spider Plants?
There are several reasons why you might want to propagate your spider plant:
- Expand your plant collection without spending a dime.
- Replace older plants that have become too leggy or pot-bound.
- Share plant babies with friends and family.
- Create new plants to use as gifts, décor, or outdoor accents in warm climates.
- Preserve a favorite plant that’s grown special to you.
Plus, propagating spider plants is a fun and simple activity that’s perfect for beginner gardeners and kids alike.
Understanding Spider Plant Propagation
The spider plant is famous for producing tiny offshoots or “babies” that dangle from the parent plant’s long stems. These plantlets can easily be rooted and grown into independent plants.

You can propagate spider plants in several ways:
- By dividing the mother plant
- By rooting the plantlets in water
- By planting the plantlets directly in soil
Let’s break down each method in detail.
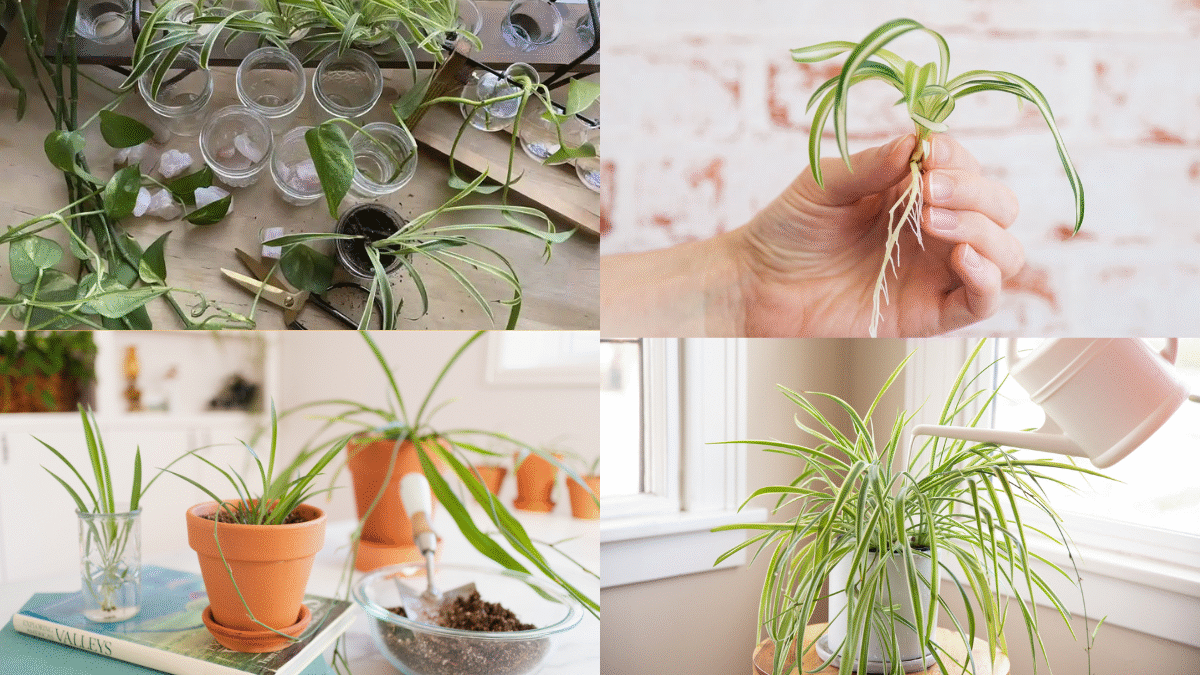
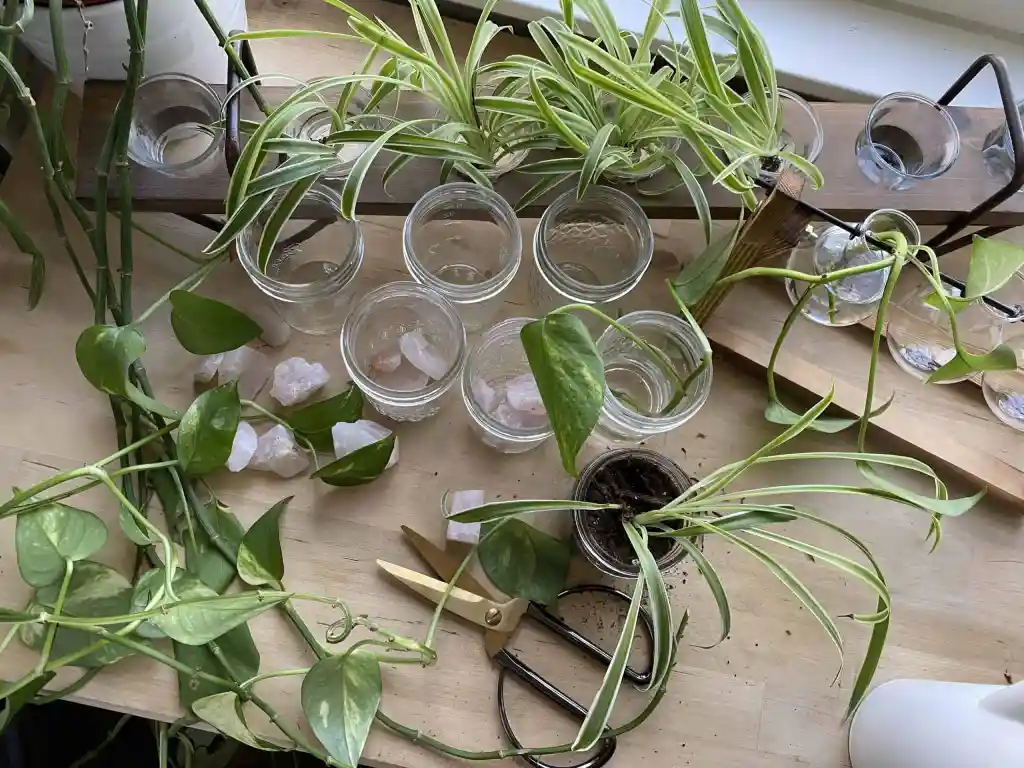
Method 1: Propagating Spider Plant Babies in Water
This is one of the most popular and visually rewarding ways to propagate spider plants because you can watch the roots develop.
What You’ll Need:
- Healthy spider plant with visible plantlets
- Small glass jars or cups
- Clean, room-temperature water
- Sharp scissors or pruning shears
Steps:
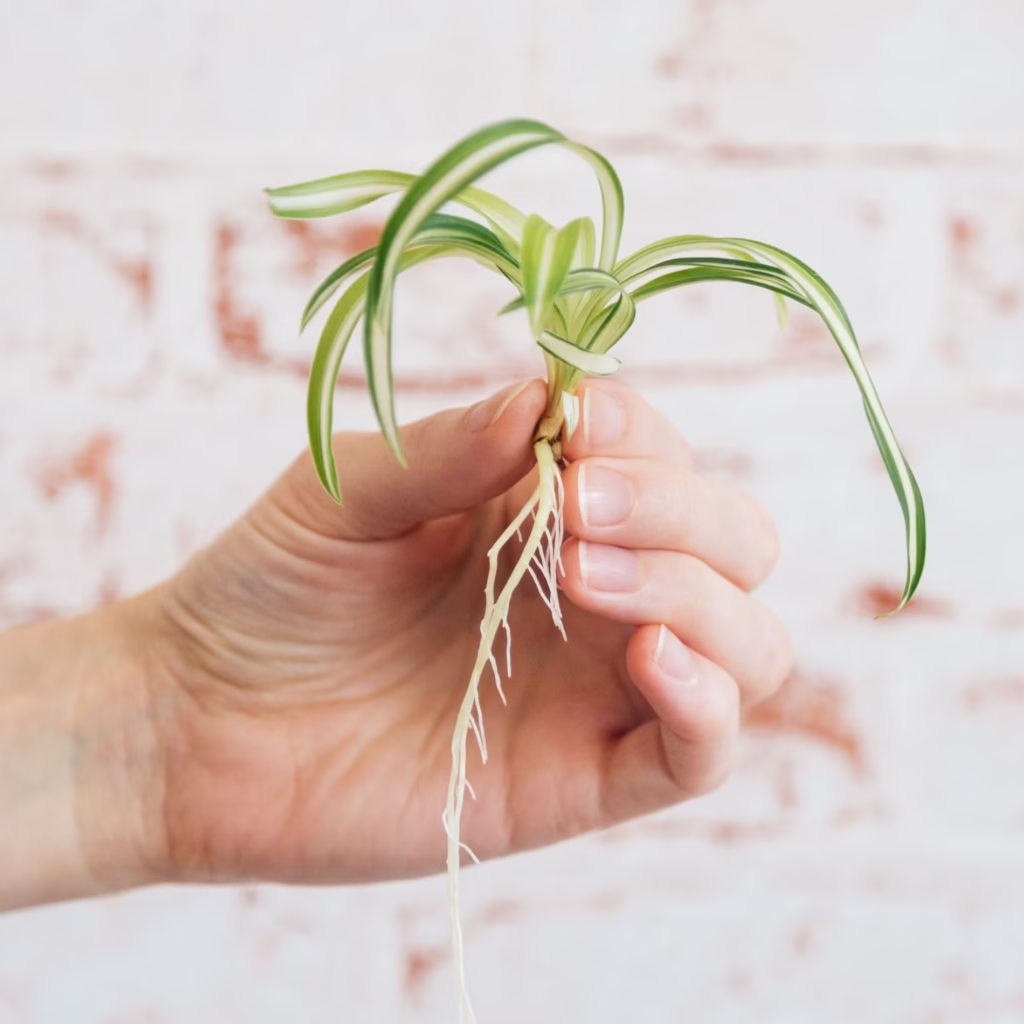
- Identify mature plantlets: Choose plant babies that have small, visible root nubs or are at least a couple of inches long.
- Snip the plantlet from the runner: Use clean scissors to snip the baby from the long stem connecting it to the mother plant.
- Place in water: Set the plantlet in a glass of water, making sure only the root area is submerged. The leaves should remain above the water to avoid rot.
- Position in indirect light: Place the glass in a bright, indirect sunlight location. Avoid direct afternoon sun which can scorch delicate roots.
- Change water regularly: Refresh the water every 2-3 days to keep it clear and prevent bacteria.
- Wait for root growth: In about 1-2 weeks, you’ll notice small white roots emerging. Once roots are 1-2 inches long, the plantlet is ready for potting.
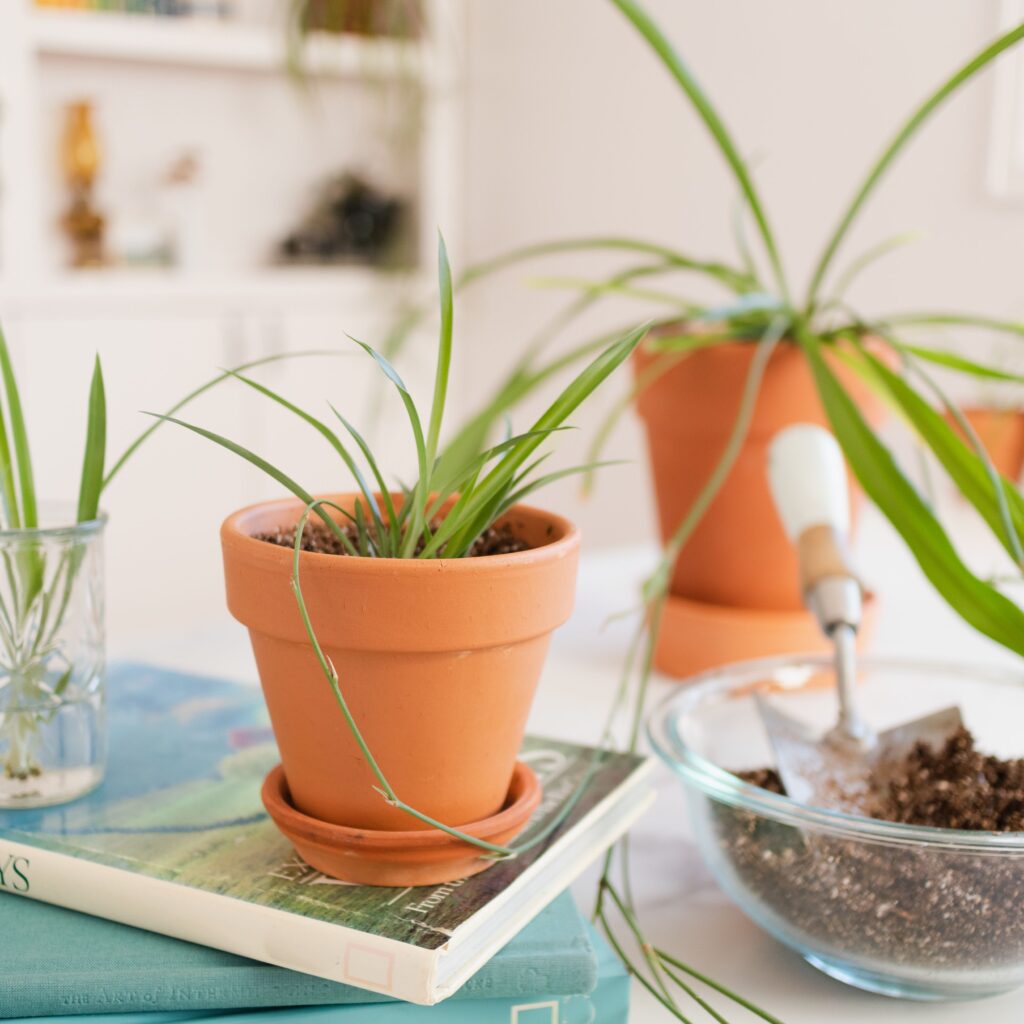
Method 2: Planting Spider Plant Babies Directly in Soil
This method skips the water rooting stage and places the plantlet directly into potting soil.
What You’ll Need:
- Plantlets with small root nubs
- Small pots with drainage holes
- Well-draining potting mix (a standard houseplant mix works well)
- Watering can
Steps:
- Choose healthy plantlets: Look for pups with root nubs for quicker establishment.
- Prepare the pots: Fill small containers with moist, well-draining potting soil.
- Plant the baby: Make a small hole in the soil, insert the plantlet’s base, and gently press the soil around it.
- Water lightly: Moisten the soil without making it soggy.
- Provide indirect light: Place the potted plantlet in bright, indirect light.
- Keep soil slightly moist: Water lightly as needed, allowing the top inch to dry out between watering.
Bonus Tip: You can also root the plantlet while it’s still attached to the mother plant by placing a small pot with soil under the baby and securing it with a bent paperclip or bobby pin. Once roots develop, snip it off.
Method 3: Dividing the Mother Plant
If your spider plant has outgrown its pot and formed multiple crowns, you can divide it to propagate mature sections.
What You’ll Need:
- Overgrown spider plant
- Sharp knife or pruning shears
- New pots
- Fresh potting mix
Steps:
- Remove the plant from its pot: Gently ease the plant out, loosening any tightly bound roots.
- Separate root clumps: Using your hands or a knife, divide the plant into smaller sections. Each division should have its own crown and root system.
- Repot the divisions: Place each new plant in a separate pot with fresh potting soil.
- Water and care: Water well and place in bright, indirect light. Resume regular spider plant care.
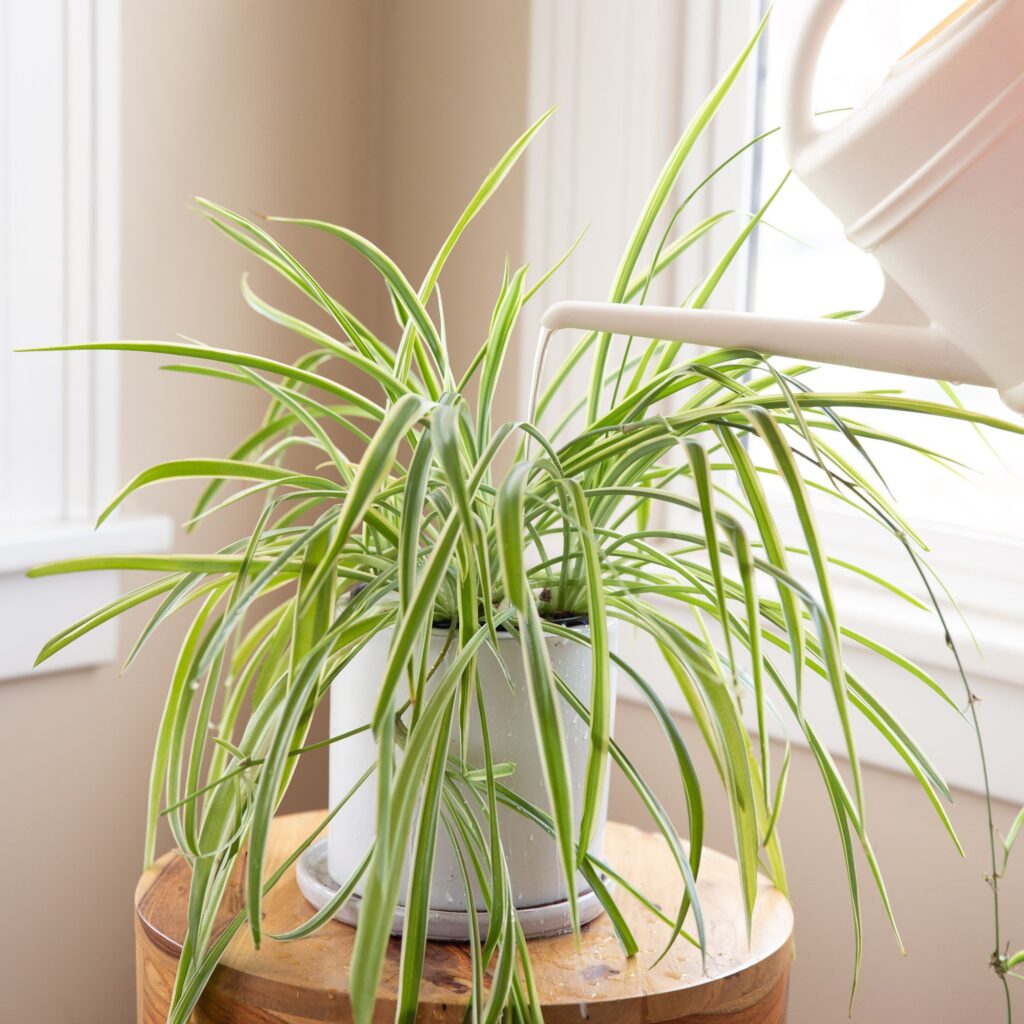
How to Care for New Spider Plant Propagations
Whether you propagated in water or soil, your young plants need proper care to thrive.
Watering:
- Keep soil lightly moist but not soggy.
- Avoid letting the pot sit in standing water.
Light:
- Bright, indirect sunlight is best.
- Avoid harsh, direct afternoon sun.
Temperature:
- Prefers temperatures between 65-75°F (18-24°C).
- Protect from cold drafts or sudden temperature drops.
Feeding:
- Wait until new plantlets are actively growing before fertilizing.
- Use a balanced, water-soluble houseplant fertilizer once a month during the growing season.
Potting:
- Use a well-draining houseplant potting mix.
- Choose pots with drainage holes to prevent root rot.
Common Propagation Problems (And How to Avoid Them)
Problem: Baby plant wilts after planting
Solution: Make sure the soil is moist but not waterlogged, and the plantlet is not exposed to direct sun.
Problem: Plantlet turns yellow in water
Solution: Change the water every 2-3 days and keep the leaves out of the water.
Problem: New roots not developing
Solution: Use mature plantlets with visible root nubs and provide consistent warmth and bright, indirect light.

Final Thoughts
Propagating a spider plant is one of the easiest and most rewarding ways to grow your indoor garden. Whether you choose to root babies in water, plant them directly in soil, or divide an overgrown plant, you’ll be rewarded with healthy new greenery in no time.
This simple, beginner-friendly propagation project can quickly turn one spider plant into a whole family of lush, arching beauties — perfect for brightening up your home or sharing the love with fellow plant enthusiasts.
Leave A Comment