

The spider plant (Chlorophytum comosum) is one of the most popular houseplants worldwide—and it’s not hard to see why. With its graceful arching leaves, hardy nature, and air-purifying abilities, this plant has earned a permanent place in homes and offices alike. But what truly sets the spider plant apart is its remarkable ease of propagation. With just a little effort, you can multiply your spider plant collection—or share its charm with friends and family.
In this detailed guide, we’ll walk you through how to propagate a spider plant, the different methods you can use, and the best practices for ensuring healthy growth in your new plants.
1. Why Propagate a Spider Plant?
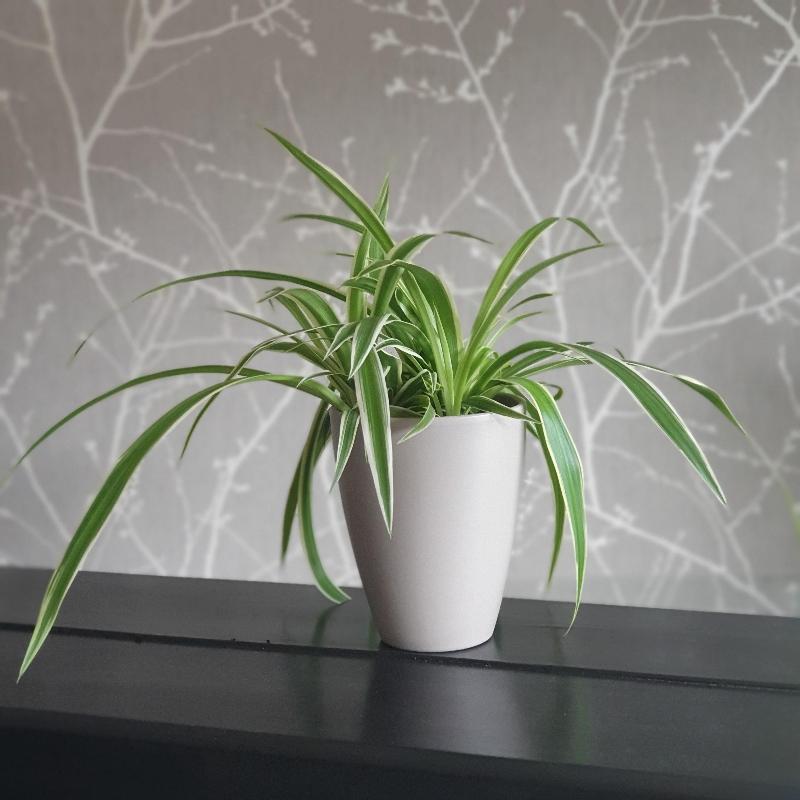
Spider plants are naturally generous growers. Once mature, they produce multiple offshoots or “babies” (also called spiderettes or plantlets) that dangle like ornaments from long stems. This unique growth habit makes them perfect for propagation.
Benefits of Propagation:
- Expand your indoor garden without buying new plants.
- Share plants as gifts with friends and family.
- Rejuvenate older spider plants by thinning them out.
- Learn essential gardening skills through an easy and rewarding process.
2. When to Propagate a Spider Plant
Spider plants can be propagated at any time of the year, but for best results, do it during the spring or early summer, when the plant is actively growing. This ensures faster rooting and stronger development.
Signs your spider plant is ready to propagate:

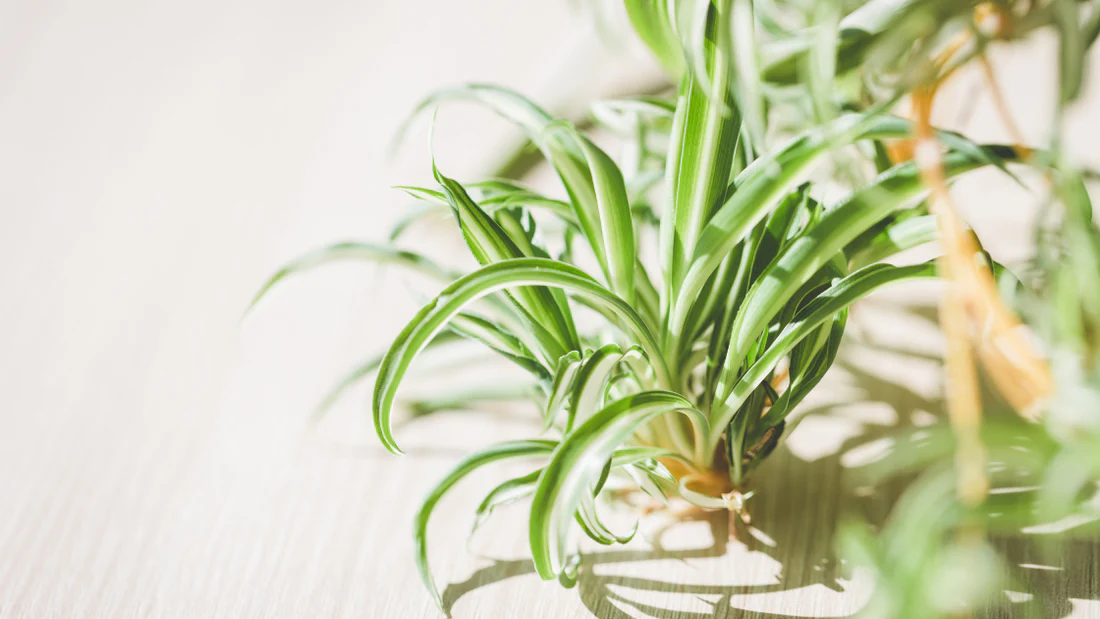
- It has produced healthy spiderettes with small visible roots.
- The main plant is large, robust, and not stressed by pests or diseases.
3. Methods of Propagation
There are three primary methods for propagating spider plants. All are simple and effective:
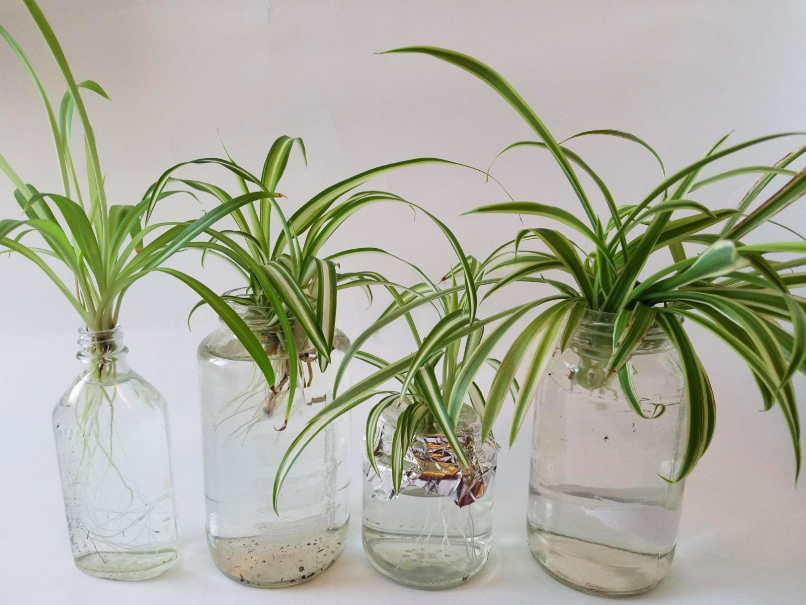
A. Propagation in Water
This is the most popular and beginner-friendly method. It allows you to watch roots form before planting.
Steps:
- Identify a healthy spiderette with a few leaves and visible root nubs.
- Snip the plantlet from the parent plant just below the base using clean scissors.
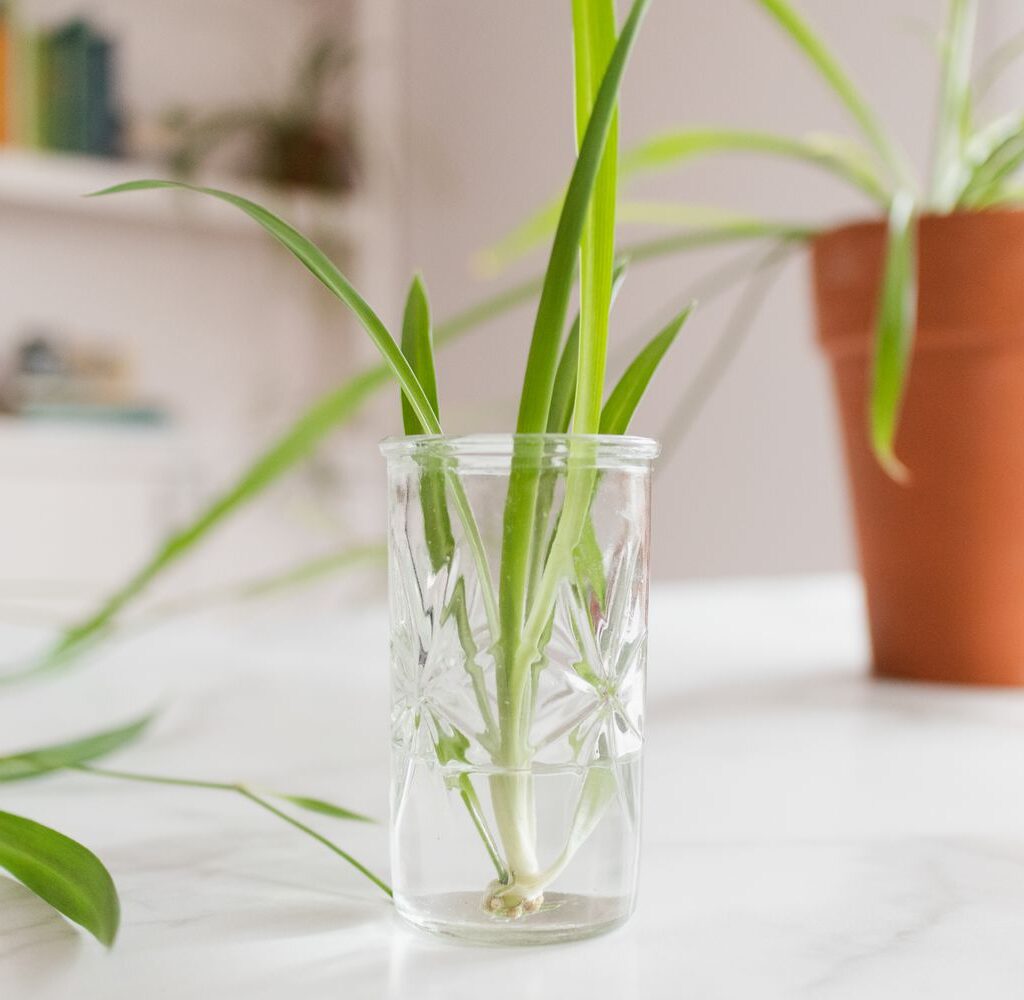
- Place the spiderette in a glass of water with only the base submerged (avoid wetting the leaves).
- Keep the container in a bright, warm location out of direct sunlight.
- Change the water every 3–4 days to prevent stagnation.
- After 1–2 weeks, when roots are 1–2 inches long, transplant it into soil.
Pros:
- Easy to monitor root development.
- Low cost and visually engaging.
B. Propagation Directly in Soil
This method skips the water step and allows the plantlet to root directly in a pot.
Steps:
- Fill a small pot with well-draining potting mix.
- Snip a mature spiderette from the mother plant.
- Moisten the soil slightly and insert the base of the spiderette into the soil.
- Press the soil gently around the base to hold it in place.
- Keep in a bright spot with indirect light and mist occasionally to maintain humidity.
Pros:
- No transplant shock since the plant roots directly where it will grow.
- Ideal for gardeners looking to propagate multiple plantlets at once.
C. Propagation While Attached to Mother Plant (In-Pot Method)
In this method, you don’t detach the spiderette until it roots.
Steps:
- Place a small pot of soil next to the mother plant.
- Position the spiderette into the pot so the base touches the soil.
- Use a paper clip or small pin to hold it in place.
- Keep the soil moist.
- After 1–2 weeks, once roots have formed, snip the stem connecting the plantlet to the parent plant.
Pros:
- Less stress on the spiderette.
- Seamless transition to independent growth.
4. Choosing the Right Soil and Pot
For successful propagation, using the right soil and pot is key:

Soil:
- Use a well-draining indoor potting mix.
- A mix containing peat moss, perlite, and compost works well.
- Avoid heavy soils that retain too much moisture.
Pot:
- Start with small 4–6 inch pots with drainage holes.
- As the plant grows, upgrade to larger containers.
- Use terracotta or ceramic pots to help wick away excess moisture.
5. Care Tips for New Spider Plants
After propagation, young spider plants need a bit of extra TLC to establish healthy roots and foliage.
Light:
- Place the new plant in bright, indirect light.
- Avoid harsh direct sunlight, which can scorch leaves.
Watering:
- Keep the soil slightly moist, not soggy.
- Water when the top inch of soil feels dry.
- Reduce watering in winter.
Humidity:
- Spider plants enjoy moderate humidity.
- Mist young plants occasionally or place a tray of water nearby.
Temperature:
- Ideal range is 60–75°F (15–24°C).
- Keep away from cold drafts or heating vents.
Fertilizing:
- Wait 4–6 weeks before feeding new plants.
- Use a balanced liquid fertilizer every 4–6 weeks during growing seasons.
6. Common Problems and Solutions
Here are a few challenges you may encounter during propagation and how to solve them:
| Problem | Cause | Solution |
|---|---|---|
| Root rot | Overwatering or poor drainage | Use well-draining soil and reduce watering |
| Yellow leaves | Too much light or water | Move to indirect light and let soil dry |
| No root formation | Spiderette too young | Wait until plantlet has visible root nubs |
| Browning leaf tips | Low humidity or excess salts | Mist regularly and flush soil monthly |
7. Rejuvenating the Mother Plant
Propagation is not only great for growing new plants—it also rejuvenates the parent plant. If your spider plant looks crowded or tired:
- Trim off spiderettes to redirect energy into healthy leaf growth.
- Repot the mother plant if it’s root-bound.
- Remove dead or yellow leaves to improve airflow and appearance.
8. Creative Ideas for Displaying New Spider Plants
Once you’ve propagated your spider plant successfully, it’s time to get creative!
Display Ideas:
- Use macramé hangers to showcase the plant’s trailing vines.
- Line up several propagated pots along a sunny windowsill.
- Create a mini spider plant jungle by grouping multiple varieties together.
- Pot them in colorful or upcycled containers like teacups, mugs, or mason jars.
Conclusion
Propagating spider plants is a simple, satisfying, and sustainable way to expand your plant collection. Whether you choose to root your spiderettes in water, soil, or while still attached to the mother plant, the process is both beginner-friendly and highly rewarding.

With the right care, your new spider plants will grow into lush, thriving companions that not only beautify your space but also contribute to better indoor air quality. So grab those spiderettes, a few pots, and watch your indoor garden multiply before your eyes.
Leave A Comment