

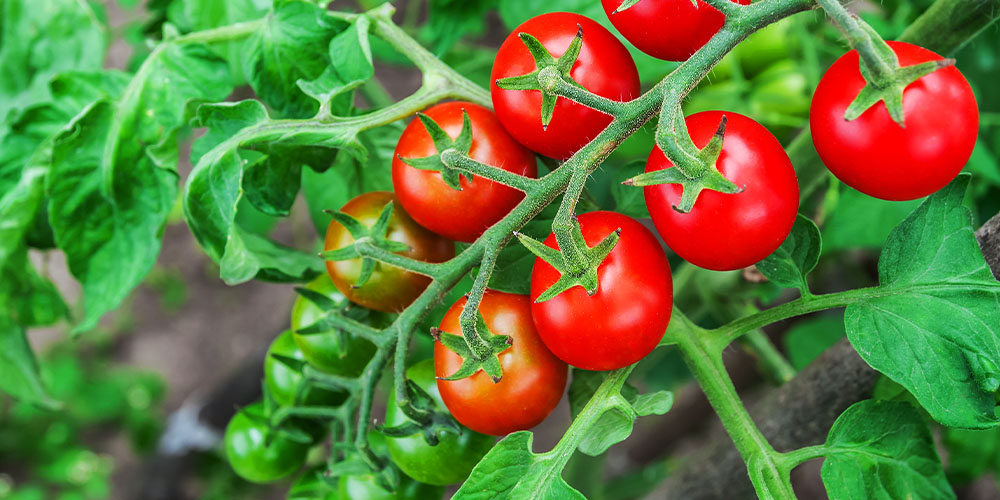
Tomatoes are one of the most rewarding plants for home gardeners. Whether you’re dreaming of juicy slicing tomatoes, cherry tomatoes for salads, or vibrant heirloom varieties, starting with healthy seedlings gives you a head start towards a productive harvest. Compared to growing from seed, planting seedlings is quicker, easier, and more beginner-friendly.
In this article, we’ll guide you through everything you need to know about how to plant tomatoes from seedlings easily — from choosing the right plants to transplanting, staking, and ongoing care. By the end, you’ll feel confident to grow your own delicious tomatoes at home.
Why Plant Tomatoes from Seedlings?
If you’re new to gardening or want to maximize your tomato-growing season, starting with seedlings (also called transplants) is a smart choice. Here’s why:
- Faster time to harvest since seedlings are already several weeks old.
- More reliable growth, as established seedlings are less vulnerable than seeds.
- Wider variety availability at nurseries or garden centers.
- Easier planting process for beginners.
- Avoids the challenges of indoor seed-starting, like maintaining light and temperature.
What You’ll Need
Before planting, gather the following supplies:
- Healthy tomato seedlings
- Well-prepared garden bed or containers
- Compost or organic fertilizer
- Gardening gloves
- Small trowel or hand shovel
- Mulch (like straw, shredded leaves, or wood chips)
- Staking materials (stakes, cages, or trellis)
- Watering can or hose
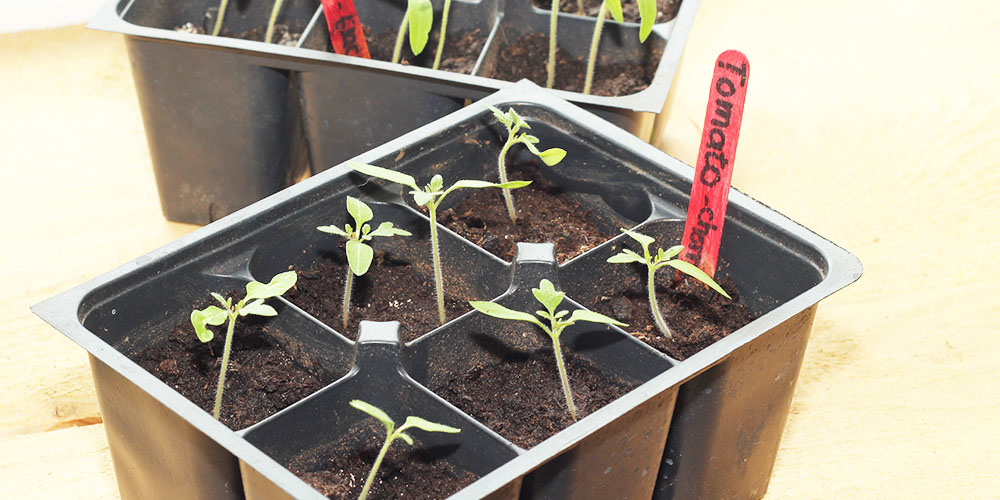
Step 1: Choosing Healthy Tomato Seedlings
Start your tomato-growing journey by picking the right seedlings. Whether you’re buying from a nursery or growing your own indoors, look for plants with these qualities:
- Sturdy stems about the thickness of a pencil.
- Bright green leaves without spots, yellowing, or wilting.
- Compact growth — avoid leggy or overly tall seedlings.
- No signs of pests or diseases, such as holes, mildew, or sticky residue.
- Well-developed roots visible at the bottom of the container but not root-bound.
Pro Tip: Opt for seedlings with 5-7 sets of leaves and avoid those already flowering, as too-early blooms can stress young plants.

Step 2: Preparing the Soil
Tomatoes thrive in rich, loose, well-draining soil with a slightly acidic pH between 6.0 and 6.8. Good soil preparation sets the foundation for a successful harvest.
How to Prepare the Soil:
- Choose a sunny location that receives at least 6-8 hours of direct sunlight daily.
- Loosen soil to a depth of 12-18 inches.
- Mix in plenty of compost or well-rotted organic matter to improve fertility and drainage.
- If needed, add balanced organic fertilizer according to package instructions.
- Remove any rocks, roots, or weeds from the planting area.
Container Option: Use large pots at least 5 gallons in size, with drainage holes. Fill with a high-quality potting mix blended with compost.
Step 3: Hardening Off Seedlings
If your seedlings were grown indoors or in a greenhouse, they’ll need time to adjust to outdoor conditions — a process known as hardening off.
Hardening Off Process:
- Start about 7-10 days before transplanting.
- Place seedlings outdoors in a sheltered, shady spot for a few hours, gradually increasing sunlight exposure and outdoor time each day.
- Protect from wind and overnight temperatures below 50°F (10°C).
- After a week, your plants will be ready for their permanent home.
Step 4: Planting the Seedlings
Now for the fun part — getting your tomatoes in the ground (or containers)!
How Deep to Plant Tomato Seedlings:
Unlike many vegetables, tomato seedlings benefit from being planted deeply, as new roots will form along buried stems, resulting in stronger, healthier plants.
Step-by-Step Planting:
- Dig a hole twice as deep as the root ball and wide enough to accommodate it comfortably.
- Remove the lower leaves on the stem, leaving only the top 2-3 sets.
- Gently loosen the seedling from its container.
- Place the seedling in the hole, burying the stem up to just below the remaining leaves.
- Fill in the hole with soil, gently firming around the base.
- Water thoroughly to settle the soil and eliminate air pockets.
Pro Tip: For leggy seedlings, you can even plant them sideways in a trench, bending the top upright — buried stems will sprout roots along their length.

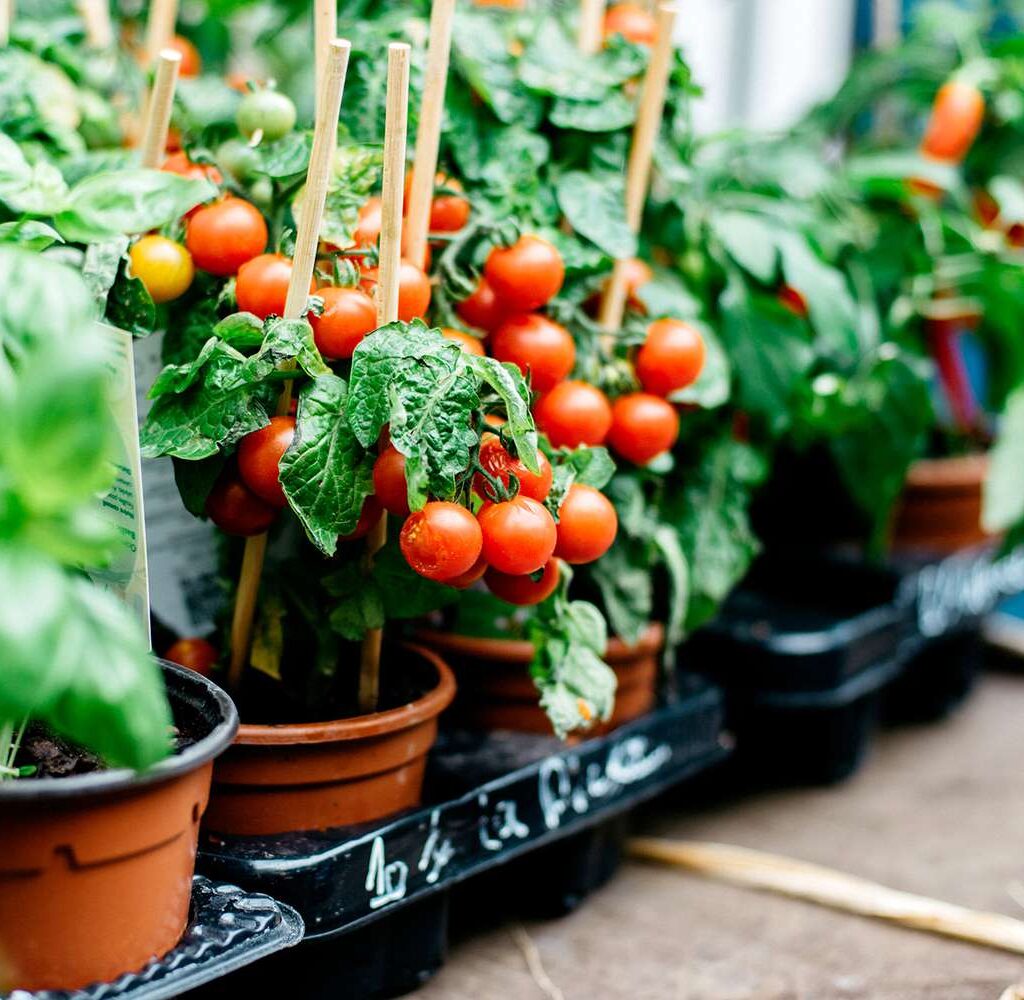
Step 5: Spacing Guidelines
Proper spacing ensures good air circulation, reduces disease risk, and gives each plant room to grow.
- Determinate (bush) varieties: 18-24 inches apart
- Indeterminate (vining) varieties: 24-36 inches apart
- Rows: 3-4 feet apart
In containers, plant one tomato per pot for optimal growth.
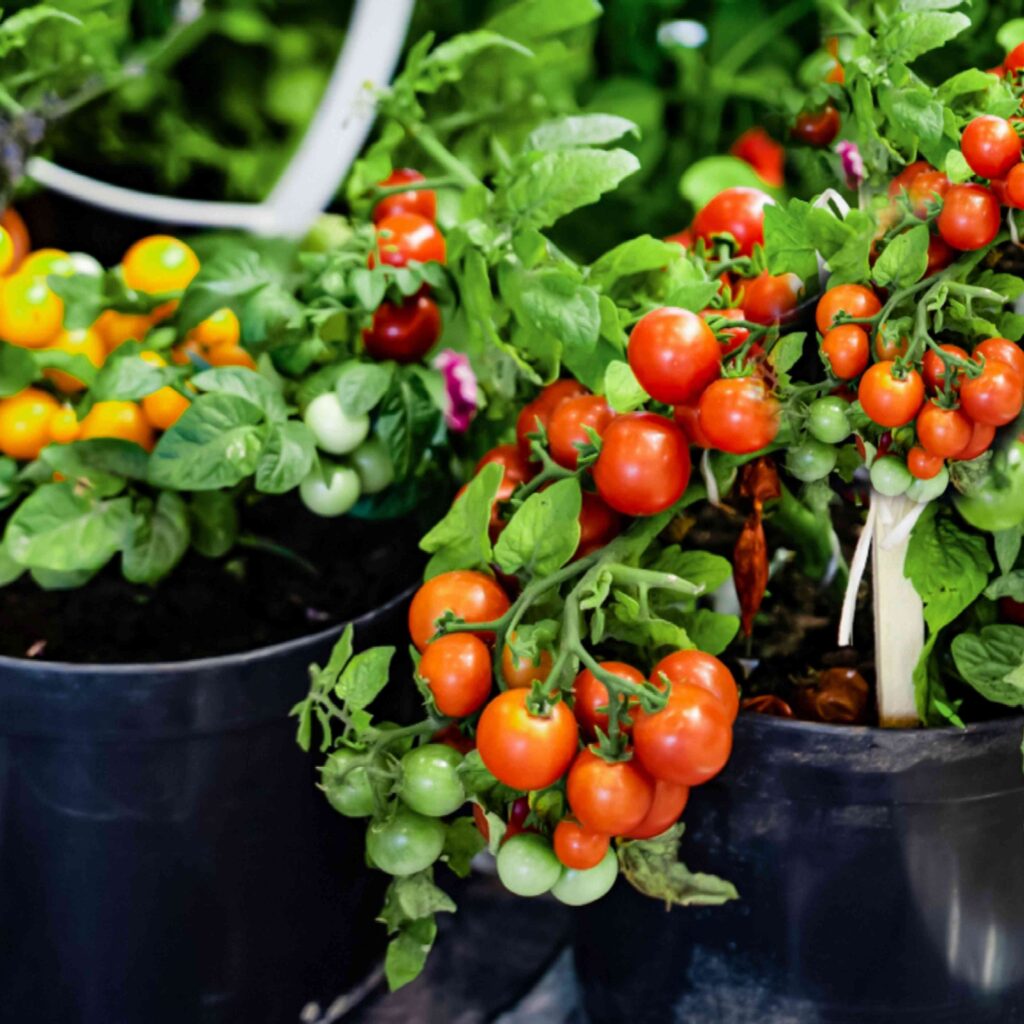
Step 6: Staking and Supporting Tomato Plants
As tomato plants grow, their branches and heavy fruit will need support to prevent breaking and improve air circulation.
Support Options:
- Stakes: Tie the main stem to a sturdy stake using soft plant ties or twine.
- Tomato cages: Easy to install and effective for bushier determinate types.
- Trellises: Great for indeterminate varieties grown against walls or fences.
Install supports immediately after planting to avoid disturbing roots later.
Step 7: Mulching Around Plants
Mulch is essential for maintaining soil moisture, suppressing weeds, and preventing soil-borne diseases from splashing onto leaves.
Mulch Options:
- Straw
- Shredded leaves
- Grass clippings (dried)
- Pine needles
Spread a 2-3 inch layer around each plant, leaving a small gap around the stem.

Step 8: Watering the Seedlings
Consistent watering is crucial for healthy tomato plants, especially during their early establishment.
Watering Tips:
- Water deeply immediately after planting.
- Keep soil consistently moist but not soggy.
- Water early in the day to allow leaves to dry before nightfall.
- Avoid overhead watering; use drip irrigation or water at the base.
- Established plants typically need 1-2 inches of water per week.
Step 9: Fertilizing for Growth
Feed your tomato plants with a balanced, organic fertilizer to promote healthy growth and fruiting.
Fertilizing Schedule:
- Apply a balanced fertilizer (like 10-10-10) 2 weeks after planting.
- Switch to a low-nitrogen, higher phosphorus and potassium formula when flowering begins.
- Fertilize every 3-4 weeks or according to product instructions.
Pro Tip: Avoid too much nitrogen, as it promotes leafy growth at the expense of flowers and fruit.
Step 10: Ongoing Care and Troubleshooting
- Pruning: Remove suckers (small shoots in leaf axils) from indeterminate plants to focus energy on fruit production.
- Pest Control: Watch for aphids, hornworms, and whiteflies. Remove by hand or use organic insecticidal soap.
- Disease Management: Water at soil level, mulch well, and remove any diseased leaves promptly.
Final Thoughts
Planting tomatoes from seedlings is one of the easiest and most reliable ways to enjoy fresh, homegrown tomatoes. By choosing healthy plants, preparing your soil properly, and following these simple steps, you’ll be well on your way to a successful, flavorful harvest.
With just a little care and attention, those tiny seedlings will soon reward you with armfuls of sun-ripened tomatoes — perfect for summer salads, sauces, and sandwiches.
Leave A Comment