
Potatoes are one of the most versatile and beloved vegetables worldwide. From crispy fries to hearty stews, they grace countless dishes and kitchens. But have you ever wondered if the potatoes in your pantry could actually become the seeds for your own flourishing garden? The good news is — yes! Planting potatoes from potatoes is not just possible; it’s an easy, rewarding, and surprisingly simple way to turn your kitchen scraps into a bountiful harvest. This “kitchen to garden miracle” is perfect for gardeners of all experience levels, and in this guide, you’ll learn everything you need to know to grow your own potatoes successfully, step-by-step.
Why Plant Potatoes from Potatoes?
Before diving into the how, it’s important to understand why planting potatoes from potatoes is such a great idea:
- Cost-effective: Instead of buying expensive seed potatoes, you can start with the ones you already have.
- Sustainable: Reduces food waste by repurposing sprouted or leftover potatoes.
- Easy to grow: Potatoes are hardy and adaptable to many growing conditions.
- Great yield: A single potato can produce multiple new potatoes, amplifying your harvest.
- Fun and educational: A perfect project for beginner gardeners, kids, or anyone interested in food growing.
What You Need to Plant Potatoes
To start your potato planting journey, gather these essentials:
- Seed potatoes: These can be grocery store potatoes, but certified seed potatoes are ideal as they’re disease-free. If using grocery store potatoes, select ones that have started sprouting (“eyes”).
- Well-draining soil: Potatoes dislike soggy soil; loose, sandy loam enriched with organic matter is best.
- Containers or garden space: Potatoes can grow in raised beds, garden rows, or large containers.
- Fertilizer or compost: To nourish your plants for healthy growth.
- Water source: Consistent moisture is key but avoid overwatering.
Step 1: Select and Prepare Your Potatoes
If you’re using potatoes from the kitchen, here’s how to prepare them:
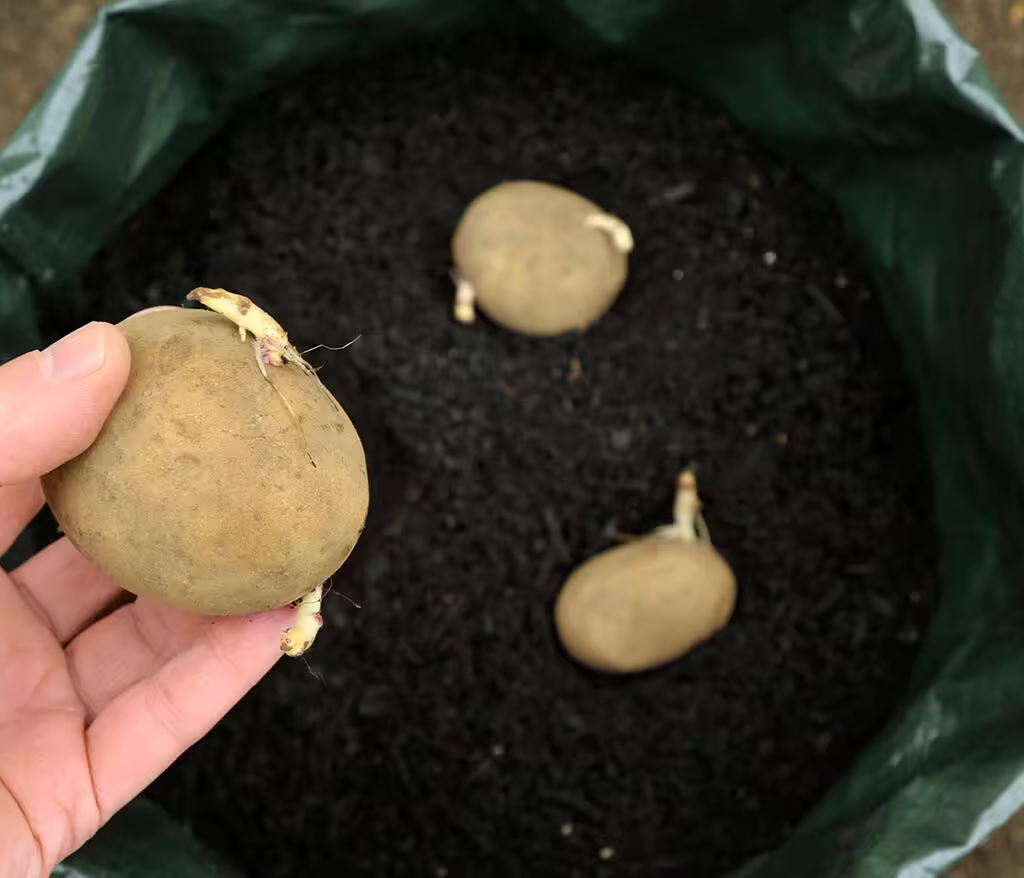
Choose Potatoes with Eyes
“Eyes” are small indentations or sprouts from which new plants grow. Select potatoes that have healthy, greenish sprouts or small shoots.
Cut or Plant Whole?
- If potatoes are small (around golf ball size), plant them whole.
- Larger potatoes should be cut into pieces about the size of a chicken egg, each piece having at least 1-2 eyes.
Cure the Cut Pieces
After cutting, let the potato pieces cure (dry) for 2-3 days in a cool, shaded place. This allows the cut surfaces to callus over and helps prevent rot and disease when planted.
Step 2: Prepare Your Planting Site or Container
Potatoes thrive best in:
- Loose, well-draining soil: Heavy clay or compacted soil can cause poor tuber development.
- Full sunlight: Potatoes need at least 6 hours of direct sunlight daily.
- pH between 5.0 and 7.0: Slightly acidic soil encourages tuber formation.
If planting in containers, choose ones at least 12 inches deep and wide to allow tubers room to grow.
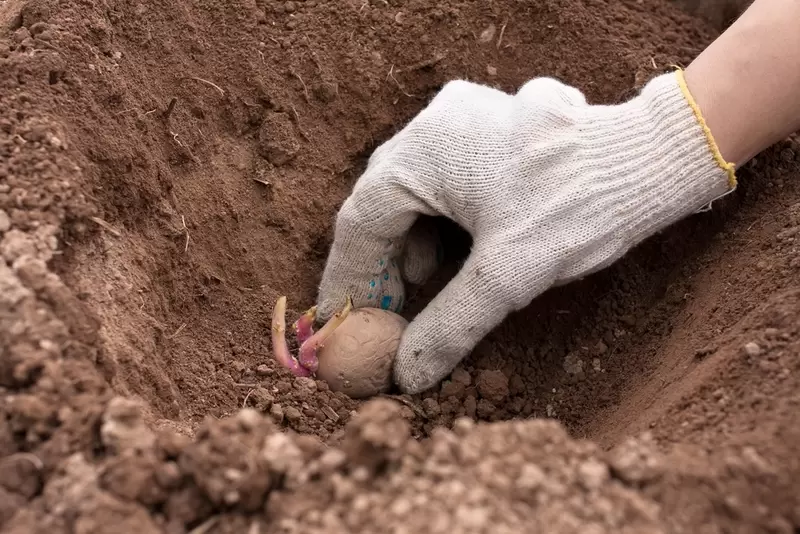
Step 3: Planting the Potatoes
Here’s how to plant your prepared potato pieces:
- Planting time: Ideally, plant potatoes in early spring when the soil temperature reaches 45°F (7°C).
- Depth: Dig holes or trenches about 4 inches deep.
- Spacing: Place potato pieces with the eyes facing up, spaced about 12 inches apart, and rows about 24-36 inches apart.
- Cover: Gently cover the pieces with soil.
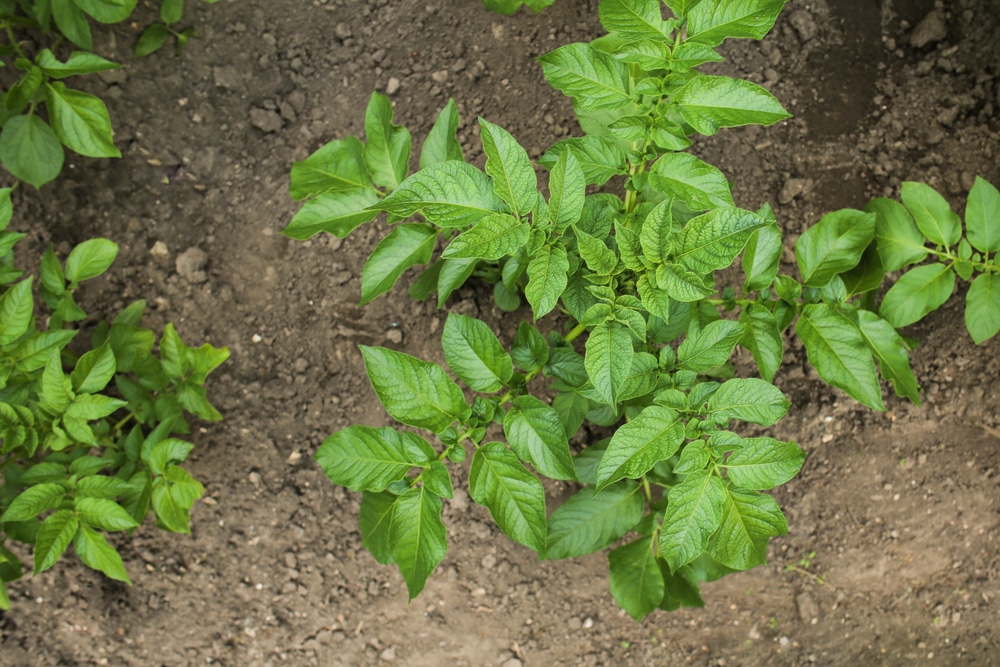
Step 4: Care and Maintenance
Once planted, your potato crop needs attentive care to ensure a healthy, productive harvest:
Watering
- Keep soil consistently moist but not waterlogged.
- Potatoes require about 1-2 inches of water per week.
- Reduce watering as plants mature to avoid rot.
Hilling
- When shoots reach 6-8 inches tall, mound soil or mulch around the base, covering the stems partially.
- Repeat hilling every few weeks. This protects developing tubers from sunlight (which turns them green and toxic) and encourages more tuber growth.
Fertilizing
- Use a balanced fertilizer or compost high in phosphorus and potassium.
- Avoid excessive nitrogen, which promotes foliage growth but reduces tuber development.
Pest and Disease Control
- Watch for pests like Colorado potato beetles and aphids. Handpick or use organic insecticides.
- Prevent fungal diseases by rotating crops and avoiding planting potatoes where tomatoes or peppers recently grew.
- Ensure good airflow and avoid overhead watering to reduce disease risks.
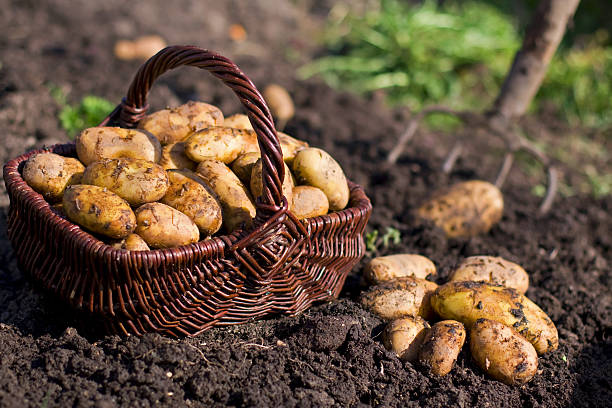
Step 5: Harvesting Your Potatoes
Your patience will soon pay off when it’s time to harvest:
- New potatoes: These are baby potatoes harvested about 8-10 weeks after planting, when plants flower.
- Mature potatoes: Harvest after the foliage has died back, typically 90-120 days post-planting.
How to Harvest
- Gently dig around the plant with a fork or shovel, careful not to damage tubers.
- Brush off excess dirt, but avoid washing until ready to use.
- Let potatoes cure in a cool, dark place for a week or two to toughen their skin for storage.
Step 6: Storing Your Harvest
Proper storage extends your potatoes’ life:
- Store in a cool (45-50°F), dark, and well-ventilated place.
- Avoid refrigeration, as cold temperatures convert starch to sugar, affecting flavor.
- Keep away from onions, which release gases that can spoil potatoes.
Bonus Tips for a Thriving Potato Garden
- Use disease-free seed potatoes when possible: This reduces the risk of introducing blights.
- Rotate crops: Don’t plant potatoes in the same spot each year to prevent soil-borne diseases.
- Mulch heavily: Mulching helps retain moisture, control weeds, and keeps tubers cooler.
- Experiment with varieties: Try Yukon Gold, Red Pontiac, or fingerlings for different flavors and textures.
- Companion planting: Grow potatoes alongside beans, corn, or marigolds to improve yield and deter pests.
Kitchen to Garden Miracle: Why Growing Potatoes is So Rewarding
There’s something deeply satisfying about turning your kitchen potato scraps into a thriving garden bounty. Watching the green shoots emerge, nurturing the plants, and then harvesting your own potatoes brings a special connection to your food source. Plus, homegrown potatoes taste fresher, often better, and you know exactly how they were grown—without chemicals or pesticides.
Gardening is also a calming, enjoyable hobby that boosts mental health and encourages a sustainable lifestyle. The miracle of growing potatoes from potatoes is a wonderful example of how small steps can lead to big, delicious rewards.
Common Questions About Planting Potatoes from Potatoes
Can I plant supermarket potatoes?
Yes, you can, especially if they have begun sprouting. However, supermarket potatoes may be treated with sprout inhibitors or carry diseases. Certified seed potatoes are the safest and most reliable choice.
How long do potatoes take to grow?
It varies by variety and conditions but generally 90 to 120 days from planting to mature harvest.
Can I plant potatoes indoors?
Yes! Use large containers and provide sufficient light. Indoor planting is great for limited space gardeners.
Summary: The Simple Miracle of Potato Gardening
- Choose healthy potatoes with eyes.
- Cut large potatoes into pieces and cure.
- Prepare well-draining soil or containers.
- Plant 4 inches deep, eyes up, spaced well.
- Water moderately and hill soil around stems.
- Fertilize carefully and watch for pests.
- Harvest when plants flower for new potatoes or after foliage dies for mature tubers.
- Store properly for long-lasting freshness.
Final Thought
Planting potatoes from potatoes is a straightforward, cost-effective, and surprisingly magical way to bring a piece of your kitchen to your garden. It’s a journey that transforms humble tubers into a bountiful feast, connects you to nature, and rewards you with the rich taste of homegrown produce. Whether you have a backyard, balcony, or just a few containers, planting potatoes offers a deliciously tangible way to grow your own food and witness the kitchen-to-garden miracle firsthand.
Leave A Comment