

If you’re a lover of beautiful, fragrant flowers and want to bring a touch of tropical paradise into your home or garden, planting plumeria cuttings is a fantastic way to do so. Plumeria, also known as frangipani, is renowned for its stunning blooms and intoxicating scent that can instantly uplift any space. Whether you’re a gardening novice or an experienced green thumb, growing plumeria from cuttings is a rewarding and straightforward process. In this guide, we’ll walk you through everything you need to know to successfully plant and nurture plumeria cuttings, ensuring you add that sweet, enchanting fragrance to your space.
Why Choose Plumeria?
Plumeria is a tropical flowering plant native to Central America, the Caribbean, and parts of South America. It has gained worldwide popularity because of its:
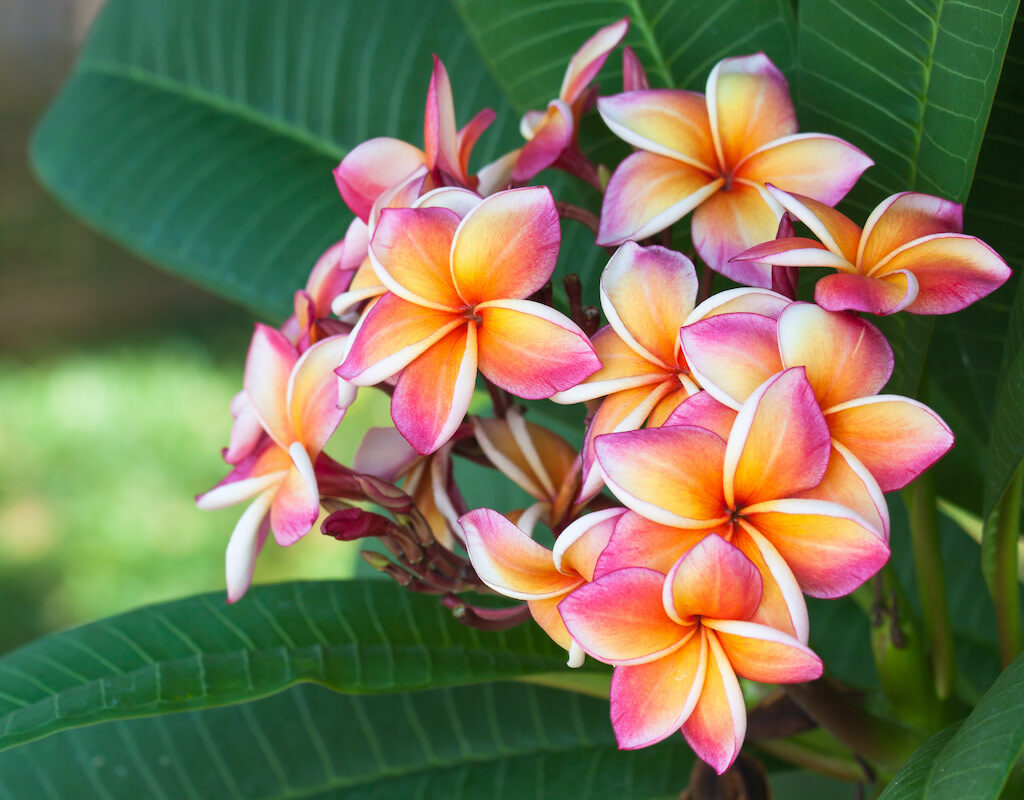
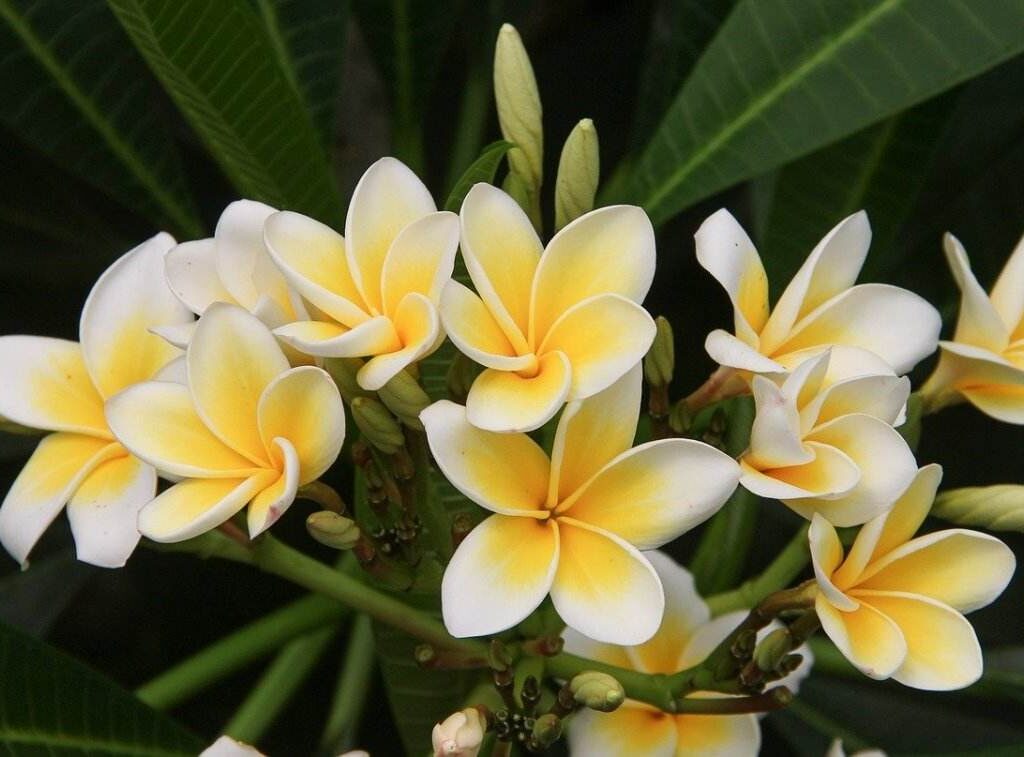
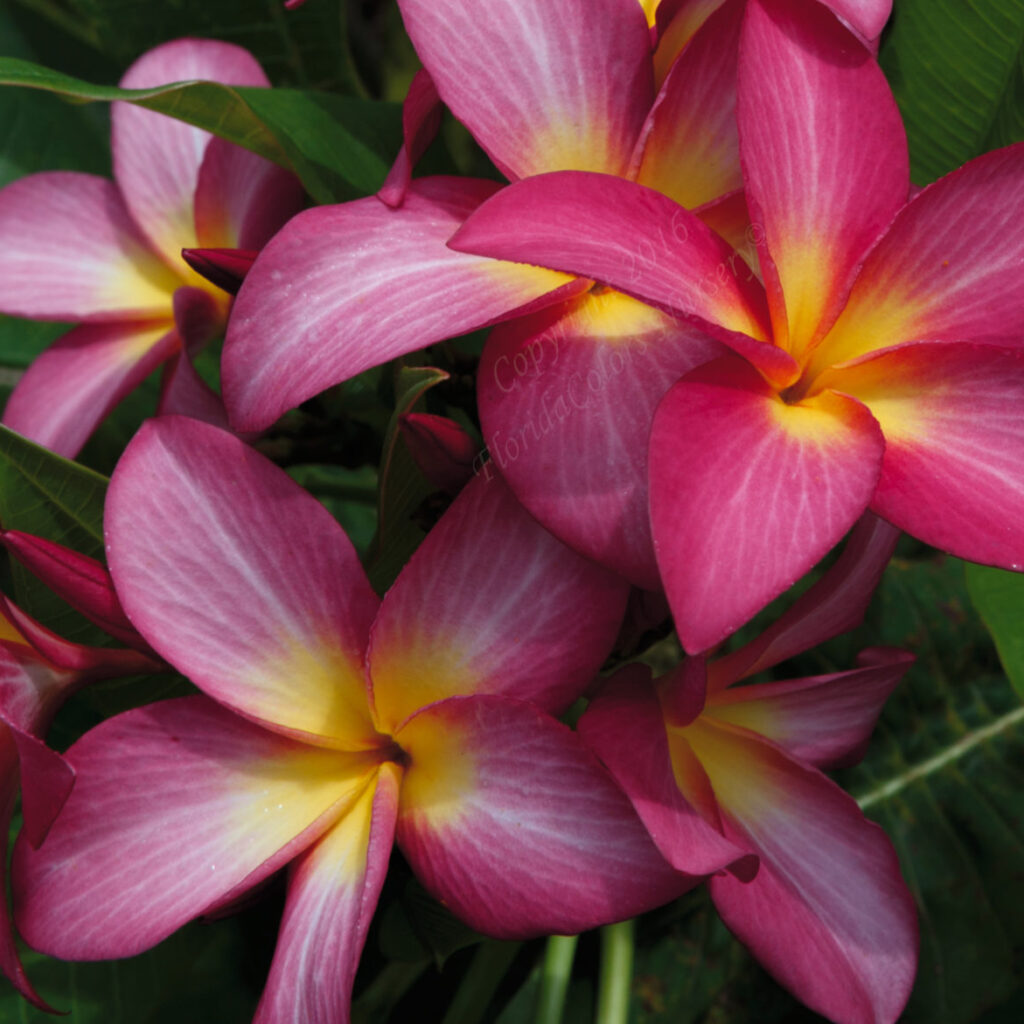
- Exquisite, colorful flowers: Usually white, yellow, pink, or red, often with multiple hues.
- Delightful fragrance: The flowers emit a sweet, heady aroma, especially in the evenings.
- Low maintenance: Once established, plumeria plants are drought-tolerant and thrive in warm climates.
- Versatility: Ideal as potted plants indoors, patio décor, or garden additions.
Benefits of Growing Plumeria from Cuttings
Growing plumeria from cuttings rather than seeds offers several advantages:
- Faster flowering: Seed-grown plumeria can take years to bloom, whereas cuttings flower much sooner.
- Easier propagation: Cuttings don’t require pollination or complex seed treatment.
- Preserves variety: Cuttings produce plants identical to the parent, keeping your favorite flower color and fragrance.
Step 1: Choose the Right Plumeria Cutting
Selecting the right cutting is crucial for success. Here’s what to look for:

- Healthy branch: Choose a firm, disease-free branch from a mature plumeria plant.
- Length: Aim for a cutting about 12 to 18 inches long.
- Age: Semi-hardwood cuttings work best – not too green or soft, but not too old and woody.
- Leaf removal: Remove most of the leaves, leaving a few at the top to help with photosynthesis.
Step 2: Prepare the Cutting
Proper preparation increases rooting success:
- Cut cleanly: Use a sterilized, sharp pruning shear to make a clean cut just below a node (the point where leaves grow).
- Dry the cutting: Let the cutting dry for about 1-2 weeks in a shaded, well-ventilated area. This allows the cut end to callus over, reducing the risk of rot.
- Optional rooting hormone: Dip the cut end in rooting hormone powder or gel to encourage faster root development.
Step 3: Choose the Planting Medium
Plumeria cuttings need a well-draining medium to avoid waterlogging and root rot:
- Ideal mix: A combination of cactus soil mix, perlite, and coarse sand works great.
- Container choice: Use a pot with drainage holes or a raised garden bed to ensure water doesn’t accumulate around the roots.
Step 4: Plant the Cutting
Here’s how to plant your plumeria cutting correctly:
- Depth: Insert the cutting 3 to 4 inches deep into the soil.
- Support: If needed, stake the cutting upright to keep it stable until roots develop.
- Water: Lightly water the soil after planting but avoid soaking it.
Step 5: Provide Proper Care
Once planted, your cutting needs the right environment to thrive:
Light
- Plumeria loves bright, indirect sunlight. After rooting, it can tolerate full sun, but initially, avoid intense midday sun to prevent stress.
Watering
- Water sparingly. Plumeria are drought-tolerant, and overwatering is the most common cause of failure. Water only when the top inch of soil feels dry.
- During rooting, mist the cutting lightly rather than soaking.
Temperature & Humidity
- Plumeria prefer warm temperatures between 65-80°F (18-27°C).
- They don’t tolerate frost well; if you live in colder climates, grow them in pots to bring indoors during winter.
Fertilizing
- Once roots form and new growth appears, use a balanced fertilizer with a higher phosphorus content (e.g., 10-30-10) to encourage blooming.
- Fertilize every 4-6 weeks during the growing season.
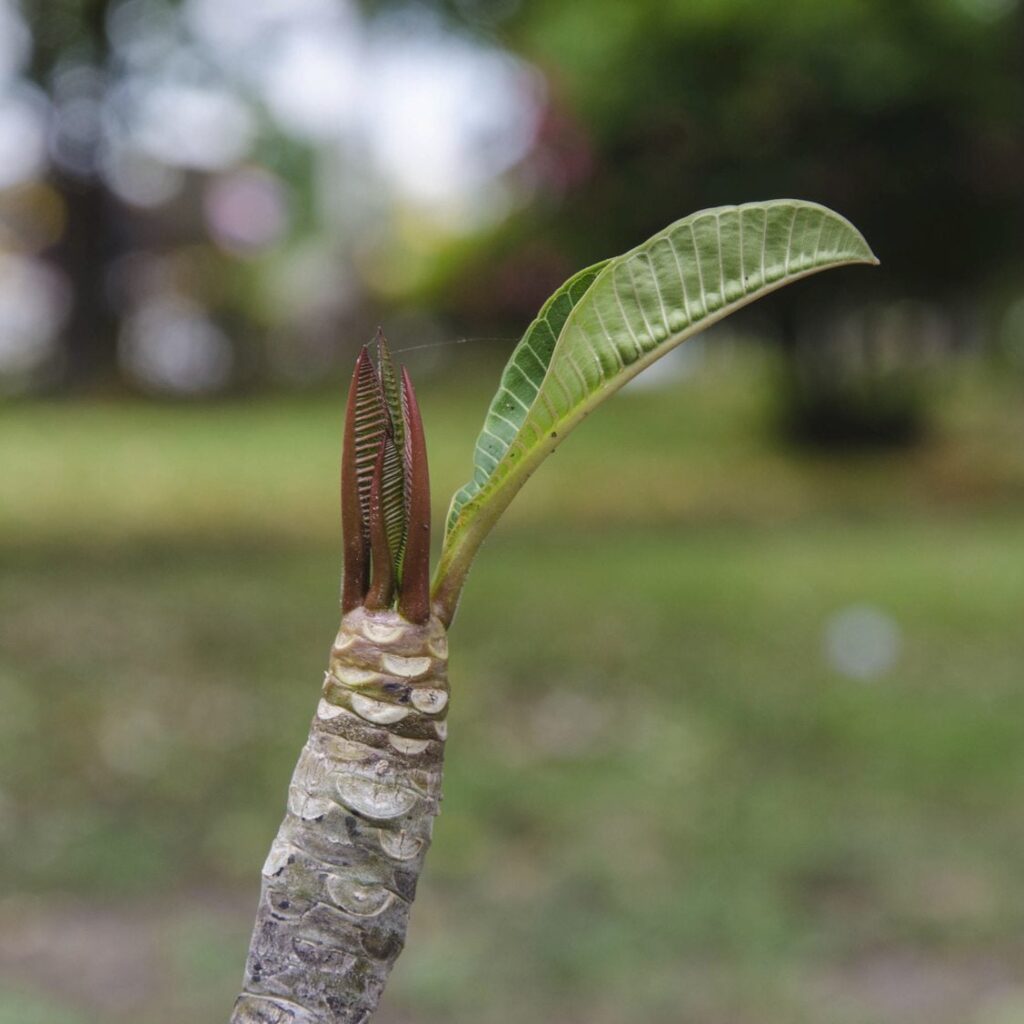
Step 6: Watch for Root Development
Rooting can take anywhere from 4 to 8 weeks:
- Gently tug the cutting to feel for resistance, which indicates roots have developed.
- New leaves and shoots are signs of successful rooting.
- Be patient — rushing to water or transplant before roots develop can harm the cutting.
Step 7: Transplanting and Long-Term Care
Once rooted and growing:
- Transplant the plumeria to a larger pot or garden spot with full sun.
- Continue to water moderately and fertilize regularly.
- Prune dead or unhealthy branches to encourage bushier growth.
- Protect from cold weather by bringing indoor or covering during frost.
Troubleshooting Common Problems
- Cutting rotting: Likely caused by excess moisture or planting before callus formed. Allow cuttings to dry longer next time and avoid overwatering.
- No root growth: Could be due to low temperatures, poor soil drainage, or insufficient light.
- Yellow leaves: Often from overwatering or nutrient deficiency — adjust watering and feed accordingly.
- Pests: Watch for spider mites, aphids, or mealybugs. Use insecticidal soap or neem oil to treat infestations.
Tips to Enhance Fragrance and Blooming
- Grow plumeria in a sunny location with at least 6 hours of direct sunlight.
- Avoid excessive nitrogen fertilizers, which promote leaf growth but reduce flowers.
- Deadhead spent blooms to encourage new flowering.
- Ensure the plant is slightly root-bound in pots to stimulate blooming.
Why Your Space Will Love Plumeria
Adding plumeria to your garden, patio, or even indoors (with proper light) is like inviting a little slice of the tropics into your life. Their stunning flowers brighten spaces with vivid color, and the fragrance is known to be calming and uplifting—perfect for creating a serene atmosphere.
Summary: Easy Steps to Plant Plumeria Cuttings
- Select a healthy semi-hardwood cutting (12-18 inches).
- Let it dry and callus for 1-2 weeks.
- Prepare well-draining soil mix.
- Plant cutting 3-4 inches deep.
- Provide bright indirect light and minimal water.
- Wait 4-8 weeks for roots to develop.
- Transplant to sunlit location and care for plant.
Final Thought
Growing plumeria from cuttings is a simple, rewarding way to add exotic beauty and heavenly fragrance to your space. With patience and care, you can enjoy tropical blooms year after year, impressing friends and family with your gardening skills and the sweet scent that fills your home or garden. So grab a cutting, follow these steps, and start your fragrant journey with plumeria today!
Leave A Comment