
If you’re looking for an easy, rewarding, and nutritious crop to add to your garden, pinto beans are an excellent choice. Known for their rich flavor and versatility in dishes like chili, soups, and refried beans, pinto beans are a staple in many kitchens — and you can grow them right in your backyard with minimal effort.
In this comprehensive guide, we’ll show you how to plant pinto beans, care for them, and harvest a bountiful crop that’s as satisfying to grow as it is to eat. Whether you’re a seasoned gardener or a beginner, pinto beans are the perfect addition to your garden!
Why Grow Pinto Beans?
Before we dive into the planting process, let’s talk about why pinto beans deserve a spot in your garden.
Benefits of Growing Pinto Beans:
- Easy to grow: Pinto beans thrive in warm climates and require little maintenance.
- Nutrient-rich: High in protein, fiber, and essential minerals.
- Soil-friendly: Beans naturally fix nitrogen in the soil, improving soil health for future crops.
- Versatile in the kitchen: Great for soups, stews, burritos, and more.
- Cost-effective: A small packet of seeds can produce a large harvest.
The Basics of Pinto Bean Plants
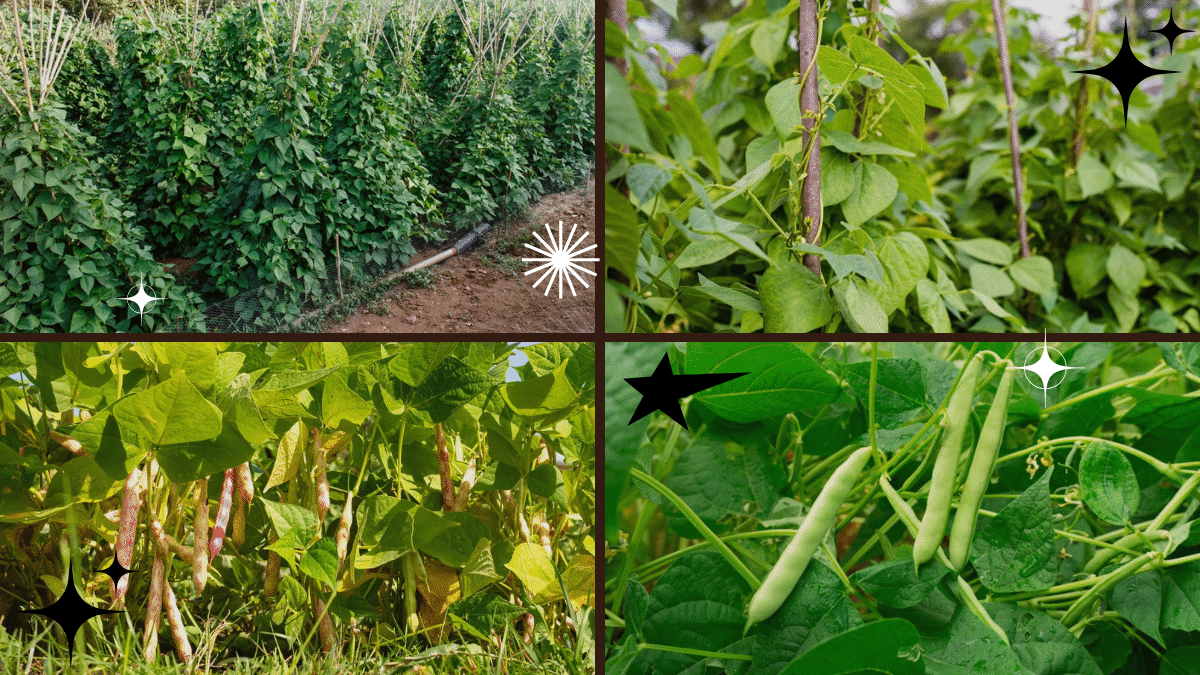
Pinto beans (Phaseolus vulgaris) are warm-season legumes that grow as either bush-type or pole-type plants.
- Bush varieties grow into compact plants, making them ideal for small gardens and containers.
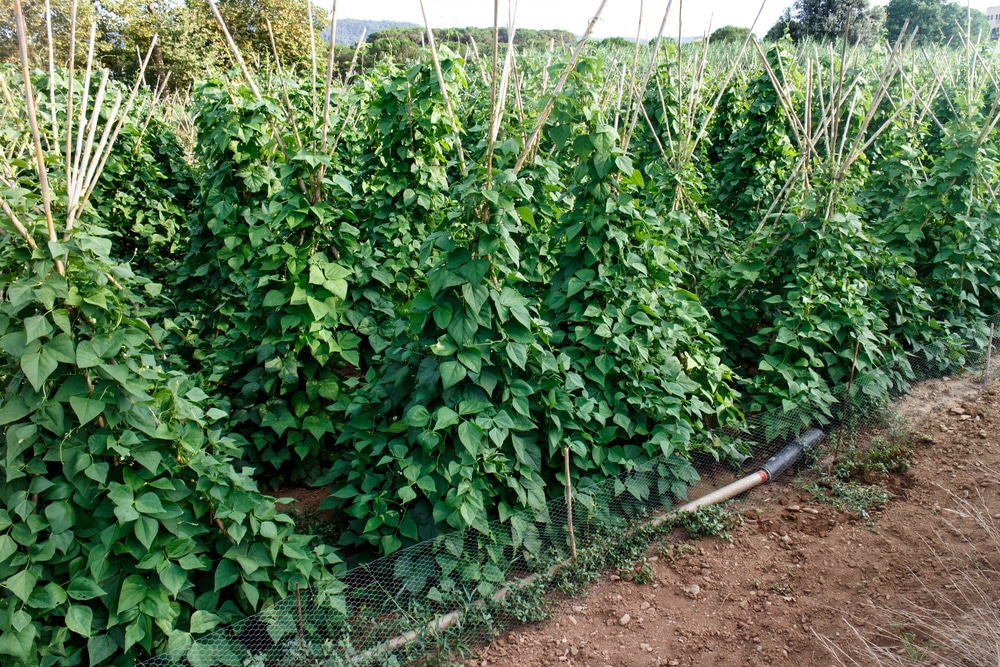
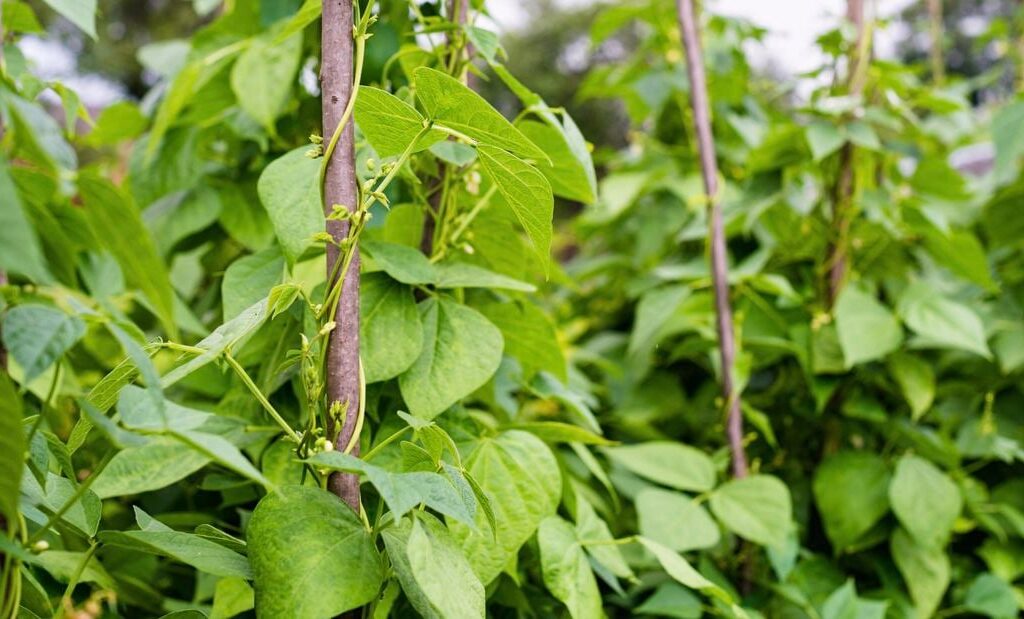
- Pole varieties climb and require a trellis or support but often yield a larger harvest.
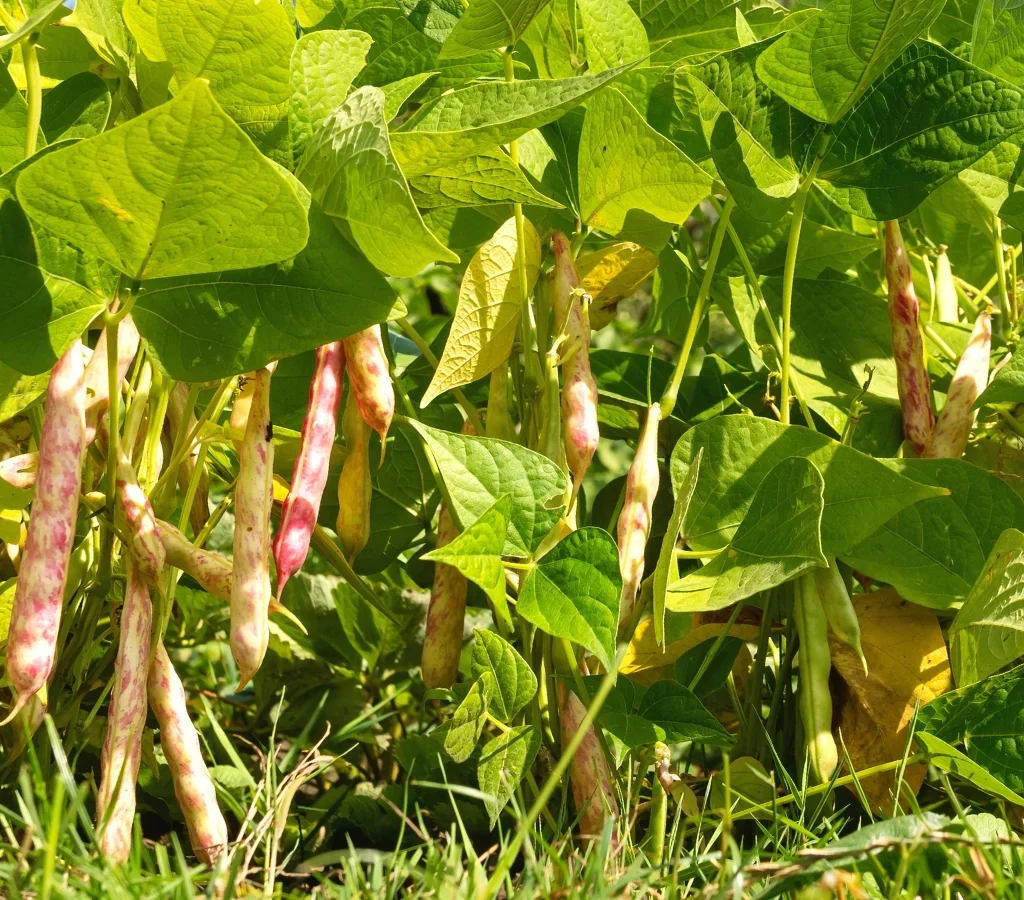
Both types produce green pods containing the distinctive speckled pinto beans.
When to Plant Pinto Beans
Timing is crucial for a successful pinto bean harvest.
Ideal Planting Time:
- After the last frost date in your region.
- Soil temperature should be at least 65°F (18°C) for seeds to germinate properly.
- In most areas, this means planting in late spring to early summer.
Beans are sensitive to cold, so avoid planting too early when the soil is still cool.

Choosing the Right Location
Pinto beans love warmth and sunlight.
Site Requirements:
- Full sun: At least 6–8 hours of direct sunlight daily.
- Well-draining soil: Avoid heavy clay or soggy soil.
- Slightly acidic to neutral pH: Ideal range is 6.0 to 7.0.
If your soil is poor or compacted, amend it with organic matter like compost or aged manure before planting.
How to Plant Pinto Beans – Step-by-Step Guide
What You’ll Need:
- Pinto bean seeds (from a trusted seed supplier)
- Garden bed or large containers
- Garden trowel or hoe
- Compost or organic fertilizer (optional)
- Trellis or poles (for pole varieties)
Step 1: Prepare the Soil
Loosen the soil to a depth of about 6–8 inches. Remove weeds, rocks, and debris. Mix in a layer of compost to enrich the soil and improve drainage.
Tip: Beans don’t require nitrogen-rich fertilizer since they produce their own nitrogen, but a balanced, all-purpose fertilizer can be added if your soil is very poor.
Step 2: Sow the Seeds
Direct sowing is the best method for planting pinto beans. They don’t transplant well.
- Plant seeds 1–1.5 inches deep.
- Space seeds 3–4 inches apart in rows.
- Space rows about 18–24 inches apart.
If planting pole beans, install trellises, stakes, or poles at the time of sowing to avoid disturbing the roots later.
Step 3: Water Gently
After planting, water the area gently but thoroughly to settle the soil. Keep the soil evenly moist but not waterlogged.

Caring for Pinto Bean Plants
Once your beans sprout, typically within 7–14 days, a little care will keep them growing strong.
Watering
- Water regularly, especially during dry spells.
- Aim for 1 inch of water per week.
- Avoid wetting the foliage to reduce the risk of fungal diseases.
Weeding
- Keep the area around your beans weed-free.
- Mulch with straw or shredded leaves to suppress weeds and retain moisture.
Fertilizing
- Pinto beans rarely need additional fertilizer.
- If growth seems slow, use a low-nitrogen, balanced fertilizer sparingly.
Supporting Pole Beans
- Train vines to climb trellises or poles.
- Gently tie them as they grow if needed.
Common Pests and Problems
Like all garden crops, pinto beans have a few potential issues to watch for.
| Problem | Cause | Solution |
|---|---|---|
| Aphids | Sap-sucking insects | Spray with soapy water or neem oil |
| Bean beetles | Leaf-eating pests | Handpick or use organic insecticide |
| Fungal diseases | Overly wet conditions | Water at soil level, improve air circulation |
| Poor germination | Cold or wet soil | Plant when soil is warm and well-drained |
Harvesting Pinto Beans
Pinto beans can be harvested either fresh or dried, depending on your preference.
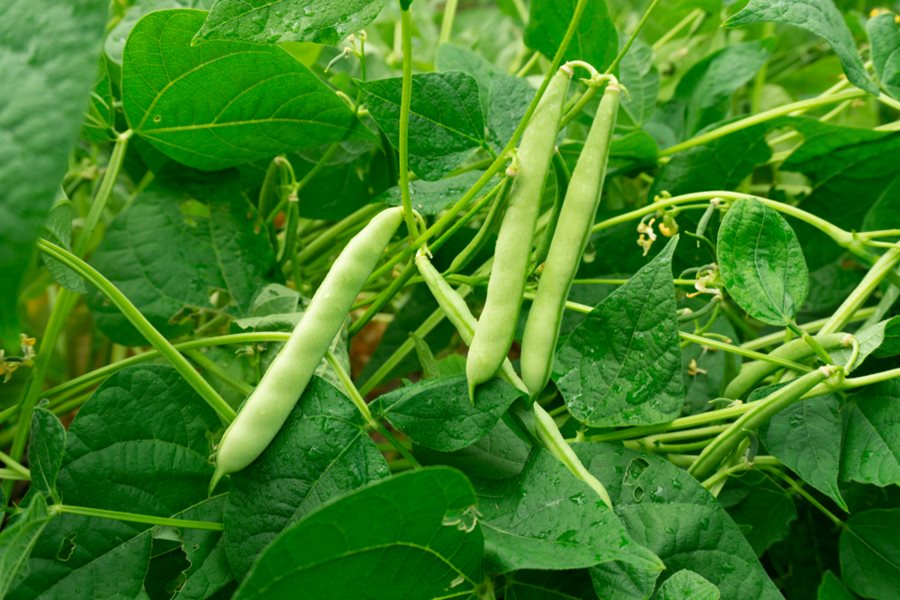
For Fresh Beans:
- Pick pods when they are plump and bright green.
- Use immediately in recipes or store in the fridge for a few days.
For Dried Beans:
- Allow pods to mature on the plant until they turn yellow or tan and feel dry.
- Harvest on a dry day to prevent mold.
How to Harvest:
- Pull up the entire plant or pick individual dry pods.
- Place harvested pods in a dry, well-ventilated area to finish drying for about 1–2 weeks.
- Shell the beans by hand or by gently crushing the pods.
Store dried beans in an airtight container in a cool, dark place for up to a year.
Saving Pinto Bean Seeds
Another great thing about growing pinto beans is you can save seeds for next season.
- Choose your healthiest, most productive plants.
- Allow some pods to dry fully on the plant.
- Harvest and store the dried beans as you would for eating, but label them for seed use.
Properly stored, bean seeds remain viable for up to 3 years.

How Many Beans Will One Plant Produce?
On average:
- A bush pinto bean plant yields about 1/2 to 1 cup of dried beans.
- Pole varieties can produce slightly more over a longer period.
Plant accordingly based on your desired harvest size.
Fun Tips for Growing Pinto Beans
- Succession plant: Sow new rows every 2–3 weeks in early summer for a staggered harvest.
- Companion plant: Grow alongside corn, cucumbers, or squash for a mutually beneficial garden bed.
- Container growing: Pinto beans can thrive in pots at least 8–12 inches deep.
Final Thoughts
Planting pinto beans is one of the most satisfying and straightforward gardening projects you can undertake. They’re hardy, easy to care for, and reward you with a nutritious, homegrown harvest that enhances your meals and improves your soil.
Whether you’re aiming for fresh green beans or dried beans for your pantry, pinto beans are the perfect addition to your vegetable garden. With just a little space, sunshine, and care, you can enjoy your own crop of these versatile legumes in no time.
So why not start your own pinto bean patch this season? Happy planting!
Leave A Comment