
Garlic is one of the most rewarding crops to grow in your garden. Not only does it add a bold, savory flavor to countless dishes, but it’s also packed with health benefits. Best of all, it’s surprisingly simple to cultivate, even for beginners. If you want to enjoy a bountiful harvest, it’s essential to know the right techniques for planting garlic. In this article, we’ll cover everything you need to know about planting garlic for maximum yield—from selecting the right variety to harvesting and storing your crop.
Why Grow Your Own Garlic?
Before diving into the planting process, let’s take a moment to appreciate why garlic is such a fantastic crop for home gardeners:
- Cost-effective: A small investment in seed garlic can yield a large harvest.
- Low maintenance: Garlic requires minimal care compared to other vegetables.
- Pest-repellent: Its strong aroma can help deter garden pests.
- Health benefits: Garlic is known for its antibacterial, antiviral, and immune-boosting properties.
- Freshness advantage: Homegrown garlic is more flavorful and fresher than store-bought bulbs.
Choosing the Right Garlic Variety
To achieve maximum yield, start by selecting the appropriate garlic type for your climate and preferences. Garlic generally falls into two main categories:
1. Hardneck Garlic
Best for colder climates. Hardneck varieties produce fewer, larger cloves and develop a flower stalk (called a scape) that you can harvest and eat in early summer.
Popular types:
- Rocambole
- Purple Stripe
- Porcelain
2. Softneck Garlic
Ideal for milder climates. Softneck garlic produces more cloves per bulb, stores longer, and typically doesn’t develop a scape.
Popular types:
- Artichoke
- Silverskin
Pro tip: If you’re unsure which to choose, consult local gardeners or nurseries for varieties suited to your region.
When to Plant Garlic
Timing is crucial for a successful garlic harvest. Garlic is typically planted in the fall, around 4-6 weeks before the ground freezes. This allows the cloves to establish roots before going dormant in winter.
General guidelines:
- Cold climates (zones 3-7): Late September to early November
- Mild climates (zones 8-10): November to January
Preparing the Planting Site
Garlic thrives in well-drained, fertile soil with plenty of organic matter. Follow these steps to prepare your planting site:
1. Select a Sunny Spot
Garlic needs 6-8 hours of direct sunlight daily for optimal growth.
2. Test and Amend the Soil
- Ideal soil pH: 6.0 to 7.0
- Add compost or well-rotted manure to enrich the soil.
- Avoid overly wet or clay-heavy soils, which can cause rot.
3. Loosen the Soil
Till or dig the soil to a depth of at least 8 inches, removing rocks and debris to allow for good root development.
How to Plant Garlic Step by Step
Now for the fun part — let’s get those cloves in the ground!
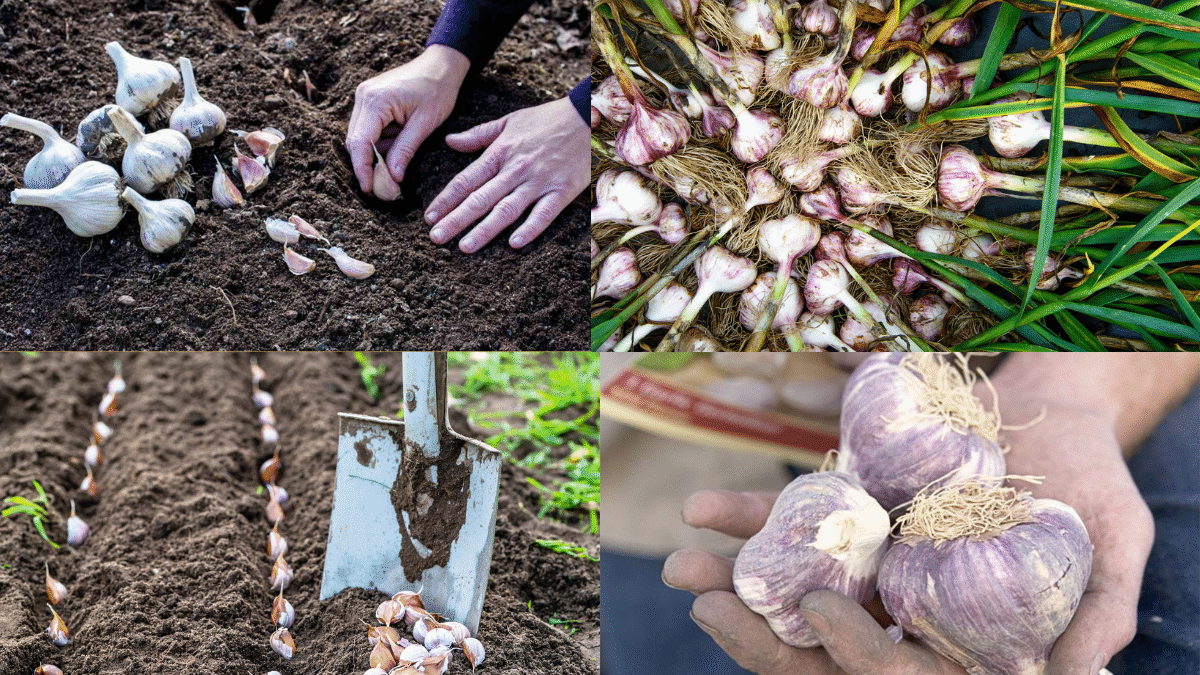
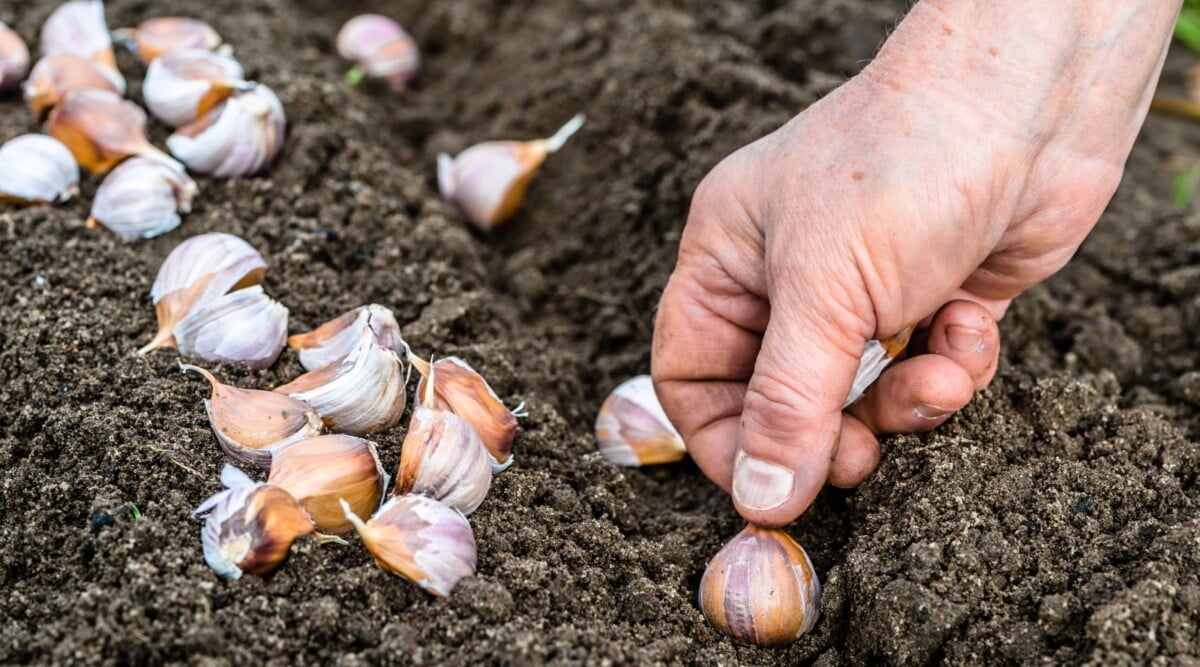
Step 1: Break the Bulbs Apart
Gently separate the garlic bulb into individual cloves, keeping the papery skin intact. Only plant the largest, healthiest cloves for maximum yield. Smaller cloves can be used in the kitchen.
Step 2: Soak the Cloves (Optional)
Some gardeners soak cloves in a mixture of water and baking soda or fish emulsion for a few hours to reduce disease risk and encourage root growth.

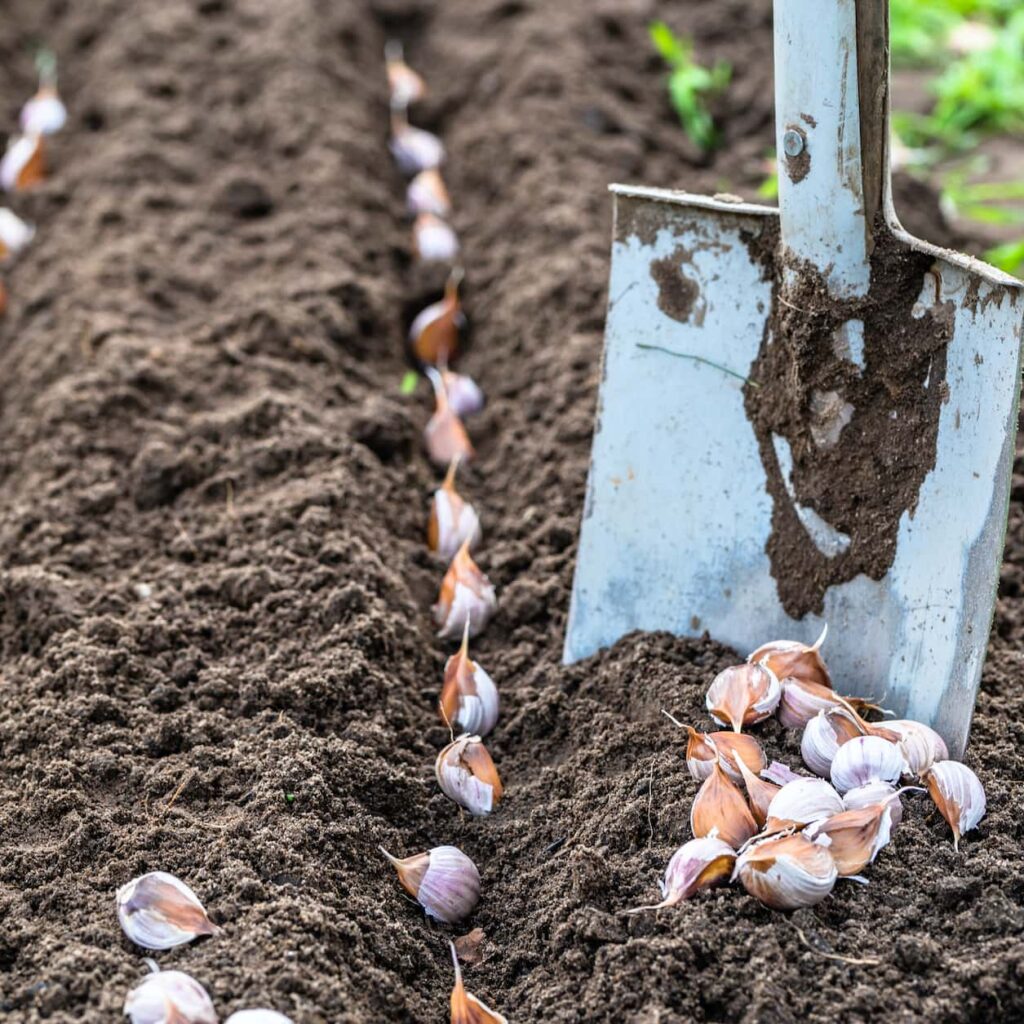
Step 3: Dig Planting Holes
- Space holes 4-6 inches apart in rows that are 12-18 inches apart.
- Plant each clove 2 inches deep with the pointy end facing up and the flat root end down.
Step 4: Cover and Mulch
Backfill with soil and cover the area with a 2-4 inch layer of organic mulch (straw, shredded leaves, or grass clippings). Mulch helps:
- Retain soil moisture
- Suppress weeds
- Protect against temperature fluctuations
Garlic Care Tips for a Bigger Harvest
Once your garlic is in the ground, proper care ensures healthy bulbs come harvest time.
1. Water Regularly
Garlic needs consistent moisture, especially during spring growth. Water deeply but avoid waterlogging, which can cause bulb rot.
Watering schedule:
- Fall: Water after planting and if autumn is dry.
- Winter: Minimal, unless in mild climates.
- Spring: Keep soil evenly moist until leaves begin to yellow in early summer.
2. Fertilize Wisely
Garlic is a heavy feeder. Apply a balanced organic fertilizer or fish emulsion in early spring and again mid-spring as growth accelerates.
Avoid excessive nitrogen late in the season, as it promotes leaf growth at the expense of bulb size.
3. Remove Scapes (For Hardneck Garlic)
In early summer, hardneck garlic produces curly green stalks (scapes). Cut them off when they make a full loop to redirect the plant’s energy to bulb formation. Bonus: scapes are delicious sautéed or blended into pesto.
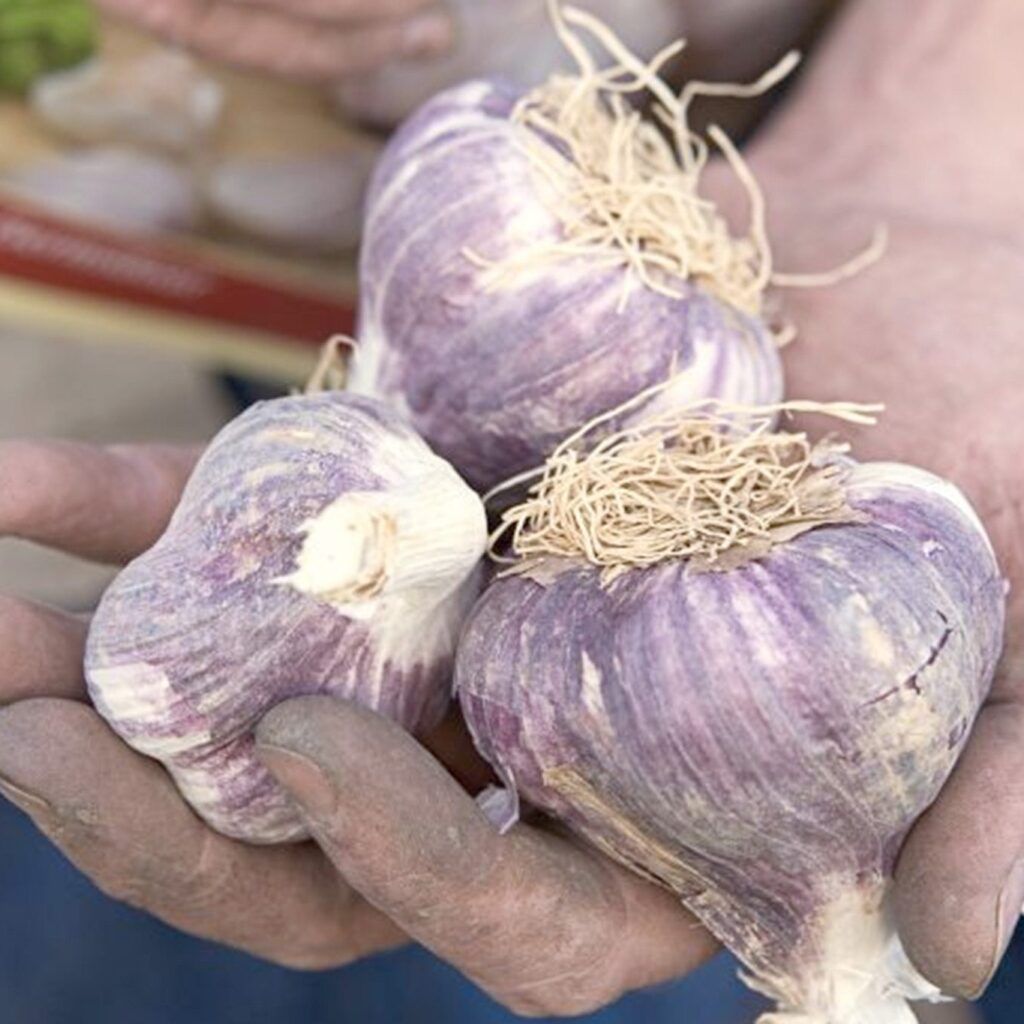
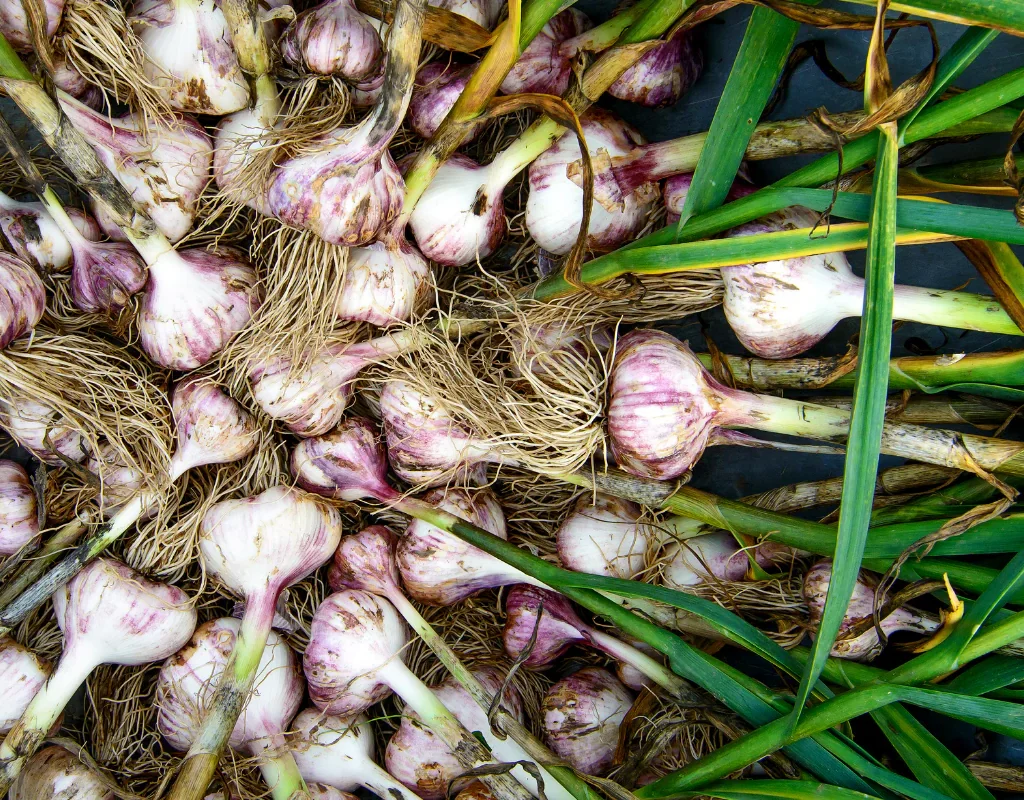
Harvesting Your Garlic
Timing is key for harvesting maximum-sized, well-cured bulbs.
When to harvest:
- Watch for leaves turning yellow and drying from the bottom up.
- When 5-6 green leaves remain, it’s time to harvest.
How to harvest:
- Loosen the soil with a garden fork.
- Gently lift the bulbs — avoid pulling them by the stalk, which can damage the bulb.
Curing and Storing Garlic
Proper curing and storage ensure your garlic lasts for months.
1. Cure the Bulbs
- Brush off excess dirt — don’t wash them.
- Hang bulbs in bunches or lay them on racks in a dry, shady, well-ventilated space for 2-4 weeks.
2. Trim and Store
After curing:
- Cut off roots and trim stalks to about an inch (for softneck varieties, you can braid the stalks).
- Store bulbs in mesh bags or baskets in a cool, dry place. Ideal storage temperature: 50-60°F.
Softneck garlic can last up to 9-12 months; hardneck types typically store for 4-6 months.
Common Garlic Growing Problems (and How to Avoid Them)
- Rot: Ensure well-drained soil and avoid overwatering.
- Pests (onion maggots, nematodes): Rotate crops and avoid planting garlic in the same spot for 2-3 years.
- Fungal diseases (white rot, rust): Use disease-free seed garlic and mulch heavily to reduce spore spread.
Final Thoughts
Growing garlic is one of the most satisfying gardening projects — it requires relatively little maintenance and rewards you with flavorful, healthy bulbs for months to come. By choosing the right variety, planting at the optimal time, and following these care tips, you’ll be well on your way to achieving a maximum-yield garlic harvest.
So, grab a few bulbs, find a sunny patch of soil, and start planting! Your future self (and your kitchen) will thank you.
Leave A Comment