
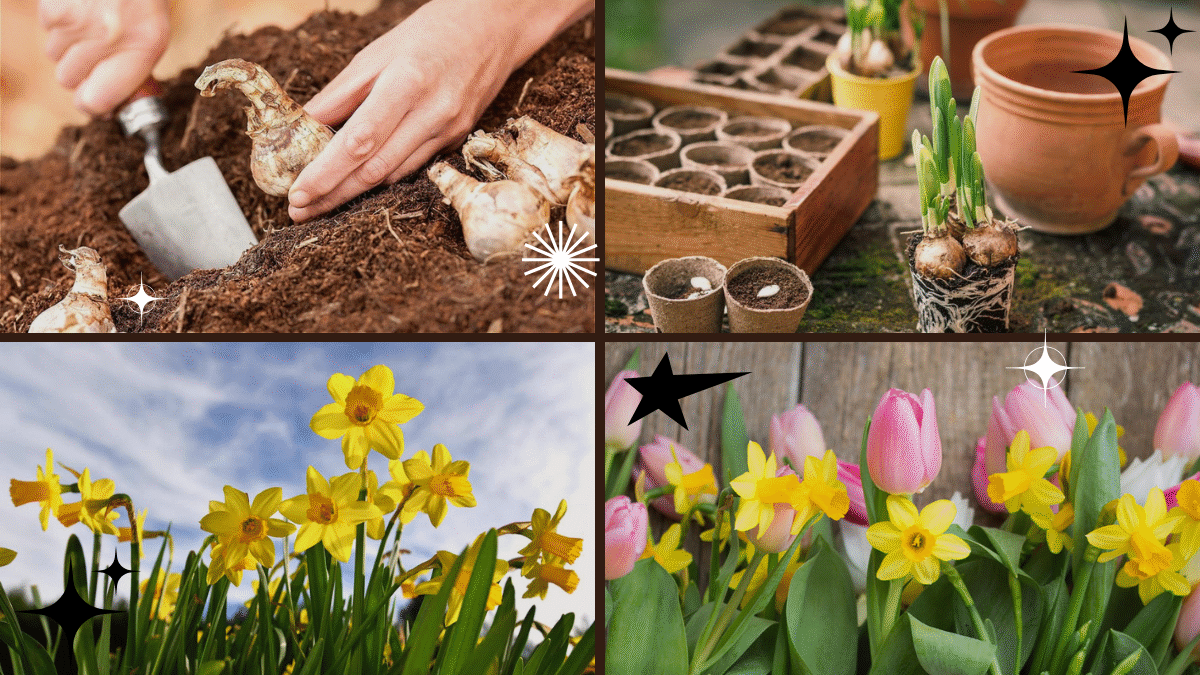
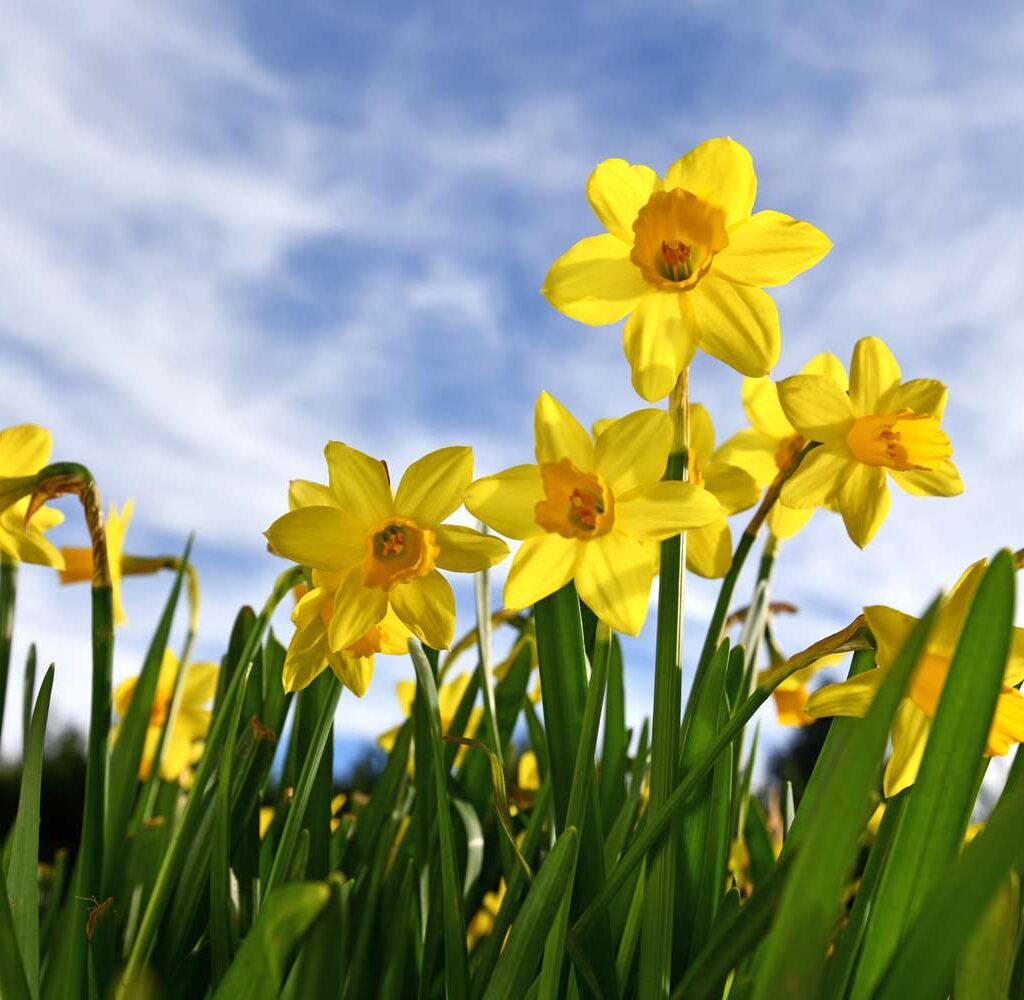
Is there anything more uplifting than the sight of bright yellow daffodils signaling the arrival of spring? These cheerful, trumpet-shaped flowers are among the earliest bloomers, offering a burst of color when gardens need it most. The good news is — daffodils are easy to plant, incredibly resilient, and require minimal care once established.
In this detailed guide, you’ll learn how to plant daffodil bulbs for glorious spring blooms, including choosing the best bulbs, ideal planting times, soil preparation, planting techniques, and expert care tips.
Why Plant Daffodils?
Daffodils (Narcissus spp.) are beloved for their bright, sunny appearance and are one of the most dependable spring perennials. Here’s why you should include them in your garden:
- Easy to grow and low maintenance
- Deer and rodent resistant
- Naturalizes well (multiplies and returns year after year)
- Available in a variety of colors — classic yellow, white, peach, and even pink
- Perfect for borders, flower beds, containers, and naturalized meadows
When to Plant Daffodil Bulbs
Timing is crucial for successful blooms.
Daffodil bulbs need a chilling period to develop roots and flower properly in spring.
- Best time to plant: Fall, about 2–4 weeks before the ground freezes
- In most regions, this means September to November
- In warmer climates (zones 8–10), refrigerate bulbs for 6–8 weeks before planting
Pro tip: The soil temperature should be around 60°F (15°C) or lower at planting time.
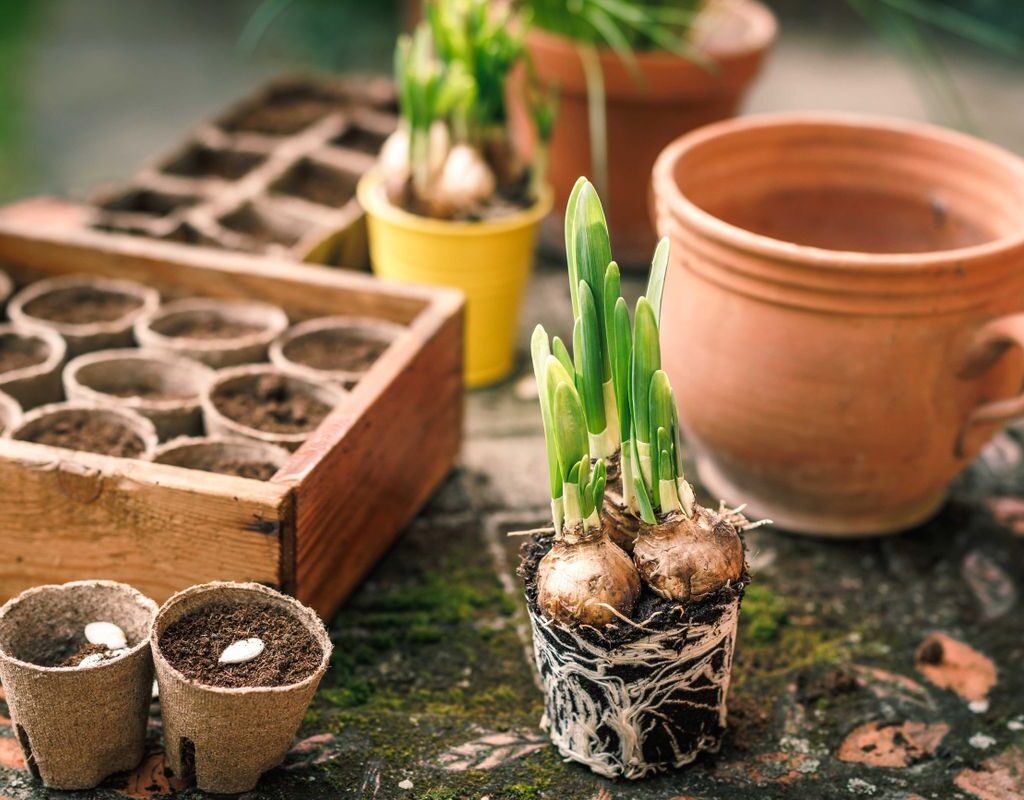
Choosing the Best Daffodil Bulbs
Healthy bulbs = healthy blooms.
When shopping for daffodil bulbs:

- Choose firm, plump bulbs without soft spots, mold, or signs of disease.
- Bigger bulbs generally produce stronger flowers.
- Pick varieties based on bloom time (early, mid, or late spring) and color preference.
Popular daffodil varieties:
- King Alfred — classic large yellow
- Tête-à-Tête — charming dwarf variety
- Ice Follies — white petals with a soft yellow cup
- Thalia — elegant white blooms
- Pink Charm — blush-pink centers with white petals
Where to Plant Daffodils
Daffodils are versatile and can thrive in a variety of garden settings.
For best results:
- Choose a spot with full to partial sun (at least 6 hours daily)
- Ensure well-draining soil — daffodils don’t like wet feet
- Ideal for:
- Flower beds
- Borders
- Under deciduous trees (they bloom before trees leaf out)
- Along fences and walkways
- Containers and window boxes
How to Prepare the Soil
Well-prepared soil sets the foundation for strong roots and healthy blooms.
Soil preparation steps:
- Loosen the soil to a depth of 12 inches
- Remove rocks, weeds, and debris
- Mix in compost, well-rotted manure, or peat moss to improve drainage and fertility
- Add a balanced bulb fertilizer or bone meal at planting time
Soil pH:
Daffodils prefer slightly acidic to neutral soil (pH 6.0–7.0)
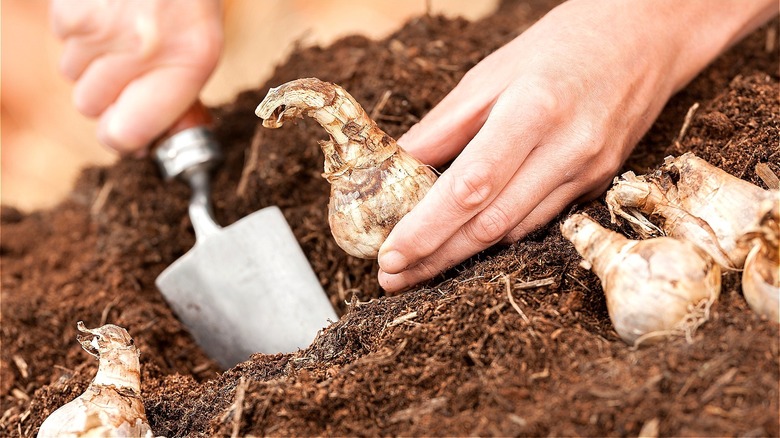
How to Plant Daffodil Bulbs
Spacing and Depth
- Plant bulbs 6 inches deep (about 2–3 times the bulb’s height)
- Space bulbs 3–6 inches apart for a natural, clustered look or denser displays
Planting Tips:
- Plant with the pointy end facing up and the flat, root end down.
- If unsure, plant bulbs sideways — they’ll find their way up.
- Water thoroughly after planting to settle the soil.
Pro tip: Plant in odd numbers (3, 5, 7) for a natural, informal look.
Watering and Mulching
- After planting, water thoroughly
- Keep soil lightly moist (not soggy) through fall and winter if rainfall is scarce
- Once established, daffodils are fairly drought tolerant
Mulching:
- Apply a 2–3 inch layer of mulch (straw, leaves, or shredded bark) after planting to:
- Conserve soil moisture
- Regulate soil temperature
- Protect bulbs from extreme winter cold
Daffodil Care After Planting
Once your daffodils sprout and bloom in spring:
- Water during dry spells while the foliage is green
- Deadhead spent flowers to direct energy back to the bulb
- Allow the foliage to die back naturally — this is essential for storing energy for next year’s bloom
- Don’t cut or tie leaves until they turn yellow and wither
Fertilizing:
- Apply a low-nitrogen, high-potassium bulb fertilizer in early spring when shoots appear
- Repeat after blooming to encourage strong bulbs for next year
Common Pests and Problems
Daffodils are naturally resistant to most pests and diseases, but here’s what to watch for:
- Bulb rot — caused by poor drainage; always plant in well-drained soil
- Narcissus fly — larvae feed on bulbs; dig up and discard affected bulbs
- Aphids — can transmit viruses; treat with insecticidal soap if needed
Lifting and Dividing Daffodil Bulbs
After several years, daffodil clumps may become overcrowded and produce fewer flowers.
When to lift and divide:
- Wait until 6–8 weeks after flowering when the foliage has died down
- Gently lift bulbs with a garden fork
- Separate offsets (baby bulbs) and replant them at the recommended depth and spacing
Pro tip: It may take a season or two for offsets to reach flowering size.
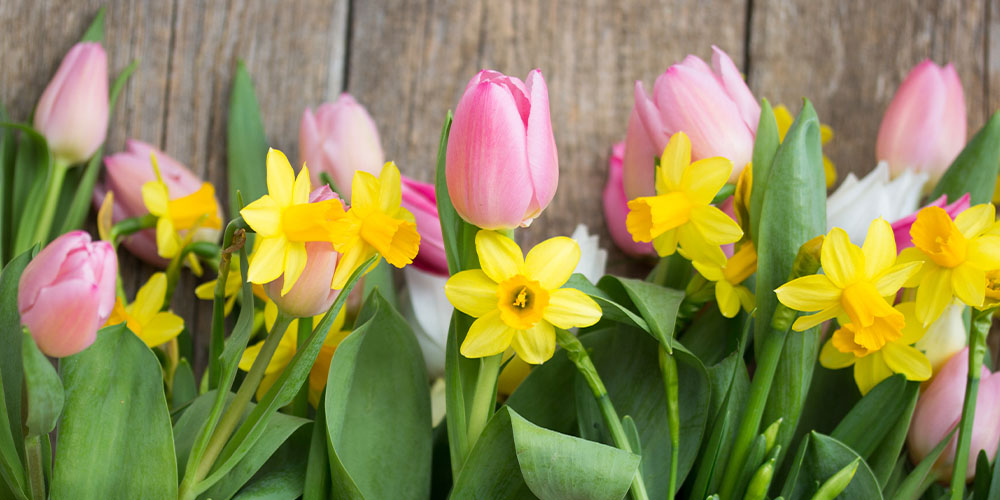
Creative Ways to Use Daffodils in the Garden
Daffodils aren’t just for flower beds!
Here are a few charming ideas:
- Plant around mailboxes, tree bases, or garden statues
- Create a drift of daffodils in a naturalized lawn setting
- Pair with tulips, hyacinths, and crocuses for a layered spring display
- Use in window boxes or containers for balconies and patios
- Mix different varieties for a continuous bloom succession
Final Thoughts
Learning how to plant daffodil bulbs for spring blooms is one of the simplest yet most rewarding gardening projects you can undertake. Their cheerful faces signal the end of winter and the promise of warmer, brighter days ahead.
With the right planting time, location, and care, you’ll enjoy a gorgeous display of daffodils that not only light up your garden but also return year after year with little effort.
So this fall, grab your favorite daffodil varieties, dig in, and look forward to a spectacular splash of color come springtime!
Leave A Comment