

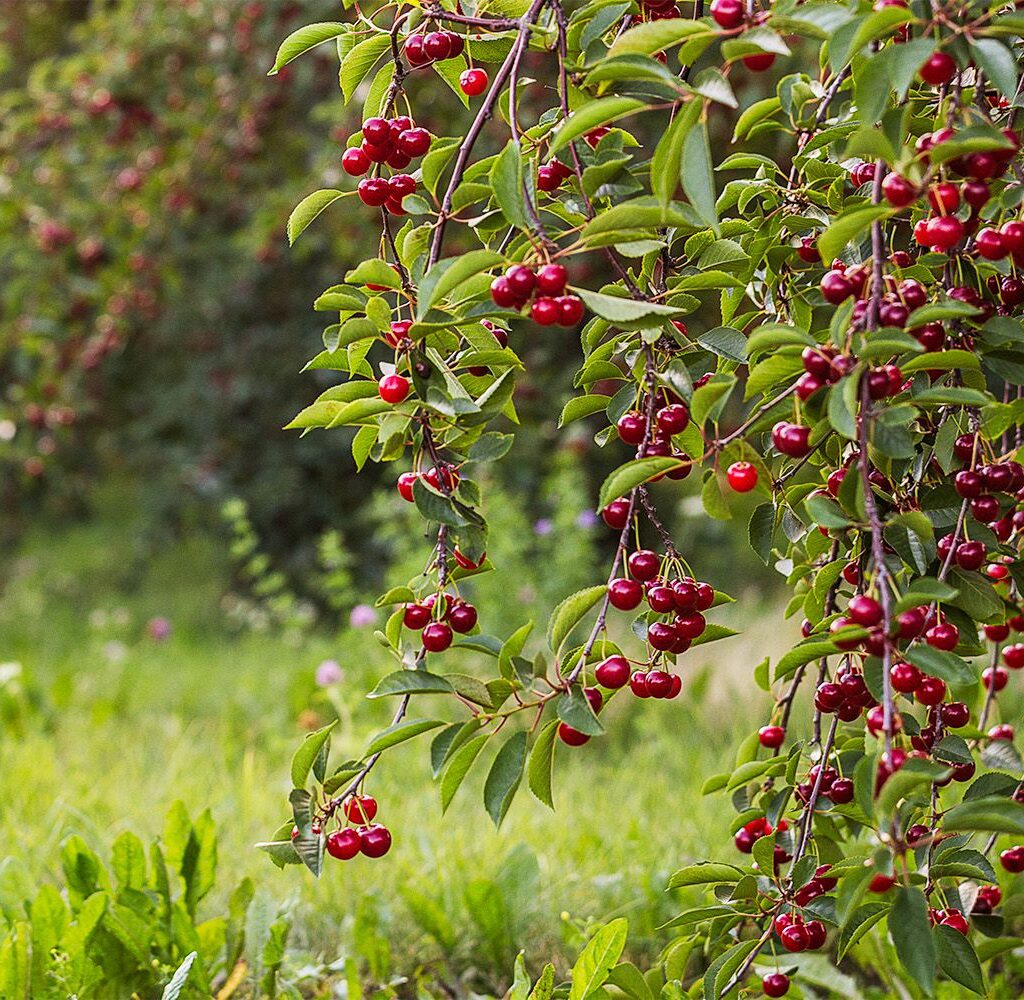
Who doesn’t love the sweet, juicy taste of cherries straight from the tree? While most people buy young cherry saplings from nurseries, it’s entirely possible — and rewarding — to grow a cherry tree from a simple pit! Though it requires patience, planting cherry pits can eventually produce beautiful, fruit-bearing trees right in your backyard.
If you’ve ever wondered how to plant cherry pits and grow your own cherry tree, this guide will walk you through every step, from pit preparation to seedling care and eventual tree maintenance.
Can You Really Grow a Cherry Tree from a Pit?
Yes — but with a few important things to keep in mind.
- Not every cherry pit will grow into a fruit-bearing tree. Most supermarket cherries are hybrid varieties that don’t always produce true-to-type fruit from their seeds. But they can still grow into healthy, ornamental trees — and with luck, delicious cherries too.
- It takes patience. Cherry trees grown from pits can take 7 to 10 years to start bearing fruit.
- Some varieties need cold stratification (a cold period) to sprout.
Despite the wait, planting cherry pits is an enjoyable, budget-friendly, and eco-conscious gardening project.
What You’ll Need
- Fresh cherry pits (from organic, untreated cherries)
- Small containers or pots
- Seed-starting soil or loamy garden soil
- Plastic zip-lock bags
- Paper towels
- A refrigerator for cold stratification
- A sunny outdoor spot for planting
- Water and mulch
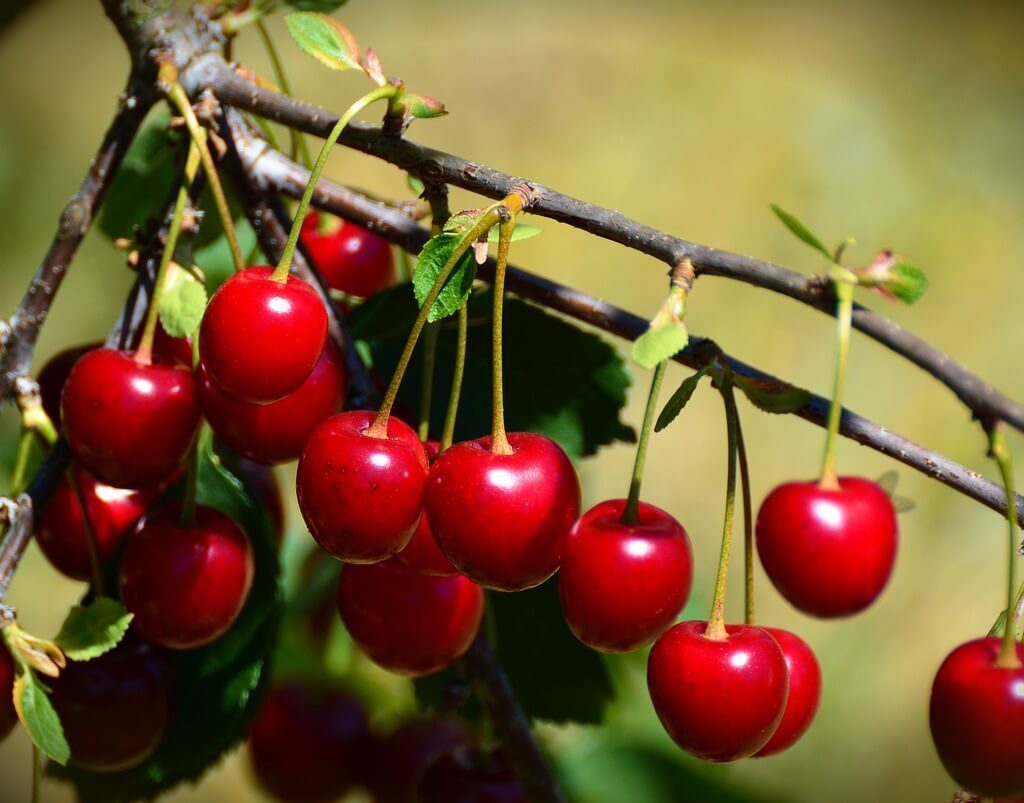
Choosing the Right Cherries
If possible, select organic cherries from a local farm or farmer’s market. Many commercial cherries are treated with chemicals that can inhibit germination.
There are two main cherry categories:

- Sweet Cherries (Prunus avium): Require more chill hours and are often grown in colder climates.
- Sour Cherries (Prunus cerasus): More cold-hardy and self-pollinating.
For first-time growers, sour cherries are easier and more reliable to grow from seed.
How to Plant Cherry Pits: Step-by-Step Guide
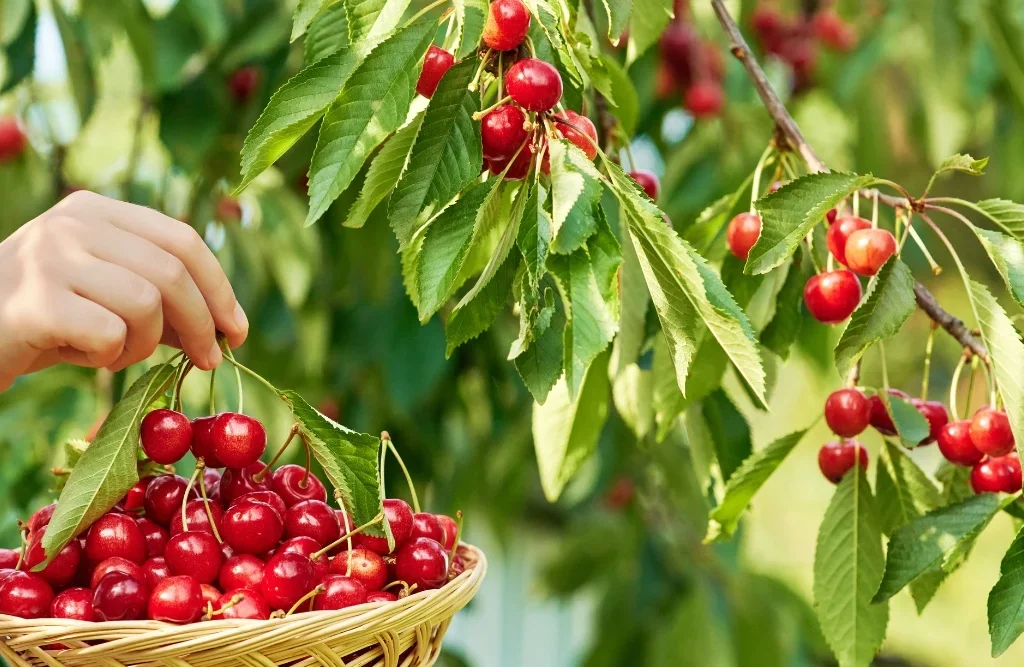
Step 1: Extract and Clean the Pits
- Enjoy your fresh cherries, then collect the pits.
- Rinse them thoroughly in water to remove any leftover fruit flesh.
- Let the pits dry on a paper towel for a few days.
Tip: Avoid cracking the pits open — the hard outer shell protects the seed inside during the stratification process.
Step 2: Cold Stratification (Mimicking Winter)
Cherry seeds require a cold dormant period to sprout. This can be done naturally outdoors or artificially in your refrigerator.
To stratify in the fridge:
- Wrap clean, dry cherry pits in a moist paper towel.
- Place the towel in a zip-lock bag and seal it.
- Label the bag with the date.
- Store it in the refrigerator at 33°F to 41°F (0.5°C to 5°C) for 10 to 12 weeks.
- Check periodically to ensure the towel stays moist, not soaked.
After this period, the seeds should be ready to plant.
Step 3: Prepare the Soil
Use a well-draining, loamy soil rich in organic matter for your cherry seeds. Cherry trees prefer slightly acidic to neutral pH levels (6.0 to 7.0).
If starting indoors:
- Fill small pots or seed trays with seed-starting mix.
- Moisten the soil before planting.
If planting directly outdoors:
- Choose a sunny, sheltered spot with fertile soil.
- Avoid areas prone to waterlogging.
Step 4: Plant the Pits
- Plant seeds 1 to 2 inches deep in the soil.
- Space them about 6 to 8 inches apart if planting in a seed tray.
- Cover gently with soil and water lightly.
Tip: Plant extra seeds — not all will germinate.
Step 5: Germination and Early Growth
- Place indoor pots near a bright window or under grow lights.
- Keep the soil moist but not waterlogged.
- Germination usually occurs in 4 to 8 weeks after stratification.
Once the seedlings are 3 to 4 inches tall, thin them out by keeping the strongest and healthiest sprouts.
Transplanting Seedlings Outdoors
Once your cherry seedlings reach about 8 to 10 inches in height and the risk of frost has passed, it’s time to transplant them into their permanent location.
Site Selection
- Choose a sunny spot with at least 6 hours of direct sunlight daily.
- Ensure the soil is fertile, well-draining, and deep.
Planting Instructions
- Dig a hole twice the size of the seedling’s root ball.
- Place the seedling carefully into the hole.
- Backfill with soil and press gently to remove air pockets.
- Water thoroughly.
Caring for Your Cherry Tree
Watering
- Keep the soil consistently moist in the first year.
- Once established, water deeply once a week, especially during dry spells.
Fertilizing
- Use a balanced fertilizer in early spring.
- Avoid over-fertilizing — too much nitrogen can hinder flowering.
Mulching
- Add a 2-3 inch layer of mulch around the base to retain moisture and suppress weeds.
- Keep mulch a few inches away from the trunk to prevent rot.
Pruning
- Begin light pruning after the first year to shape the tree.
- Remove dead, damaged, or crossing branches to improve airflow and structure.
When Will Your Cherry Tree Bear Fruit?
- Seed-grown cherry trees typically take 7–10 years to produce fruit.
- Grafted nursery trees, by comparison, usually fruit in 3–5 years.
While the wait may be long, the reward is a beautiful, fruit-bearing tree you grew from a simple pit — a truly special addition to any garden.

Potential Challenges
| Problem | Solution |
|---|---|
| Poor germination rate | Plant multiple pits to improve odds |
| Fungal diseases | Ensure good air circulation and avoid overhead watering |
| Birds and pests | Use netting or scare tactics to protect fruits |
Fun Bonus: Grow Cherries Indoors in Containers
If you lack outdoor space, certain dwarf cherry varieties can be grown in large containers.
- Use a 15–20 gallon container with drainage holes.
- Choose a compact or self-pollinating variety.
- Keep the container in a sunny spot or greenhouse.
- Move it indoors during winter in colder climates.
Though container trees may not grow as large, they often fruit sooner and are easier to manage.
Final Thoughts
Growing a cherry tree from a pit is a simple, rewarding project that combines patience with nature’s magic. Even if your tree doesn’t yield an abundant harvest, it can still become a lovely shade or ornamental tree for your yard.
By following these detailed steps on how to plant cherry pits for fruit-bearing trees, you’ll be well on your way to enjoying homegrown cherries — or at the very least, a beautiful tree that started from humble beginnings.
Leave A Comment