
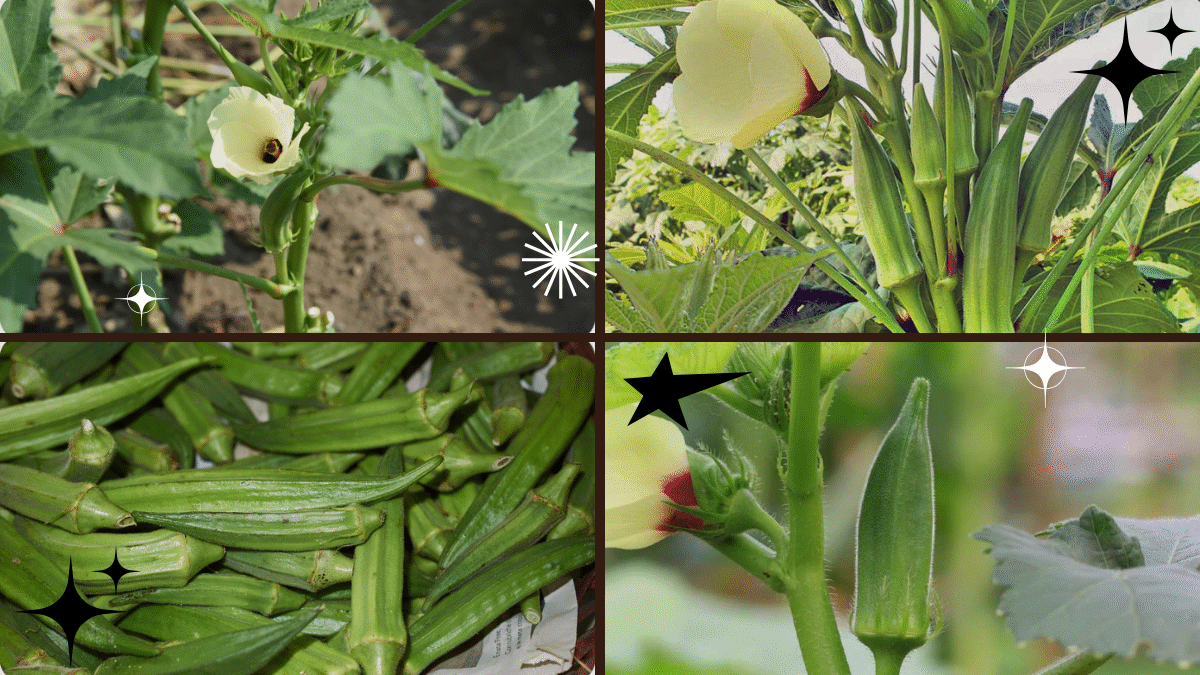
If you’re dreaming of growing a warm-season vegetable that’s both beautiful and incredibly productive, look no further than okra. Known for its edible green pods, okra is a staple in Southern cooking and is widely loved for its health benefits, unique texture, and rich flavor. The best part? It’s surprisingly easy to grow in your home garden, even if you’re a beginner!
In this comprehensive guide, you’ll learn how to plant an okra from seed to harvest, along with expert tips on care, troubleshooting, and using your fresh, homegrown harvest.
Why Grow Okra in Your Garden?
Okra, also called ladies’ fingers or gumbo, isn’t just a tasty veggie — it’s a powerhouse plant with numerous perks:
- Fast-growing and high-yielding
- Heat and drought-tolerant
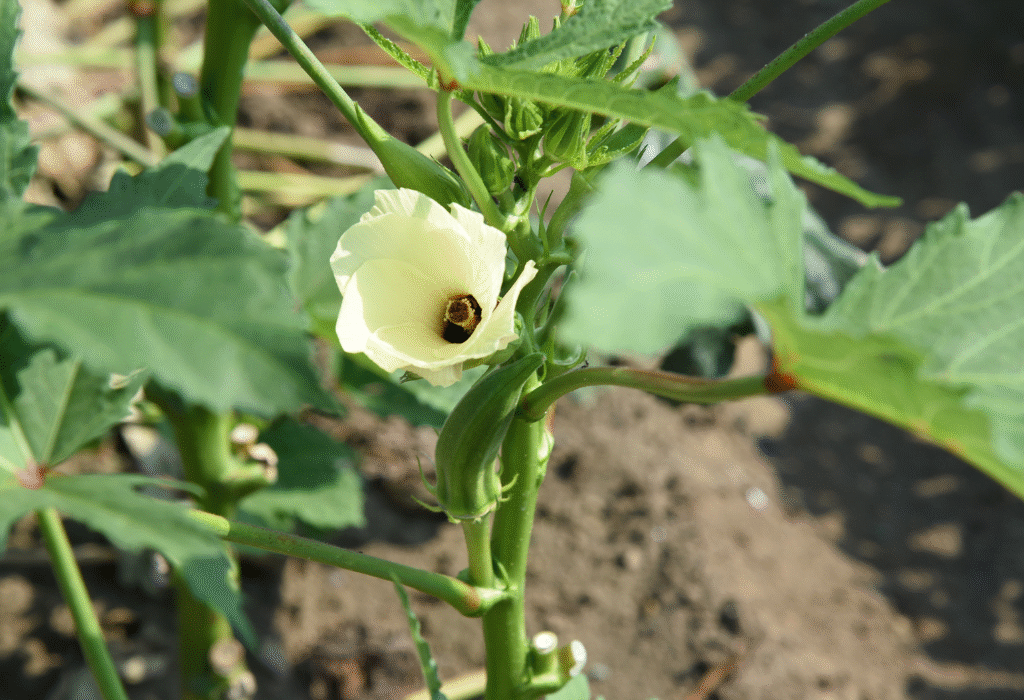
- Attracts pollinators with its gorgeous hibiscus-like flowers
- Rich in fiber, antioxidants, vitamins C and K
- Versatile in the kitchen — perfect for frying, stews, grilling, and pickling
Plus, few things are more satisfying than picking fresh okra pods from your own backyard.

Best Growing Conditions for Okra
Before diving in, it’s important to understand what okra loves:
- USDA Hardiness Zones: 6–11 (as an annual)
- Soil: Well-drained, fertile, and slightly acidic (pH 6.0–6.8)
- Light: Full sun — at least 6–8 hours daily
- Temperature: Thrives in warm weather, ideally 75°F–95°F (24°C–35°C)
- Water: Moderate, with deep watering once or twice a week
When to Plant Okra
Okra is a heat-loving plant, so timing is key.
- Outdoors: Plant seeds 2–3 weeks after your area’s last frost date when soil temperatures reach 65°F–70°F (18°C–21°C).
- Indoors: In cooler climates, you can start seeds indoors 3–4 weeks before the last frost and transplant them after danger of frost has passed.
How to Plant an Okra: Step-by-Step Guide
What You’ll Need:
- Okra seeds (popular varieties include Clemson Spineless, Burgundy, or Annie Oakley)
- Garden bed or large containers (minimum 5-gallon size)
- Organic compost or aged manure
- Garden trowel
- Mulch (optional)
Step 1: Choose the Right Location
Select a sunny, sheltered spot in your garden with good drainage. Avoid areas where standing water collects after rain, as okra dislikes soggy roots.

Pro tip: Okra grows tall (3–6 feet) — plant it along a garden border or the back of a bed so it won’t shade out smaller plants.
Step 2: Prepare the Soil
Okra loves rich, loose, and slightly acidic soil. To prep your garden bed:
- Remove weeds and debris.
- Loosen the soil to a depth of 12 inches using a garden fork or tiller.
- Mix in 2–3 inches of compost or aged manure to enrich the soil.
Check the soil’s pH with a tester kit if possible, adjusting with garden lime (to raise pH) or sulfur (to lower pH) as needed.
Step 3: Soak the Seeds
Okra seeds have a hard outer coating, so to encourage faster germination:
- Soak them in warm water overnight (12–24 hours) before planting.
This softens the seed coat and improves sprouting success.
Step 4: Plant the Seeds
- Plant seeds 1 inch deep and about 12–18 inches apart in rows spaced 3 feet apart.
- In containers, plant one seed per pot.
- Cover with soil and gently firm it down.
- Water thoroughly.
Pro tip: For continuous harvest, plant okra in successive batches every 2–3 weeks during the growing season.
Step 5: Water and Mulch
Keep the soil evenly moist until seeds germinate (typically 7–10 days). Once established, okra prefers deep, infrequent watering.

Add a layer of organic mulch (like straw or shredded leaves) around plants to retain moisture, suppress weeds, and regulate soil temperature.
How to Care for Okra Plants
Light:
Ensure your plants receive at least 6–8 hours of direct sunlight daily.
Watering:
Water deeply once a week or more in dry spells. Avoid frequent, shallow watering, as okra roots prefer depth.
Fertilizing:
Feed your plants with a balanced, slow-release fertilizer (10-10-10) at planting time and again when the plants start to flower.
Pruning:
Remove lower leaves and damaged foliage to improve air circulation and reduce disease risk.
Staking (if necessary):
Tall varieties may need staking to prevent wind damage.
Common Pests and Problems
- Aphids: Spray with soapy water or neem oil.
- Caterpillars: Hand-pick or use organic BT spray.
- Fungal diseases (like powdery mildew): Avoid overhead watering and ensure good air circulation.
- Root rot: Prevent by planting in well-drained soil and avoiding overwatering.
When and How to Harvest Okra
Harvesting is one of the best parts of growing okra!

- Pods are ready 50–60 days after planting.
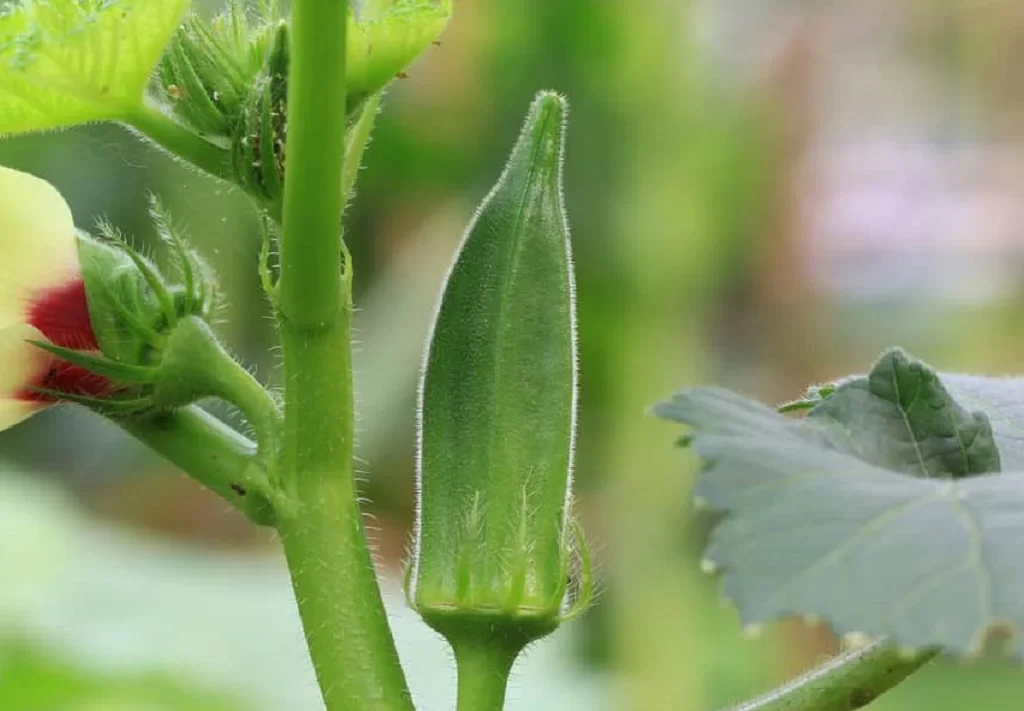
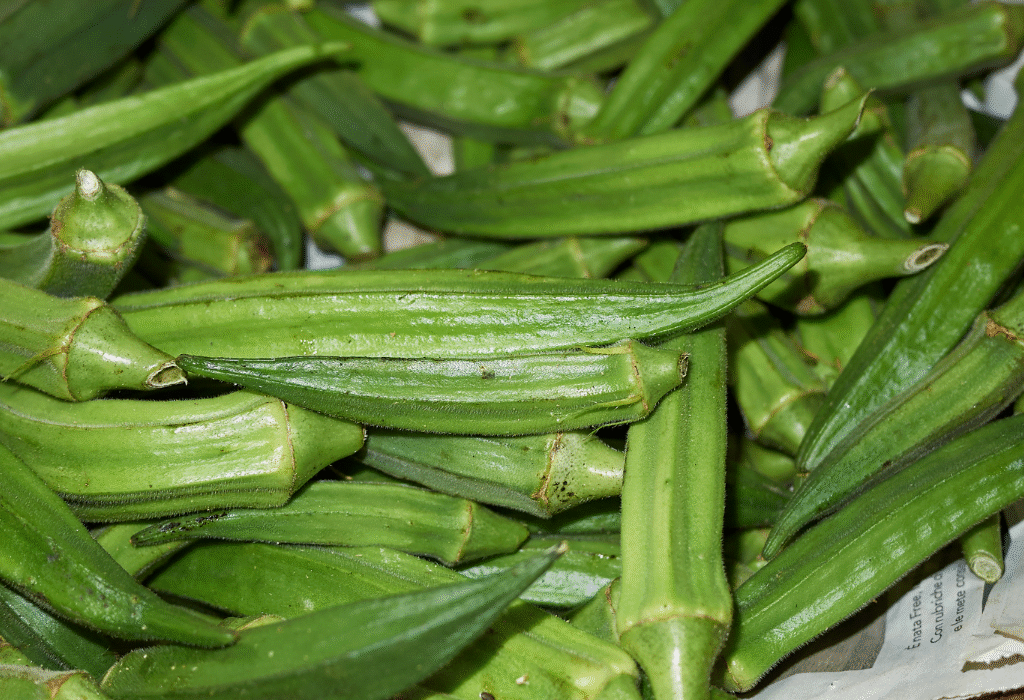
- Pick when pods are 2–4 inches long, tender, and bright green.
- Use garden shears or snap them off by hand.
- Harvest every 1–2 days during peak season, as pods mature quickly and can become tough if left too long.
Pro tip:
Wear gloves or long sleeves if you have sensitive skin, as okra plants can be a little prickly.
Uses for Fresh Okra
Homegrown okra is a kitchen gem. Here’s how to enjoy it:
- Fried okra: A classic Southern favorite
- Okra gumbo: Thickens soups and stews naturally
- Pickled okra: Crunchy, tangy snack
- Grilled okra: Lightly charred with olive oil and spices
- Okra curry: Popular in Indian and Caribbean dishes
Plus, it’s packed with vitamins A, C, K, and folate, as well as dietary fiber and antioxidants.
Fun Facts About Okra
- Okra originated in Africa and was brought to the Americas in the 17th century.
- Its seeds were once used as a coffee substitute during the American Civil War.
- In some cultures, okra is called “lady’s finger” because of its slender, finger-like pods.
- Okra flowers are edible and resemble hibiscus blooms.
Final Thoughts
Growing your own okra is a simple, rewarding way to fill your table with healthy, delicious vegetables all summer long. With just a bit of sunlight, warmth, and regular care, you’ll be rewarded with an abundant harvest of tender, tasty pods perfect for everything from stews to pickles.
Whether you have a sprawling backyard garden or a sunny balcony container, planting okra can turn your green thumb dreams into a delicious reality.
Leave A Comment