
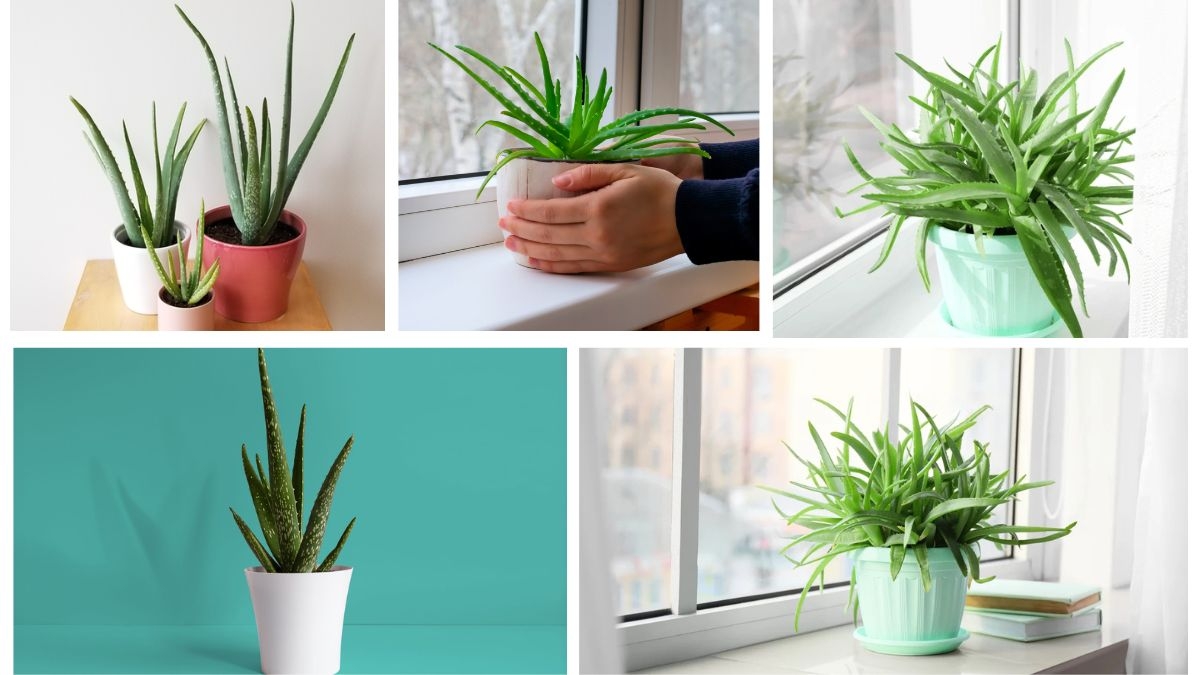
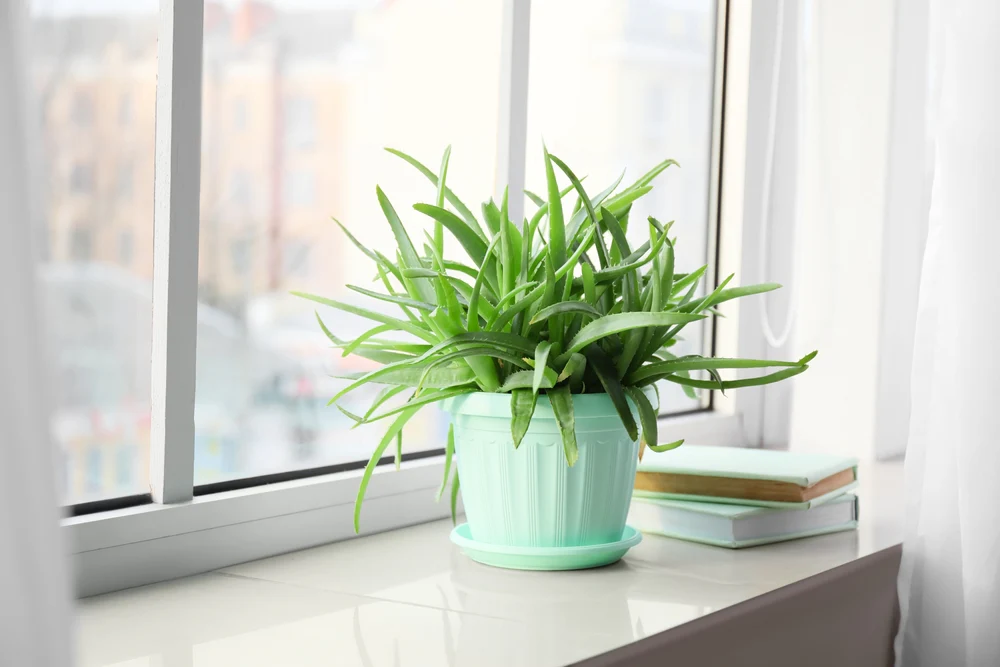
Aloe vera is one of the most beloved succulent plants worldwide. Known for its soothing gel, healing properties, and striking green appearance, aloe vera is not just a pretty face—it’s a practical, medicinal, and low-maintenance addition to any home or garden. Whether you’re looking to grow aloe for its health benefits, to beautify your space, or simply to start a journey into gardening, planting aloe vera is the perfect starting point for beginners.
This comprehensive guide will walk you through everything you need to know—from selecting the right plant to planting, caring for, and maintaining your aloe vera for long-term success. Let’s dig in!
Why Choose Aloe Vera?
Aloe vera is perfect for beginners for several reasons:
- Low Maintenance: Thrives on neglect and requires minimal watering.
- Drought-Tolerant: Stores water in its thick, fleshy leaves.
- Medicinal Uses: The gel can soothe burns, cuts, insect bites, and more.
- Air-Purifying: Known to improve indoor air quality.
- Versatile: Can be grown indoors or outdoors in the right climate.
Step 1: Choosing the Right Aloe Vera Plant
If you’re starting from scratch, you have two main options:
1. Buy a Healthy Aloe Vera Plant
Purchase a mature aloe vera plant from a nursery or garden center. Look for:
- Firm, green leaves
- No visible signs of disease (brown spots, wilting, mold)
- A strong root base
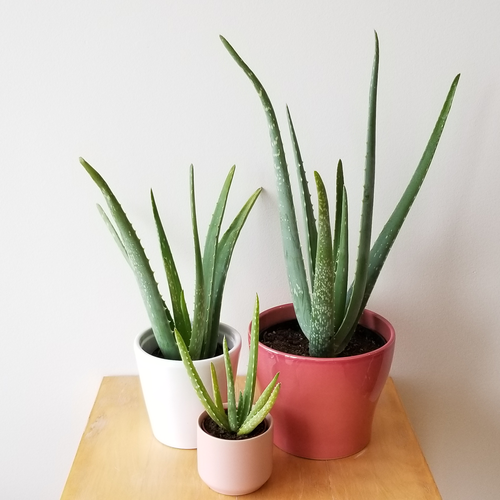
2. Use Aloe Vera Pups
If you already have an aloe plant or know someone who does, you can propagate it using pups—small baby plants that grow at the base of the mother plant. These can be separated and replanted.
Step 2: Selecting the Right Pot
Material
- Terracotta or clay pots are best because they’re breathable and help the soil dry out faster.
- Avoid plastic pots unless they have excellent drainage.
Drainage
- The pot must have drainage holes to prevent water from pooling and causing root rot.
Size
- Choose a pot that is about 2 inches wider than the root ball of your plant.
- Don’t oversize it—aloe prefers snug roots.
Step 3: Choosing the Right Soil
Aloe vera needs well-draining soil to thrive. Avoid regular potting mix which holds too much moisture.
Best Soil Options:
- Cactus or succulent mix (available in stores)
- Or DIY mix:
- 2 parts potting soil
- 1 part sand or perlite
- 1 part pumice or crushed granite
This type of soil mimics aloe’s natural desert environment and prevents overwatering issues.
Step 4: How to Plant Aloe Vera
Materials Needed:
- Aloe vera plant or pup
- Pot with drainage holes
- Cactus or succulent soil
- Gloves (optional, for handling)
- Small gardening trowel
Instructions:
For Aloe Vera Pups:
- Remove the pup from the mother plant using a clean knife or gently twist it off.
- Ensure the pup has some roots attached.
- Let the pup sit out in the open for 1–2 days so the cut end can callous over. This helps prevent rot.
Planting Steps:
- Fill the pot about ¾ full with your well-draining soil mix.
- Place the aloe plant or pup in the center of the pot.
- Add more soil around the roots, pressing gently to stabilize the plant.
- Ensure the base of the leaves sits just above the soil line—never bury the leaves.
- Do not water immediately. Wait 5–7 days before the first watering to allow roots to settle and avoid rot.
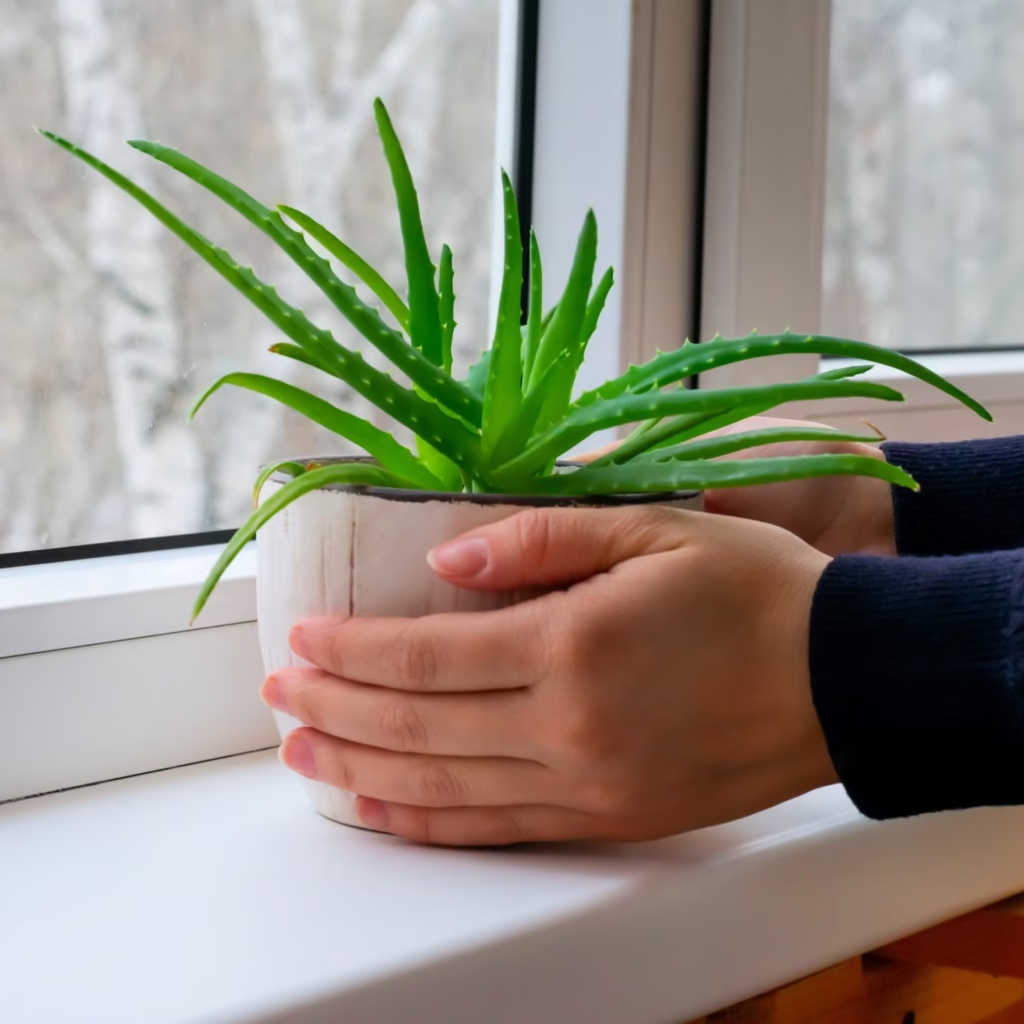
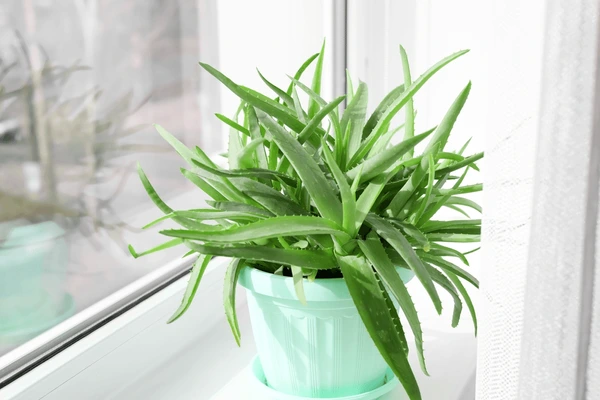
Step 5: Choosing the Right Location

Aloe vera loves bright, indirect sunlight. It can tolerate direct sunlight, but too much can scorch the leaves, especially when newly planted.
Ideal Locations:
- Indoors: Near a south- or west-facing window
- Outdoors: In partial sun or light shade
- Climate: Aloe vera is best suited for USDA zones 9–11. In cooler areas, keep it as a houseplant.
Step 6: Watering Your Aloe Vera
Aloe is a succulent, so it doesn’t need much water.

Watering Guidelines:
- Water only when the top 2–3 inches of soil are completely dry.
- In spring and summer (growing season), water every 2–3 weeks.
- In fall and winter, reduce to every 4–5 weeks.
- Always water deeply, allowing excess water to drain out.
Important: Overwatering is the most common reason aloe plants die. If in doubt, skip watering!
Step 7: Fertilizing Aloe Vera
Fertilizing isn’t required often, but occasional feeding helps boost growth.
When to Fertilize:
- Once in spring and once in mid-summer is sufficient.
Best Fertilizer:
- Use a balanced, water-soluble fertilizer diluted to half strength.
- Alternatively, use a cactus or succulent fertilizer once or twice a year.
Step 8: Aloe Vera Plant Maintenance
1. Pruning
- Remove dried or damaged leaves by cutting them at the base.
- Do not trim healthy green leaves unless harvesting gel.
2. Repotting
- Repot every 2–3 years or when the plant outgrows its pot.
- Refresh with new soil and choose a slightly larger pot.
3. Propagation
- As your plant matures, it will produce more pups.
- These can be separated and replanted, following the same process.
Step 9: Harvesting Aloe Vera Gel
Once your aloe plant is mature, you can harvest the gel:
How to Harvest:
- Select a mature outer leaf (thick and healthy).
- Cut at the base with a clean knife.
- Let the yellow sap (aloin) drain off—this can be irritating to the skin.
- Slice the leaf open and scoop out the clear inner gel.
- Use fresh gel immediately or store in the refrigerator for up to a week.
Note: Use only Aloe barbadensis miller, the true aloe vera species, for consumption or skin use.
Common Aloe Vera Problems and Solutions
| Problem | Cause | Solution |
|---|---|---|
| Yellow or mushy leaves | Overwatering | Allow soil to dry completely; repot if needed |
| Brown leaf tips | Too much direct sunlight or dry air | Move to indirect light; mist lightly |
| Drooping leaves | Underwatering or rootbound | Water deeply; check if repotting is needed |
| No pups forming | Young plant or low light | Be patient and ensure 6+ hours of light |
Conclusion
Planting aloe vera is a rewarding, easy-to-follow journey perfect for beginners. With minimal tools and care, you can grow a resilient, healing plant that adds beauty and purpose to your home or garden. By choosing the right pot, soil, location, and watering method, your aloe will not only survive—it will thrive.

Whether you’re interested in home remedies, interior greenery, or sustainable living, an aloe vera plant is the perfect green companion. Follow this guide, give your plant some sunshine and love, and soon you’ll have a thriving aloe vera ready to offer its soothing gel and vibrant charm.
Leave A Comment