

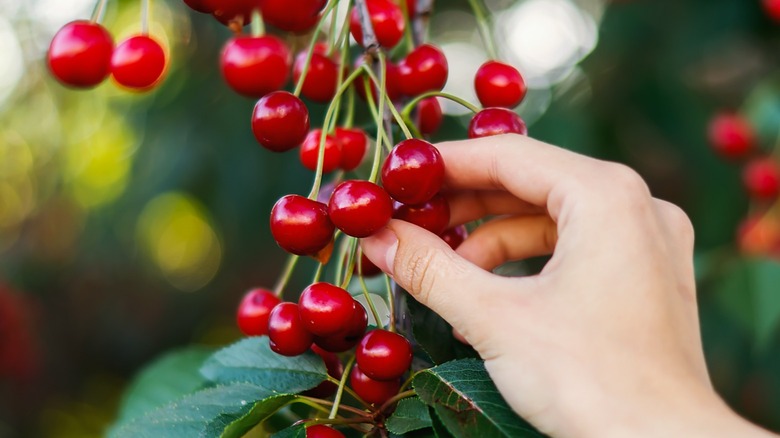
Who wouldn’t love having their very own cherry tree? From the beautiful spring blossoms to the delicious summer fruits, cherry trees are a joy to grow. If you’ve ever munched on some cherries and thought about planting the pits, you’re not alone! But planting a cherry seed isn’t as simple as popping it in the soil. It requires a little patience, some preparation, and the right techniques.
In this guide, we’ll walk you through how to plant a cherry seed the right way, ensuring you give your future tree the best chance to grow healthy and strong. Whether you’re aiming for sweet cherries or tart varieties, this step-by-step guide will set you up for success.

Why Plant a Cherry Seed?
Most people buy nursery-grown saplings when starting a cherry tree, but growing one from seed has its charm. It’s a rewarding, long-term project that connects you to the natural life cycle of a tree. Although growing from seed takes years before fruit appears (often 7–10 years), it’s a beautiful experience to watch your tree mature from a tiny seed into a full-grown, flowering tree.
Benefits of growing from seed:
- Cost-effective (practically free!)
- A great gardening experiment and learning process
- Adds unique beauty and personal satisfaction to your garden
- Can yield fruit in the long term (though it may differ from the parent cherry)
Important Things to Know Before You Start
There are a few essential facts about cherry seeds to keep in mind:
- Chill Requirement: Cherry seeds (pits) need a cold treatment called stratification to simulate winter conditions before they’ll sprout.
- Variety Variability: Seeds from store-bought cherries may not produce identical fruit. The offspring could have different flavor, size, and characteristics due to cross-pollination.
- Long Germination Time: Cherry seeds often take several months to sprout.
With these in mind, let’s get to planting!
What You’ll Need
Before starting, gather these materials:
- Fresh cherry seeds (from organic or untreated cherries)
- Small container or bowl
- Water
- Paper towels
- Ziplock bags
- Potting soil (well-draining)
- Small seedling pots
- Sandpaper or nutcracker (optional)
- Refrigerator
Step-by-Step Guide: How to Plant a Cherry Seed the Right Way
Step 1: Extract the Seed
Start by eating or removing the flesh from the cherry fruit. Rinse the pits thoroughly under cool water to remove any remaining pulp. Any leftover fruit can cause mold during storage or stratification.

Pro Tip: You can lightly rub the seeds with sandpaper or crack them gently with a nutcracker to speed up germination later, but be careful not to damage the seed inside.
Step 2: Dry the Seed
After cleaning, spread the pits on a paper towel and let them air dry at room temperature for 3–5 days. This helps prevent rot and makes them easier to handle.
Step 3: Stratify the Seed
Cherry seeds need cold, moist conditions to break dormancy. Here’s how to stratify them:
- Wrap the dried seeds in a damp (not wet) paper towel.
- Place the towel inside a labeled ziplock bag.
- Store the bag in your refrigerator at around 34–40°F (1–4°C) for 10–12 weeks.
- Check periodically to ensure the towel remains damp and there’s no mold.
During this time, the seeds undergo a simulated winter, preparing them for germination.
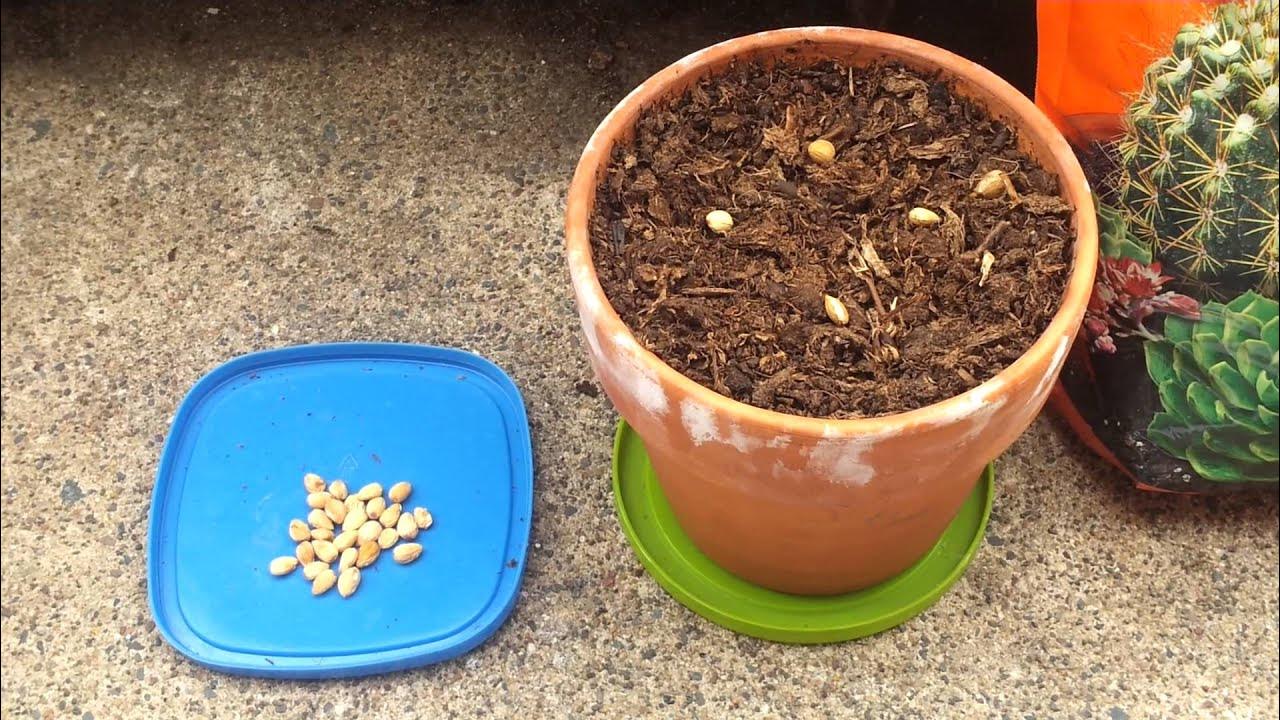
Step 4: Plant the Seed
Once the stratification period is complete, it’s time to plant the seed.
How to plant it:
- Prepare the pots: Fill small seedling pots with a high-quality, well-draining potting mix.
- Plant the seed: Make a 1-inch-deep hole and place the seed inside, covering it with soil.
- Water lightly: Moisten the soil but avoid waterlogging.
- Provide warmth: Place the pots in a warm, sunny windowsill or under grow lights. Ideal temperatures are between 65–75°F (18–24°C).
Note: Germination can take a few weeks to a few months.
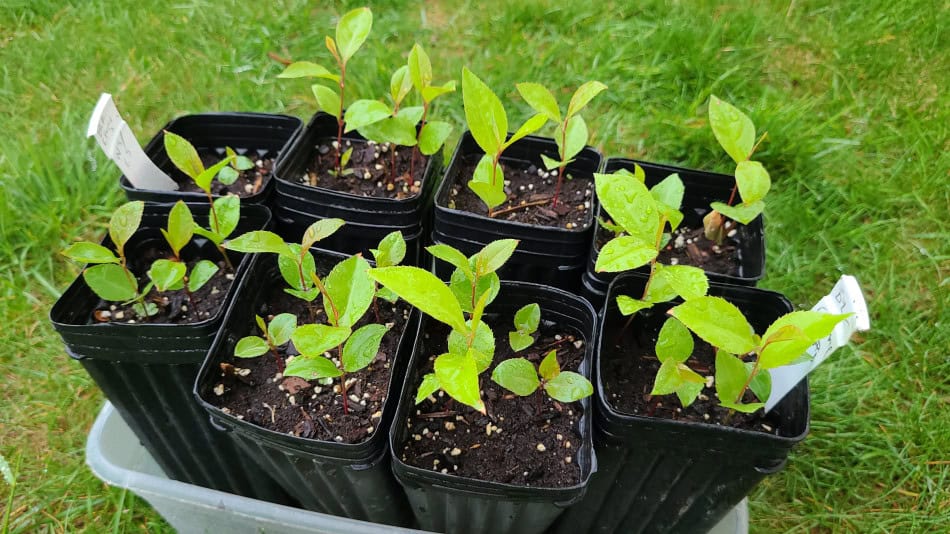
Step 5: Transplant the Seedling
When the seedlings are a few inches tall and have developed several leaves, it’s time to move them to larger containers or outdoors if weather permits.
If moving outdoors:
- Wait until after the last frost in spring.
- Choose a sunny spot with well-draining, fertile soil.
- Space multiple trees about 20–30 feet apart.
Dig a hole slightly larger than the root ball and plant the seedling at the same depth it was in the pot. Backfill with soil, firm gently, and water thoroughly.
How to Care for Your Young Cherry Tree
Once your cherry seedling is in the ground or a larger pot, consistent care is key:
Watering
Keep the soil evenly moist, especially during hot, dry spells. Avoid overwatering, as cherries dislike soggy roots.
Fertilizing
Feed your seedling in early spring with a balanced, slow-release fertilizer. Avoid heavy nitrogen, which can lead to excessive leaf growth and fewer flowers.
Pruning
As your tree grows, prune it in late winter to:
- Remove dead or crossing branches
- Maintain a healthy shape
- Encourage better air circulation and light penetration
Pest & Disease Control
Watch for common cherry pests like aphids and diseases like powdery mildew. Treat early with organic methods like neem oil or insecticidal soap.
When Will It Bear Fruit?
Patience is crucial. Cherry trees grown from seed typically take 7–10 years to produce fruit — and sometimes longer, depending on conditions and care.

Also, remember that the fruit may differ from the original cherry you ate due to cross-pollination. It could be sweeter, tarter, or even smaller.
Can You Speed Up the Process?
While you can’t fast-track nature entirely, you can improve your odds with:
- Proper stratification
- Warm, sunny growing conditions
- Regular watering and feeding
- Prompt transplanting
- Grafting a desirable cultivar onto your seed-grown rootstock (if advanced)
Final Thoughts
Planting a cherry seed the right way takes time, care, and a bit of gardening enthusiasm. While it may be years before you enjoy the fruits of your labor, the process itself is rewarding, educational, and a fun experiment for gardeners of all levels.
Whether you’re growing it for the beautiful spring blossoms, future fruit, or simply as a project to connect with nature, a cherry tree grown from seed will be a lovely addition to your garden story.
So the next time you finish off a bowl of fresh cherries, don’t toss those pits — plant them!
Leave A Comment