

Growing an avocado tree from a pit is a rewarding and fascinating process that turns kitchen scraps into a thriving plant. Whether you’re an avid gardener or a beginner with a green thumb, sprouting an avocado seed is a fun, educational experience. This guide walks you through every step of the process—from extracting the pit to nurturing your very own avocado tree—while offering helpful tips to ensure success.
Introduction: Why Grow Avocado from a Pit?
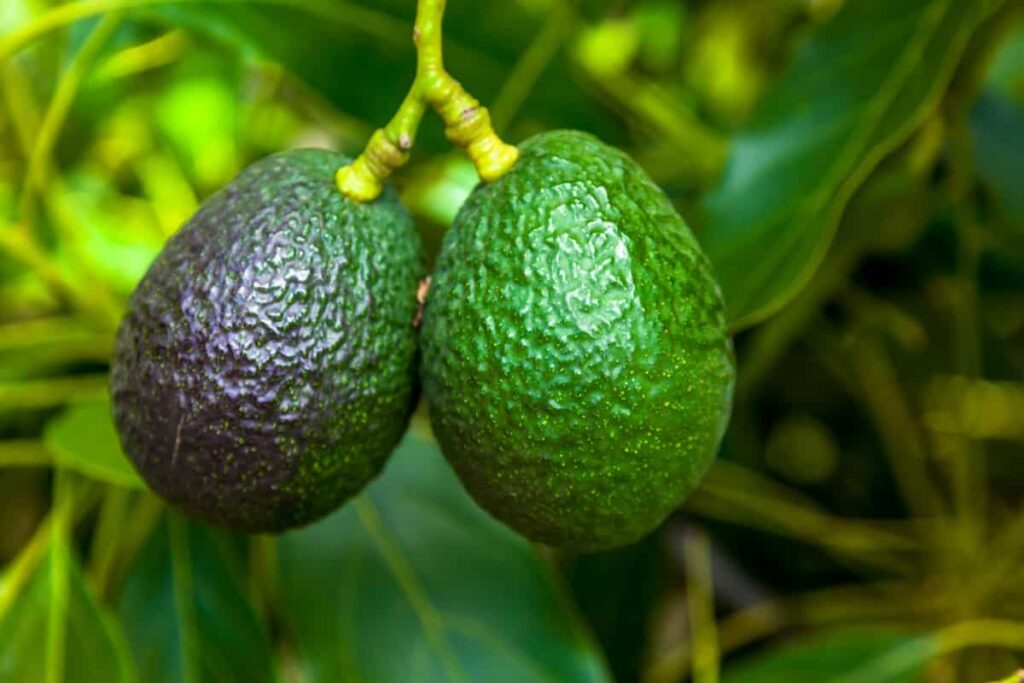
Avocados are one of the most loved fruits worldwide, known for their creamy texture, rich flavor, and numerous health benefits. While buying avocados is easy, growing your own tree from a pit is a sustainable and satisfying way to experience the life cycle of a plant firsthand. Plus, it adds lush greenery to your space.
Growing an avocado tree from seed requires patience, but the journey is incredibly rewarding. Although fruiting might take several years (and may not happen indoors), the process of germination and growth is a wonderful home gardening experiment.
Materials You’ll Need
Before you begin, gather the following items:
- 1 ripe avocado pit (seed)
- A glass or jar
- 3–4 toothpicks
- Water
- A sunny windowsill
- Pot (6–8 inches deep) with drainage holes
- Potting soil (preferably rich, well-draining)
- Spray bottle or watering can
Step-by-Step Guide to Growing an Avocado Tree from a Pit
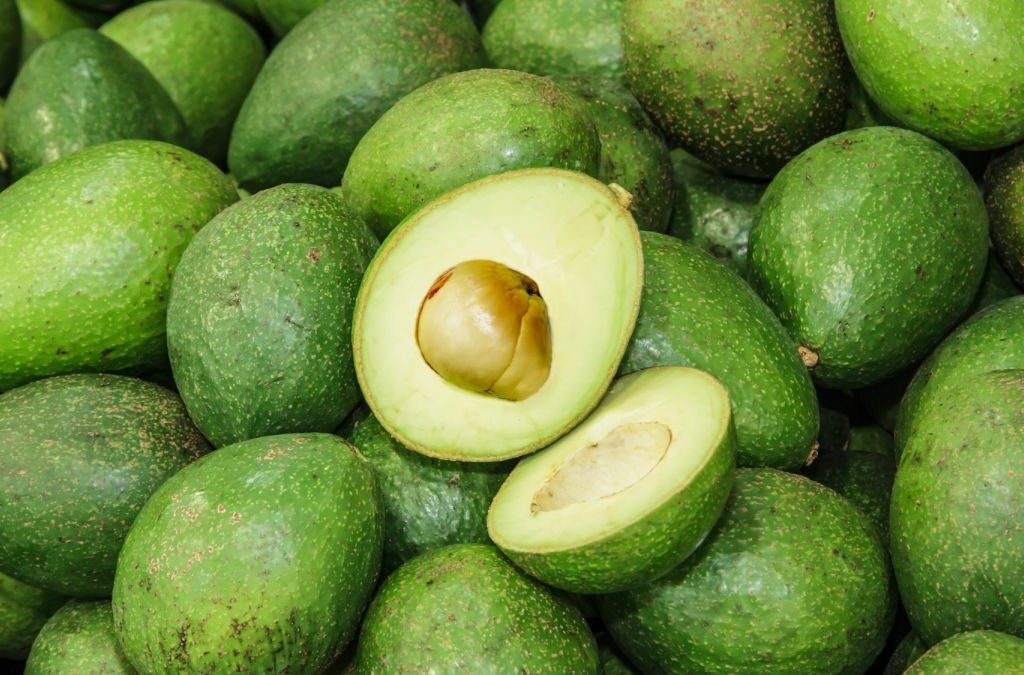
Step 1: Remove and Clean the Pit
After enjoying your avocado, carefully remove the pit. Wash it gently under lukewarm water to remove any clinging fruit. Do not remove the brown seed skin; it protects the pit during germination.
Pro Tip: Be gentle while cleaning. Avoid cutting or cracking the seed, as damage may hinder sprouting.
Step 2: Identify the Top and Bottom of the Pit
Avocado pits have a slightly pointed end (top) and a flatter, broader end (bottom). The bottom is where roots will grow, and the top is where the sprout will emerge.
It’s essential to orient the seed correctly when suspending it in water to promote healthy root development.

Step 3: Suspend the Pit in Water
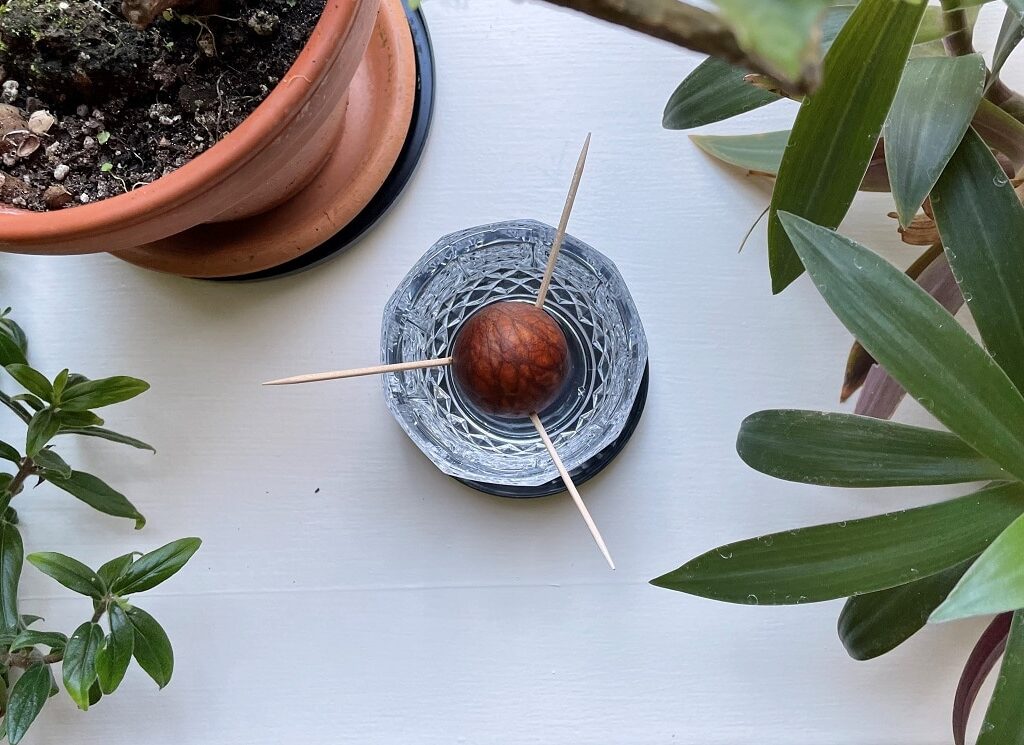
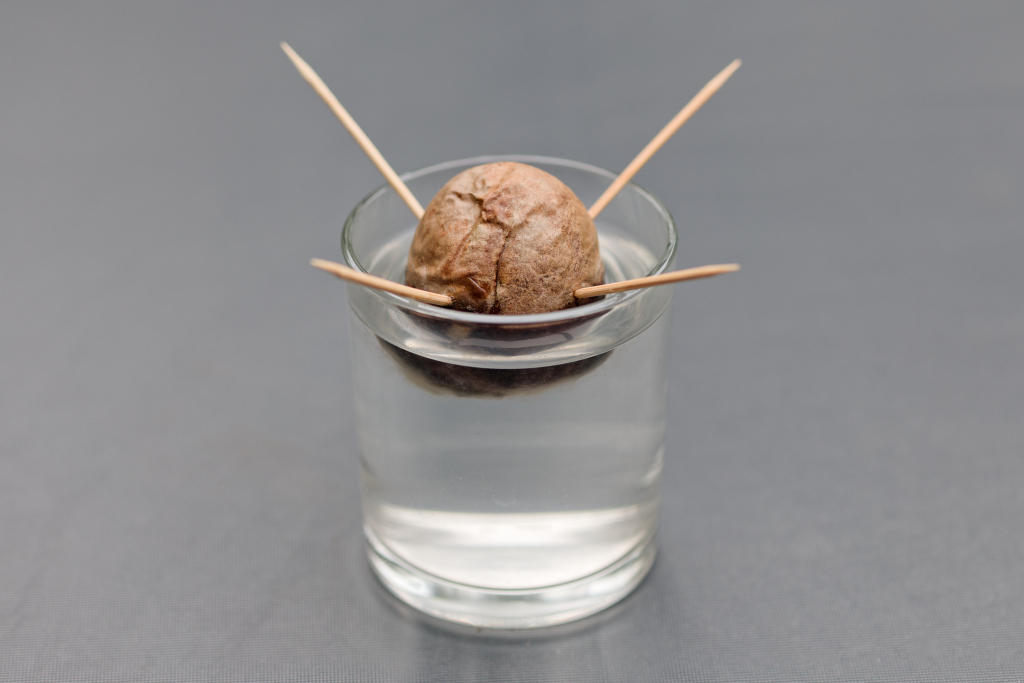
Take 3 to 4 toothpicks and insert them into the pit at a slight downward angle around the upper third of the seed. These will act as supports.
Place the seed over a glass of water so that the bottom third is submerged. The toothpicks will keep the seed stable above the rim of the glass.
Placement Tip: Put the glass in a warm, sunny spot—like a south-facing windowsill. Avoid placing it in direct midday sun in extremely hot climates, as too much heat may dry out the seed.
Step 4: Wait for Germination
This is the most patience-testing stage. Germination can take anywhere from 2 to 8 weeks. Here’s what you can expect during that time:
- The pit’s outer brown skin will crack and peel.
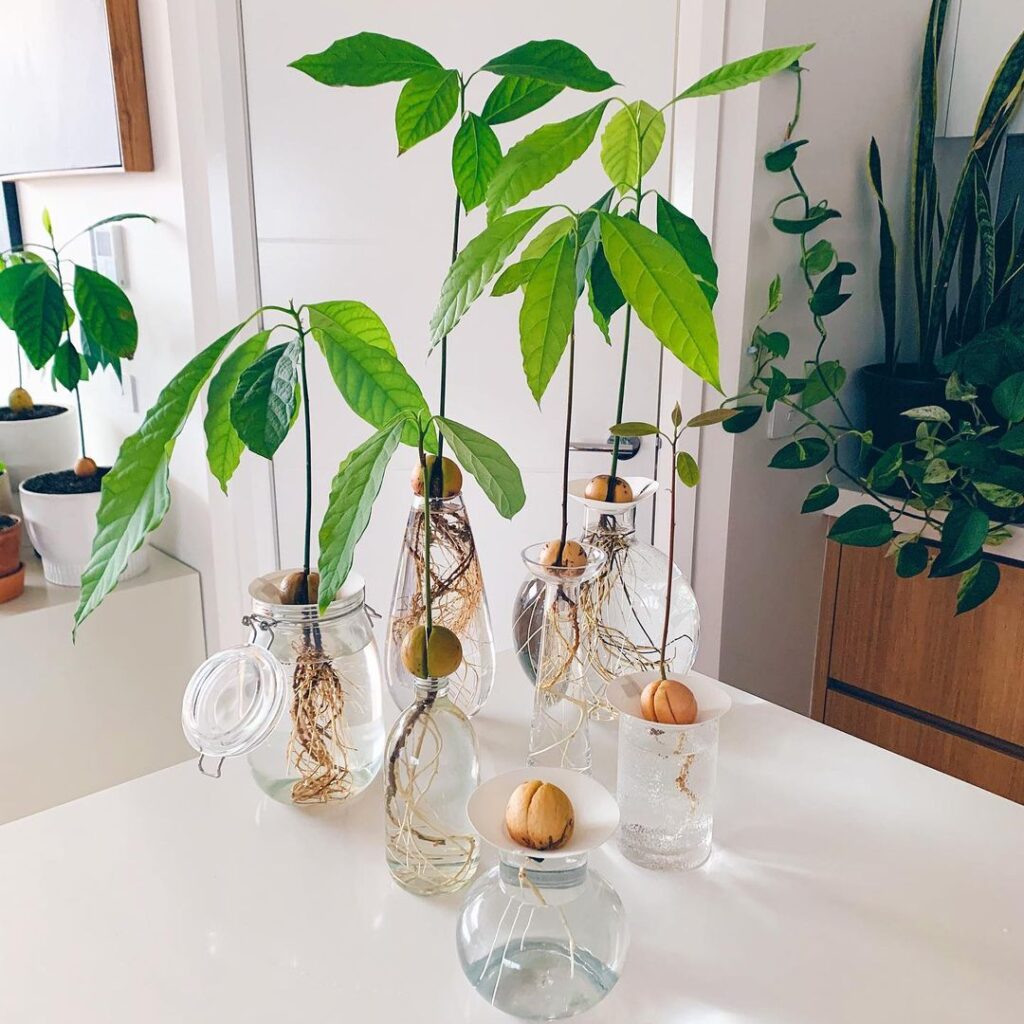
- A root will emerge from the bottom.
- A shoot will sprout from the top.
Keep the water level consistent—ensure the bottom is always submerged. Change the water every 3–4 days to prevent mold or bacterial buildup.
Step 5: Transplant into Soil
Once the shoot is about 6–8 inches tall and has developed a healthy root system, it’s time to transplant your seedling into soil.
How to Transplant:
- Fill a pot (6–8 inches deep) with well-draining potting mix.
- Plant the seed in the soil, with the top half of the pit exposed.
- Place the pot in a bright, warm location with indirect sunlight.
- Water thoroughly and allow excess water to drain out.
Soil Tip: A mix of peat, perlite, and compost works well. Avoid compacted or waterlogged soil.
Step 6: Water and Care for Your Avocado Seedling
Young avocado trees prefer moist but not soggy soil. Water when the top inch feels dry. Use a spray bottle for even moisture distribution and to prevent overwatering.

Light Needs:
- Avocado trees love bright, indirect light.
- Rotate the pot every few days to encourage even growth.
Temperature Needs:
- Ideal temperature: 60–85°F (15–29°C)
- Protect from cold drafts and frost.
Step 7: Encourage Bushier Growth (Optional Pruning)
When your avocado seedling reaches about 12 inches tall, you can pinch off the top leaves (the top two sets of leaf nodes). This encourages side branching and helps the tree grow bushier rather than tall and spindly.
Repeat pruning occasionally as the plant grows to maintain a fuller shape.
Step 8: Repotting as the Plant Grows
As your tree matures, you’ll need to repot it into larger containers. Choose a pot 2–3 inches larger in diameter than the current one every time roots begin to circle the pot.
Signs that your plant needs repotting:
- Roots emerging from the drainage holes
- Stunted growth
- Soil drying out too quickly
Step 9: Fertilization and Nutrients
Feed your young avocado tree once a month during the growing season (spring through early fall) using a balanced liquid fertilizer (like 10-10-10 or 20-20-20). Avoid overfertilizing, as this may cause leaf burn or salt buildup in the soil.
In winter, reduce or stop feeding altogether, as growth slows down.
Troubleshooting Common Issues
1. Brown Leaf Tips:
Usually caused by salt buildup in the soil or inconsistent watering. Flush the soil occasionally by watering thoroughly to remove salts.
2. Droopy Leaves:
Indicates overwatering or underwatering. Adjust your watering routine accordingly.

3. No Sprout After 8 Weeks:
Some pits simply don’t sprout. Try starting with a new one, ensuring it’s undamaged and from a ripe avocado.
Can You Grow Avocados Indoors Forever?
Yes, avocado trees can thrive indoors with proper care. However, fruiting is rare unless the plant is moved outdoors, planted in the ground in a suitable climate (USDA zones 9–11), and reaches maturity—usually after 5–10 years.
If you’re growing it purely as a decorative indoor tree, it can live for years and make a stunning statement plant in any home.
Conclusion: A Green Project Worth the Wait
Growing an avocado tree from a pit is a beautiful example of nature’s magic. It takes time, attention, and care, but seeing a seed from your lunch turn into a living, breathing plant is a fulfilling journey. Whether your tree eventually bears fruit or simply becomes a beloved houseplant, the process itself is rewarding and connects you deeply to the natural world.
So next time you slice into a ripe avocado, don’t toss that pit—start growing your very own avocado tree.
Leave A Comment