
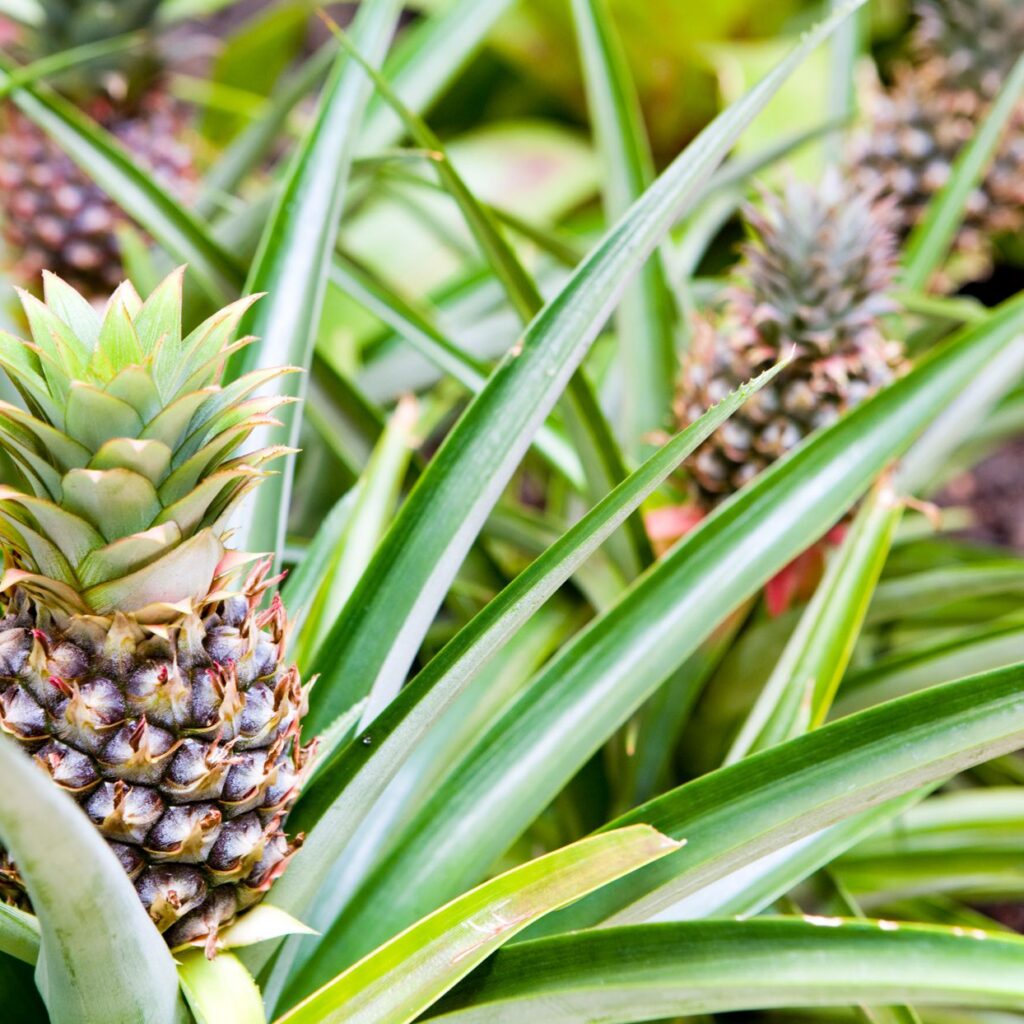
Pineapples are delicious, tropical fruits that many people associate with exotic vacations and refreshing drinks. But did you know you can grow a pineapple plant right at home—even in a pot on your balcony or windowsill? Whether you’re looking for a fun gardening project or dreaming of harvesting your own sweet fruit, growing pineapples at home is surprisingly easy. This guide will walk you through the complete step-by-step process, from choosing the right crown to harvesting your homegrown pineapple.
Why Grow Pineapples at Home?
Growing pineapples at home is not only rewarding but also budget-friendly and sustainable. Here’s why you should consider it:
- Low maintenance: Pineapple plants are hardy and drought-resistant.
- Space-saving: Perfect for containers, small gardens, or balconies.
- Fun for all ages: Great DIY project for kids and adults.
- Chemical-free fruit: You control the growing environment, ensuring your fruit is organic and safe.
Step 1: Choose the Right Pineapple
To begin, you’ll need a fresh, healthy pineapple with an intact green top (crown). Avoid fruits with brown or withered leaves, moldy cores, or rotten bases.
Tips for Selecting:
- Choose a ripe pineapple that’s firm with healthy, green leaves.
- Make sure the base of the crown (where it meets the fruit) is not damaged or dried out.
Once you have the right pineapple, it’s time to start the propagation process.
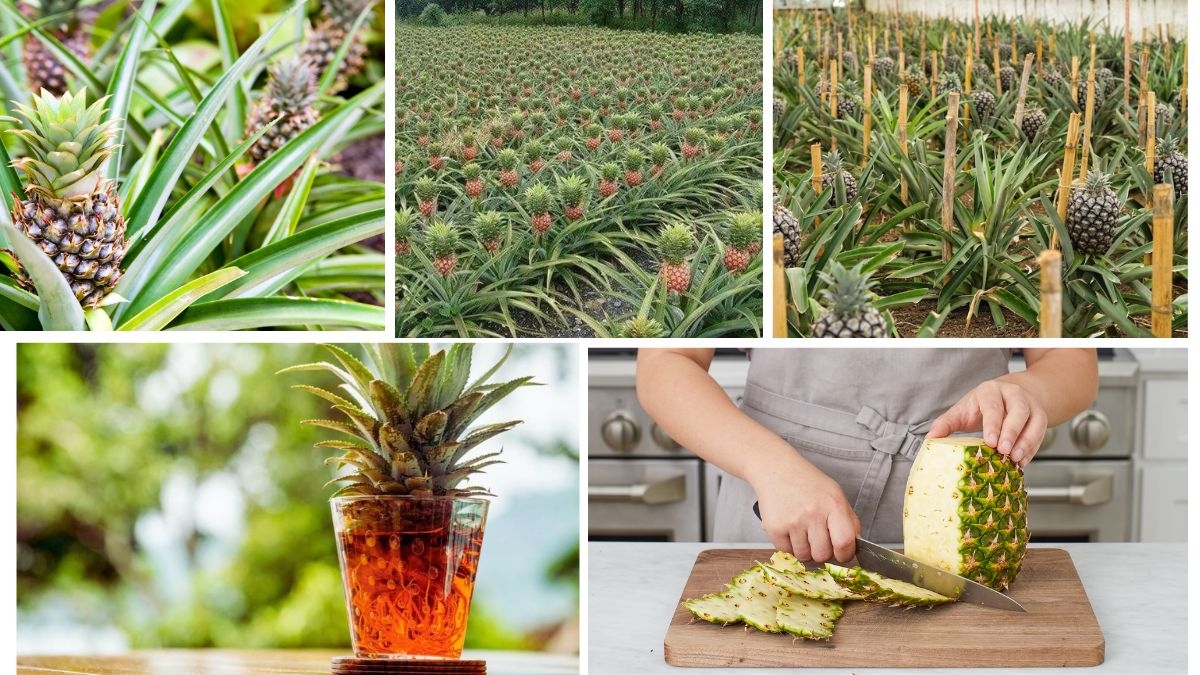
Step 2: Prepare the Pineapple Crown
Instead of using seeds, pineapples are commonly grown by replanting their crown.
Here’s how to prepare it:
- Twist Off or Cut the Crown: Hold the fruit in one hand and the leaves in the other. Twist firmly to remove the top. You can also cut off the crown with about 1 inch of fruit attached.
- Remove Extra Leaves: Strip the lower 3–4 layers of leaves to expose the stem. This encourages rooting.
- Dry the Crown: Allow the crown to dry in a shady place for 2–3 days. This prevents rotting when planted.
Optional: Dip the base in rooting hormone to speed up the process.

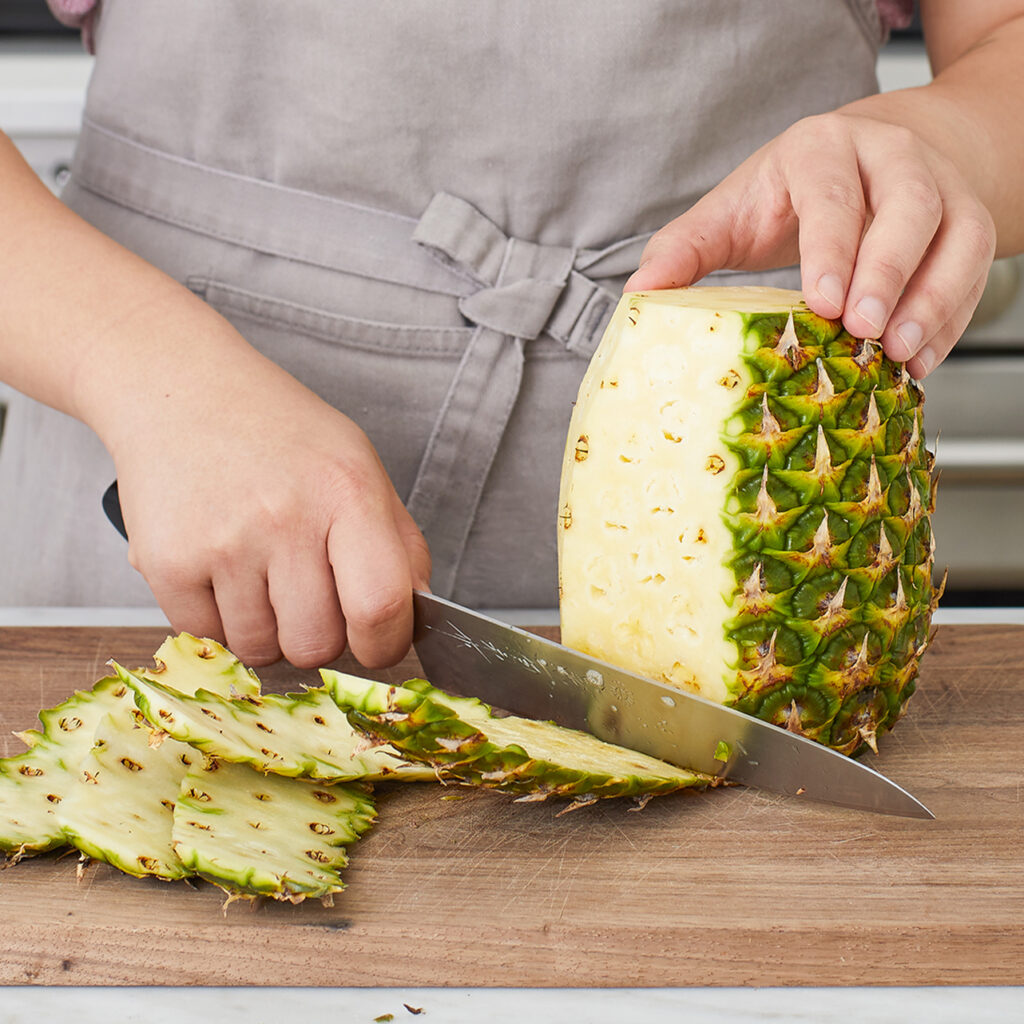
Step 3: Rooting the Crown in Water (Optional)
Although you can plant the crown directly in soil, many gardeners prefer starting in water to monitor root development.
Instructions:
- Place the dried crown in a glass of water, submerging only the base.
- Keep the glass in a warm, sunny spot.
- Change the water every 2–3 days.
- Roots should appear within 2–3 weeks.
Once roots are 2–3 inches long, it’s ready for planting.
Step 4: Planting the Pineapple Crown

Whether you’ve rooted it in water or not, the next step is planting.
Materials Needed:
- A 6–10 inch pot with drainage holes (for container growing)
- Well-draining potting mix (mix of cactus soil, perlite, and compost works well)
Planting Instructions:
- Fill the pot with potting mix, leaving about 1 inch from the top.
- Plant the crown 1–2 inches deep, ensuring it stands upright.
- Press the soil gently around the base.
- Water lightly to settle the soil.
Pro Tip: Do not overwater—pineapples hate soggy roots!
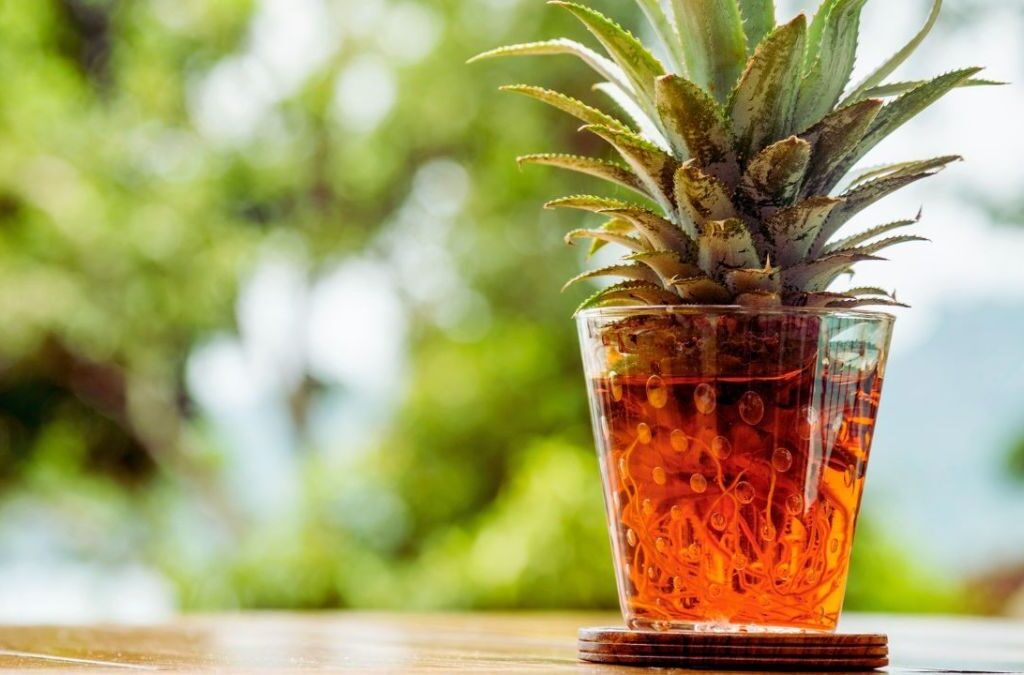
Step 5: Provide the Right Growing Conditions
Pineapples thrive in warm, sunny environments. To mimic their tropical origin:
Light:
- Pineapples need 6–8 hours of bright sunlight per day.
- For indoor growth, place near a south-facing window or use grow lights.
Temperature:
- Ideal range: 65°F to 95°F (18°C to 35°C)
- Protect from frost; bring indoors during winter if you live in a colder region.
Watering:
- Water when the top 1–2 inches of soil feels dry.
- Avoid overwatering—pineapples are drought-tolerant.
- Mist occasionally to mimic humidity.
Fertilizer:
- Feed every 4–6 weeks during the growing season with a balanced liquid fertilizer or compost tea.
- Avoid high-nitrogen fertilizers as they can delay fruiting.
Step 6: Patience and Growth
Pineapples are slow growers but worth the wait.

Growth Timeline:
- First 3–6 months: The plant will focus on root and leaf development.
- 6–12 months: Leaf growth speeds up; plant gets fuller.
- 12–24 months: Pineapple flowers appear, followed by fruit development.
You may see a fruit in as little as 16 months, but it can take up to 2 years, especially in less-than-ideal conditions.
Step 7: Encourage Flowering (Optional Trick)
If your pineapple plant seems healthy but won’t flower, you can try to force blooming.
Here’s how:
- Place the plant in a large plastic bag with a ripe apple for 5–7 days.
- Ethylene gas from the apple can stimulate flowering.
- Return plant to normal conditions after a week.
Flowering should begin in 6–10 weeks.
Step 8: Harvesting the Pineapple
Once the fruit forms, it takes about 5–6 months to mature.
Signs Your Pineapple Is Ready:
- The fruit turns golden yellow, starting from the base.
- Sweet aroma near the base.
- Slight softness when pressed.
Use a sharp knife to cut the fruit from the plant.
Step 9: What Happens After Harvest?
Good news: pineapple plants don’t die after fruiting.

Here’s what you can do:
- Suckers: Small side shoots at the plant’s base—can be removed and replanted.
- Slips: Grow near the base of the fruit—also suitable for propagation.
- The original plant may produce another fruit but usually yields only once.
Propagate these shoots to grow more pineapples!
Tips for Success
- Sunlight is key: Ensure your plant gets enough light daily.
- Avoid cold: Pineapples are not frost-tolerant.
- Don’t rush: Growing takes time but rewards are sweet—literally.
- Watch for pests: Mealybugs and scale insects may appear; use neem oil if needed.
- Minimal watering: Always err on the dry side to prevent rot.
Conclusion
Growing a pineapple at home is a fun and satisfying process that anyone can do with a bit of patience and care. Whether you live in a tropical climate or a small city apartment, all you need is a fresh crown, some soil, sunlight, and love. In return, you’ll not only enjoy the joy of gardening but eventually get to taste a juicy, homegrown pineapple—a true tropical treat grown with your own hands.
So go ahead, pick up a pineapple from your local market, and start your home-growing journey today!
Leave A Comment