
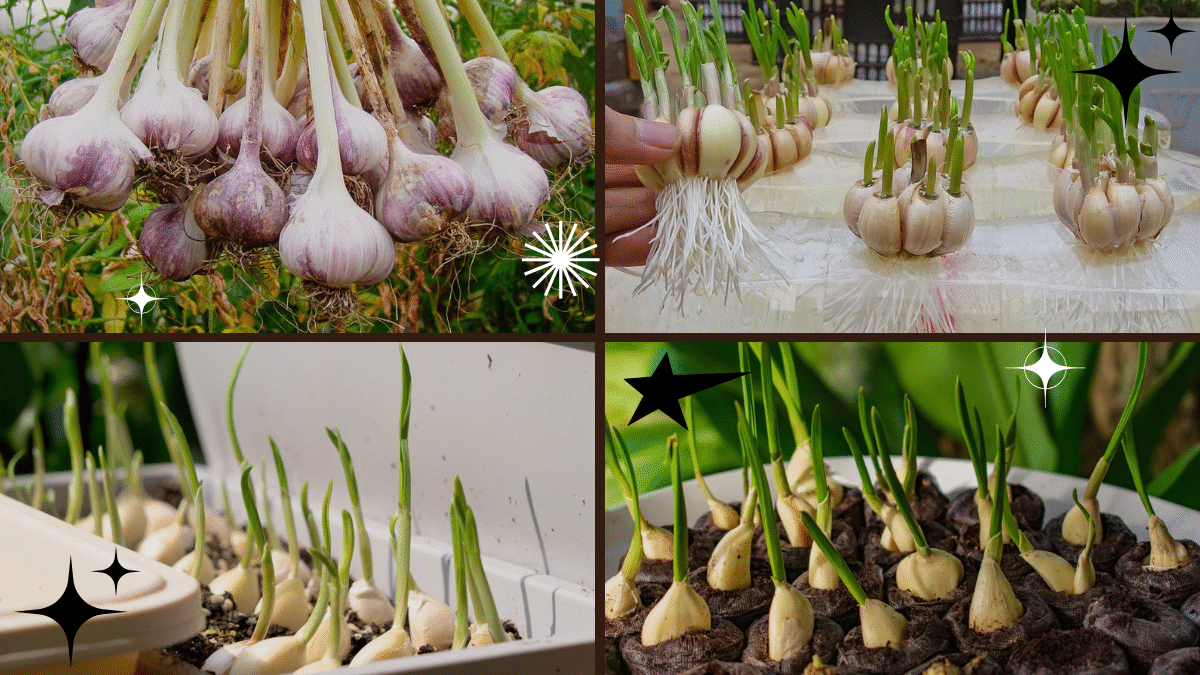
Imagine having your very own supply of fresh, aromatic garlic right at home — ready to harvest when you need it for your favorite dishes. The great news is, growing garlic is easier than you might think. With just a single clove, a bit of soil, and some patience, you can cultivate an entire garlic plant in your backyard, balcony, or even a small container indoors.
In this comprehensive guide, we’ll walk you through everything you need to know about growing garlic from a clove — from choosing the right type of garlic to harvesting and curing those beautiful bulbs.
Why Grow Garlic at Home?
Aside from being a kitchen staple, garlic (Allium sativum) offers a wealth of benefits:
- Easy to grow in small spaces, containers, or garden beds.
- Pest-resistant and relatively low-maintenance.
- Provides both flavorful bulbs and garlic scapes (the edible green shoots).
- Known for its medicinal properties like boosting immunity and reducing inflammation.
Plus, there’s nothing quite like the taste of homegrown garlic — fresh, potent, and chemical-free.

Understanding the Garlic Plant
Garlic is a member of the Allium family, along with onions, leeks, and chives. It’s a bulbous plant grown from individual cloves that eventually mature into whole bulbs underground.
There are two main types of garlic:
- Hardneck Garlic: Thrives in colder climates and produces a stiff central stalk (scape).
- Softneck Garlic: Better suited for warmer regions and stores longer after harvest.
Choosing the right type for your area will make a significant difference in your success.
How to Choose the Right Garlic Cloves for Planting
While it’s tempting to plant garlic from your grocery store, it’s not always the best choice. Many store-bought garlic bulbs are treated with chemicals to prevent sprouting.
For best results:
- Buy organic garlic bulbs from a farmer’s market, garden center, or seed supplier.
- Select firm, plump bulbs free from mold, soft spots, or damage.
- Separate the bulbs into individual cloves before planting, keeping the papery skins intact.
Pro Tip: The larger the clove, the bigger the resulting bulb will be.

When to Plant Garlic
Garlic is typically planted in the fall, about 4-6 weeks before the ground freezes. This gives the cloves time to establish roots before winter. In milder climates, you can also plant garlic in early spring, though the bulbs may be smaller.
Ideal Planting Times:
- Zones 3-8: Late September to early November.
- Zones 9-10: November to January.
How to Grow a Garlic Plant from a Clove
Ready to get planting? Here’s a step-by-step guide to ensure your garlic thrives:
Step 1: Prepare the Soil
Garlic loves rich, well-draining, and slightly acidic soil with a pH between 6.0 and 7.0.
- Choose a sunny spot with at least 6-8 hours of direct sunlight.
- Work compost or aged manure into the soil to improve fertility.
- Remove rocks and debris to allow bulbs to grow unobstructed.
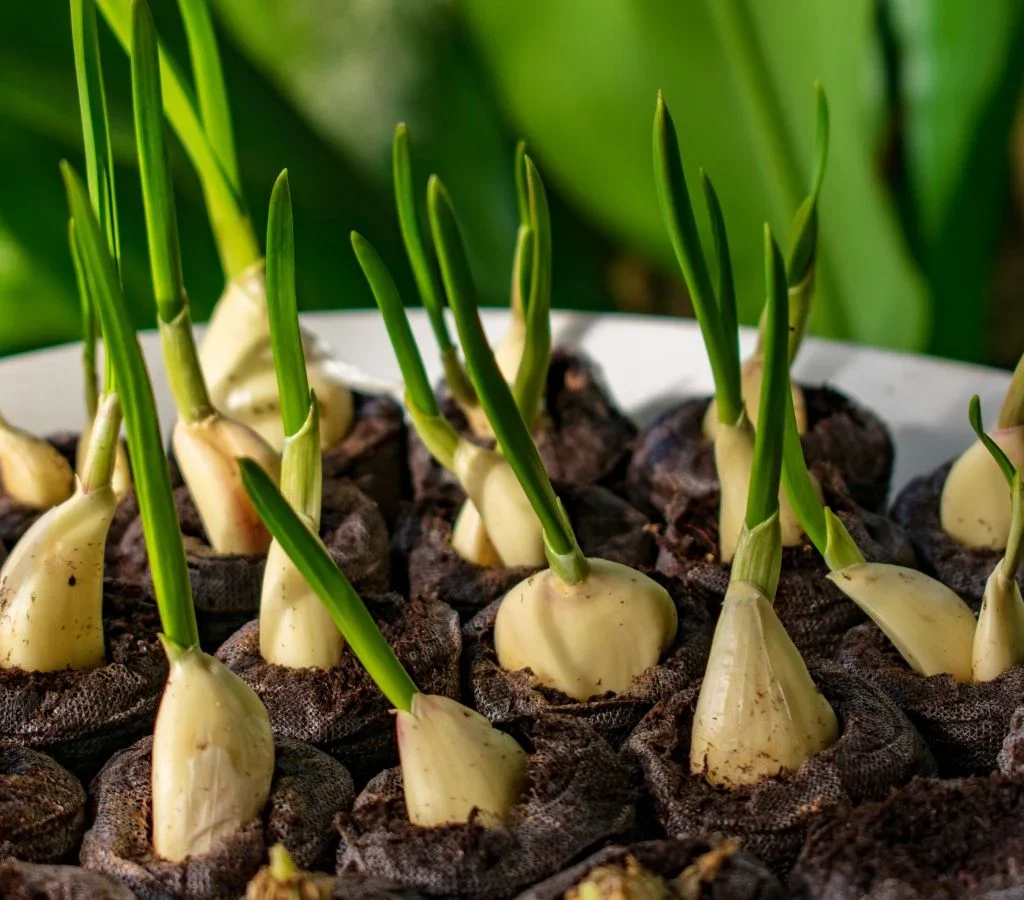
In Containers: Use a high-quality, loose potting mix with added organic compost.
Step 2: Separate and Select Cloves
Carefully break apart the garlic bulb into individual cloves just before planting. Choose the largest, healthiest cloves and leave the smaller ones for culinary use.
Important: Do not remove the papery skins from the cloves — they protect the clove and help prevent rot.
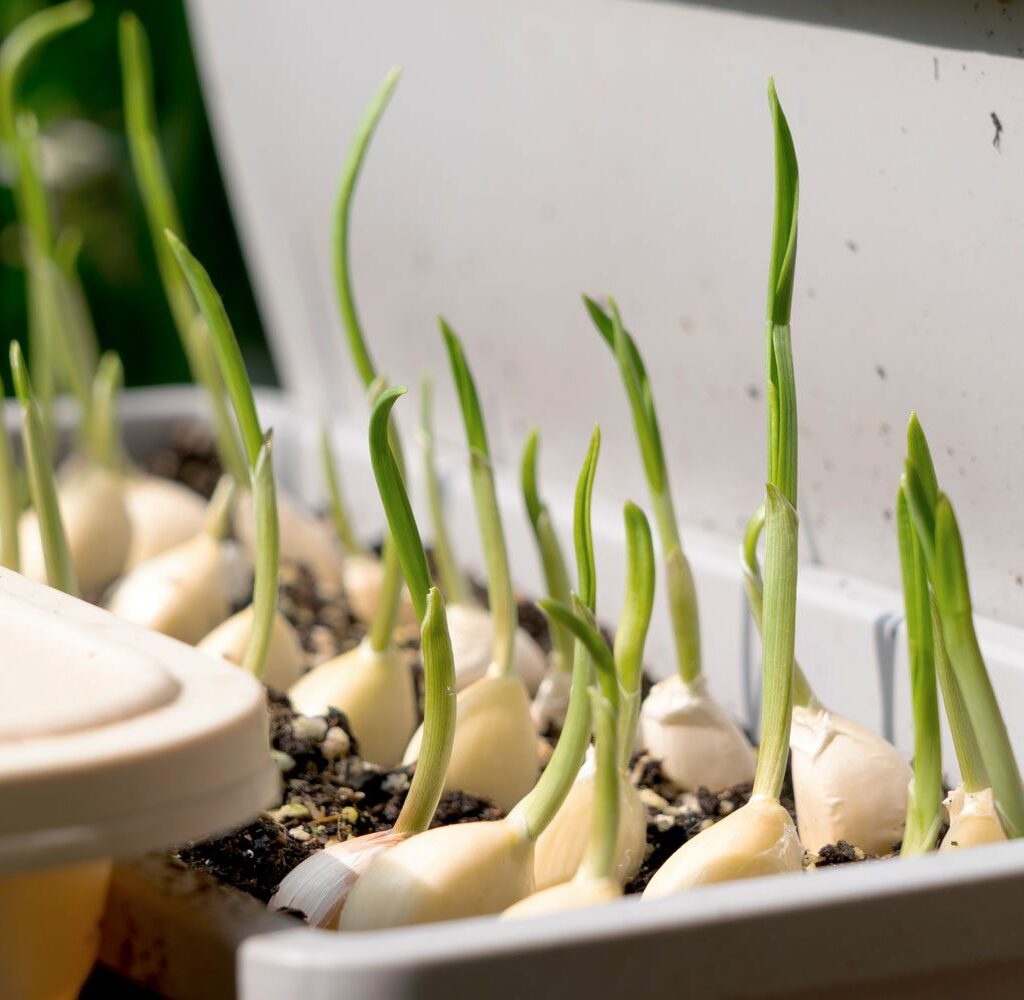
Step 3: Plant the Cloves
Plant each clove pointy end up, root end down, about 2 inches deep in the soil.
Spacing:
- 6 inches apart for garden beds.
- 4-6 inches apart in containers.
Leave 12-18 inches between rows to allow for easy weeding and harvesting.

Step 4: Water Thoroughly
After planting, water the soil thoroughly to settle it around the cloves. Garlic prefers consistently moist but not soggy soil.
Watering Tips:
- Keep the soil slightly moist during fall growth.
- Reduce watering during dormancy (in cold climates).
- Resume regular watering in spring as growth picks up.
Step 5: Mulch for Protection
Mulching helps regulate soil temperature, retain moisture, and suppress weeds.
- Apply a 2-4 inch layer of straw, shredded leaves, or grass clippings over the planted area.
- In cold regions, mulch acts as insulation against frost.
Caring for Your Growing Garlic
Once planted, garlic is relatively fuss-free but benefits from a little attention.
Fertilizing:
Garlic is a heavy feeder. Boost bulb development by applying an organic fertilizer like fish emulsion or blood meal in early spring when shoots emerge.
Watering:
Garlic needs consistent moisture during active growth in spring and early summer.
- Avoid overwatering, which can cause bulb rot.
- Stop watering 2-3 weeks before harvest to allow the bulbs to dry out.
Removing Scapes (for Hardneck Garlic):
In late spring or early summer, hardneck garlic produces curly, green scapes. Removing these will direct the plant’s energy into bulb growth.
- Snip off the scapes when they form a full loop.
- Bonus: Garlic scapes are edible and delicious in stir-fries, pestos, and soups!
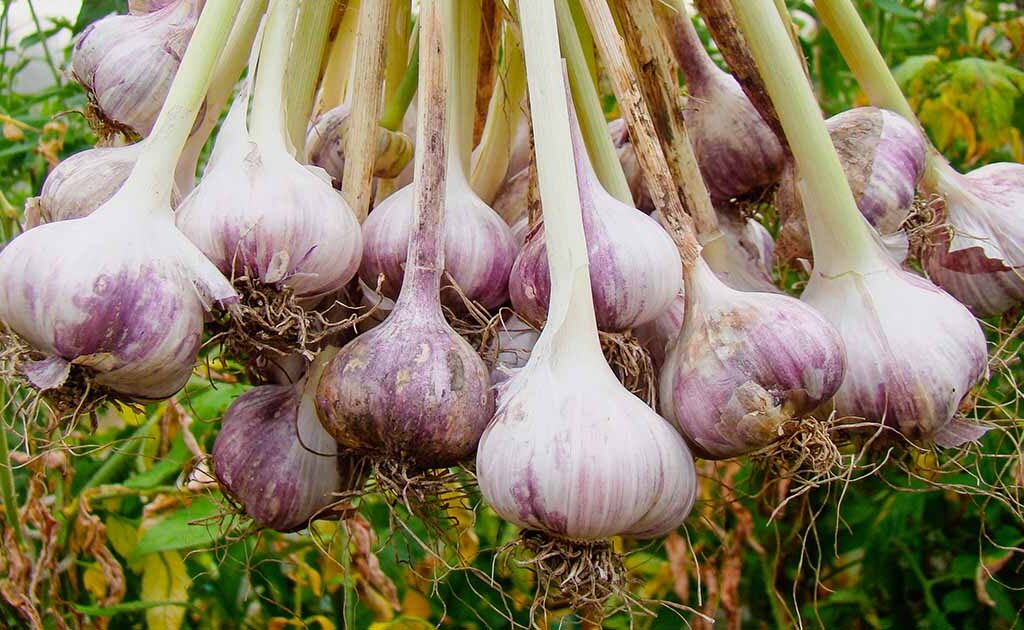
How and When to Harvest Garlic
Garlic is usually ready to harvest about 7-9 months after planting.
Signs It’s Ready:
- Lower leaves turn yellow and begin to dry, while upper leaves remain green.
- The bulbs feel firm and well-developed when gently dug up.
How to Harvest:

- Use a garden fork to carefully loosen the soil around the bulb.
- Gently lift the plant from the ground without pulling on the stem.
- Avoid damaging the bulb’s outer wrappers.
Curing and Storing Garlic
Freshly harvested garlic must be cured (dried) to extend its shelf life.
Curing Process:
- Hang the garlic plants in bundles or lay them on a rack in a well-ventilated, dry, shaded space for 2-3 weeks.
- Once fully dried, trim roots and cut stems (unless braiding softneck garlic).
- Store in a cool, dark, dry place with good air circulation.
Storage Life:
- Hardneck Garlic: 4-6 months.
- Softneck Garlic: 8-12 months.
Common Garlic Growing Problems
A healthy garlic crop rarely faces major issues, but keep an eye out for:
- Rotting: Avoid waterlogged soil and overwatering.
- Pests: Aphids and onion maggots may occasionally target garlic.
- Fungal Diseases: White rot and rust can affect crops; rotate planting areas yearly.
Final Thoughts
Growing garlic from a clove is a simple, satisfying, and rewarding gardening project — even for beginners. Whether you have a spacious garden or a few pots on your balcony, you can enjoy the unbeatable flavor and health benefits of fresh, homegrown garlic.
By following these steps and giving your garlic plants a little care and attention, you’ll soon be harvesting plump, aromatic bulbs to elevate your favorite dishes.
So why not start today? Grab a clove, dig a small hole, and unlock the secret to fresh garlic right at home!
Leave A Comment