
Gardening is a relaxing and rewarding hobby, but not everyone has the space or soil quality needed for traditional in-ground gardens. Enter the planter box — a simple, versatile, and stylish solution for growing flowers, herbs, or vegetables almost anywhere, from patios and balconies to backyards and rooftops.
Building your own planter box is surprisingly easy, even for beginners with basic DIY skills. In this comprehensive guide, we’ll show you how to build a planter box for easy gardening, including tools, materials, step-by-step instructions, and tips to customize your planter for your space and style.
Why Build a Planter Box?
Before we dive into the how-to, let’s explore why planter boxes are such a fantastic option for home gardeners:
- Space-Saving: Ideal for small spaces like balconies, decks, and patios.
- Improved Soil Control: Allows you to use quality soil mixes tailored to specific plant needs.
- Better Drainage: Reduces the risk of waterlogged roots.
- Mobility: Smaller boxes can be moved for optimal sunlight exposure.
- Aesthetic Appeal: Adds charm and structure to your outdoor (or even indoor) areas.
- Accessibility: Raised planter boxes are easier on the back and knees.
Tools and Materials You’ll Need
Tools:
- Tape measure
- Saw (hand saw or circular saw)
- Drill
- Screwdriver bit
- Clamps (optional, but helpful)
- Sandpaper
- Pencil
Materials:
- Wooden boards (cedar or redwood are naturally rot-resistant)
- Wood screws (galvanized or stainless steel to resist rust)
- Wood glue (optional for added strength)
- Landscape fabric (for lining)
- Potting soil
- Plants or seeds
Choosing the Right Wood
When selecting wood for your planter box, consider durability and resistance to rot. Cedar and redwood are excellent choices because they naturally withstand moisture and insect damage without needing chemical treatments.
If you’re on a budget, pressure-treated lumber is an option for outdoor use, but be cautious using it for edible plants unless it’s rated safe for garden use.
Recommended board thickness: 1 to 1.5 inches thick for strength and longevity.
Standard Planter Box Dimensions
While you can customize your planter box to any size, a great beginner size is:

- Length: 36 inches (3 feet)
- Width: 18 inches (1.5 feet)
- Height: 18 inches (1.5 feet)
This size offers enough space for a variety of plants without being too large to move or manage.

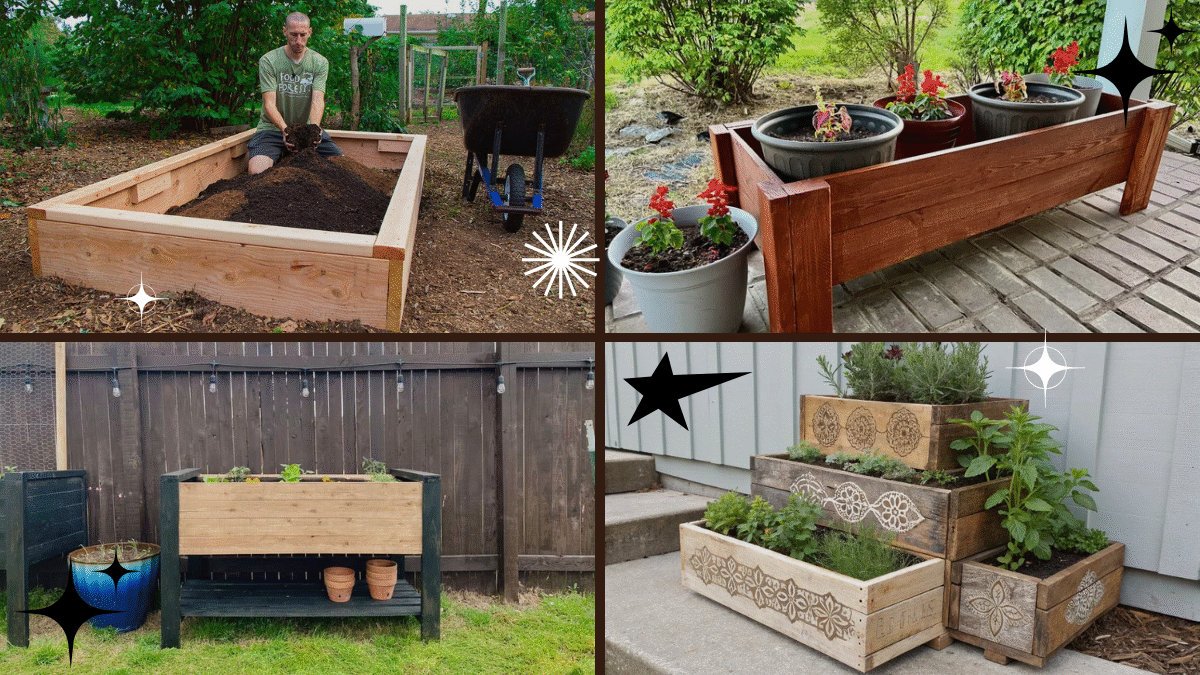
Step-by-Step: How to Build a Planter Box
Step 1: Cut the Wood
Using your saw, cut the boards to your desired dimensions:
- 2 boards for the long sides (36 inches each)
- 2 boards for the short sides (18 inches each)
- 1 board for the base (36 x 18 inches) — or use slats for drainage
Tip: Sand all edges and surfaces to prevent splinters and create a smooth finish.
Step 2: Assemble the Frame
- Lay the two longer boards parallel to each other.
- Attach a shorter board at each end to create a rectangle.
- Apply wood glue (optional) at the joints for extra strength.
- Drill pilot holes to prevent the wood from splitting.
- Screw the boards together using 2 or 3 screws per joint.
Pro Tip: Use clamps to hold pieces in place while screwing.
Step 3: Attach the Base
Decide if you want a solid base or slatted base for drainage:
- For a solid base, attach a single board or plywood sheet.
- For better drainage, use spaced wooden slats (leave 0.5-inch gaps between them).
Drill pilot holes and screw the base to the bottom of the frame.
Step 4: Drill Drainage Holes
If using a solid base, drill several 0.5-inch holes spaced 3–4 inches apart to allow excess water to escape.

Step 5: Line the Planter Box (Optional)
To prolong the life of your planter and help with water drainage:
- Cut a piece of landscape fabric to fit the inside.
- Staple or tack it to the inside walls.
- Trim excess fabric above the rim.
This prevents soil from escaping while allowing water to drain.
Step 6: Add Finishing Touches
For a polished look and added protection:
- Sand any remaining rough spots.
- Apply a weather-resistant wood sealant or outdoor-safe paint if desired.
- Let it dry thoroughly before planting.
Filling Your Planter Box
Use a high-quality potting mix suitable for your plants. Avoid using garden soil, as it may compact and hinder drainage.
Tip: Add a layer of small stones or gravel at the bottom for extra drainage (especially important for non-slatted bases).
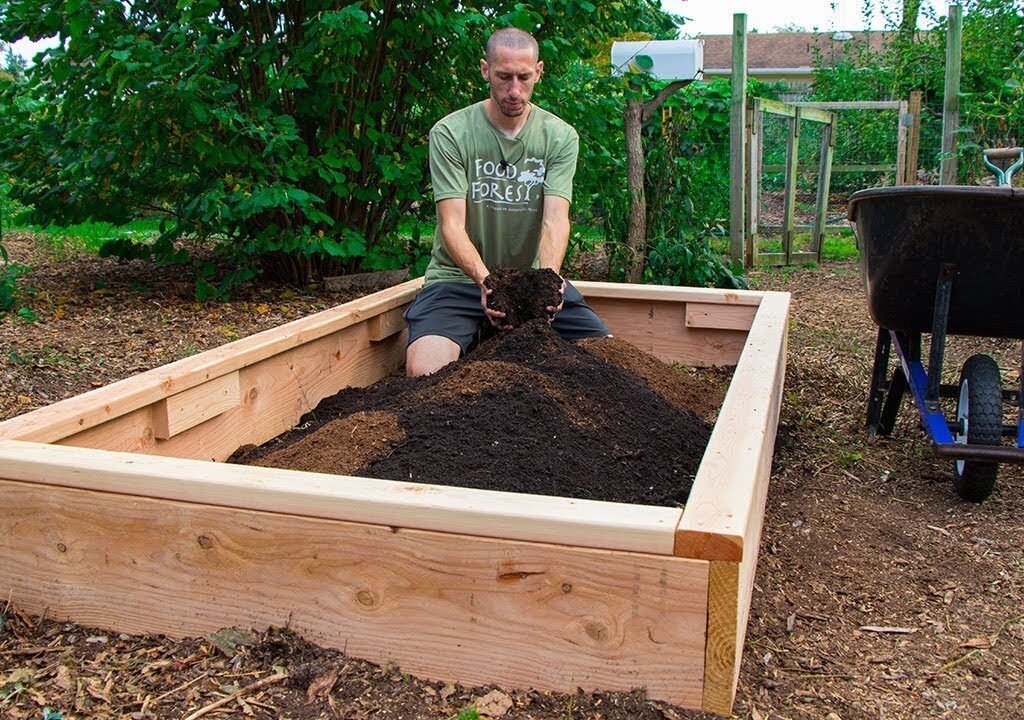
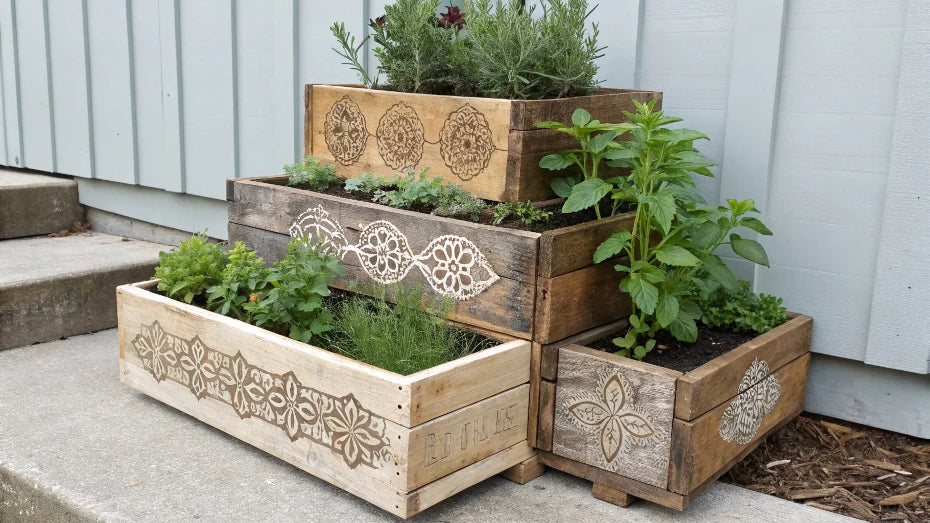
Planting Ideas for Your Planter Box
A planter box is incredibly versatile. Here are a few creative ideas to fill yours:
- Herb Garden: Basil, thyme, rosemary, mint, chives
- Vegetables: Lettuce, radishes, spinach, carrots, cherry tomatoes
- Flowers: Marigolds, petunias, geraniums, pansies, snapdragons
- Succulents: A mix of drought-tolerant succulents for a low-maintenance display
- Mixed Arrangement: Combine flowers and herbs for beauty and function
Pro Tip: Group plants with similar light and water needs.

Planter Box Maintenance Tips
To keep your planter box garden thriving:
- Water regularly depending on plant needs and weather.
- Fertilize every 4–6 weeks with a balanced, slow-release fertilizer.
- Prune and deadhead flowers to encourage new growth.
- Check drainage holes to ensure they’re not clogged.
- Replenish soil annually for nutrient-rich planting.
Advantages of DIY Planter Boxes
Aside from being cost-effective, building your own planter box has several benefits:
- Customizable: Size, shape, and style tailored to your space
- Budget-Friendly: Often cheaper than store-bought planters
- Satisfying: Hands-on, rewarding weekend project
- Durable: Built to last with quality materials
- Eco-Friendly: Choose sustainably sourced wood or upcycled materials
Final Thoughts
Building a planter box is one of the easiest and most rewarding DIY garden projects you can tackle. With just a few tools and materials, you can create a beautiful, functional planter tailored to your home’s style and your gardening needs.
Whether you’re growing fresh herbs, colorful flowers, or crisp vegetables, a well-made planter box transforms even the smallest spaces into flourishing gardens.
Leave A Comment