
Chili peppers are not just a kitchen essential—they’re also an exciting and rewarding plant to grow at home. Whether you’re an experienced gardener or a beginner, growing chili peppers in your backyard, balcony, or even indoors is entirely possible with the right techniques. From enhancing your food with homegrown heat to enjoying the vibrant colors of ripened pods, this guide will walk you through everything you need to know to successfully grow your own chili peppers at home.
Why Grow Chili Peppers at Home?
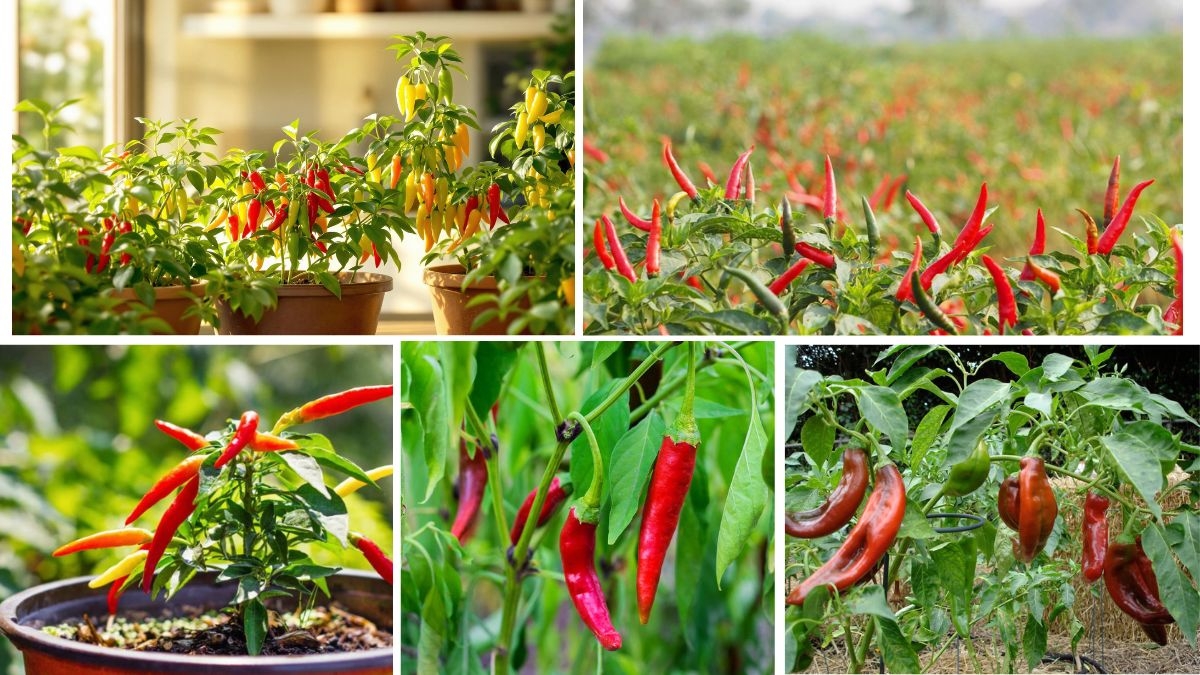
Chili peppers are relatively low-maintenance, incredibly versatile, and ideal for small-space gardening. They thrive in pots, containers, raised beds, or garden plots. Beyond culinary benefits, chili plants are also ornamental, showcasing a spectrum of green, red, orange, and purple shades as they mature.
Growing your own chili peppers ensures chemical-free produce, consistent availability, and even savings over store-bought chilies in the long run. Plus, it’s deeply satisfying to harvest and use something you’ve grown yourself.
Best Chili Pepper Varieties for Home Growing
Depending on your spice tolerance and available space, you can choose from several varieties. Some popular options include:
- Jalapeño: Mild heat, great for stuffing and salsa.
- Cayenne: Medium heat, excellent for drying and making powder.
- Thai Chili: Very hot, compact plants suited for containers.
- Habanero: High heat, fruity flavor, needs warmth and sun.
- Bell Peppers: Technically not hot, ideal for those who prefer mild flavors.
Choose varieties based on your climate, use preference, and available growing space.
Where to Grow Chili Peppers
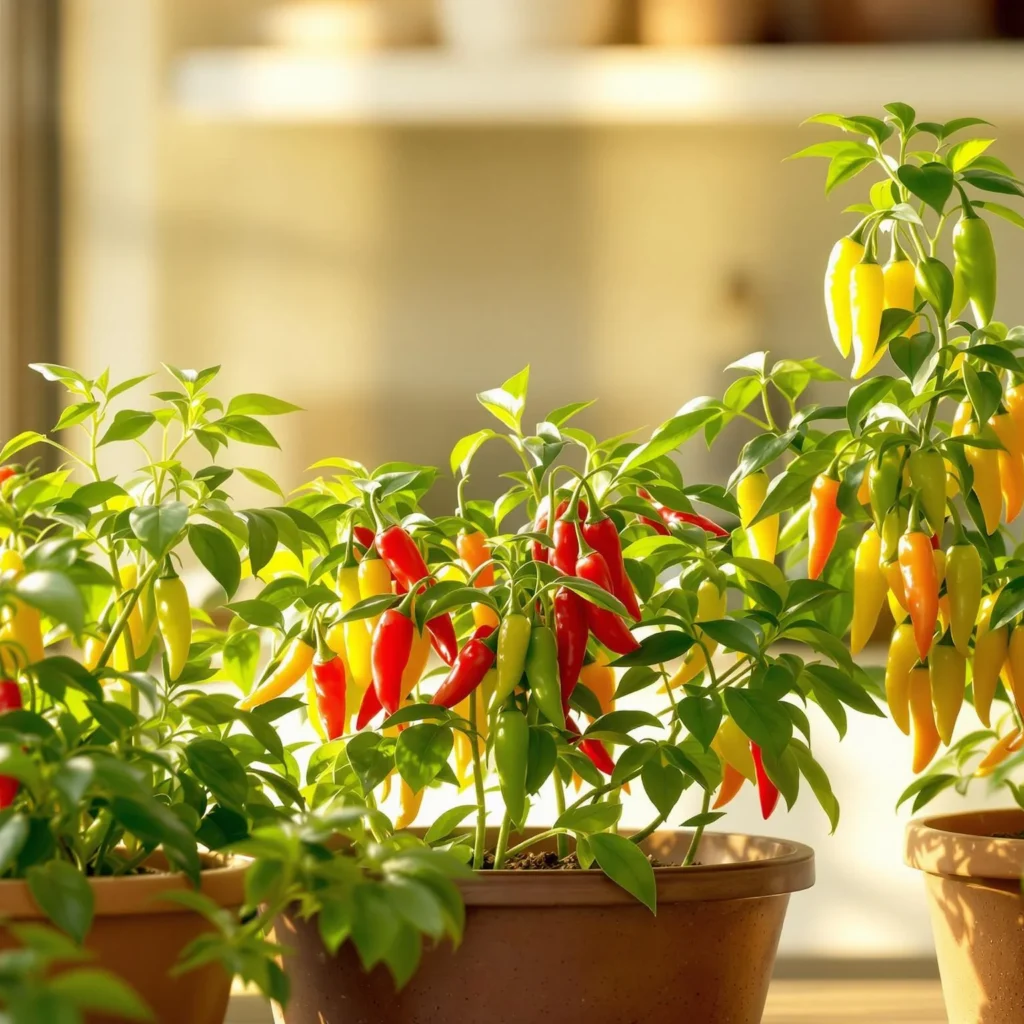
Chili peppers love warmth and sunlight, making them perfect for:
- Balconies and Terraces: With at least 6–8 hours of sunlight.
- Indoor Sunny Windowsills: For small varieties in colder regions.
- Containers or Grow Bags: Perfect for portability and easy management.
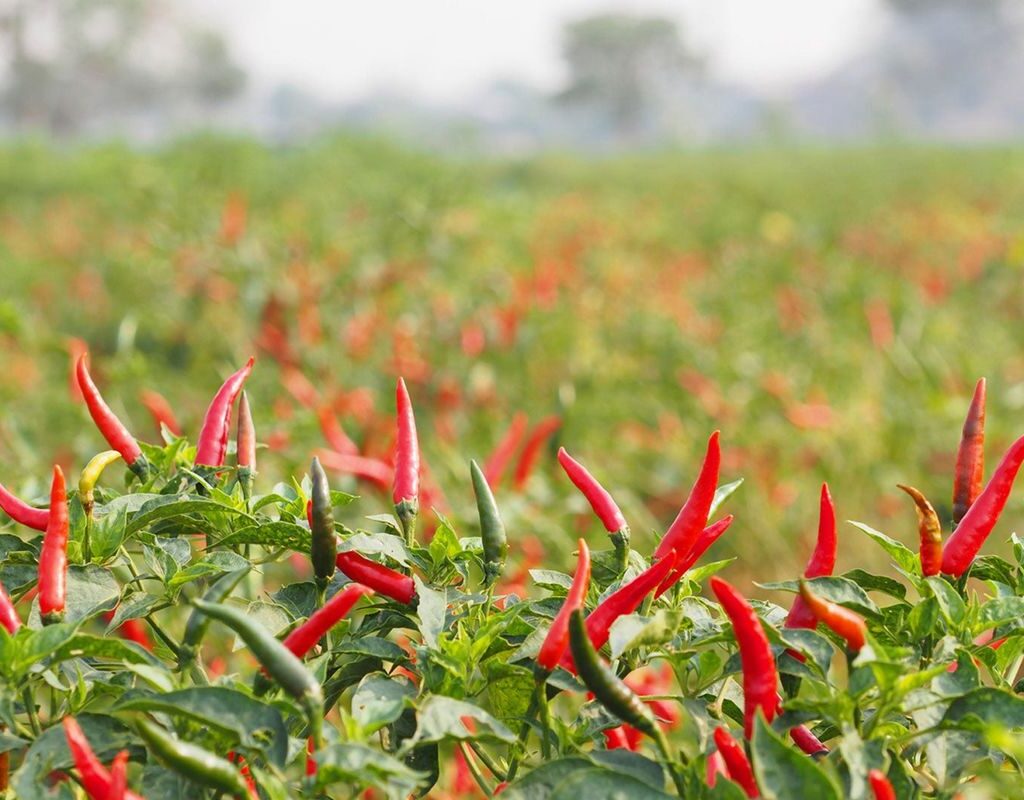
- Raised Garden Beds: For larger yields in a backyard or rooftop setup.
Ensure good airflow and sunlight access for best results.

Step-by-Step Guide to Growing Chili Peppers at Home
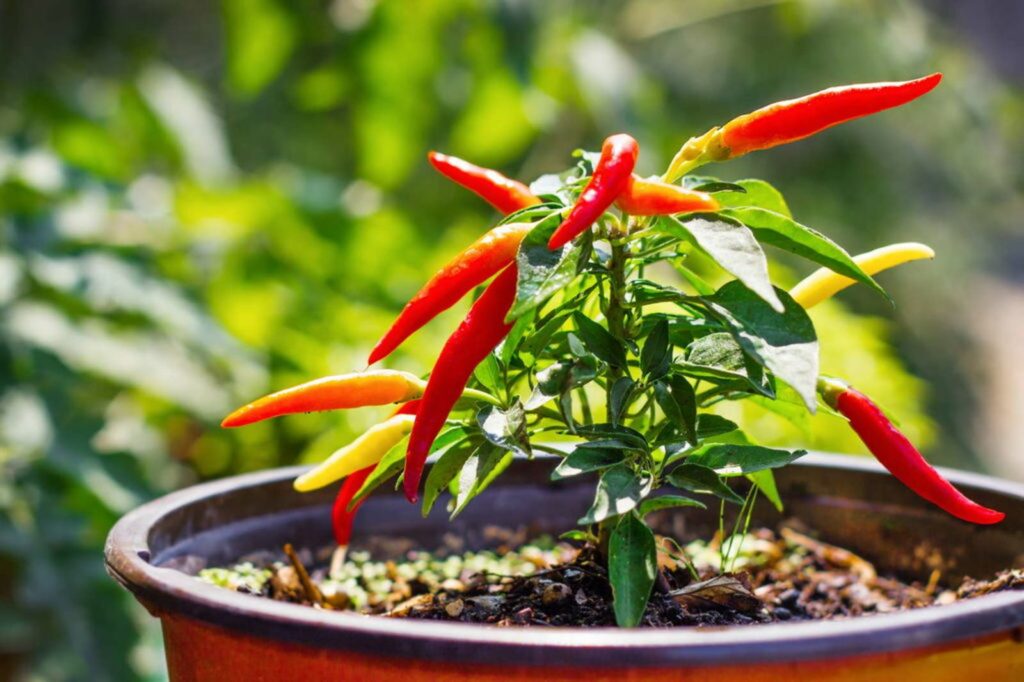
1. Choosing the Right Container or Spot
Use containers that are at least 12 inches deep and have good drainage holes. For balconies or indoor growing, use lightweight pots that can be moved easily to catch sunlight.
2. Soil Preparation
Chilies prefer well-drained, loamy, and slightly acidic soil (pH between 6.0 and 6.8). Mix compost or organic manure into your potting mix to improve fertility and moisture retention.
A good mix might include:
- 40% garden soil
- 30% compost
- 20% coco peat or vermiculite
- 10% sand for drainage
3. Starting from Seeds or Seedlings
You can either:
- Sow seeds indoors 6–8 weeks before the last expected frost.
- Buy healthy nursery seedlings for quicker results.
Soak seeds in warm water for a few hours before planting to improve germination. Sow them ¼ inch deep in seed-starting trays or small pots.
4. Transplanting
When seedlings have 4–6 true leaves and are about 4–6 inches tall, transplant them into their final container or garden bed. Be gentle to avoid damaging the roots.
5. Watering
Keep the soil consistently moist but never soggy. Water deeply 2–3 times a week depending on weather conditions. During flowering and fruiting, reduce watering slightly to improve flavor concentration.

Tip: Water in the morning and avoid wetting the leaves to reduce fungal risks.
6. Sunlight Needs
Chili plants thrive in full sun—6 to 8 hours daily. If growing indoors, place the pots near a sunny south-facing window or use a grow light if sunlight is insufficient.
7. Fertilization
Use a balanced liquid fertilizer (like 10-10-10 NPK) every 2–3 weeks during the growing season. Once flowers appear, switch to a low-nitrogen, high-potassium fertilizer to boost fruit development.
You can also add organic amendments like:
- Banana peel tea (potassium)
- Wood ash (natural phosphorus)
- Vermicompost or cow dung manure
8. Pruning and Staking
Pinch off the top when the plant is 8–10 inches tall to encourage bushy growth. Stake tall plants to support heavy branches filled with fruit.
9. Pest and Disease Control
Common pests include aphids, spider mites, and whiteflies. Use neem oil spray or insecticidal soap regularly as a natural deterrent.
For diseases like leaf spot or root rot:
- Avoid overwatering
- Improve air circulation
- Remove affected leaves immediately
Harvesting Your Chili Peppers
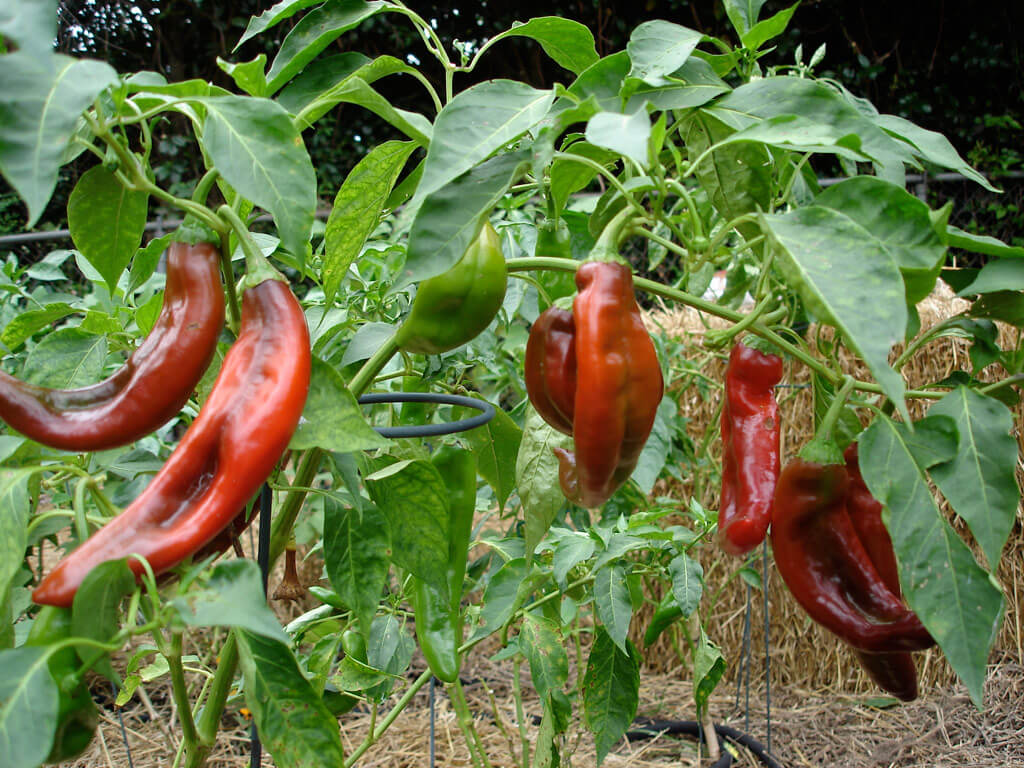
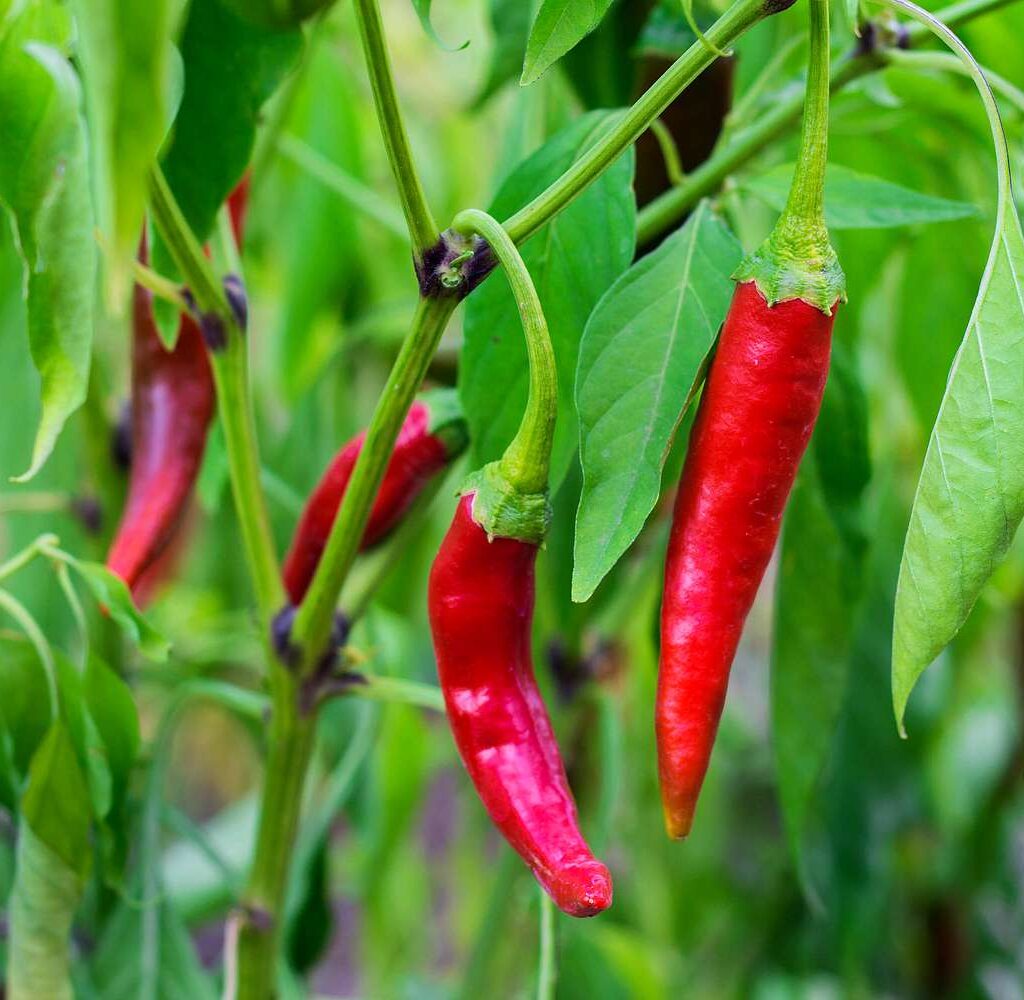
Chili peppers are ready for harvest 60 to 90 days after transplanting, depending on the variety. You can pick them green or wait until they turn red for full heat and flavor.
Use scissors or pruning shears to cut the fruit, leaving a bit of stem. Harvest regularly to encourage more fruit production.
Post-Harvest Uses and Storage
- Fresh Use: In salsas, curries, pickles, or salads.
- Drying: Air-dry or use a dehydrator; store in airtight jars.
- Freezing: Freeze whole or chopped chilies in zip-lock bags.
- Chili Powder or Flakes: Grind dried chilies for homemade seasoning.
- Infused Oils: Store chopped dried chilies in olive oil for a spicy kick.
Common Problems and Solutions
| Problem | Cause | Solution |
|---|---|---|
| Yellowing Leaves | Overwatering or nutrient loss | Check drainage, use balanced fertilizer |
| Flower Drop | Heat stress or poor pollination | Water well, hand-pollinate if needed |
| No Fruits | Too much nitrogen | Use phosphorus-rich fertilizer |
| Wilting Plants | Root rot or dry soil | Adjust watering, check for pests |
Quick Tips for Success
- Rotate pots to ensure even sunlight exposure.
- Use mulch to retain soil moisture and prevent weeds.
- Don’t panic if growth is slow initially—chili plants are slow starters but quick to produce once established.
- Save seeds from your best fruits for next season.
Conclusion
Growing your own chili peppers at home is an easy and fulfilling experience. With the right pot, soil, and care, these fiery favorites can flourish on a sunny balcony, a modest terrace, or even a bright windowsill. Not only will you enjoy a consistent supply of homegrown spice, but you’ll also cultivate a deeper connection with your food.
So grab your gardening gloves, pick your favorite chili variety, and get planting—because nothing beats the flavor and satisfaction of peppers grown with your own hands.
Leave A Comment