Passion fruit is one of the world’s most beloved tropical fruits, prized for its sweet-tart flavor, aromatic pulp, and impressive nutritional benefits. Known for its intense fragrance and versatility in juices, desserts, yogurts, and cocktails, passion fruit has grown in popularity well beyond its native regions. As global demand for exotic and health-focused fruits surges, passion fruit has become a major player in the international fruit trade.
But which country imports the most passion fruit in the world? Let’s dive deep into the global trade landscape of this tropical delicacy.
What Is Passion Fruit?
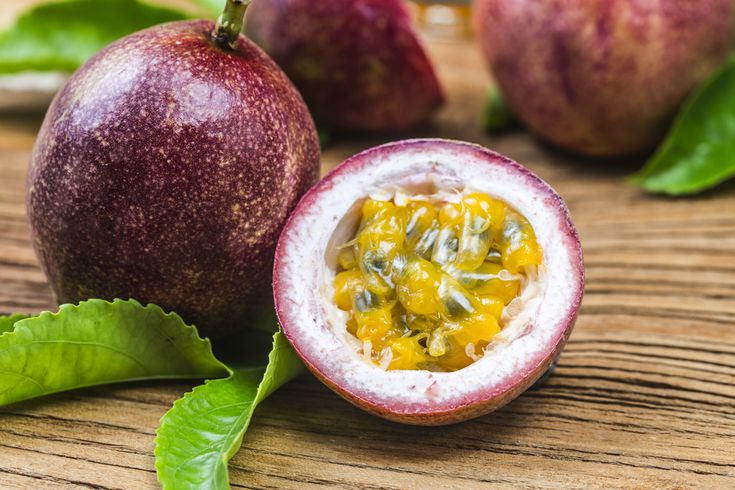
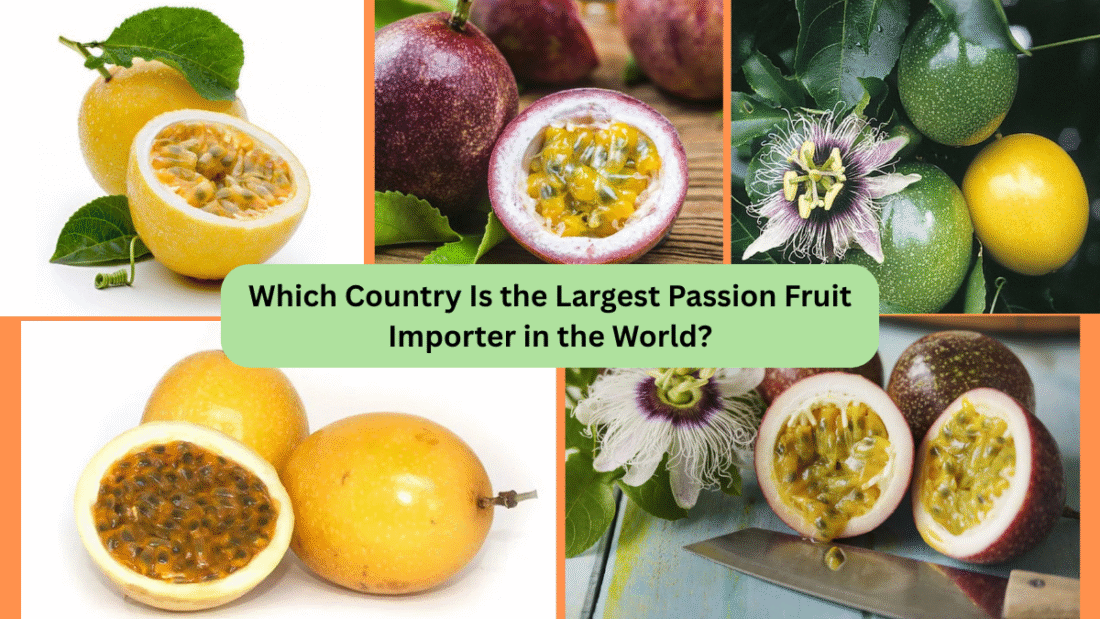
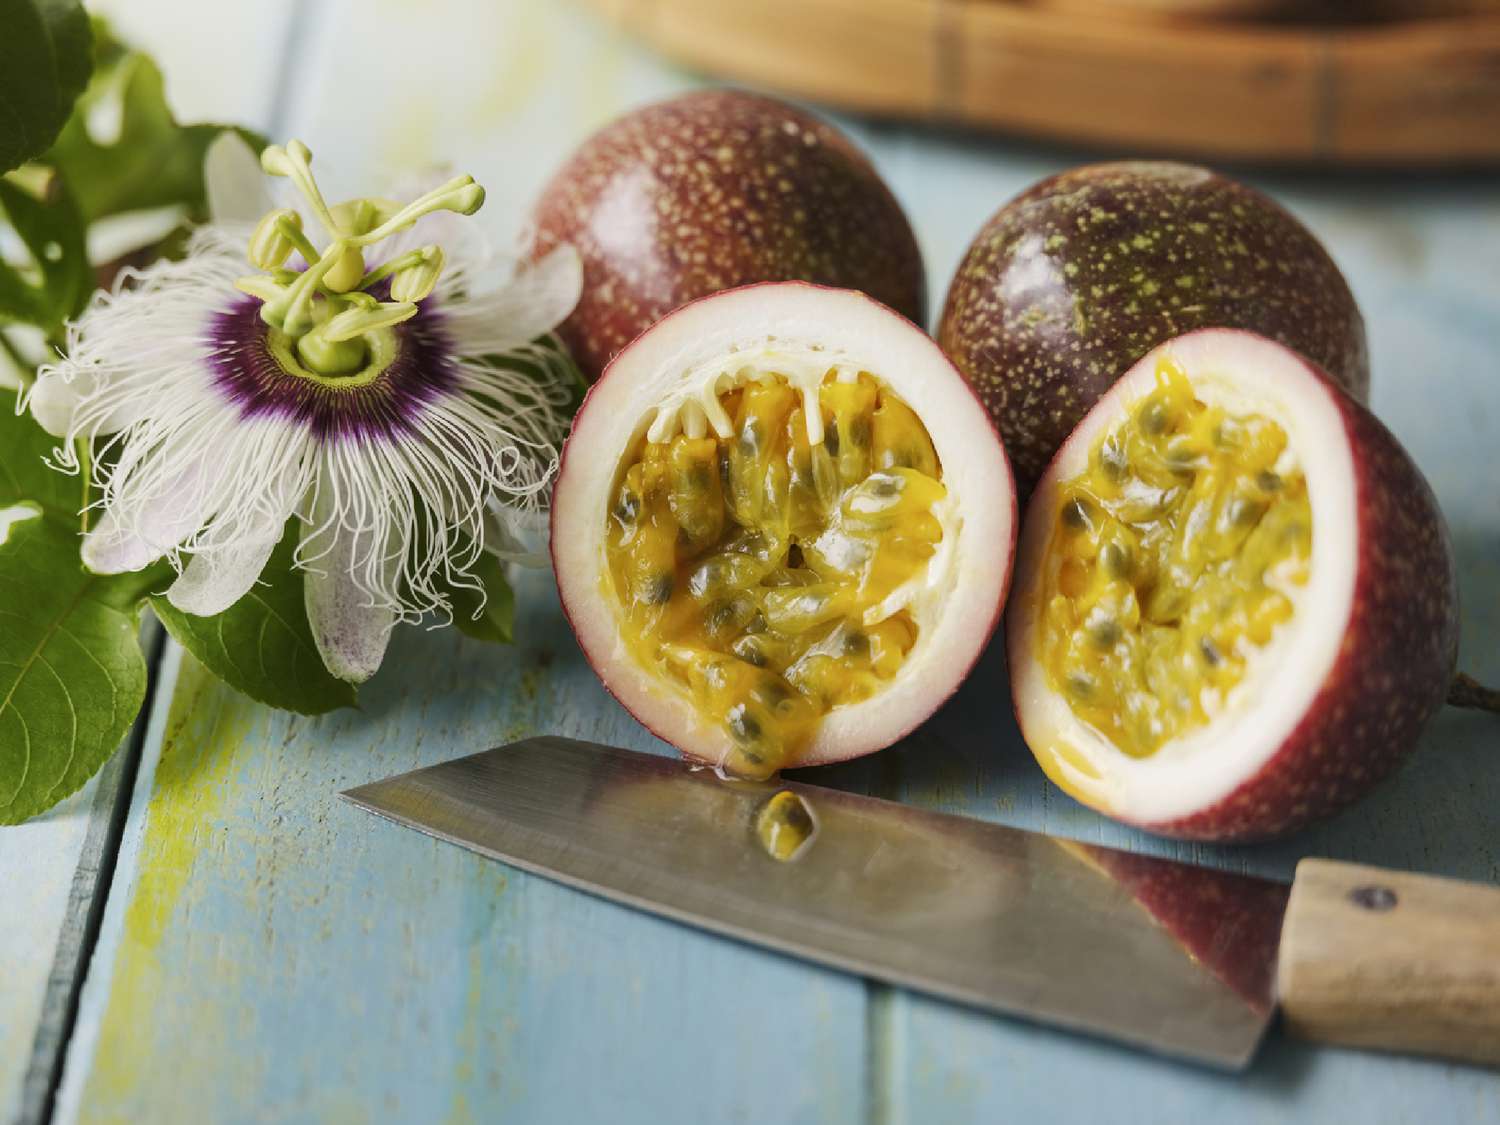
Passion fruit (Passiflora edulis) is native to South America, particularly Brazil, Paraguay, and northern Argentina. It’s a round or oval fruit with a hard outer rind and a jelly-like, seed-filled interior known for its distinct aroma and sweet-tangy flavor. The fruit comes in two main types:
- Purple Passion Fruit: Popular in cooler subtropical climates.
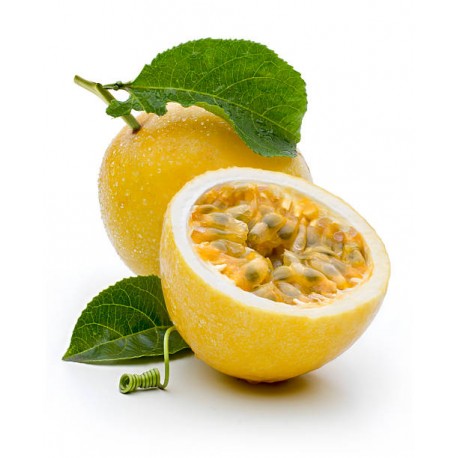
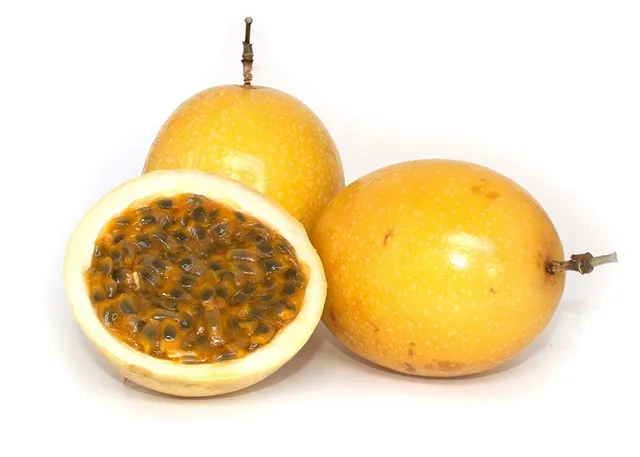
- Yellow Passion Fruit: Grown in tropical regions and used widely for juice production.
Apart from its appealing taste, passion fruit is loaded with vitamins A and C, dietary fiber, and beneficial plant compounds like antioxidants and flavonoids, making it a favorite among health enthusiasts worldwide.
The Global Passion Fruit Market at a Glance
In recent years, the international demand for passion fruit has surged. Factors contributing to this growth include:
- Rising global interest in tropical fruits.
- Increased awareness of its health benefits.
- Expanding culinary and beverage applications.
- Popularity in natural and functional foods sectors.
According to market analysis, the global passion fruit market size was valued at around USD 3.4 billion in 2023 and is projected to grow steadily, driven by both fresh and processed product demand.
Which Country Is the Largest Passion Fruit Importer in the World?
The Netherlands stands as the largest importer of passion fruit in the world.
Why the Netherlands Leads Passion Fruit Imports:
- Strategic Location in Europe:
The Netherlands is Europe’s primary gateway for imported fruits, including exotic varieties like passion fruit. Its highly developed port infrastructure, especially the Port of Rotterdam, serves as a major distribution hub to neighboring countries like Germany, France, Belgium, and the United Kingdom. - Thriving Wholesale and Distribution Network:
Dutch fruit importers and traders specialize in exotic fruits and maintain strong connections with suppliers in South America and Africa. - Growing European Demand:
The European market has witnessed a sharp increase in demand for tropical fruits due to evolving dietary preferences, increased tourism influences, and greater awareness of nutritional benefits. - Re-Export Activity:
A significant portion of the passion fruit imported into the Netherlands is re-exported to other European countries, further amplifying its import volumes.
Other Major Passion Fruit-Importing Countries
While the Netherlands leads the way, several other countries import significant quantities of passion fruit:
- France: A strong market for fresh passion fruit and juice, driven by culinary traditions and consumer health trends.
- Germany: Increasing demand in the beverage, dessert, and wellness sectors.
- United Kingdom: A growing market fueled by health-conscious consumers and expanding exotic fruit offerings in supermarkets.
- United States: Importing passion fruit primarily from Latin American countries like Colombia, Ecuador, and Peru, especially for the juice and fresh produce sectors.
- United Arab Emirates (UAE): High demand for exotic, premium-quality fruits in hospitality, retail, and luxury segments.
Top Passion Fruit Exporting Countries
To meet the global appetite for passion fruit, several tropical and subtropical countries have established themselves as key exporters:
| Rank | Country | Export Share (%) |
|---|---|---|
| 1 | Colombia | 30%+ |
| 2 | Ecuador | 20-25% |
| 3 | Kenya | 15%+ |
| 4 | South Africa | 8-10% |
| 5 | Vietnam | 5-7% |
Colombia and Ecuador dominate the export market, benefiting from ideal growing conditions, year-round harvest cycles, and proximity to key import markets in Europe and North America.
How Is Passion Fruit Exported and Imported?
Passion fruit is traded in two main forms:
- Fresh Passion Fruit: Shipped in ventilated, cushioned cartons via air or refrigerated sea freight to preserve quality.
- Processed Passion Fruit Products: Includes frozen pulp, purees, juice concentrates, and dried seeds — widely used in the food, beverage, and cosmetic industries.
Strict phytosanitary controls and cold-chain logistics are essential for maintaining fruit quality during transit, especially for fresh produce.
Global Trade Trends and Data
According to FAO and UN Comtrade statistics:
- The Netherlands accounted for over 35% of global passion fruit imports by value in 2023.
- The European Union collectively represents more than 50% of global passion fruit imports.
- Import volumes to the U.S., Canada, and Middle Eastern markets have grown consistently over the last decade.
The processed passion fruit market, including juice and purees, is experiencing even faster growth due to increasing demand for exotic fruit-based beverages, yogurts, and desserts.
Why Is Passion Fruit So Popular Internationally?

Rich in Nutrients
Packed with vitamin C, vitamin A, fiber, and beneficial plant compounds, passion fruit supports immunity, digestive health, and skin wellness.
Versatile Culinary Uses
From tropical cocktails and smoothies to gourmet sauces, desserts, and health products, passion fruit fits seamlessly into global cuisine.
Health & Wellness Trends
As consumers increasingly favor natural, functional foods, passion fruit’s antioxidant-rich, low-calorie profile positions it as a desirable choice.
Growing Expat and Multicultural Populations
In Europe and the U.S., Latin American, African, and Asian communities drive demand for traditional tropical fruits like passion fruit.
Future Outlook for the Passion Fruit Import Market
The global passion fruit market is expected to maintain its upward trajectory in the coming years, driven by:
- Expanding health food and wellness markets.
- Rising popularity of exotic fruit-based beverages.
- Growth in natural cosmetic products using passion fruit extracts.
- Increasing presence in premium and gourmet retail chains.
The Netherlands is forecast to retain its position as the largest importer due to its central role in Europe’s fruit distribution network, but other markets like Germany, France, and the U.S. are likely to see significant import growth as well.
Fun Fact:
Did you know? A single passion fruit contains over 60% of the daily recommended vitamin C intake and a rich supply of antioxidants that promote heart health and skin vitality!
Conclusion
To wrap up:
- The Netherlands is the world’s largest importer of passion fruit, driven by its strategic trading position and strong re-export activity.
- Other significant importers include France, Germany, the U.K., the U.S., and the UAE.
- Colombia, Ecuador, and Kenya lead global passion fruit exports.
- The passion fruit market continues to grow, fueled by health trends, culinary innovation, and expanding global trade networks.
As demand for natural, nutrient-dense, and exotic fruits rises, passion fruit is poised to remain a key player in international fruit markets for years to come.