There’s something deeply satisfying about growing a fruit tree from scratch — especially when it’s from a seed you saved from a juicy peach you enjoyed at home. While many people opt for nursery-grown saplings, planting a peach tree from seed is a rewarding and surprisingly simple project you can take on, whether you have a spacious backyard or a modest garden.
In this guide, we’ll walk you through how to plant a peach tree from seeds at home, from selecting the right peach pit to nurturing your sapling into a fruit-bearing tree.

Can You Really Grow a Peach Tree from a Seed?
Yes, you absolutely can! Though peach trees grown from seeds might not produce fruit identical to the parent tree (due to cross-pollination and genetic variation), the resulting tree can still grow beautiful, edible peaches — and it’s a wonderful way to start your own mini orchard.
Bonus: Homegrown peach trees can be more resistant to local pests and diseases over time because they adapt to your specific environment.

What You’ll Need
Before getting started, gather these simple supplies:
- Fresh, ripe peach
- Water
- Paper towel
- Plastic bag
- Potting soil
- Small plant pots
- Garden space or large container
- Pruning shears
- Organic compost or balanced fertilizer
Step-by-Step Guide: How to Plant a Peach Tree from Seed
Step 1: Choose the Right Peach
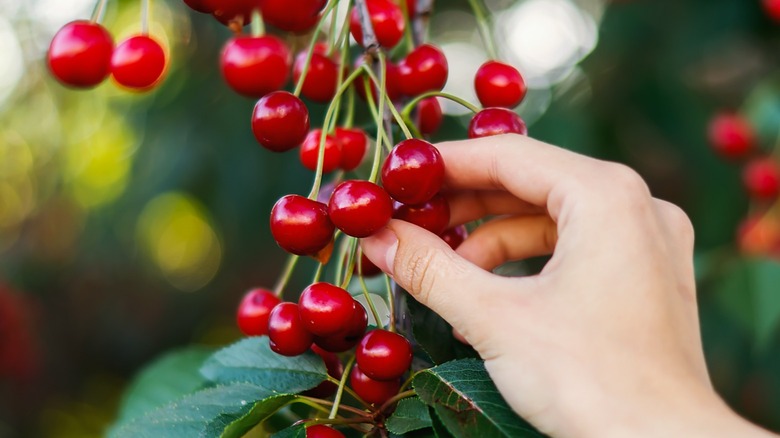
Start by selecting a fully ripe, juicy peach from a local market or, ideally, from a tree growing well in your region. This increases the chances that your seed will thrive in your local climate.
Tip: Opt for organic peaches to avoid seeds treated with chemicals that may prevent germination.
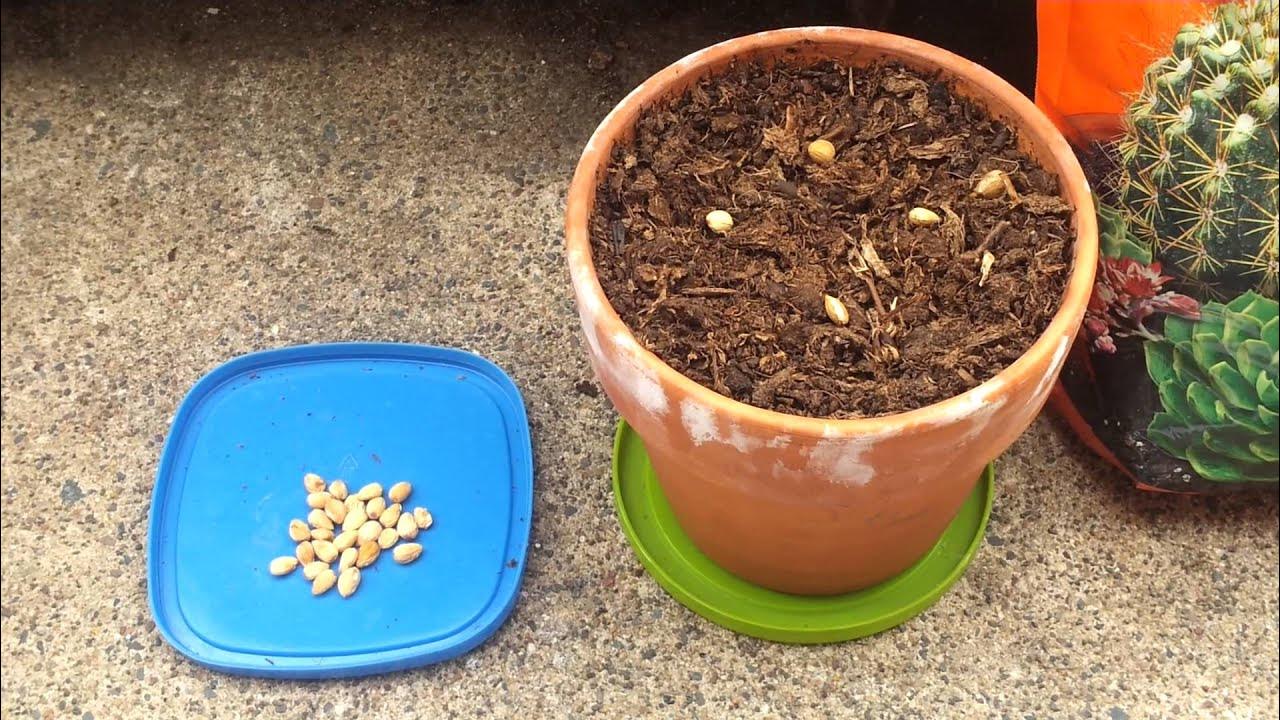
Step 2: Clean and Dry the Peach Pit
After enjoying your peach, carefully clean the pit:
- Rinse it thoroughly to remove any leftover fruit.
- Allow it to dry in a shaded, well-ventilated area for about a day.
- Once dry, you can either plant the entire pit or carefully crack it open using a nutcracker or hammer to retrieve the almond-like seed inside.
Why crack it open?
Removing the outer shell can speed up germination, but it’s optional — planting the whole pit works too, though it takes longer.
Step 3: Stratify the Seed
Peach seeds require cold stratification — a period of chilling that simulates winter dormancy — to trigger germination.
Here’s how to do it:
- Dampen a paper towel with water (it should be moist but not soaking).
- Wrap the seed or pit in the paper towel.
- Place it inside a plastic bag, leaving it slightly open for airflow.
- Store the bag in your refrigerator’s crisper drawer at around 35–40°F (1–4°C).
- Check weekly to ensure the towel stays damp and watch for sprouting.
How long does this take?
Stratification typically takes 4–8 weeks. You’ll know it’s ready when you see a small root emerging.
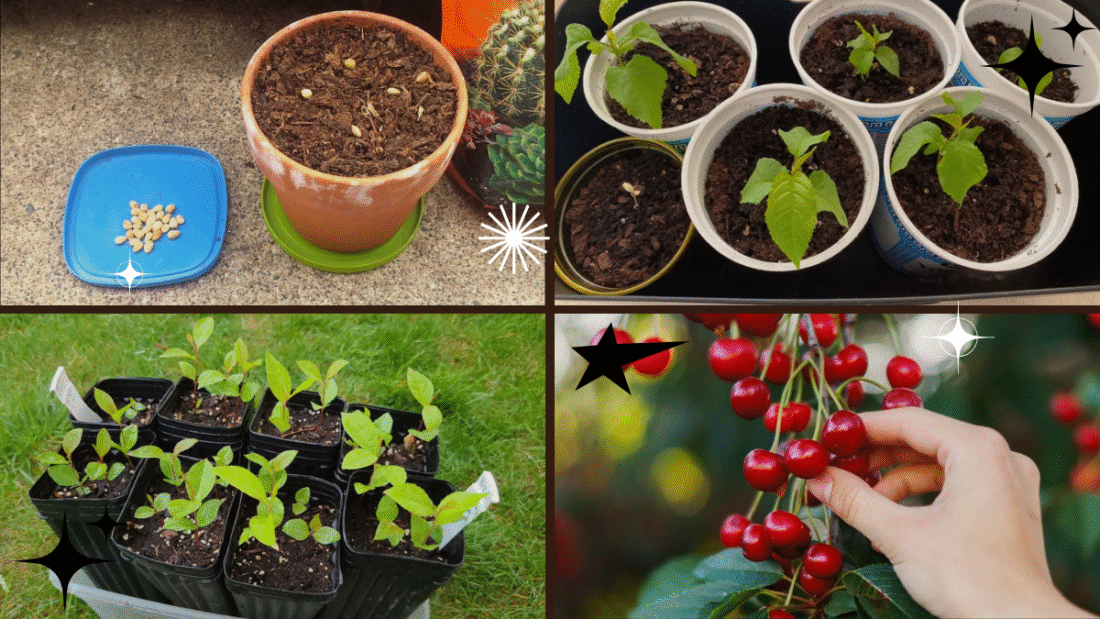
Step 4: Plant the Seed
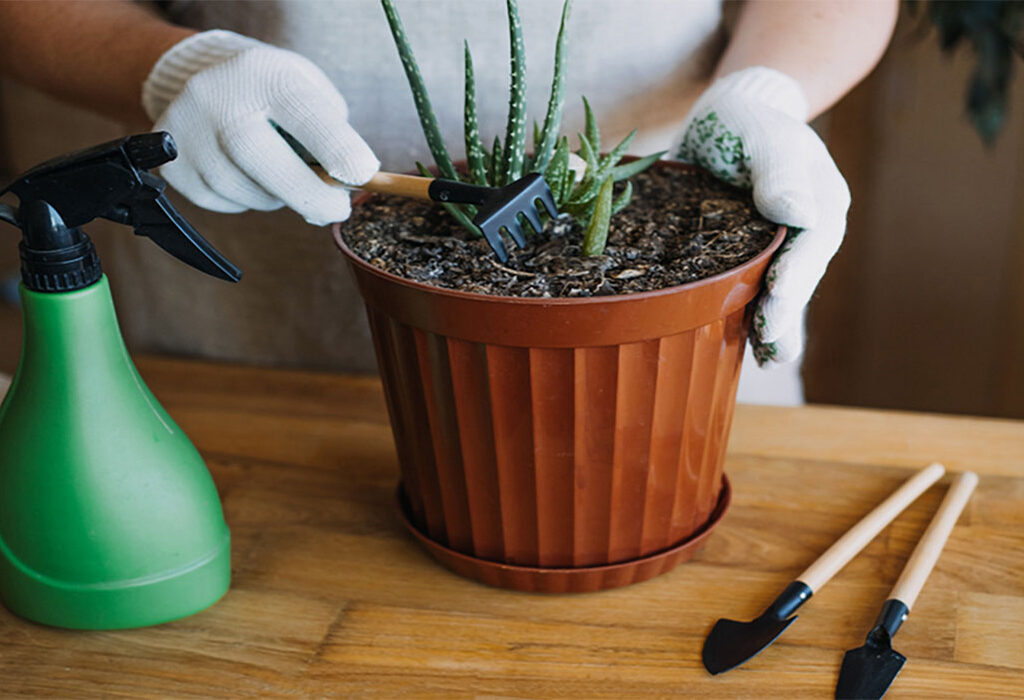
Once the seed sprouts, it’s time to plant it:
- Fill a small pot with well-draining potting soil.
- Plant the sprouted seed about 1–2 inches deep, root-side down.
- Water thoroughly but avoid waterlogging.
- Place the pot in a sunny spot (indoors near a bright window works in early stages).
Pro Tip: Use a biodegradable pot if you plan to transplant it directly outdoors later — this reduces root disturbance.
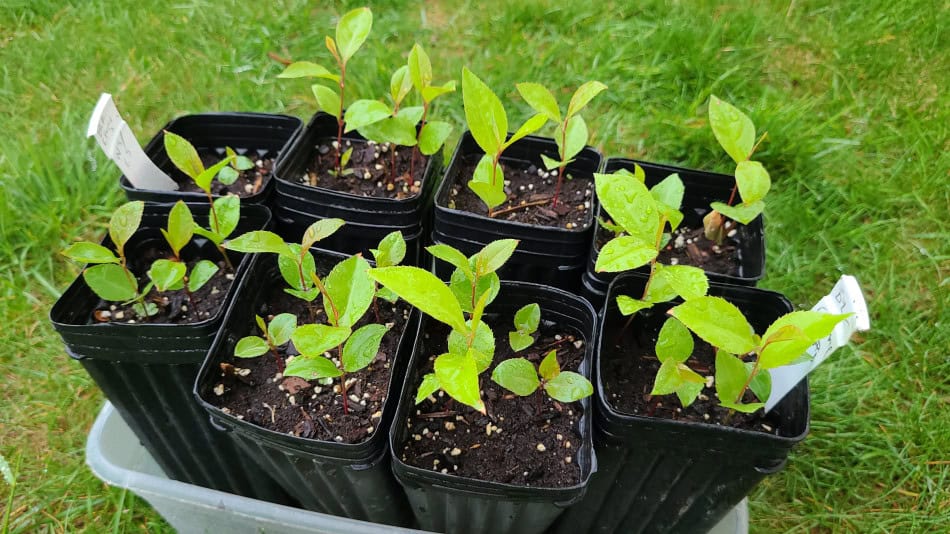
Step 5: Care for the Seedling Indoors
For the first few weeks:
- Keep the soil evenly moist.
- Ensure the pot receives at least 6–8 hours of light daily.
- Protect the seedling from drafts and sudden temperature changes.
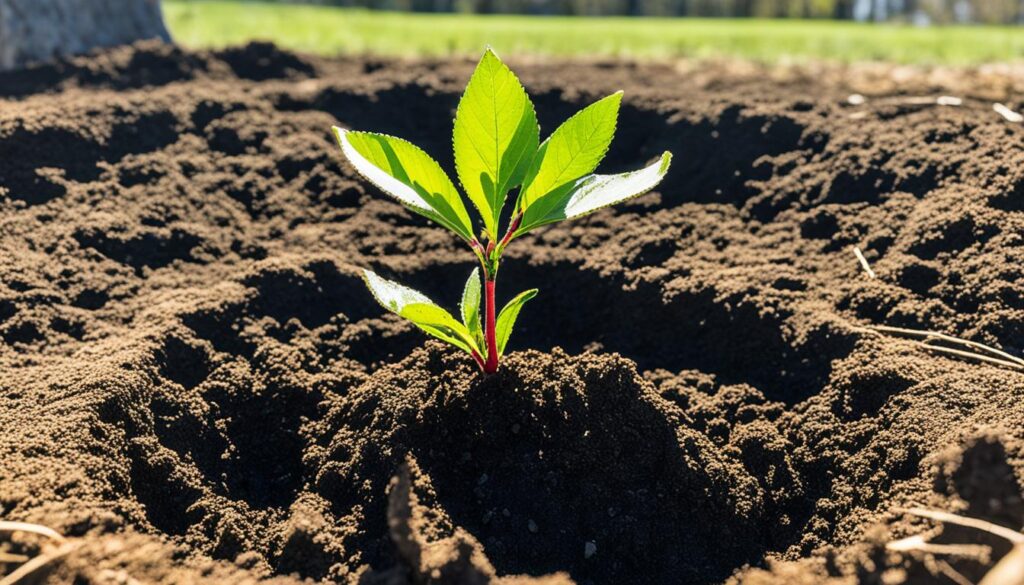
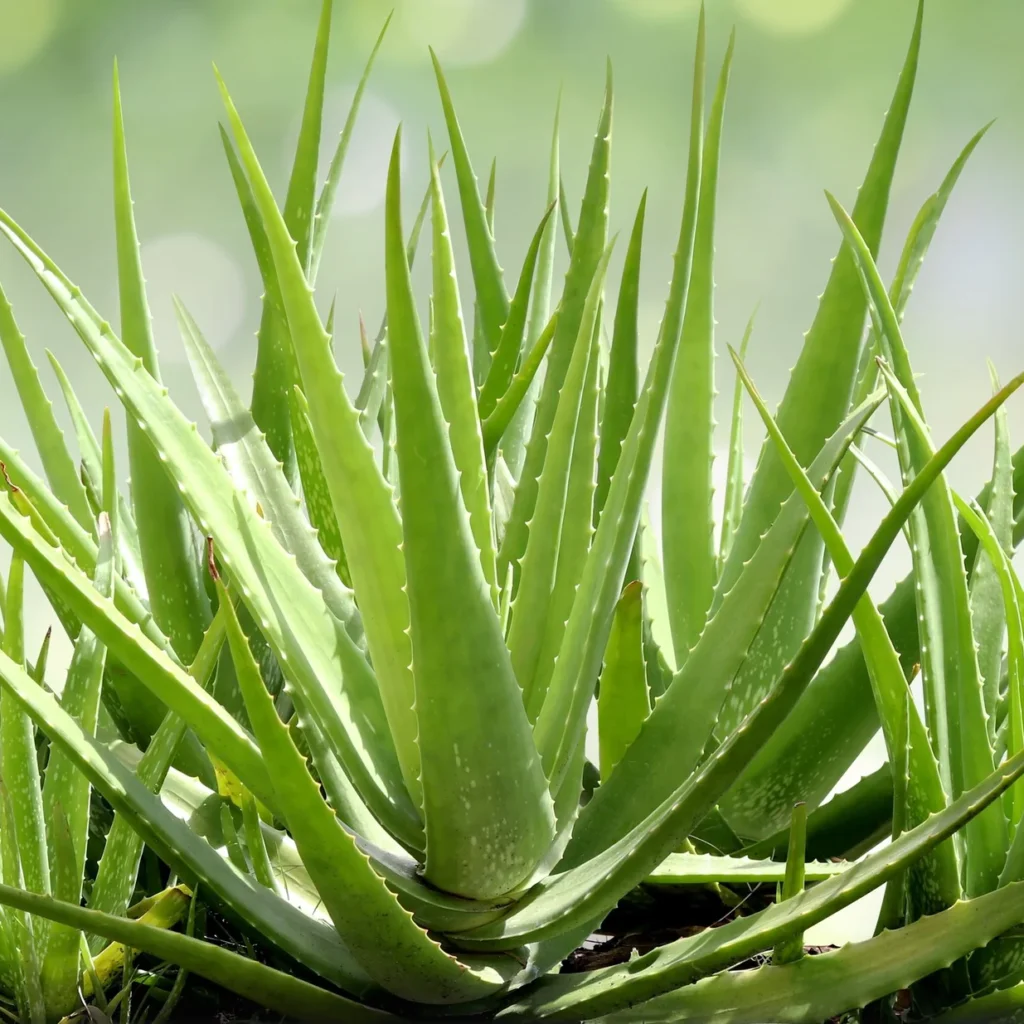
As it grows, you’ll notice bright green leaves and stronger stems forming.
Step 6: Transplanting Outdoors
Once your peach seedling reaches about 12–18 inches tall and the outdoor weather is consistently warm (after the last frost), it’s time to move it outside.
Choosing a spot:
- Full sun: Peach trees need at least 6–8 hours of direct sunlight daily.
- Well-draining soil: Avoid areas where water tends to collect.
- Spacing: If planting multiple trees, leave 12–15 feet of space between each.
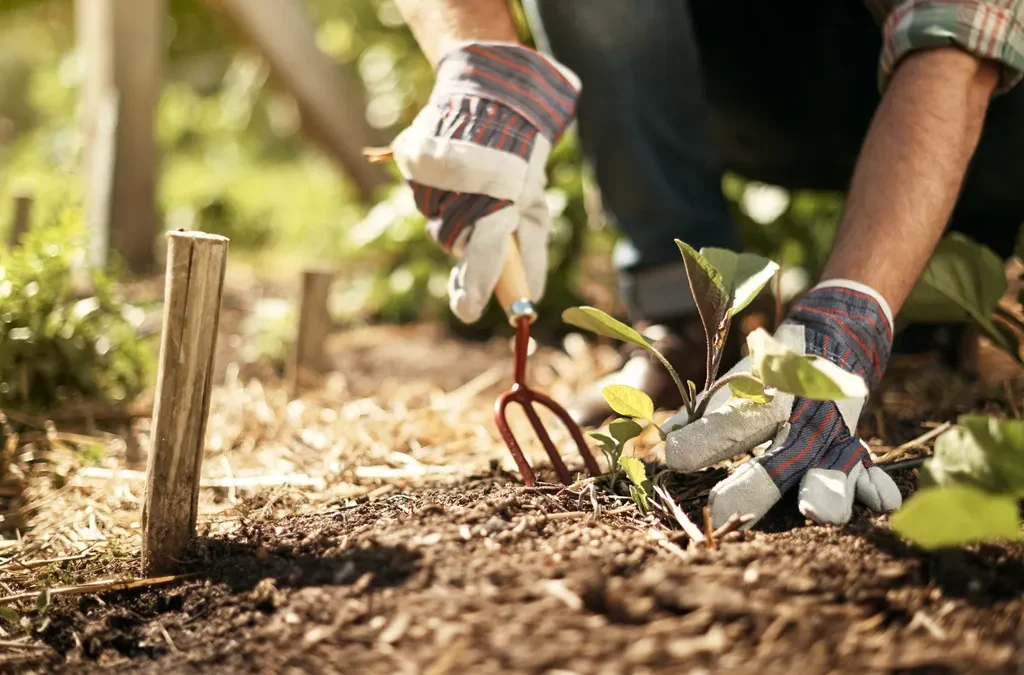
How to transplant:
- Dig a hole twice as wide and just as deep as the root ball.
- Mix organic compost into the hole for added nutrients.
- Place the tree in the hole, ensuring the base is level with the soil line.
- Backfill with soil, gently firming it around the roots.
- Water thoroughly.

Ongoing Care and Maintenance
Growing a peach tree from seed takes patience, but with regular care, your tree will flourish.
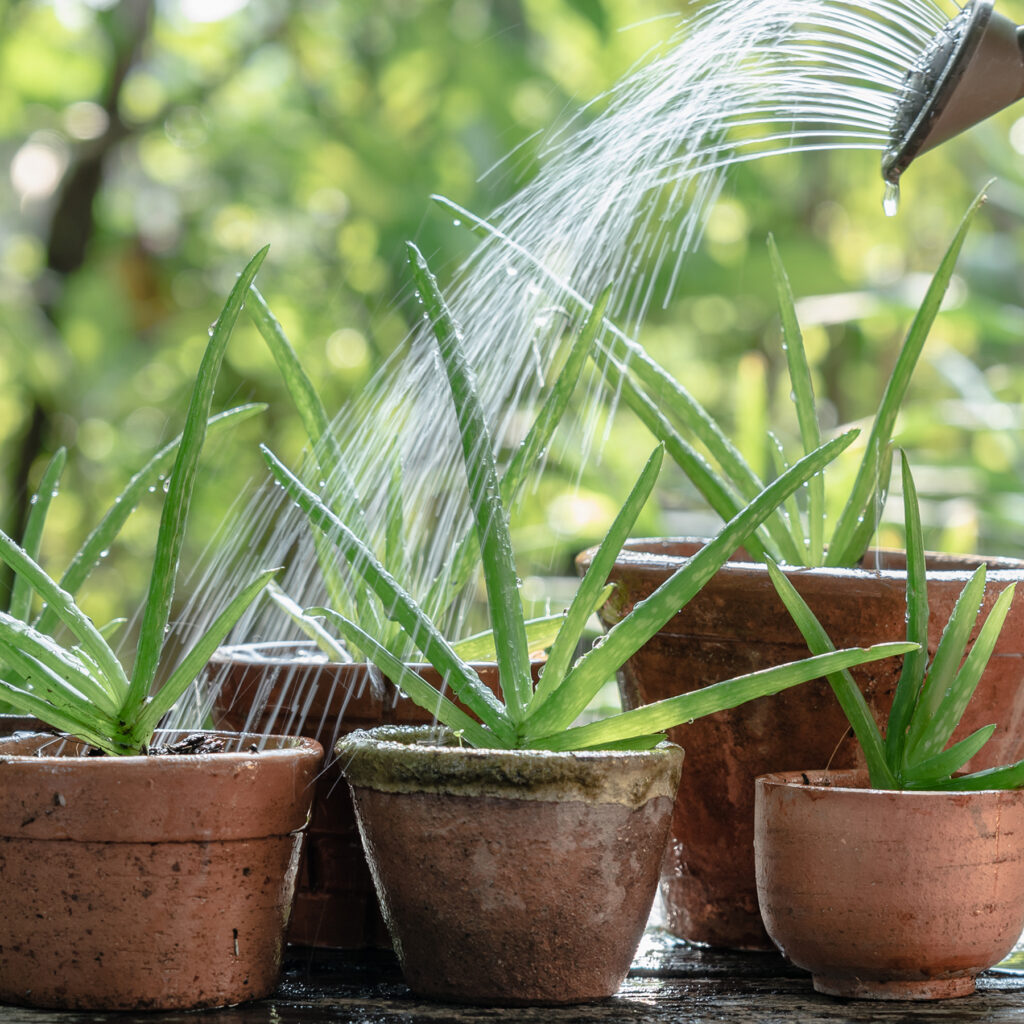
Watering
- Water deeply once or twice a week, depending on rainfall.
- Reduce watering in winter months.
Fertilizing
- Apply a balanced, slow-release fertilizer in spring and early summer.
- Avoid over-fertilizing, as this can cause excessive leafy growth at the expense of fruit.
Pruning
- Prune in late winter or early spring before new growth starts.
- Remove dead, diseased, or crossing branches.
- Thin out the center to allow light and air to reach the middle of the tree.
Pest and Disease Management
Peach trees can be prone to pests like aphids, peach tree borers, and fungal diseases. Regularly inspect your tree and treat issues early using organic pest control methods or neem oil sprays.

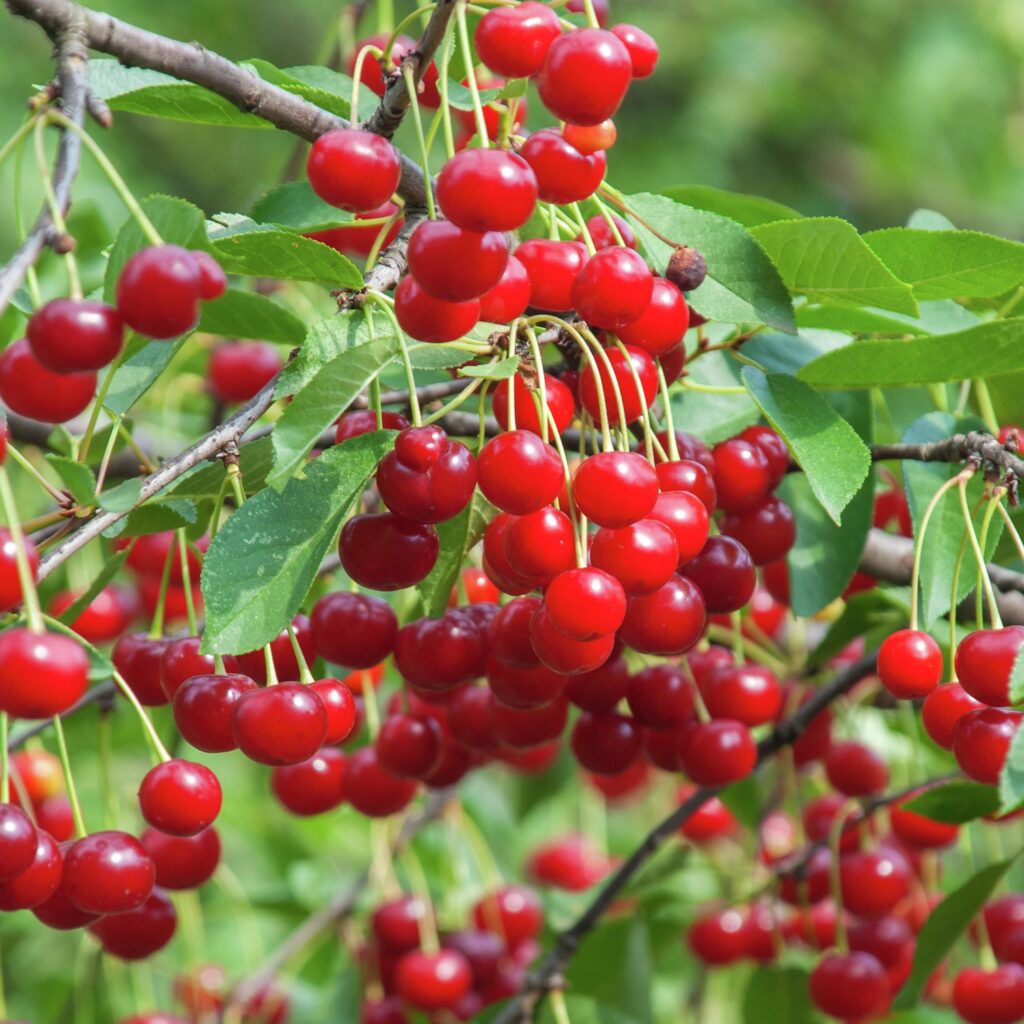
When Will It Bear Fruit?
Patience is key here — a peach tree grown from seed typically takes 3–5 years to produce fruit. While the exact quality and size of the peaches can be unpredictable, many home gardeners find the results rewarding.
Can You Grow a Peach Tree in a Pot?
Yes! If you’re short on space or live in a cooler climate, you can grow a peach tree in a large container:
- Choose a pot at least 18 inches wide and deep.
- Use a lightweight, well-draining potting mix.
- Move the pot outdoors in spring and summer.
- Bring it to a sheltered spot or indoors during winter in cold regions.
Tip: Look for dwarf peach varieties, which are better suited for container growing.
Final Thoughts
Planting a peach tree from a seed at home is a wonderful way to connect with nature, learn patience, and eventually enjoy fresh fruit picked from your own backyard. While it takes a few years for your tree to bear fruit, the process is simple, satisfying, and a fantastic project for gardeners of all experience levels.
So the next time you savor a sweet, juicy peach — save that pit. It might just grow into something beautiful.