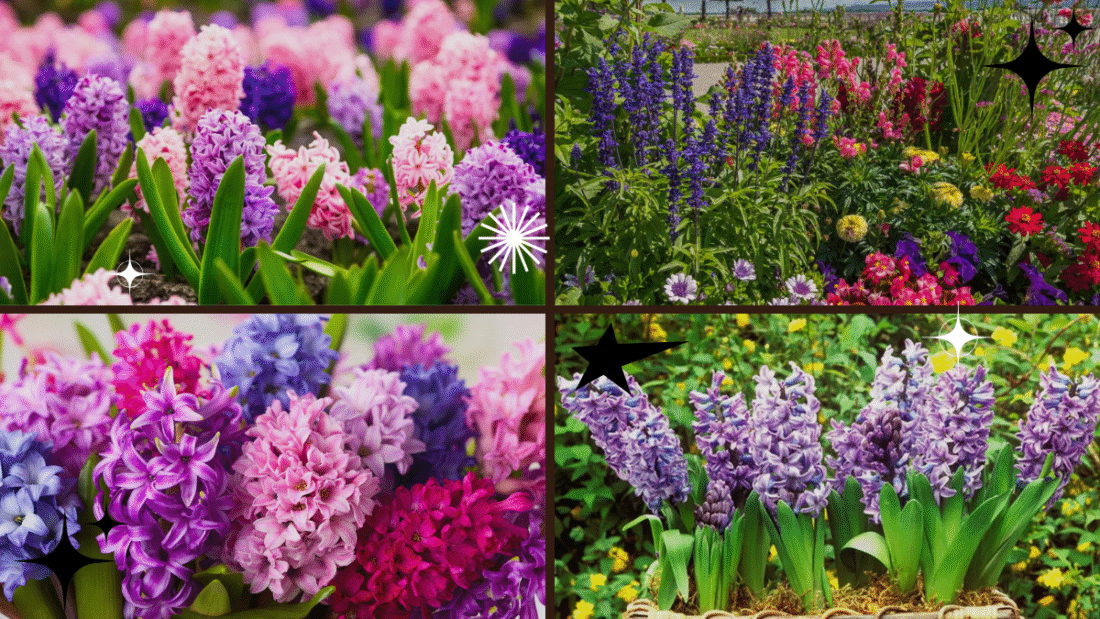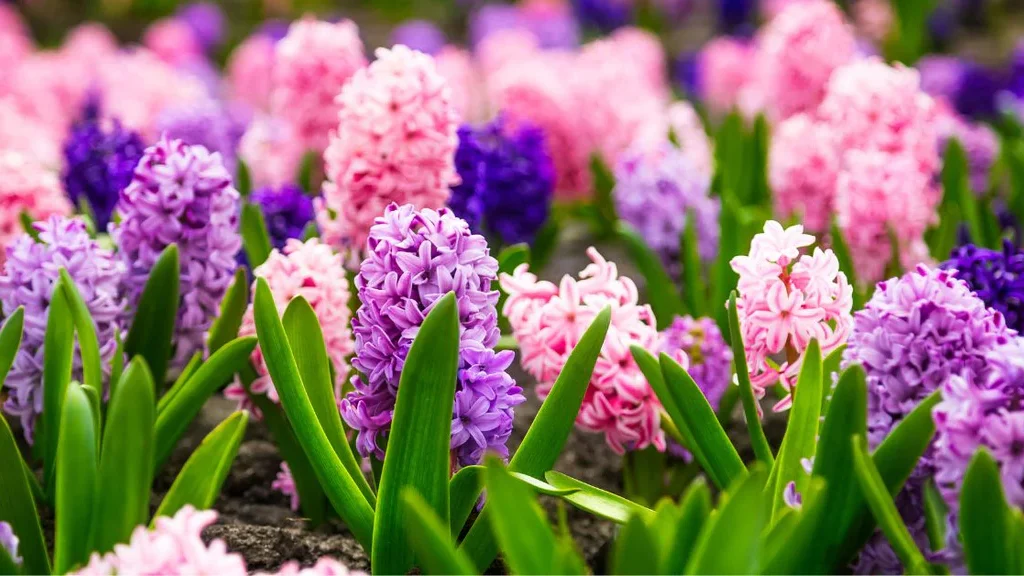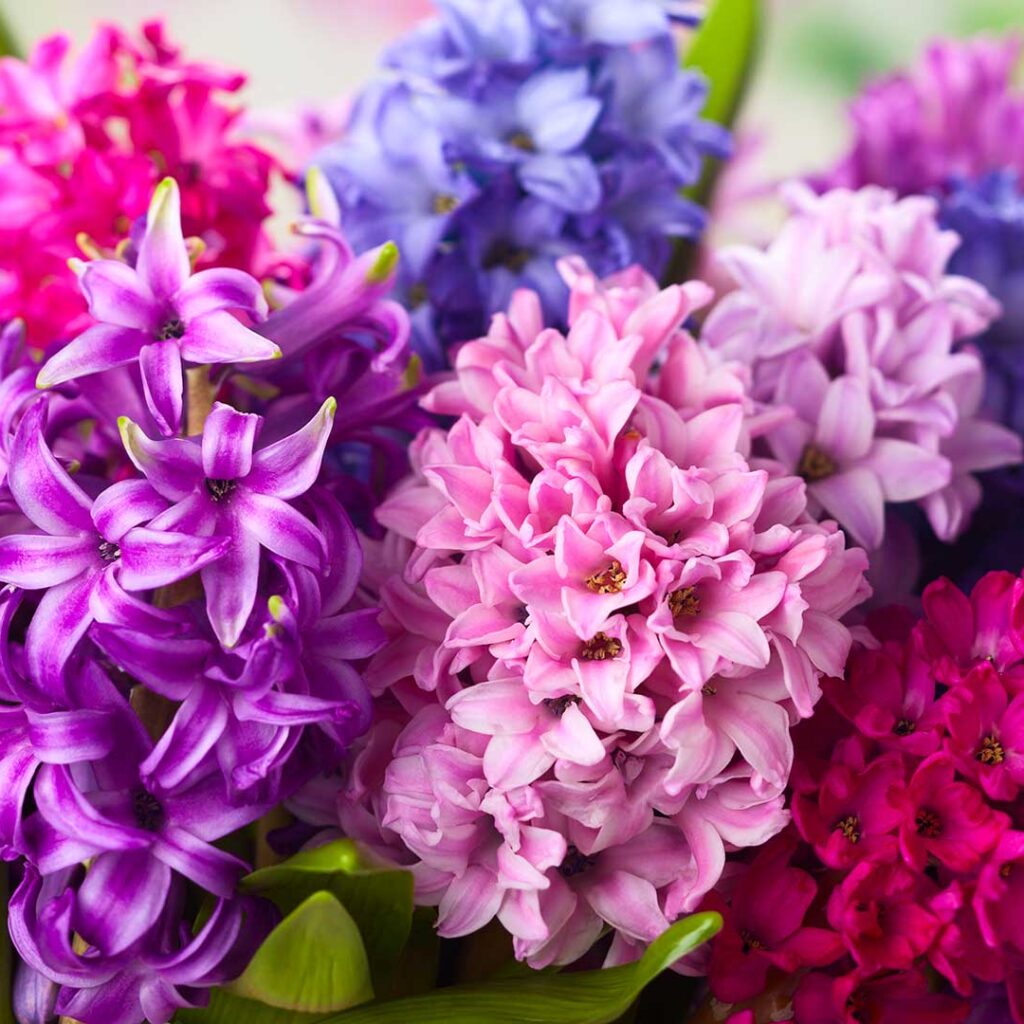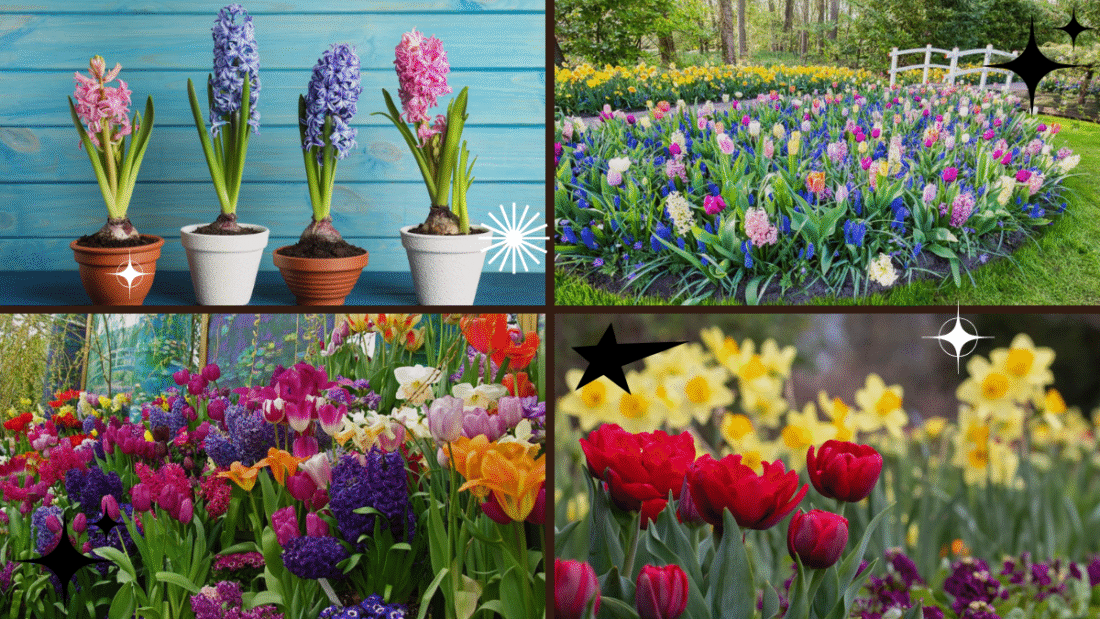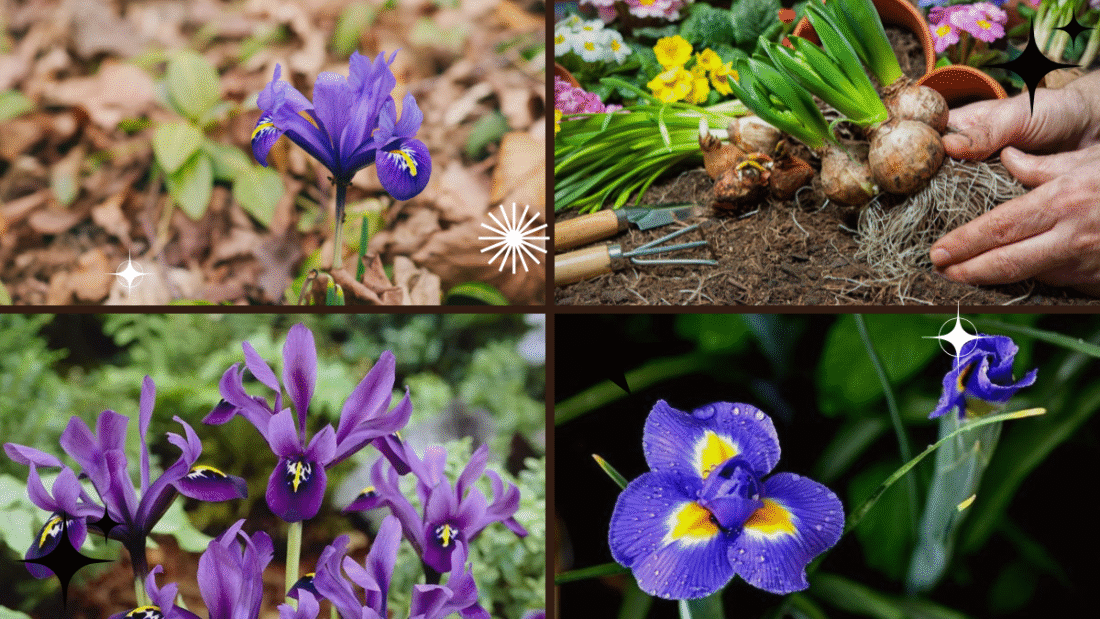
If you’re dreaming of a garden filled with elegant, colorful, and hardy blooms, irises are the perfect flowers to consider. Known for their distinctive sword-like foliage and striking, intricate flowers, irises are a classic favorite in home gardens. They’re relatively easy to plant and maintain, rewarding gardeners with breathtaking flowers in shades ranging from deep purples and blues to yellows, whites, and even multicolored varieties.
In this comprehensive guide, we’ll show you exactly how to plant iris bulbs (actually rhizomes, in most cases), when to plant them, where to plant them, and how to care for them to ensure a vibrant display year after year.
Why Choose Irises for Your Garden?
Irises aren’t just beautiful — they’re also remarkably versatile and hardy. Here’s why gardeners love them:
- Wide range of colors and varieties
- Attract pollinators like bees and butterflies
- Deer and rabbit resistant
- Low maintenance once established
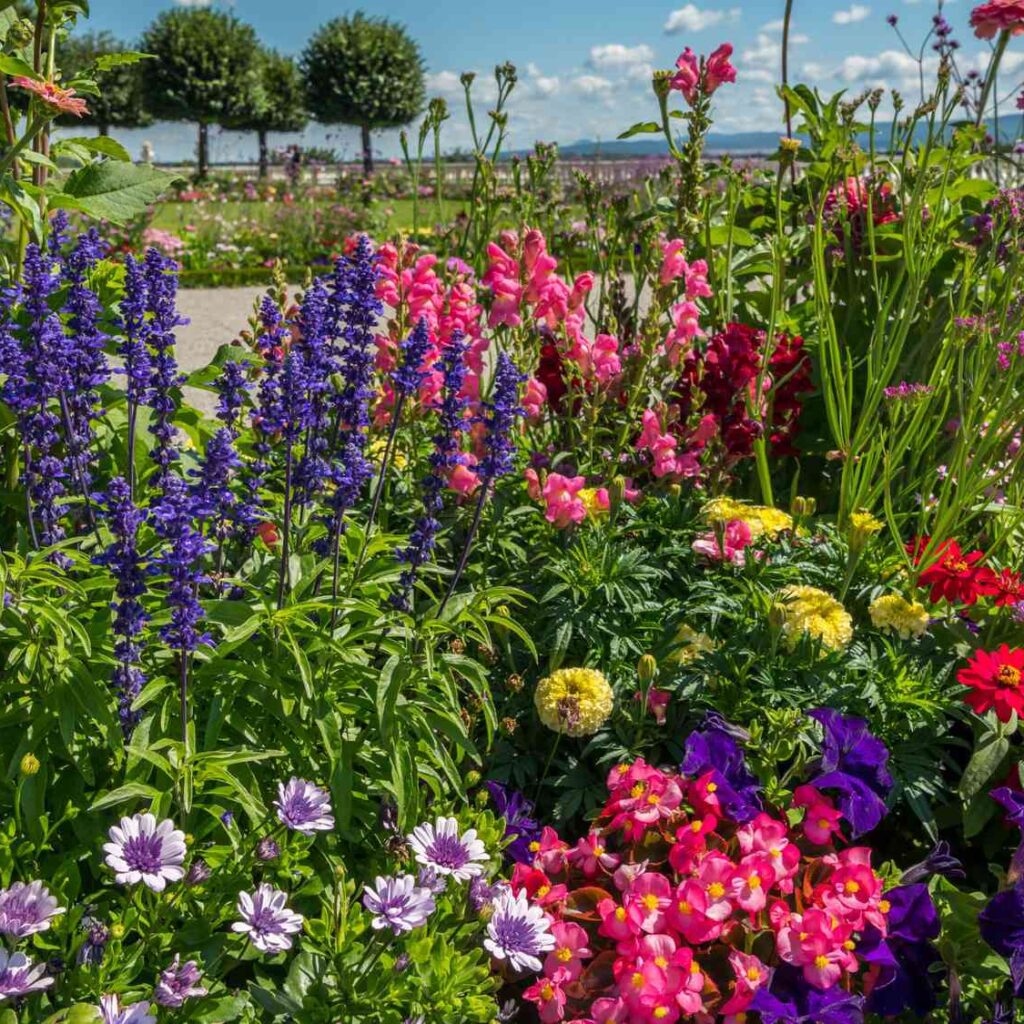
- Adaptable to different garden styles: cottage, formal, wildflower meadows, or water gardens
Types of Iris Bulbs You Can Plant
Before you start planting, it’s important to know that not all irises grow from traditional bulbs. The term “iris bulbs” is commonly used to describe rhizomes (horizontal underground stems) for bearded irises and true bulbs for species like Dutch or reticulated irises. Here’s a quick breakdown:
1. Rhizomatous Irises
- Bearded Irises: The most popular garden iris, with a fuzzy ‘beard’ on their petals.
- Beardless Irises: Including Siberian and Japanese irises, which lack the fuzzy beard but are equally stunning.
2. Bulbous Irises
- Dutch Irises: Typically grown from true bulbs, known for their delicate blooms and suitability for cutting gardens.
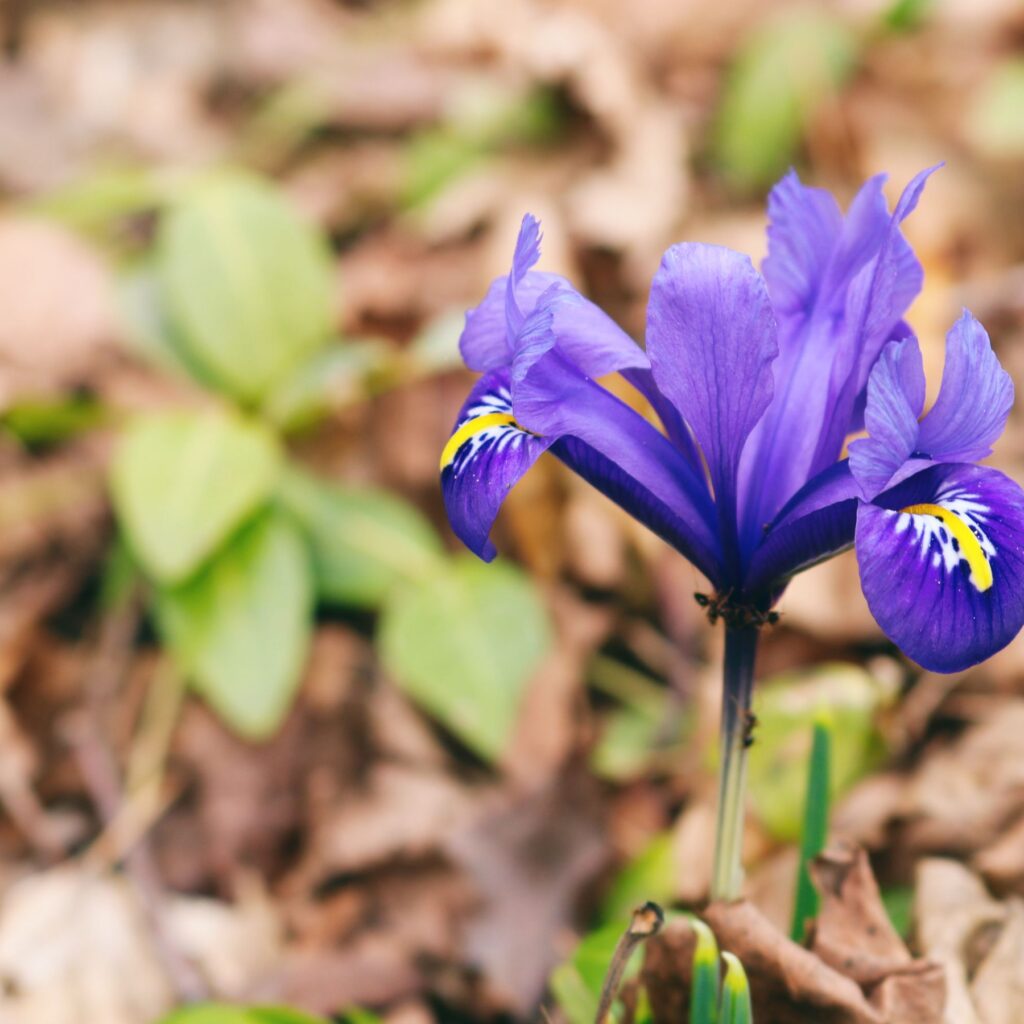
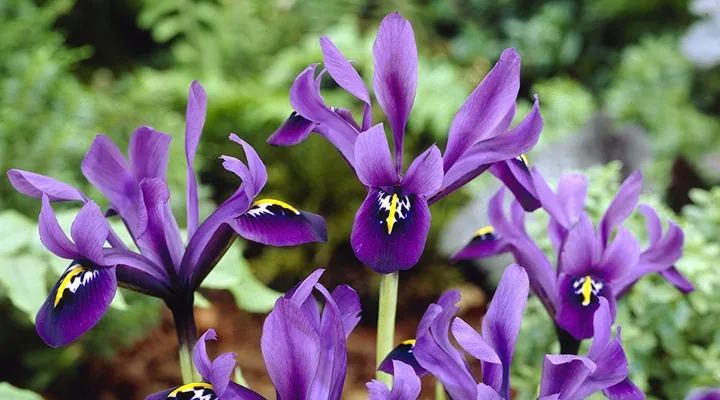
- Reticulated Irises: Small, early-blooming species perfect for rock gardens and borders.
This guide will focus mainly on bearded irises and Dutch irises, as these are the most common for home gardeners.

When to Plant Iris Bulbs
The right planting time is crucial for healthy growth and beautiful blooms:
- Bearded Irises (Rhizomes): Plant in late summer to early fall (July to September).
- Dutch Irises (Bulbs): Plant in fall (September to November), before the ground freezes.
Planting at the right time allows irises to establish roots before winter and bloom beautifully in spring or early summer.

How to Choose the Perfect Planting Location
Irises thrive best in certain conditions:
- Full Sun: Aim for at least 6 hours of direct sunlight daily. Less sun leads to fewer blooms.
- Well-Drained Soil: Irises dislike “wet feet.” Choose a spot with good drainage to avoid rot.
- Air Circulation: Good airflow around plants reduces the risk of fungal diseases.
If your soil is heavy clay, amend it with compost, sand, or fine gravel to improve drainage.
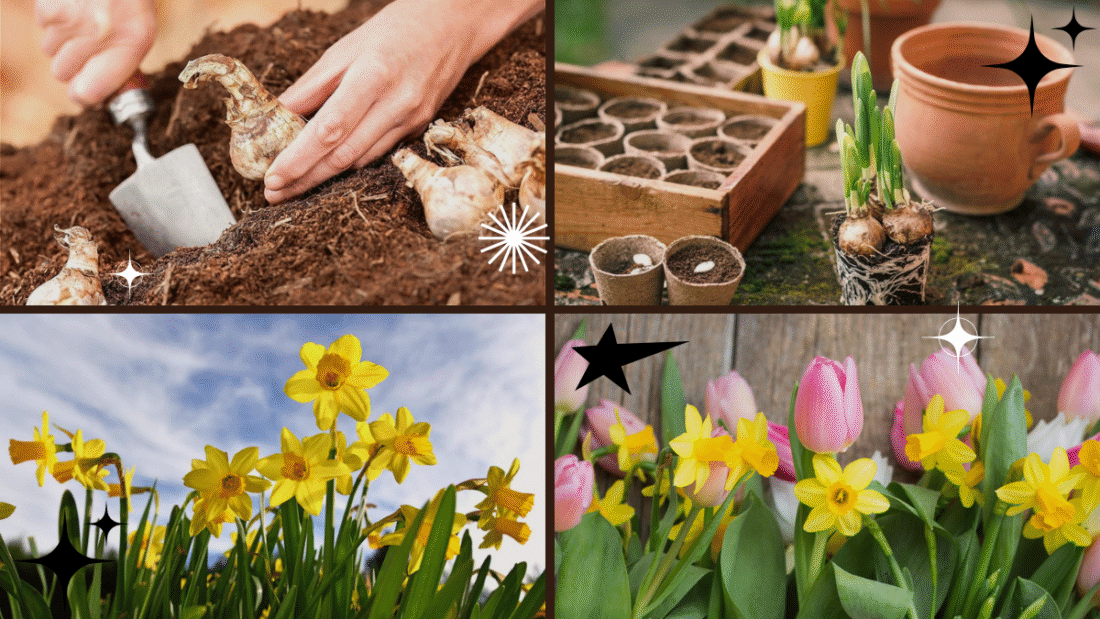
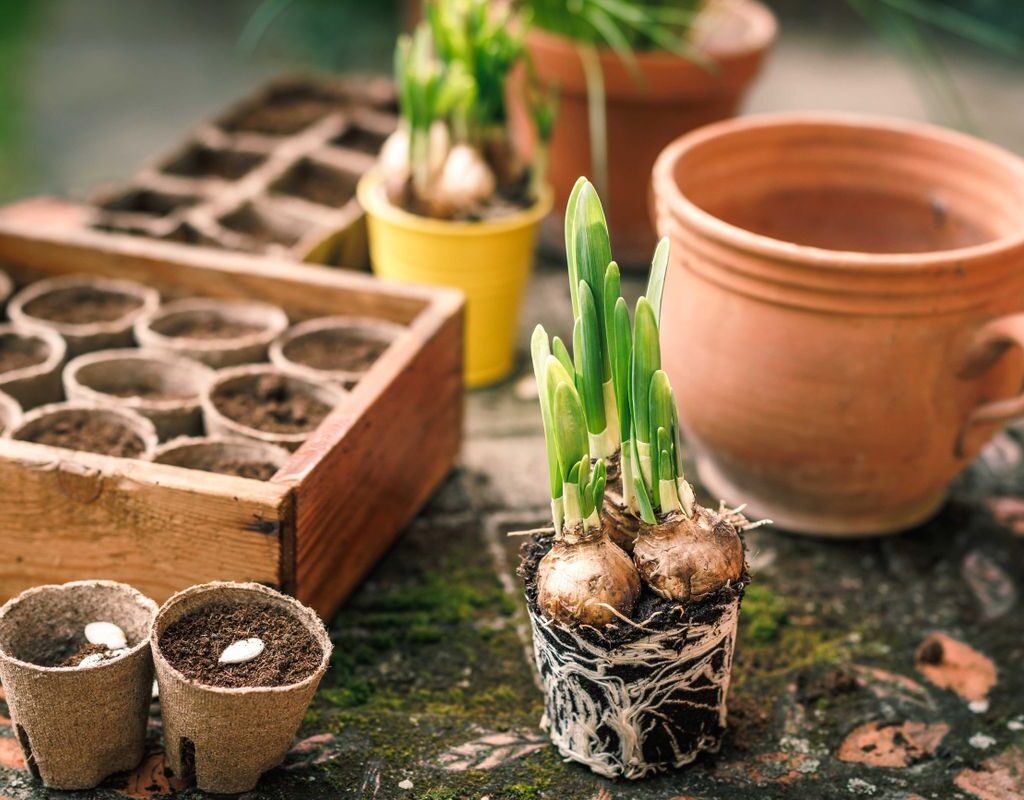
Step-by-Step Guide: How to Plant Iris Bulbs
Whether you’re planting rhizomes or bulbs, follow these steps for a healthy start.
How to Plant Bearded Iris Rhizomes
Materials Needed:
- Iris rhizomes
- Garden spade or fork
- Compost or organic matter
Steps:
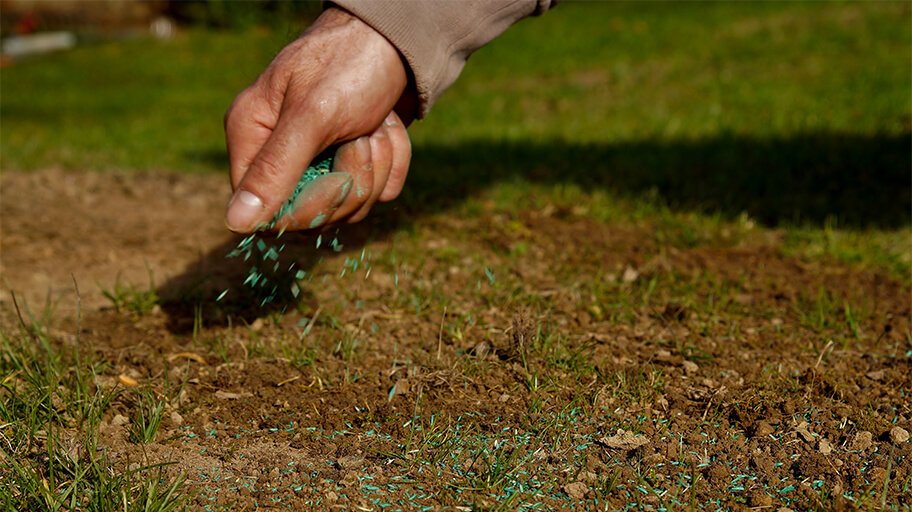
- Prepare the Soil
Loosen the soil about 12 inches deep. Mix in some compost to improve fertility and drainage. - Dig Shallow Holes
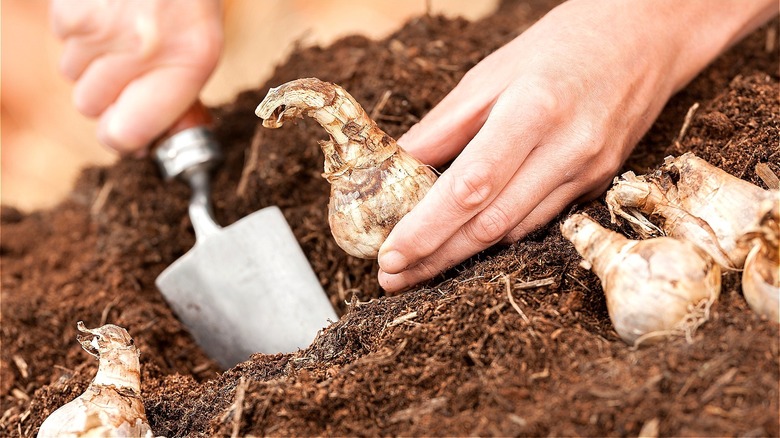
Create a shallow hole or trench about 4 inches deep and 10-12 inches apart for each rhizome. - Position the Rhizome
Place the rhizome horizontally in the hole with its roots fanned out beneath it. Keep the top of the rhizome slightly exposed or just barely covered with soil. - Backfill and Water
Lightly cover the roots and firm the soil around the rhizome. Water gently to settle the soil, but avoid soaking. - Spacing
Space plants 10-24 inches apart to allow good air circulation and room for growth.
How to Plant Dutch Iris Bulbs
Materials Needed:
- Dutch iris bulbs
- Garden trowel
- Compost or bulb fertilizer
Steps:
- Prepare the Bed
Loosen soil to about 8 inches deep and mix in compost or a balanced bulb fertilizer. - Dig Planting Holes
Plant bulbs 4 inches deep and 3-4 inches apart, with the pointed end facing upwards. - Cover and Water
Backfill the hole and water gently. Keep the soil moist but not waterlogged through fall until the ground freezes.

How to Care for Iris Plants After Planting
Proper aftercare ensures your irises establish well and bloom abundantly.
Watering
- Newly planted irises: Water lightly after planting and keep soil slightly moist until established.
- Established irises: Water during dry spells, especially in the growing season, but avoid overwatering.
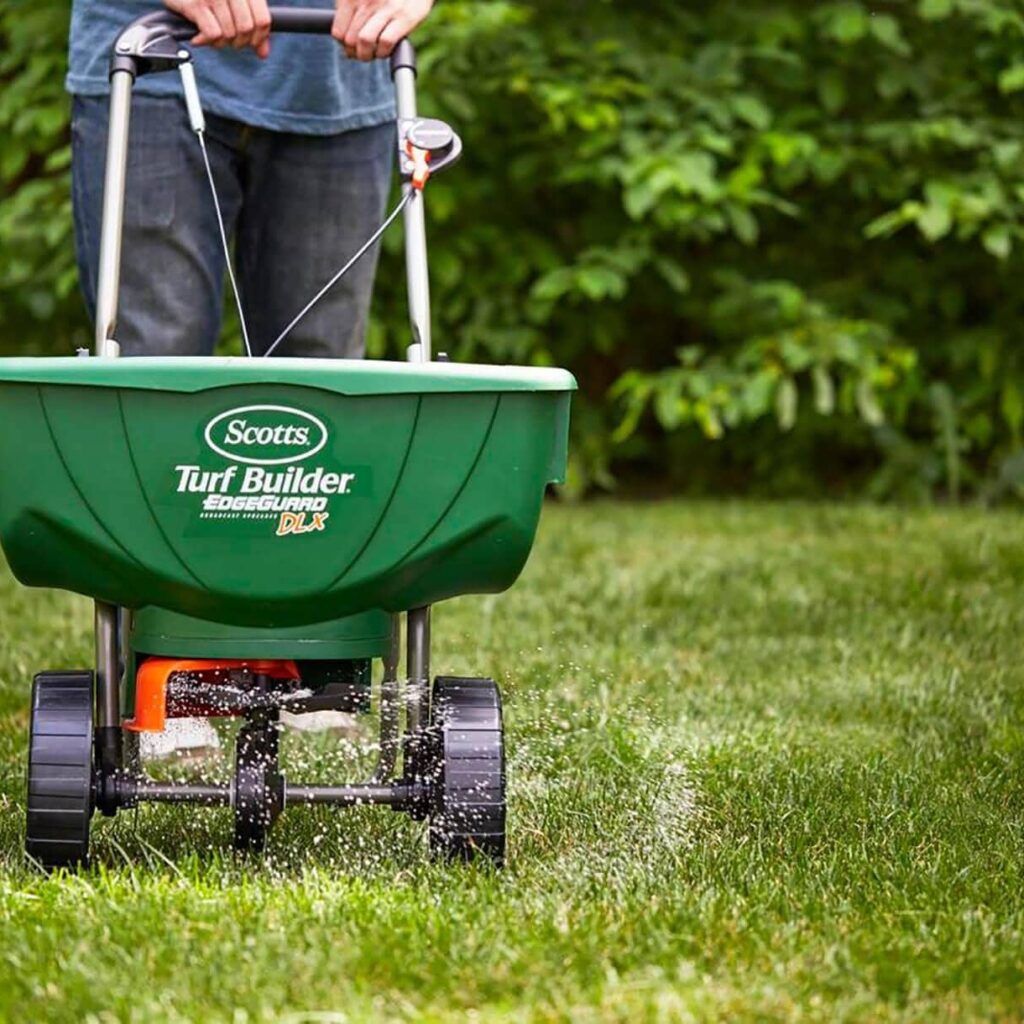
Fertilizing
- Apply a low-nitrogen fertilizer (like 5-10-10) in early spring and just after flowering.
- Avoid high-nitrogen feeds as they promote leaf growth over blooms.
Mulching
- Apply a light mulch after planting Dutch iris bulbs in fall to protect them from hard frosts.
- Avoid mulching directly over rhizomes to prevent rot.
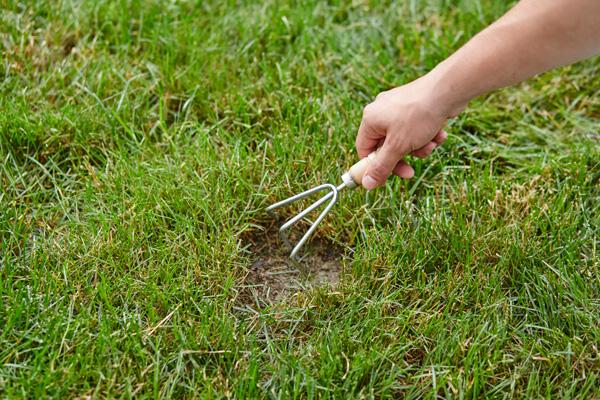
Dividing
Bearded irises need dividing every 3-5 years to prevent overcrowding and maintain flower production.
How to divide:
- Dig up clumps after flowering, in late summer.
- Discard old, woody rhizomes and replant healthy sections.
Common Problems and Solutions
| Problem | Cause | Solution |
|---|---|---|
| Rhizome rot | Overwatering, poor drainage | Improve soil drainage, avoid mulching rhizomes |
| No flowers | Too much shade, overcrowding | Move to a sunnier spot, divide clumps |
| Leaf spot (fungal) | Poor air circulation | Space plants well, remove affected leaves |
| Aphids or thrips | Insect pests | Use insecticidal soap or neem oil |
Frequently Asked Questions
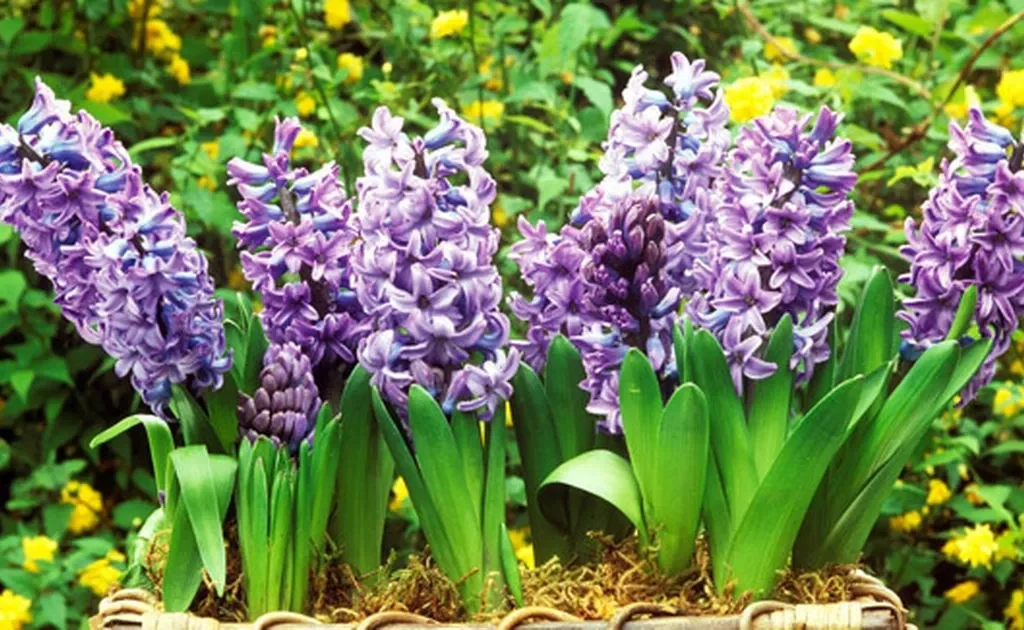
Q: Can I plant irises in containers?
Yes — especially Dutch irises and dwarf bearded irises. Ensure containers have good drainage and place them in a sunny spot.
Q: How long do iris flowers last?
Individual blooms last 1-2 days, but each stem holds multiple buds, offering color for 1-2 weeks per plant.
Q: Should I deadhead irises after blooming?
Yes — remove spent flowers to tidy plants and prevent seed formation, which diverts energy from rhizome development.
Final Thoughts
Planting iris bulbs is a rewarding, simple garden project that offers lasting beauty with minimal effort. Whether you choose bearded irises for their show-stopping elegance or Dutch irises for their graceful charm, following the right planting techniques and aftercare tips will fill your garden with stunning blooms season after season.
So, grab your garden gloves, pick your favorite iris varieties, and start planting — your future self will thank you for those breathtaking, colorful flowers swaying in the breeze!