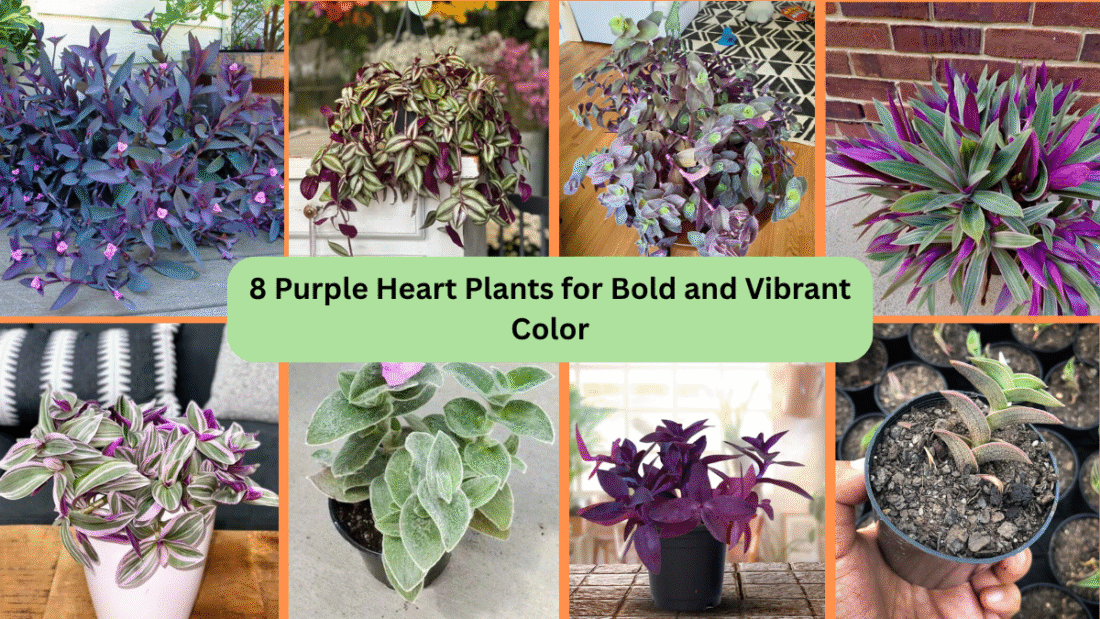
If you’re looking to add rich, eye-catching color to your home or garden, Purple Heart plants are a stunning choice. Known for their deep purple foliage and charming flowers, these plants are perfect for brightening up borders, patios, balconies, and indoor spaces. Their bold hues not only provide a beautiful contrast against green foliage but also hold up well in various climates.
In this article, we’ll explore 8 Purple Heart plant varieties — from classic favorites to unique cultivars — that will help you create a lush, colorful display.
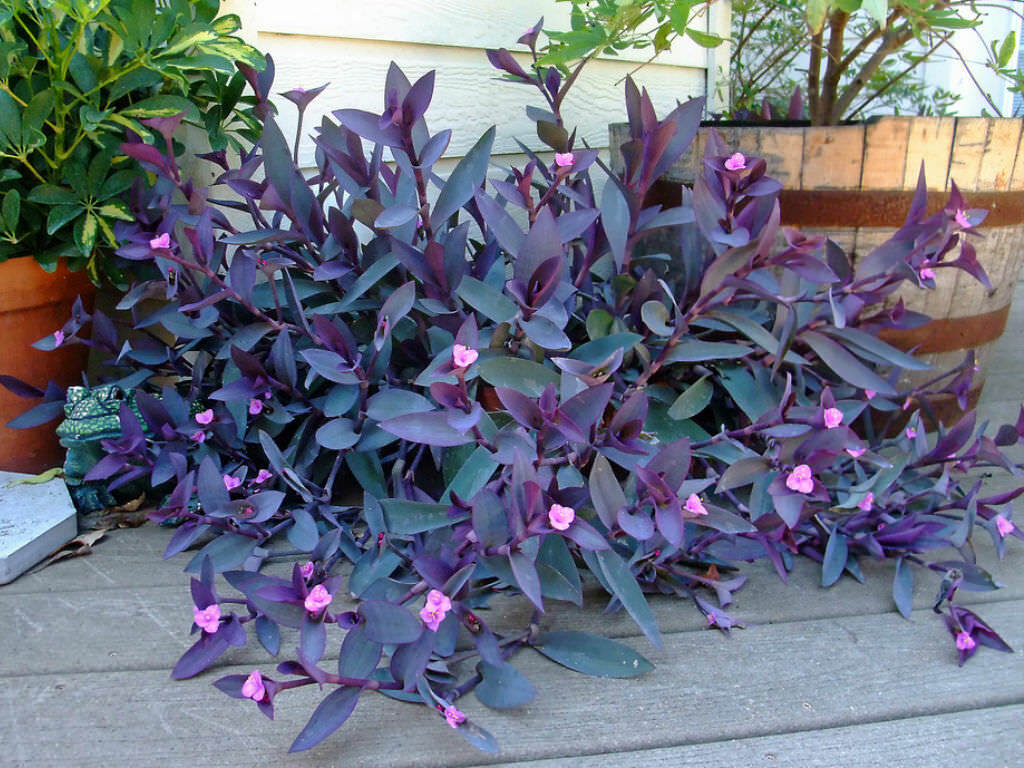
1. Tradescantia pallida ‘Purpurea’ (Purple Heart)
The original Purple Heart plant, Tradescantia pallida ‘Purpurea’, is a classic for good reason. Its long, narrow leaves shimmer with deep purple tones, while small pink flowers occasionally bloom along its stems. This hardy plant is drought-tolerant, easy to propagate, and perfect for ground cover, hanging baskets, or container displays. It loves full sun for the richest color but can also thrive in partial shade. Low-maintenance and bold, it’s a favorite for adding drama to gardens and patios.
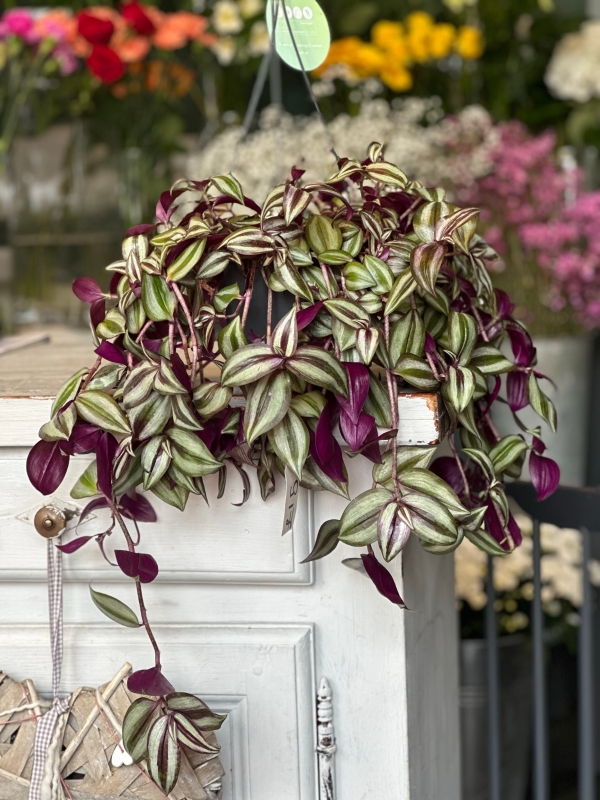
2. Tradescantia zebrina (Wandering Jew)
Tradescantia zebrina adds both purple and silver tones to your plant collection. Its striking, striped leaves feature shades of green, purple, and silvery lavender on the top, with a rich purple underside. This fast-growing plant cascades beautifully from hanging baskets or spills elegantly over the edge of containers. It enjoys bright, indirect light indoors and partial shade outdoors. Regular trimming encourages fuller growth and helps maintain its bold, vivid appearance.
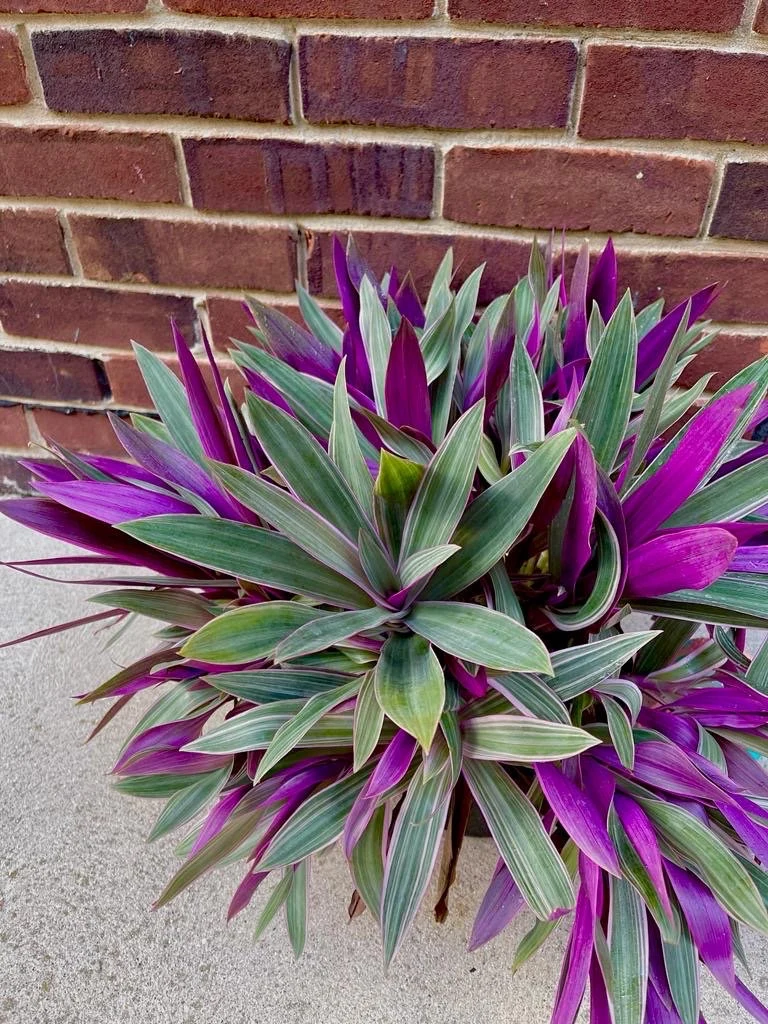
3. Tradescantia spathacea ‘Purple Variegated’ (Moses-in-the-Cradle)
Known for its sword-shaped leaves with green tops and purple undersides, Tradescantia spathacea ‘Purple Variegated’ adds texture and striking color to any garden bed or indoor pot. Also called Moses-in-the-Cradle, it produces tiny, white flowers nestled in purple bracts. It thrives in well-draining soil and enjoys filtered sunlight. This plant makes an excellent ground cover for tropical gardens or a bold houseplant for bright rooms, where its two-tone foliage can really shine.
4. Tradescantia ‘Pale Puma’
Tradescantia ‘Pale Puma’ is a newer variety gaining attention for its soft purple foliage with delicate silvery overtones. The pastel purple leaves offer a subtle yet elegant color statement, ideal for mixed arrangements or modern, muted color palettes. It prefers bright, indirect light and moist, well-draining soil. ‘Pale Puma’ is perfect for indoor spaces where you want a touch of purple without overwhelming brightness, blending beautifully with silver and green foliage.
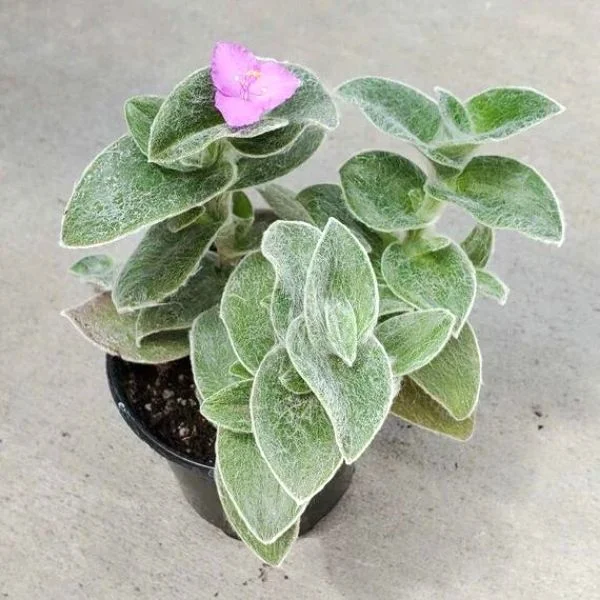
5. Tradescantia sillamontana (White Velvet)
Unique among its family, Tradescantia sillamontana is also known as White Velvet for its fuzzy, silver-green leaves with purple highlights. This hardy plant tolerates drought and heat, making it ideal for sunny borders and containers. It produces small purple-pink flowers that contrast beautifully with its silvery foliage. Perfect for gardeners looking for both texture and color, White Velvet’s distinctive leaves and resilience make it a fantastic addition to dry, warm gardens or bright, airy indoor spots.
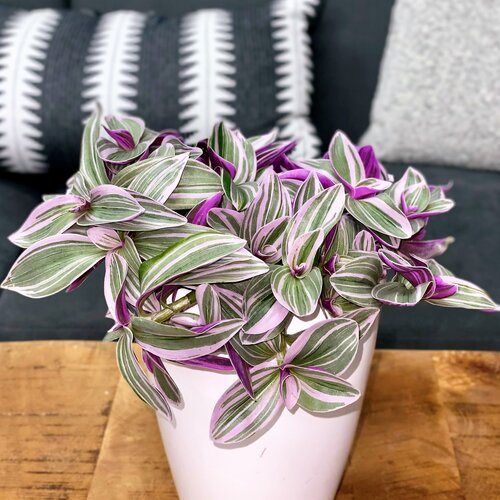
6. Tradescantia fluminensis ‘Lilac’
Tradescantia fluminensis ‘Lilac’ offers delicate, lilac-hued foliage with a soft purple blush. Its small, rounded leaves create a lush, trailing effect, ideal for hanging baskets and decorative pots. This variety thrives in bright, indirect light but can handle a bit of shade, making it a great choice for indoor or shaded patio spaces. Regular pruning keeps it dense and bushy. Its gentle coloring complements bolder plants and makes for a dreamy, cottage-style display.
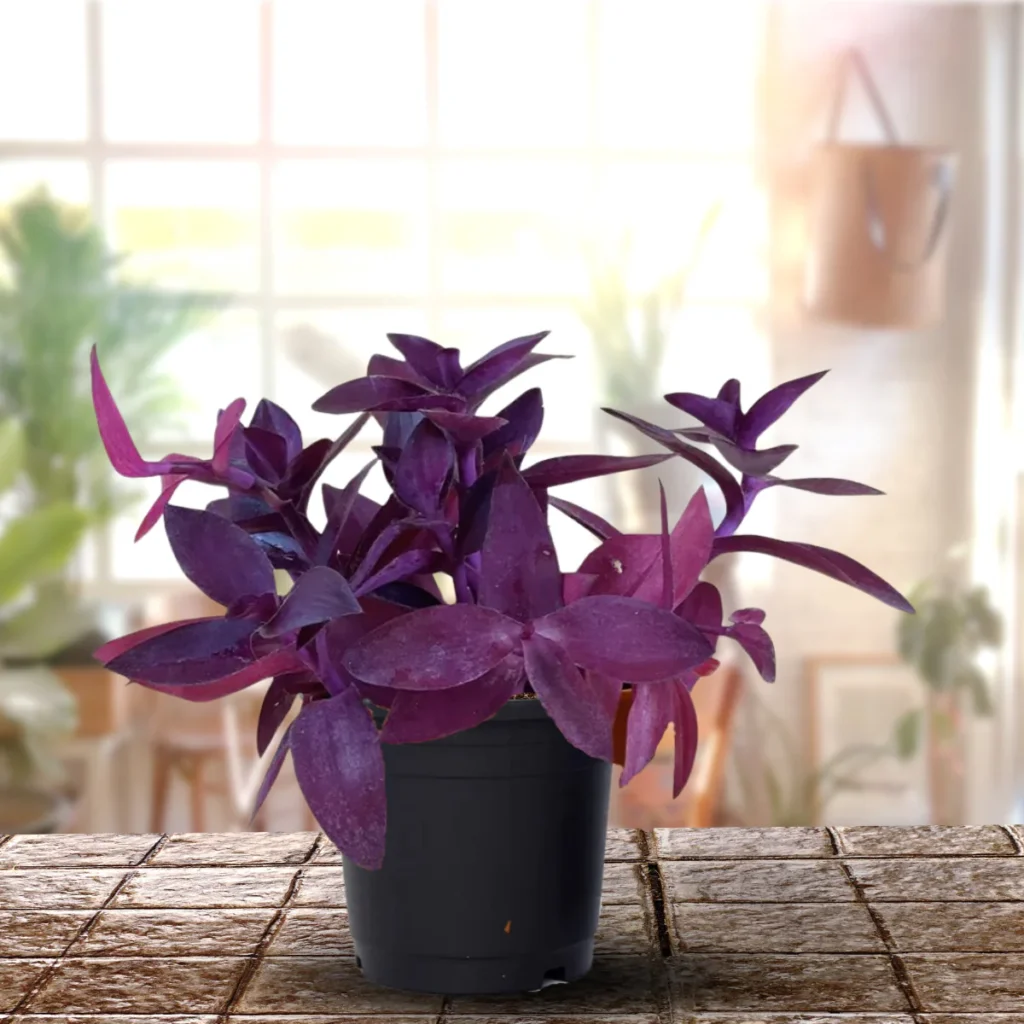
7. Setcreasea pallida ‘Purple Queen’
Sometimes referred to interchangeably with Purple Heart, Setcreasea pallida ‘Purple Queen’ is particularly prized for its intense, almost neon purple foliage. Its trailing habit makes it a dramatic ground cover or container plant, and it’s also heat and drought-tolerant. Pinkish flowers bloom in summer, but its foliage alone is enough to steal the show. This plant thrives in full sun for the richest color but can also handle partial shade, making it a versatile, attention-grabbing choice.
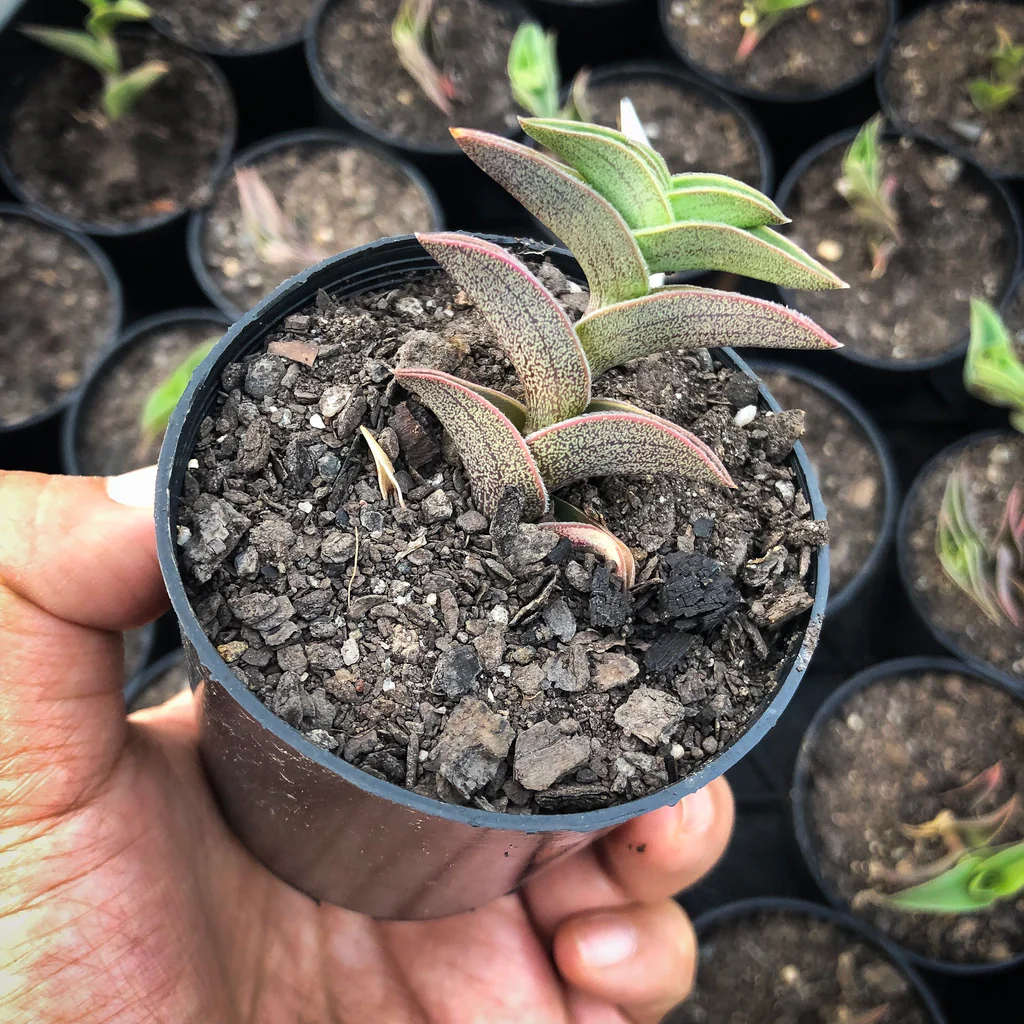
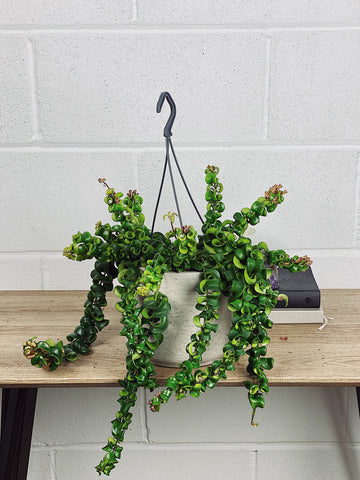
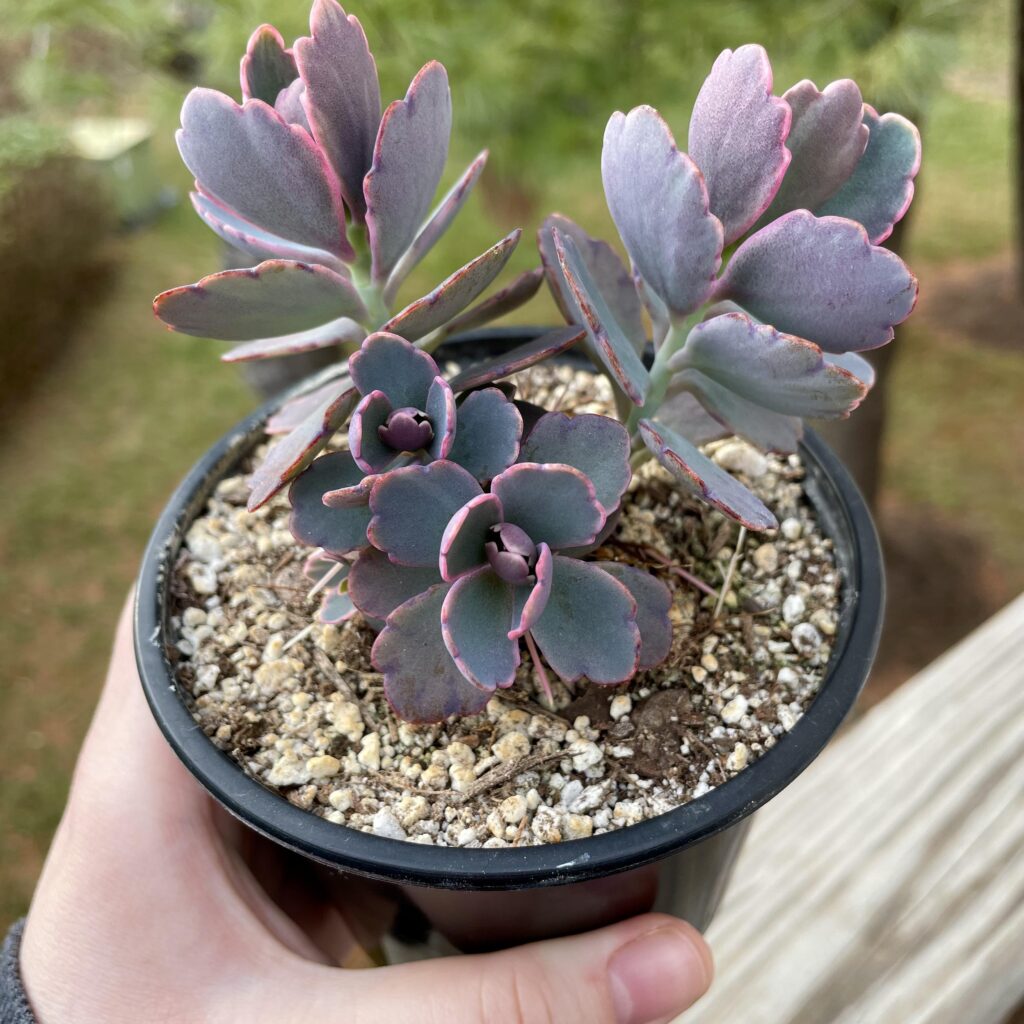
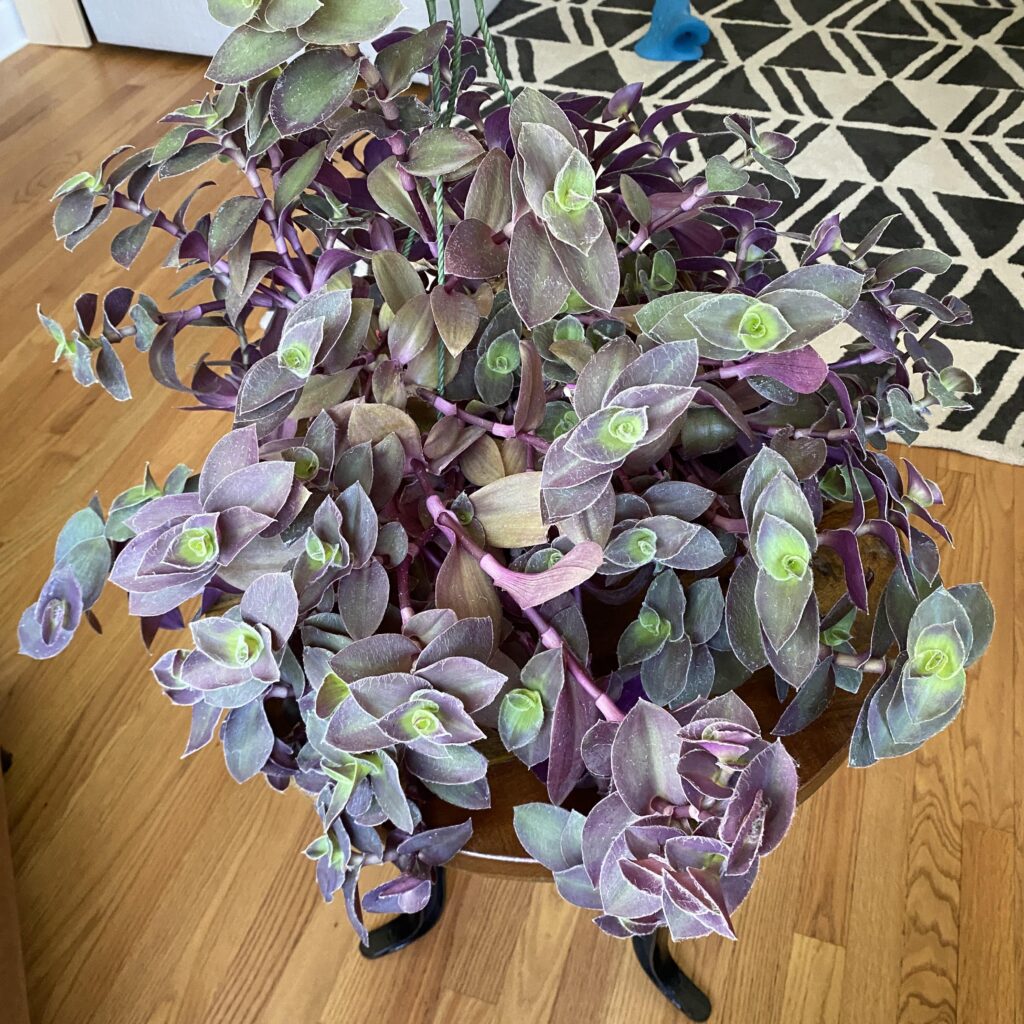
8. Tradescantia navicularis
Tradescantia navicularis is a compact, succulent-like variety featuring thick, boat-shaped leaves that range from deep green to rich purple under the right conditions. Its trailing stems and tiny lavender flowers make it a charming addition to hanging baskets or succulent collections. It’s drought-tolerant, loves bright light, and can handle occasional neglect — ideal for beginner gardeners or anyone seeking low-maintenance color. Its unique leaf shape and vibrant tones make it stand out in mixed plantings.
Final Thoughts
Purple Heart plants and their relatives bring bold, vibrant color and texture to gardens, patios, and indoor spaces alike. With so many cultivars offering different leaf shapes, hues, and growth habits, it’s easy to find one (or several!) to suit your gardening style.
Whether you prefer the classic intensity of Tradescantia pallida ‘Purpurea’ or the silvery elegance of White Velvet, these plants will keep your surroundings lively and visually stunning year-round. Most are easy to propagate and maintain, making them fantastic choices for beginners and seasoned gardeners alike.
Would you like me to put together a care guide or styling ideas for these Purple Heart beauties next?