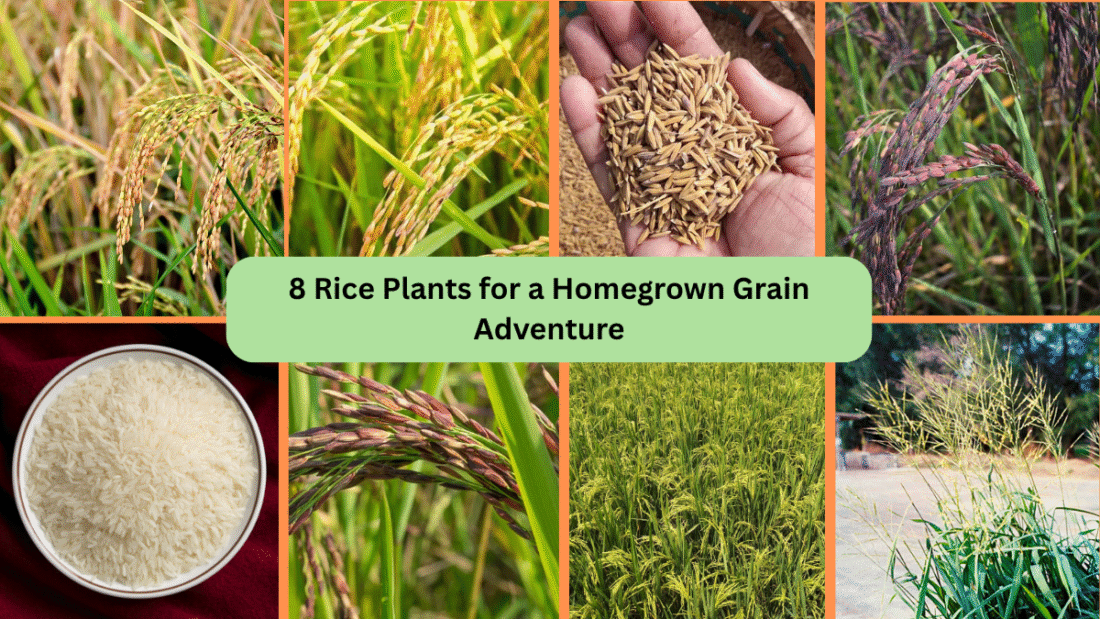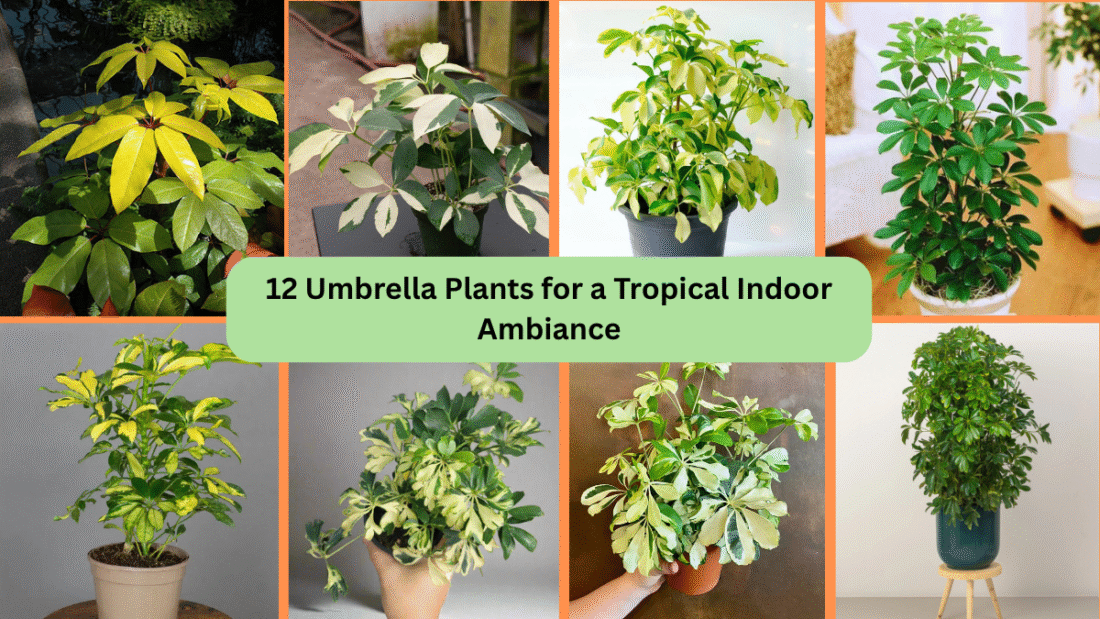
Creating a tropical indoor ambiance is a dream for many plant lovers. Among the wide variety of houseplants, umbrella plants stand out for their unique, palm-like foliage that instantly adds a lush, exotic feel to any room. Their distinctive umbrella-shaped leaf clusters not only beautify your space but also purify the air, making your home both vibrant and healthier. Whether you want a bold statement piece or a delicate green accent, umbrella plants come in diverse varieties to fit your style and indoor conditions. Here are 12 umbrella plants perfect for bringing that tropical vibe indoors:

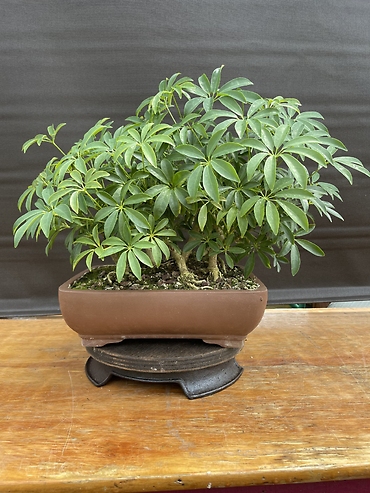
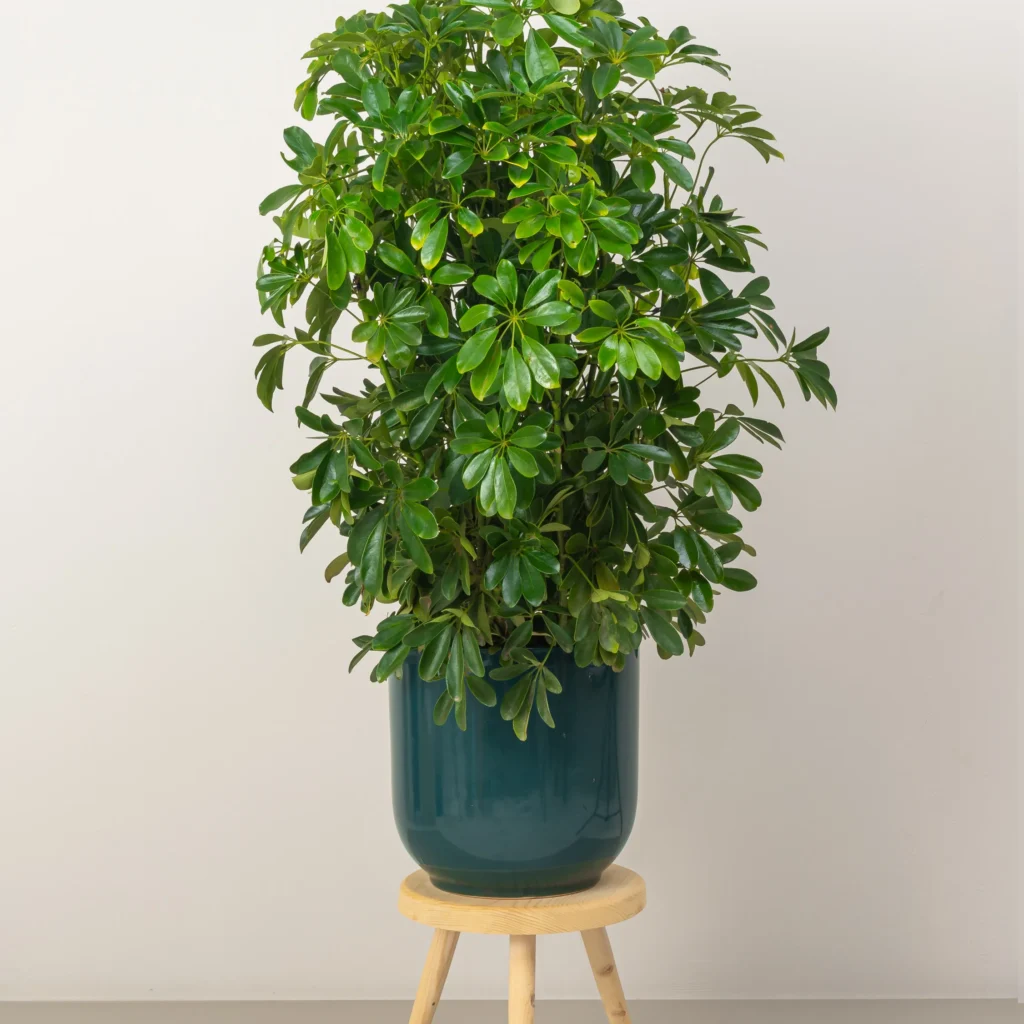
1. Schefflera arboricola (Dwarf Umbrella Tree)
The Dwarf Umbrella Tree is a popular choice for indoor gardeners due to its manageable size and eye-catching glossy leaves that fan out like an umbrella. This compact plant thrives in bright, indirect light but can tolerate lower light levels, making it versatile for various indoor settings. It prefers well-draining soil and moderate watering — allowing the top inch of soil to dry between watering sessions. Regular pruning encourages a fuller shape and helps maintain its attractive form. The Dwarf Umbrella Tree is an excellent starter plant for anyone wanting tropical flair without much fuss.
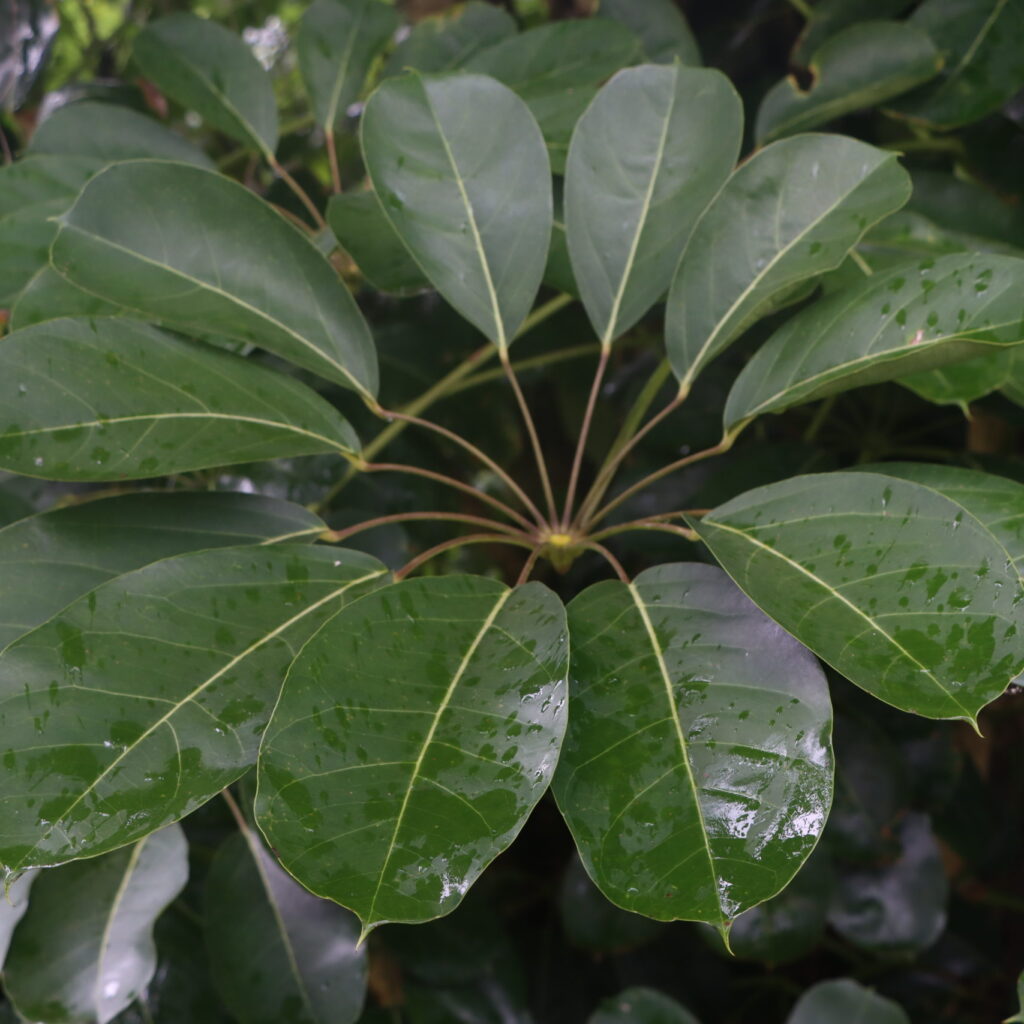
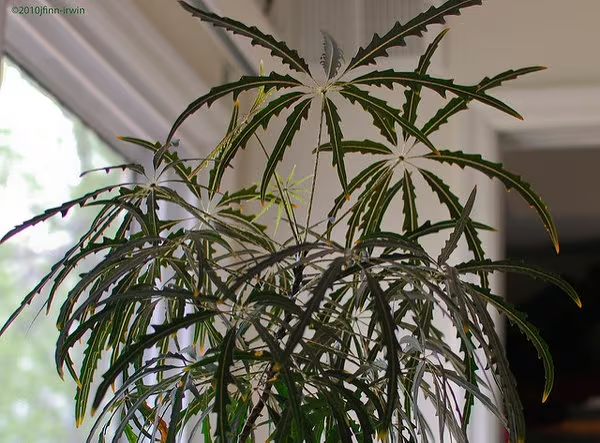
2. Schefflera actinophylla (Octopus Tree)
Known as the Octopus Tree because of its long, finger-like leaflets, this umbrella plant can grow quite large, making it perfect as a dramatic focal point in spacious rooms or sunrooms. Its lush green foliage can reach up to 8 feet tall indoors with proper care. This plant prefers bright, indirect sunlight and regular watering to keep the soil moist but not soggy. Humidity boosts its health, so occasional misting is beneficial. Its tropical appearance and stately growth habit add elegance and vibrancy to your indoor environment.
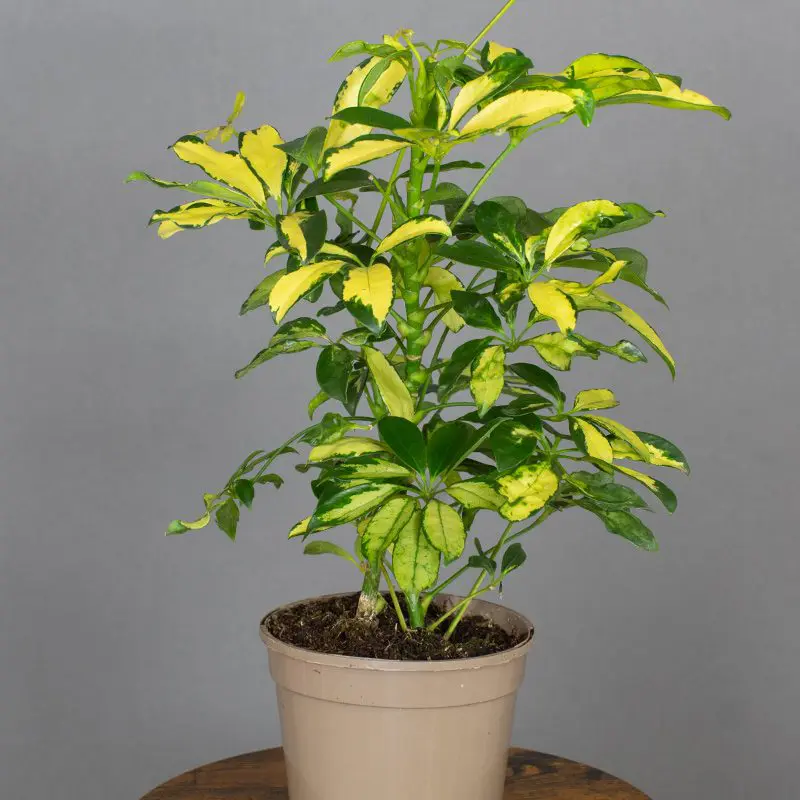
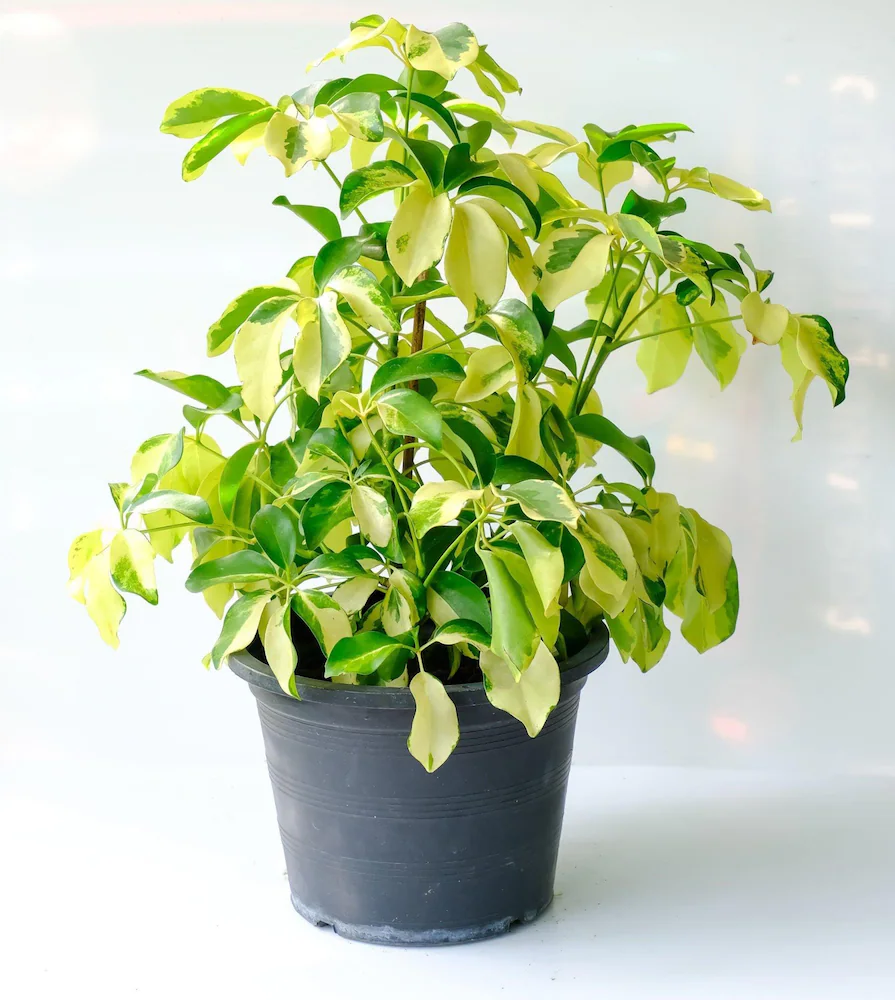
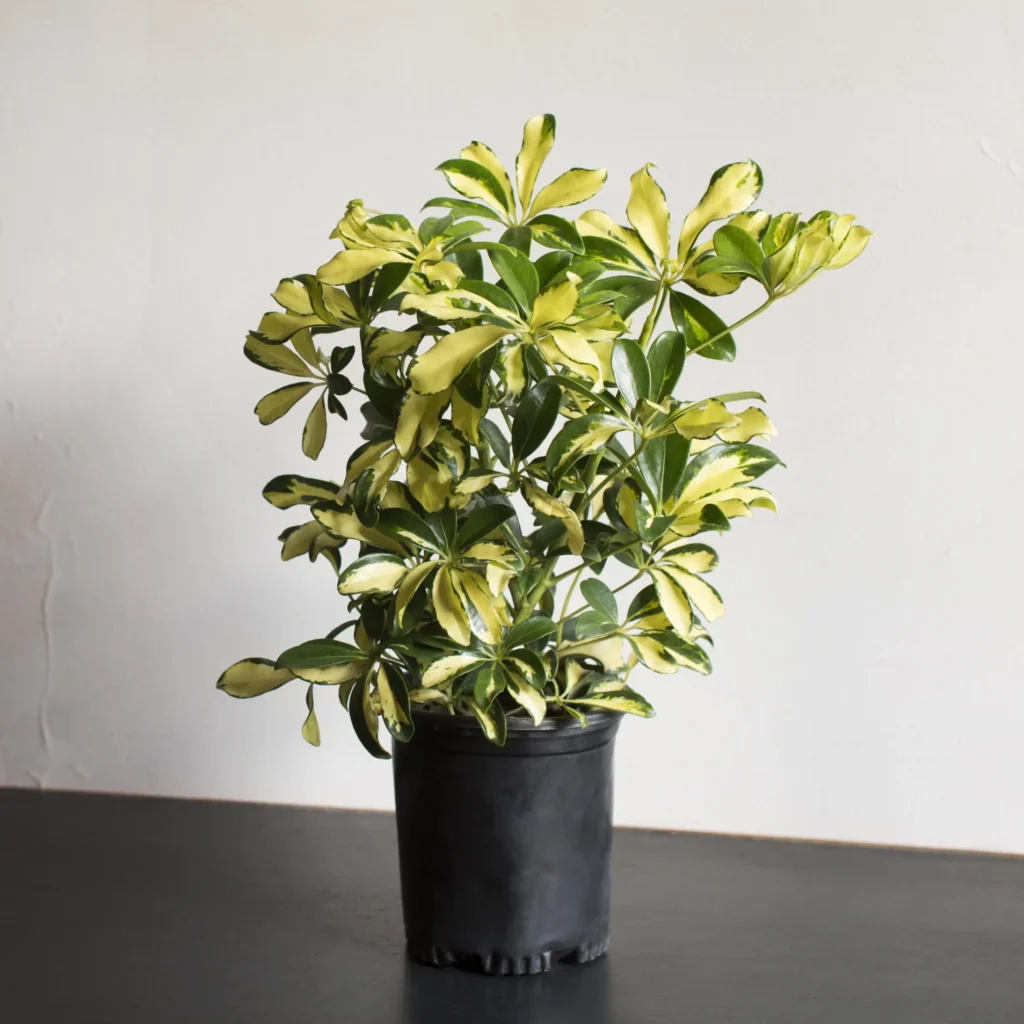
3. Schefflera arboricola ‘Gold Capella’
‘Gold Capella’ is a stunning variegated umbrella plant cultivar characterized by rich green leaves edged in golden yellow. The color contrast adds brightness and warmth to any room. This plant remains relatively compact and is ideal for tabletops or smaller spaces. It enjoys bright indirect light to maintain its variegation and requires moderate watering. Avoid overwatering as it may cause root rot. Regular pruning helps maintain its shape and encourages fresh growth, keeping your tropical indoor space lively and colorful.
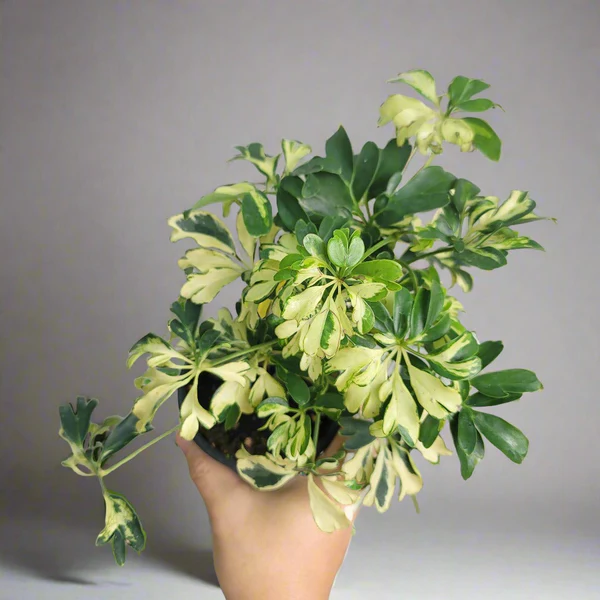
4. Schefflera arboricola ‘Trinette’
‘Trinette’ is known for its elegant creamy white and green variegated leaves that bring a fresh and delicate look to indoor gardens. It prefers bright, filtered light but can tolerate moderate indoor light as well. Keeping the soil consistently moist without waterlogging is key to its healthy growth. This variety responds well to pruning, allowing you to shape it into a bushy, attractive houseplant. ‘Trinette’ is perfect for adding a subtle yet exotic accent to your tropical-themed interiors.
5. Schefflera arboricola ‘Janine’
With its creamy-white variegation and compact growth, ‘Janine’ is a charming umbrella plant ideal for indoor spaces where a splash of light green and cream can brighten the atmosphere. It is a relatively low-maintenance variety that thrives in indirect sunlight and prefers well-draining soil. Water moderately, ensuring the soil dries slightly between watering. ‘Janine’ adapts well to containers and complements tropical décor with its elegant leaf patterns and manageable size.
6. Schefflera arboricola ‘Charlotte’
‘Charlotte’ stands out with its striking leaf variegation and compact form, making it a favorite for indoor plant enthusiasts seeking something unique. It prefers bright, indirect light and benefits from regular watering, especially during warmer months. The plant’s bushy foliage helps to create a lush, green vibe reminiscent of tropical forests. Pruning encourages a fuller growth habit and prevents legginess. ‘Charlotte’ easily fits into tabletops or shelves, adding a refreshing green accent to your space.
7. Schefflera arboricola ‘Dazzle’
True to its name, ‘Dazzle’ captivates with vibrant variegated leaves that bring energy and brightness to your indoor garden. The lively mix of greens and creamy yellows creates a cheerful ambiance. It prefers bright, indirect light but tolerates some shade. Consistent watering is essential to prevent leaf drop, but be cautious to avoid overwatering. ‘Dazzle’ is perfect for those who want a bold, eye-catching tropical statement indoors, requiring only moderate care to flourish.
8. Schefflera arboricola ‘Luseane’
‘Luseane’ features dense, lush foliage with deep green leaves that create an upright, vertical shape — ideal for filling corners or adding height to indoor plant arrangements. It thrives in bright, filtered light and benefits from occasional misting to maintain humidity. Well-drained soil and regular watering help it flourish, but the plant prefers to dry out a bit between watering. ‘Luseane’ brings a refined tropical touch with its structured form and glossy leaves.
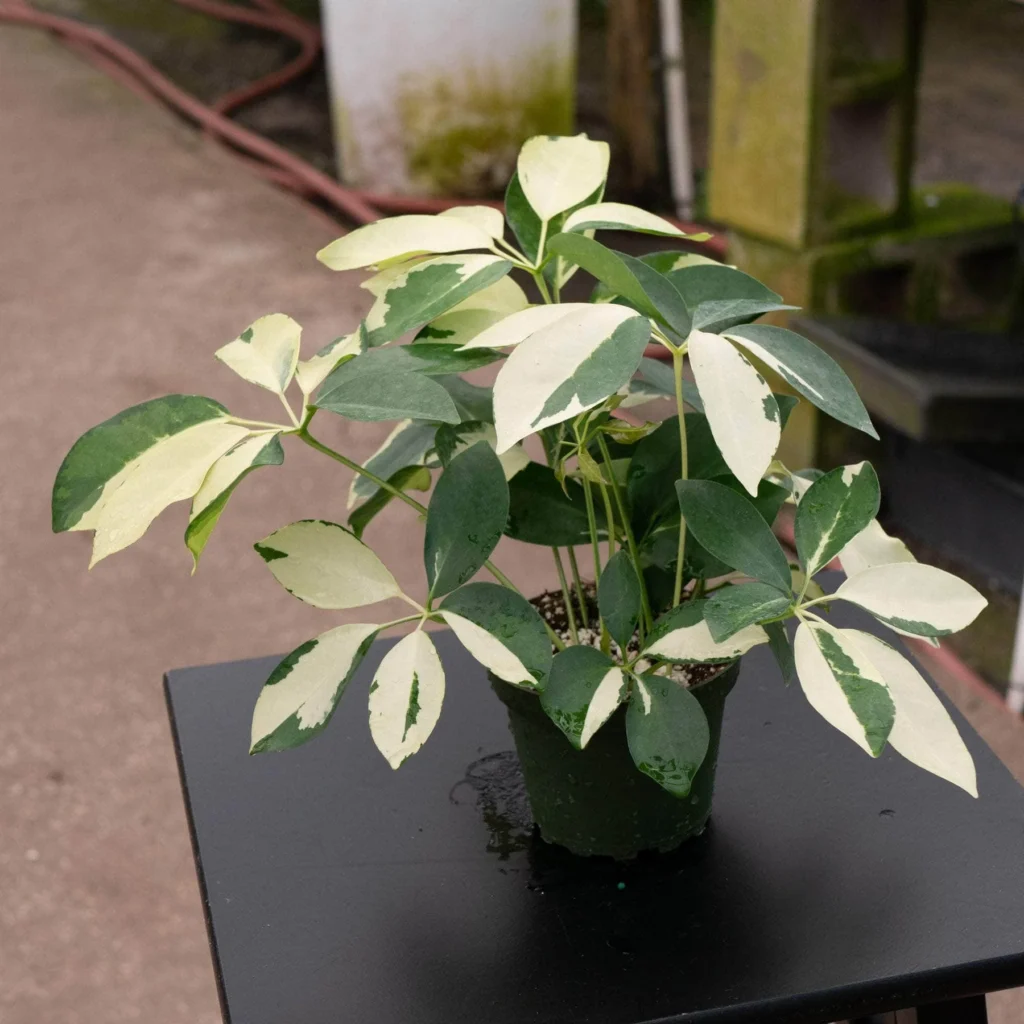
9. Schefflera arboricola ‘Galaxy’
This variety dazzles with speckled variegation resembling a starry sky, mixing deep green with creamy white spots. ‘Galaxy’ is a compact and attractive umbrella plant that thrives in bright, indirect light. Regular watering helps maintain healthy foliage, but it’s best to let the soil dry slightly between waterings. Its unique leaf pattern makes it a perfect choice for plant lovers looking to add an artistic, natural accent to their tropical indoor collection.
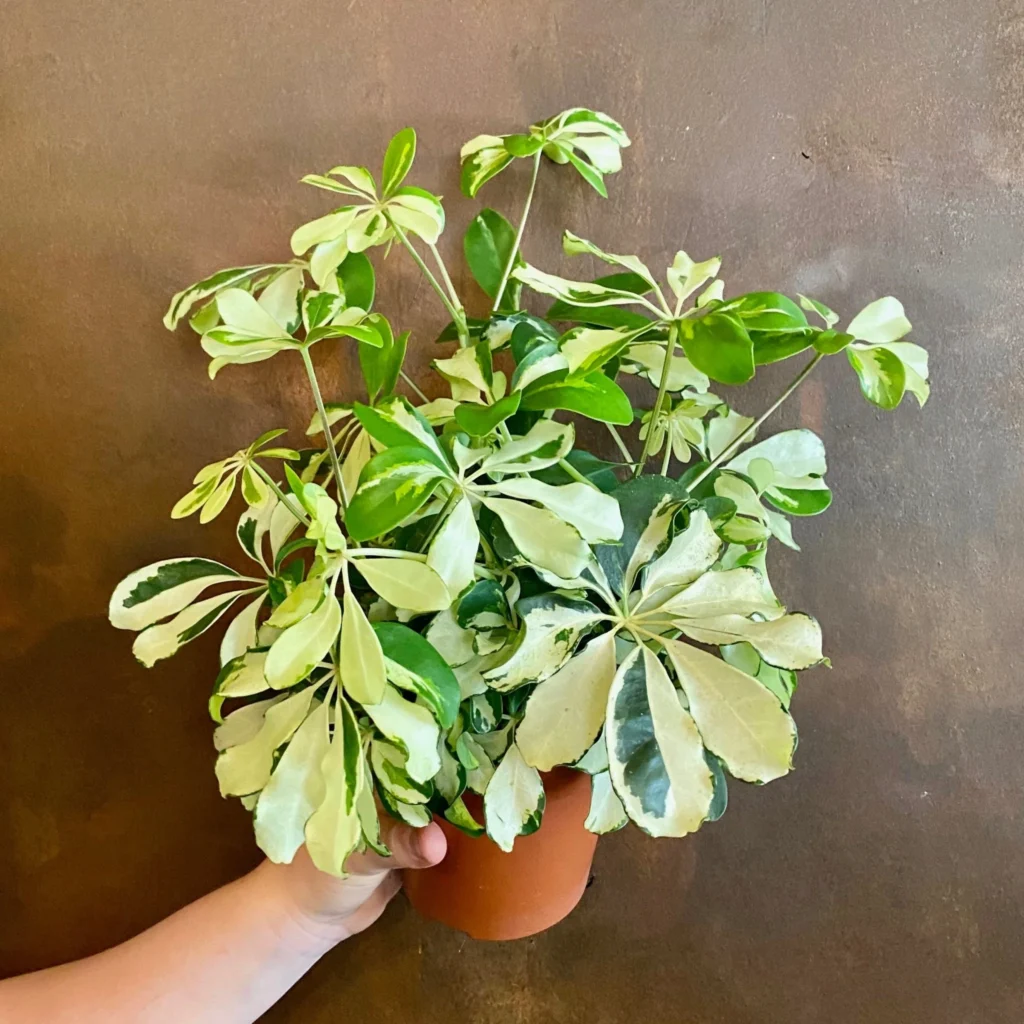
10. Schefflera arboricola ‘Amate Soleil’
‘Amate Soleil’ impresses with large, glossy leaves splashed with vibrant yellow variegation. This cultivar prefers bright, indirect sunlight and consistent moisture to maintain its striking colors. It adds a bright focal point to any indoor tropical setting and requires occasional pruning to keep its shape compact and tidy. With its cheerful variegation and lush foliage, ‘Amate Soleil’ brings energy and warmth to your home’s tropical vibe.
11. Schefflera arboricola ‘Compacta’
As the name suggests, ‘Compacta’ is a dense, bushy umbrella plant perfect for small spaces and tabletops. It features rich green leaves that evoke a tropical rainforest feel. This plant prefers moderate to bright light and appreciates well-draining soil. Water it when the topsoil feels dry to the touch. Its manageable size and lush foliage make it a favorite for those seeking tropical elegance without the bulk.
12. Schefflera arboricola ‘Sunburst’
‘Sunburst’ shines with its variegated leaves, glowing with bright yellow and green hues that bring vibrant energy indoors. It thrives in bright, indirect light and appreciates regular watering during the growing season to keep the foliage lush. ‘Sunburst’ is an excellent choice for adding a splash of tropical color and life to any room, requiring moderate care and rewarding you with its radiant foliage.
Final Thoughts
Umbrella plants are an excellent way to infuse your indoor space with tropical charm and greenery. Their distinctive leaf shapes and diverse variegations make them perfect for a wide range of interior designs—from minimalist to maximalist tropical themes. With the right light, water, and care, these 12 umbrella plants will transform your home into a serene, lush tropical oasis.