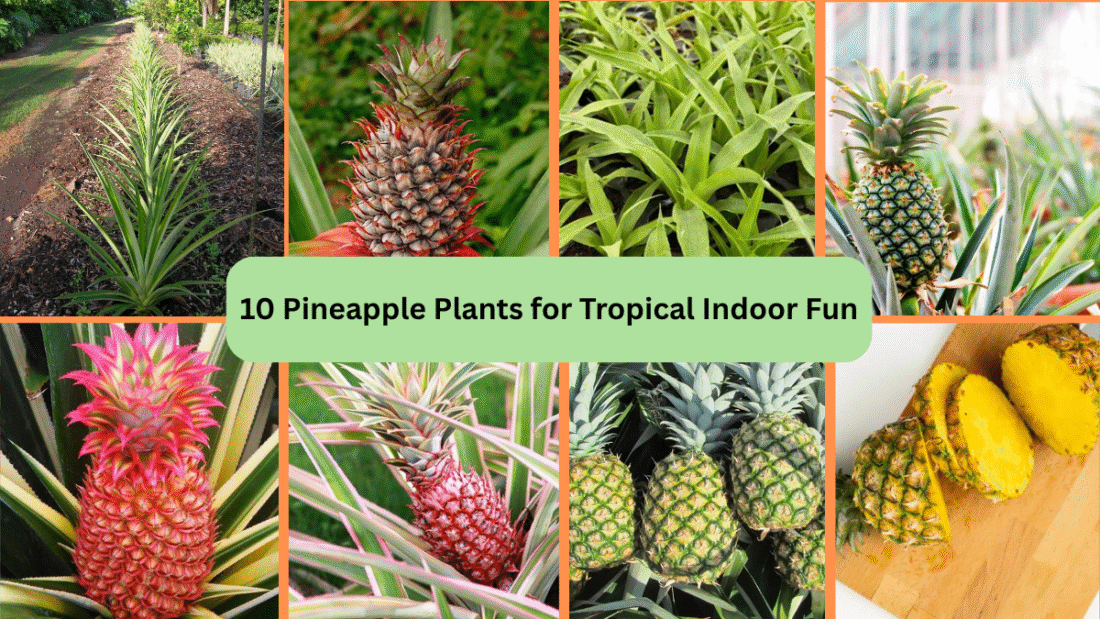
Bring a splash of the tropics into your home with pineapple plants! These striking, spiky plants not only offer bold, architectural foliage but can also reward patient growers with small, sweet fruits right in your living room. Perfect for bright windowsills, balconies, or sunrooms, pineapple plants thrive in containers and add a playful, tropical vibe to any indoor setting. Whether you’re after ornamental leaves or dreaming of harvesting your own tiny pineapples, here are ten wonderful varieties to brighten up your space.
1. Ananas comosus ‘Smooth Cayenne’
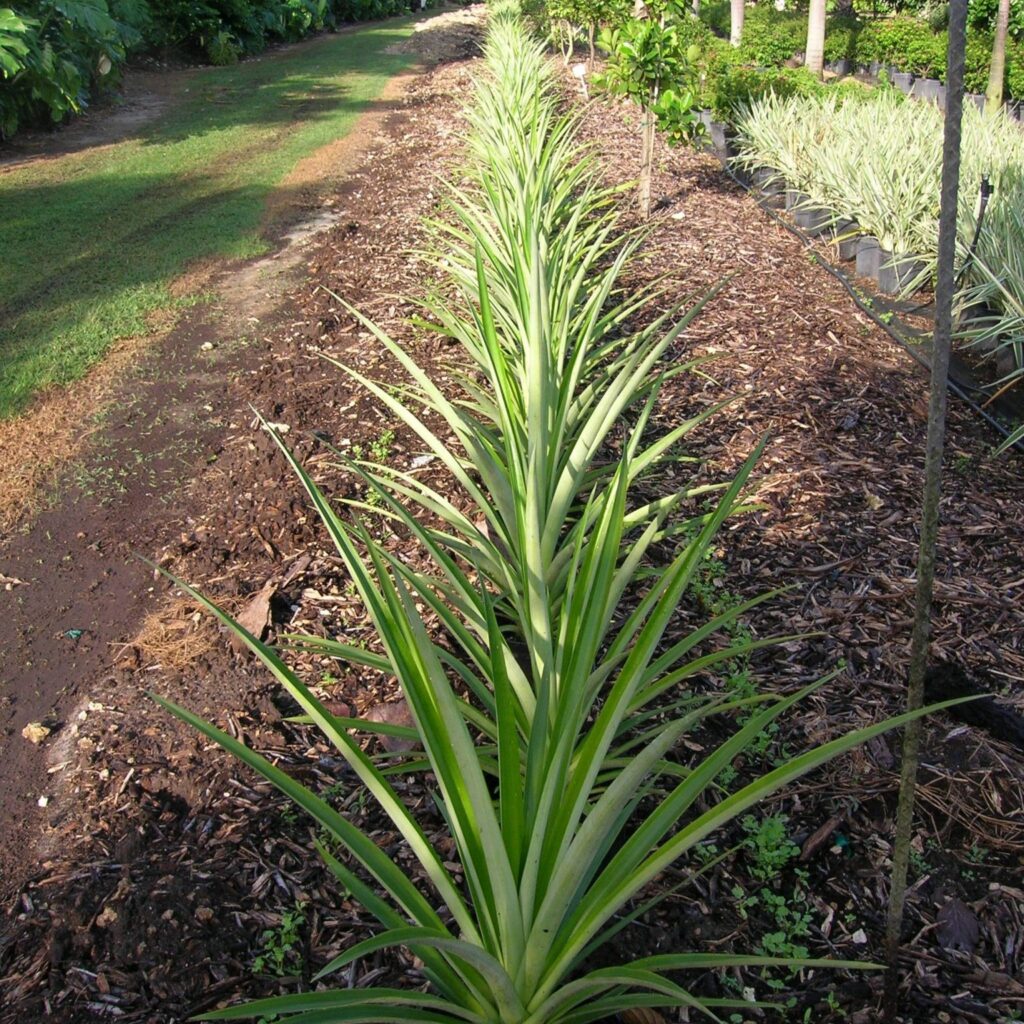
Smooth Cayenne is one of the most famous commercial pineapple varieties and a fantastic choice for home growers. Its smooth-edged leaves are a little less spiky than other types, making it easier to handle indoors. This plant loves bright, direct light and well-draining soil. Given time and care, it can produce sweet, golden-fleshed pineapples. Even if it doesn’t fruit immediately, its bold, rosette-shaped foliage creates a lively, tropical ambiance in any indoor corner.
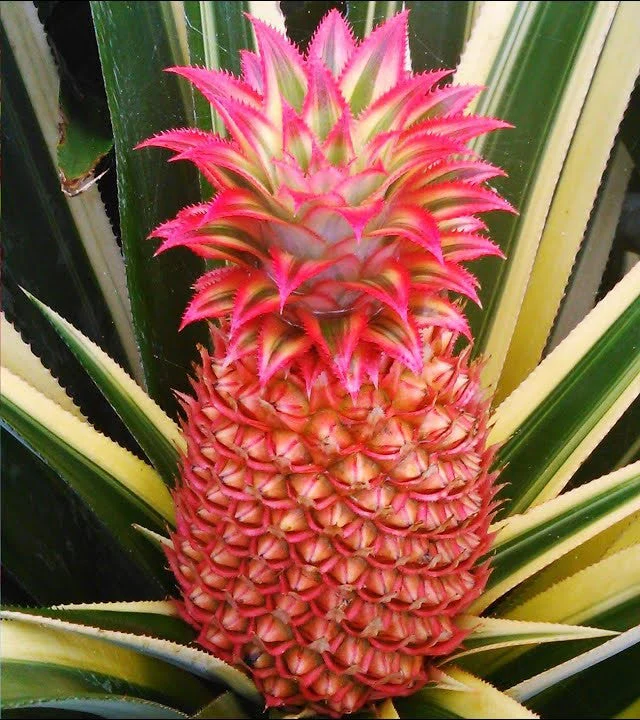
2. Ananas comosus ‘Red Spanish’
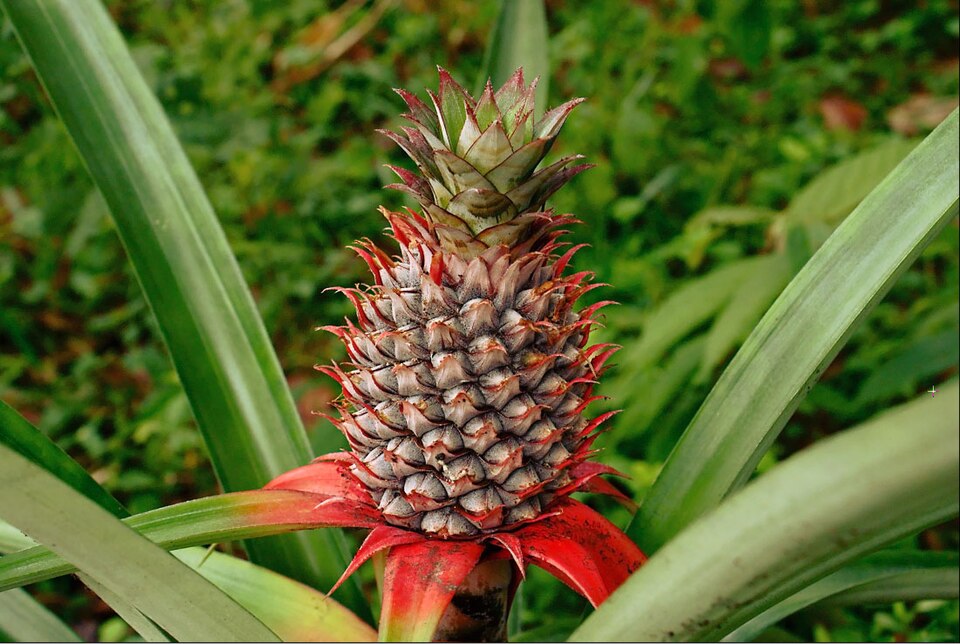
Known for its tough, red-tinged leaves and beautiful reddish fruit, Red Spanish adds a colorful touch to your tropical plant collection. It’s slightly more tolerant of cooler indoor temperatures than other varieties, though it still loves warmth and plenty of sunlight. The small, spiky pineapples it produces are often grown for decorative purposes and can be a fun conversation piece. Its upright form and striking leaf color make it a standout option for sunny windows.

3. Ananas comosus ‘Sugarloaf’
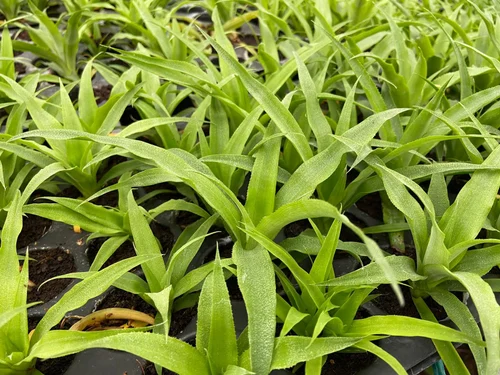
If you’re craving super-sweet fruit, Sugarloaf Pineapple is a top pick. This variety produces cylindrical, juicy pineapples with pale, almost white flesh that lacks the acidity of other types. It boasts slender, slightly curved green leaves that radiate from the center, creating an elegant, spiky display. Like its relatives, it thrives in bright, sunny spots indoors and makes an excellent container plant for tropical-themed rooms, conservatories, or enclosed patios.
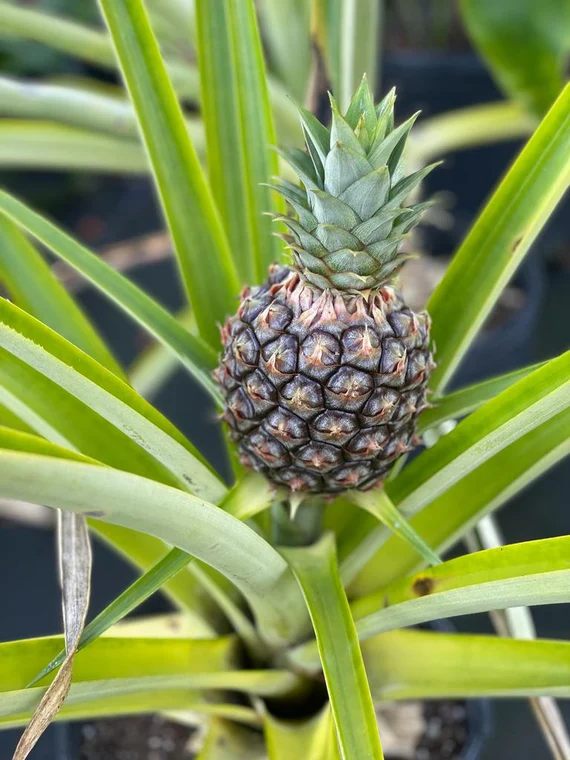
4. Ananas comosus ‘Queen’
The Queen Pineapple is a compact variety with stiff, spiny, blue-green leaves and small, round, highly aromatic fruit. It grows especially well in containers and is perfect for limited indoor spaces. This variety loves full sun and high humidity, making it an ideal choice for bright bathrooms or sun-drenched kitchens. Its petite pineapples are sweet and perfect for snacking or garnishing tropical cocktails, bringing a fun, exotic touch to homegrown produce.
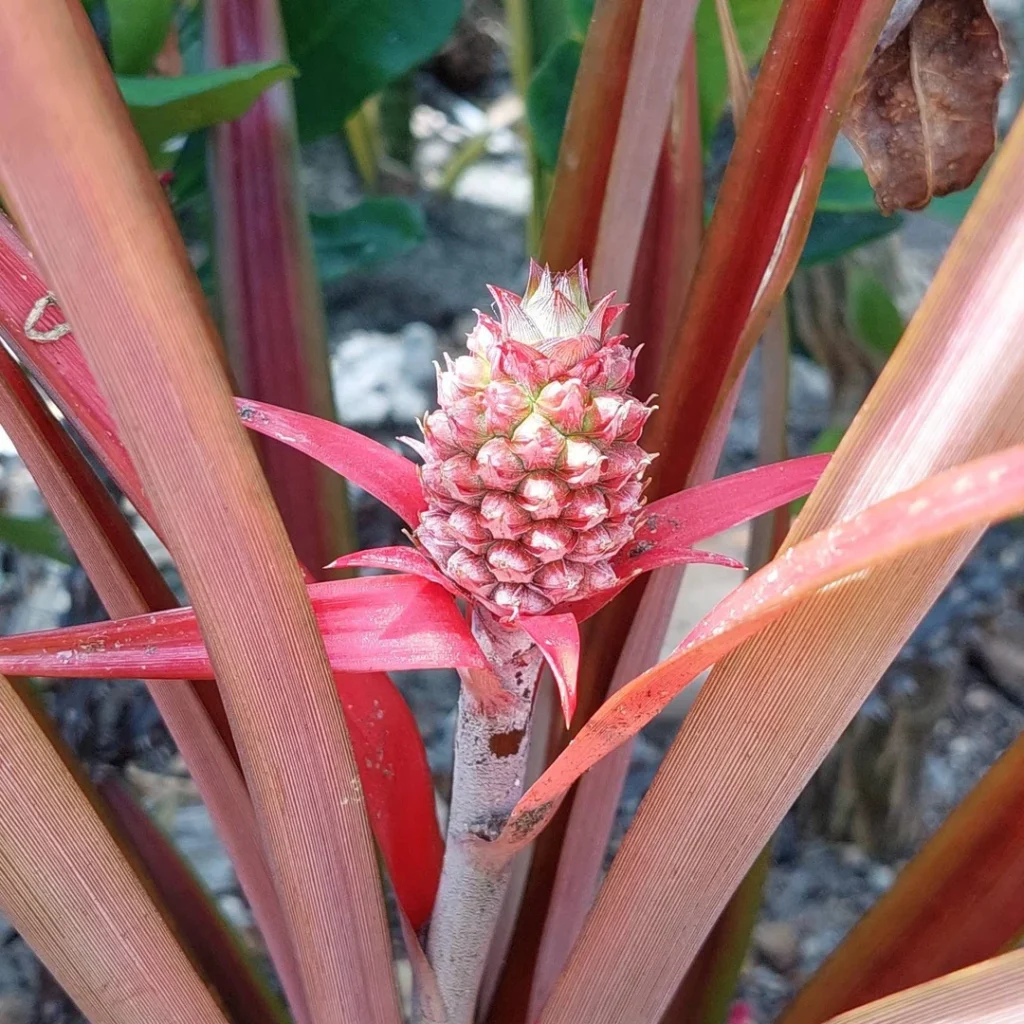
5. Ananas bracteatus (Red Pineapple)
A highly ornamental variety, Ananas bracteatus is known for its brilliant, reddish-pink fruits and variegated leaves edged in white or pink. Even if you don’t harvest its fruit, this plant is valued for its bold, colorful appearance. It makes a stunning centerpiece for tropical-themed decor or a patio container. The Red Pineapple prefers bright light and benefits from occasional misting to keep its humidity levels high. It’s an eye-catching way to add tropical flair indoors.
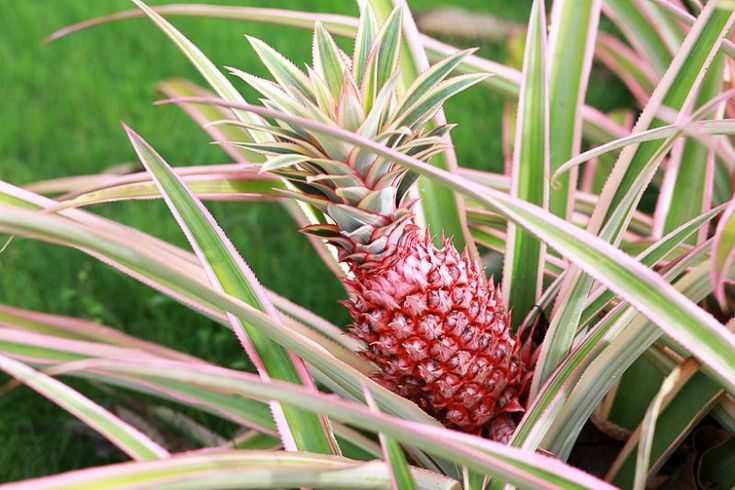
6. Ananas comosus ‘Variegatus’ (Variegated Pineapple)
The Variegated Pineapple Plant offers creamy white and green striped leaves that add dramatic, decorative appeal to your home. Its foliage alone makes it a popular houseplant, while its occasional rosy-hued pineapple fruits are an added treat. This variety loves bright, indirect light and thrives in well-draining soil. Its bold, architectural leaves and splashes of color make it a perfect addition to a sunroom, garden room, or plant shelf collection.
7. Ananas lucidus (Pink-Leaf Pineapple)
Also called the Shiny Leaf Pineapple, Ananas lucidus is known for its striking, glossy green leaves often tinted with reddish-pink or bronze tones, especially in bright light. While the small fruits are usually ornamental rather than edible, this plant adds a rich, tropical texture to indoor gardens. It prefers bright light and high humidity and makes a bold statement when grouped with other tropical foliage plants or placed in decorative pots.

8. Ananas comosus ‘MD-2’
The MD-2 Pineapple is a modern commercial variety prized for its extra-sweet, low-acid fruit and fast-growing nature. Indoors, it can thrive in a sunny window or under a grow light, rewarding patient growers with sweet pineapples after a couple of years. Its dense rosette of sword-like leaves makes it an attractive houseplant even before it fruits. It’s also one of the most disease-resistant varieties, making it a practical, fun, and flavorful choice for indoor gardeners.
9. Ananas nanus (Dwarf Pineapple)
As its name suggests, Ananas nanus is a miniature variety that’s perfect for small spaces, tabletops, and decorative containers. Its tiny, colorful pineapples are mostly ornamental, but the plant’s compact size and lively, spiky foliage add a playful, tropical touch to any room. It thrives in bright light and prefers occasional watering, allowing its soil to dry out slightly between drinks. It’s a charming way to bring a bit of paradise into your living space.
10. Ananas comosus ‘Elite Gold’
Elite Gold is a fast-growing pineapple variety known for its lush, green foliage and exceptionally sweet, golden-yellow fruit. Indoors, it thrives in bright light and can be grown in large pots or decorative planters. Even before fruiting, the bold, architectural leaves provide a dynamic display in any room. It’s a hardy, forgiving plant that can tolerate occasional neglect, making it a fantastic option for beginners or those seeking a hassle-free tropical accent.
Conclusion
From the petite charm of the Dwarf Pineapple to the bold stripes of the Variegated Pineapple Plant, these ten pineapple varieties offer an irresistible mix of foliage flair and tropical fun for your home. Whether you’re growing them for their fruit or their decorative appeal, pineapple plants bring warmth, texture, and a touch of the exotic to any indoor space.