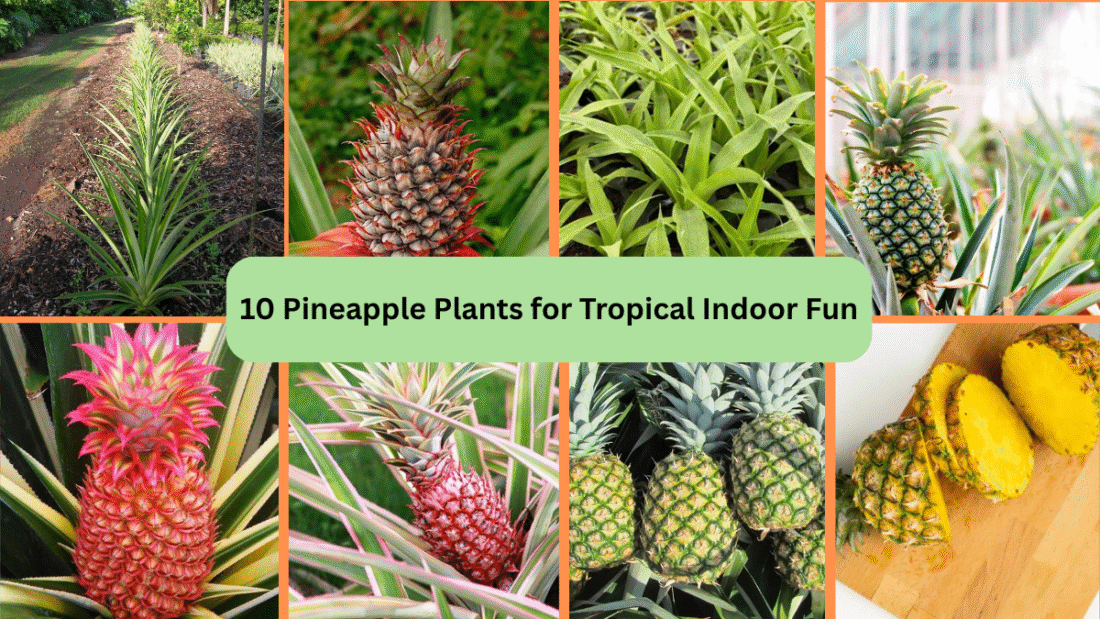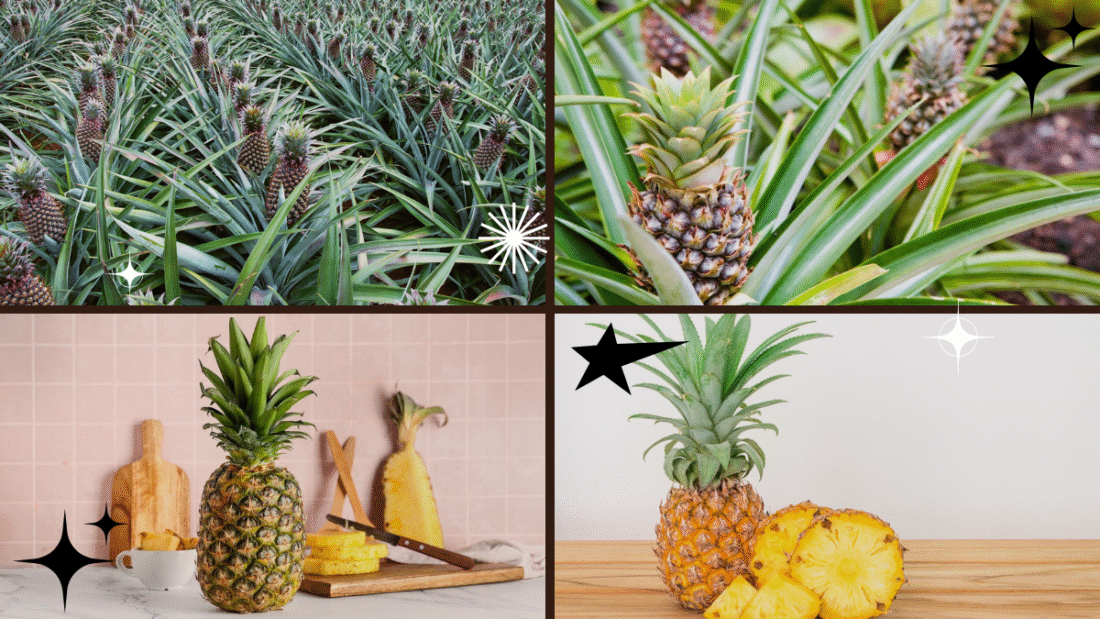
Imagine stepping outside and plucking a sweet, golden pineapple from your own backyard or patio. With its spiky green crown and juicy flesh, the pineapple isn’t just a tropical delicacy — it’s a striking, low-maintenance plant that can thrive indoors or outdoors. The best part? You don’t need to be a master gardener or live in a tropical climate to grow one. All you need is a fresh pineapple, a bit of patience, and this simple guide.
In this article, you’ll learn everything you need to know about planting a pineapple — from choosing the right fruit to caring for your growing plant — so you can create your very own tropical haven at home.
Why Grow a Pineapple at Home?
Growing a pineapple isn’t just about the fruit; it’s about the experience. Here’s why it’s worth adding this exotic plant to your collection:
- Unique tropical charm: Adds an instant island vibe to your home or garden.
- Low-maintenance: Pineapples are drought-tolerant and easy to care for.
- Fun for all ages: A simple, rewarding project for families and beginners.
- Homegrown flavor: Nothing beats the sweetness of a pineapple you grew yourself.
Can You Really Grow a Pineapple from a Grocery Store Fruit?
Yes — and it’s surprisingly easy! Unlike some fruits that require seeds or grafting, pineapples grow from the green leafy crown found at the top of the fruit. With a little prep, that crown can sprout roots and become a new plant.
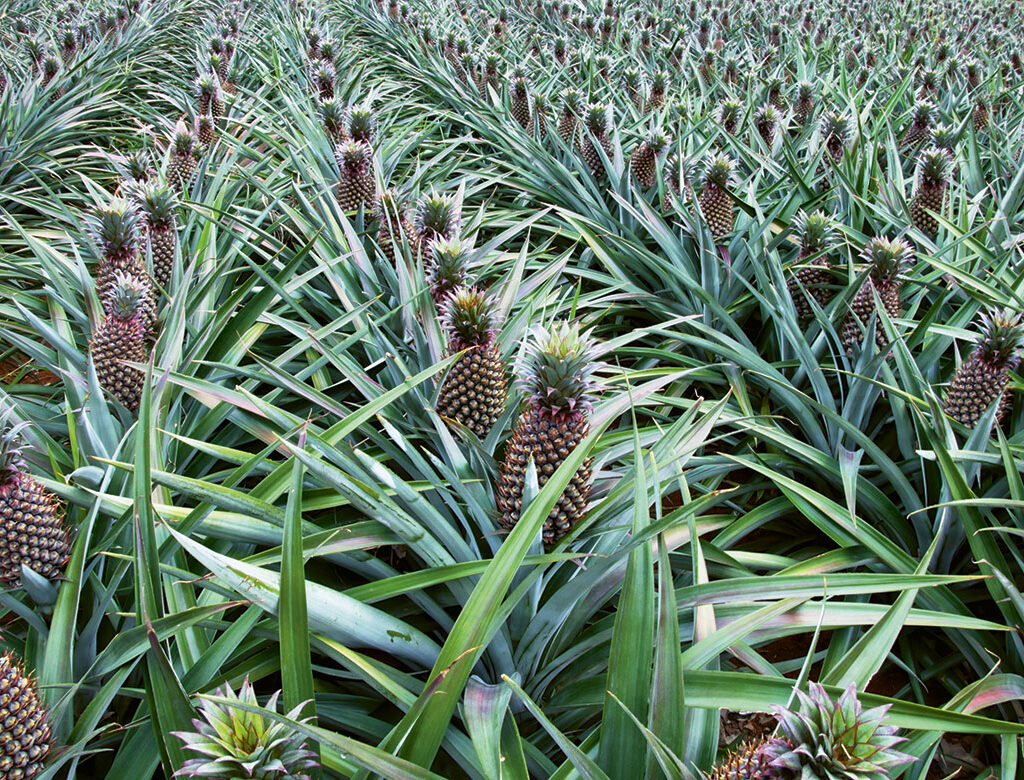
When and Where to Plant a Pineapple
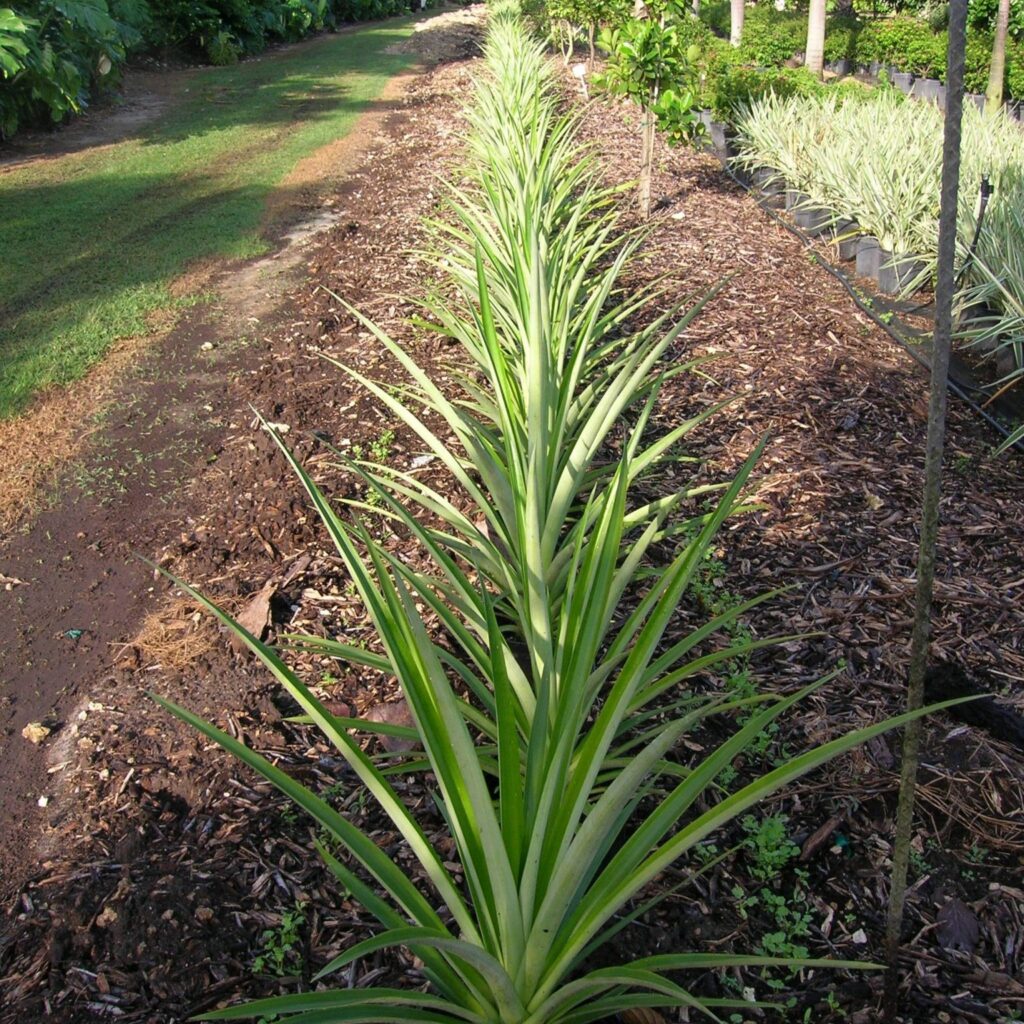
Pineapples thrive in warm, sunny conditions. If you live in a tropical or subtropical climate (USDA zones 9–11), you can grow them outdoors year-round. In cooler areas, pineapples make excellent container plants that can be moved inside during the winter.
Best time to plant:
Spring or early summer is ideal, but you can start a pineapple indoors at any time of year.
Ideal growing conditions:
- Temperature: 65°F–85°F (18°C–29°C)
- Sunlight: 6–8 hours of bright, indirect sunlight
- Soil: Well-draining, sandy or loamy soil with a pH of 4.5–6.5
How to Plant a Pineapple: Step-by-Step
What You’ll Need:
- A ripe, healthy pineapple
- Sharp knife
- Glass of water (optional)
- Pot with drainage holes (if container planting)
- Well-draining potting mix
- Garden spade (if planting outdoors)
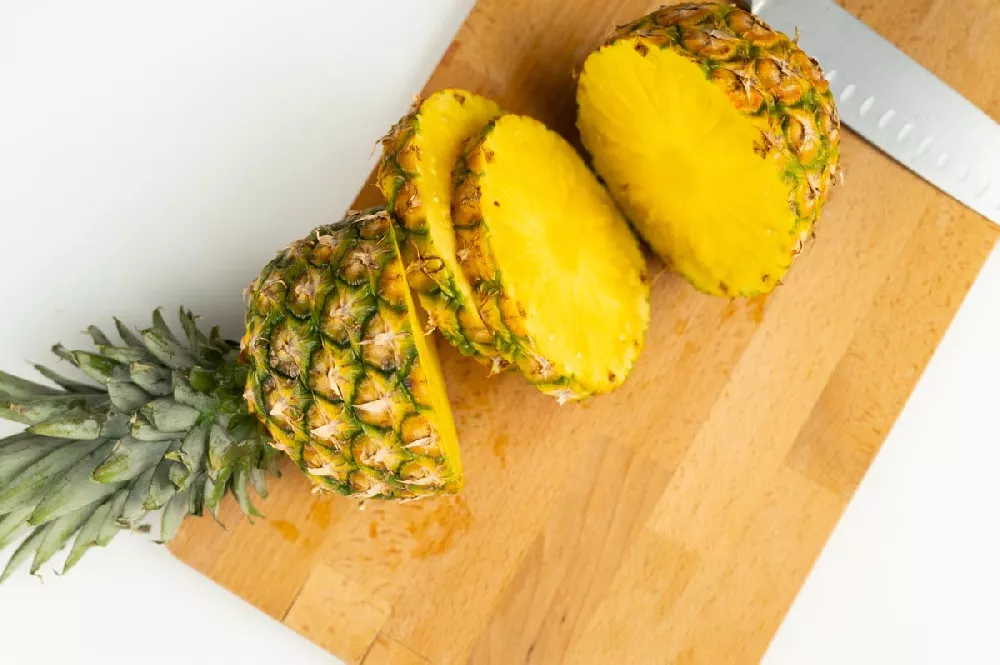
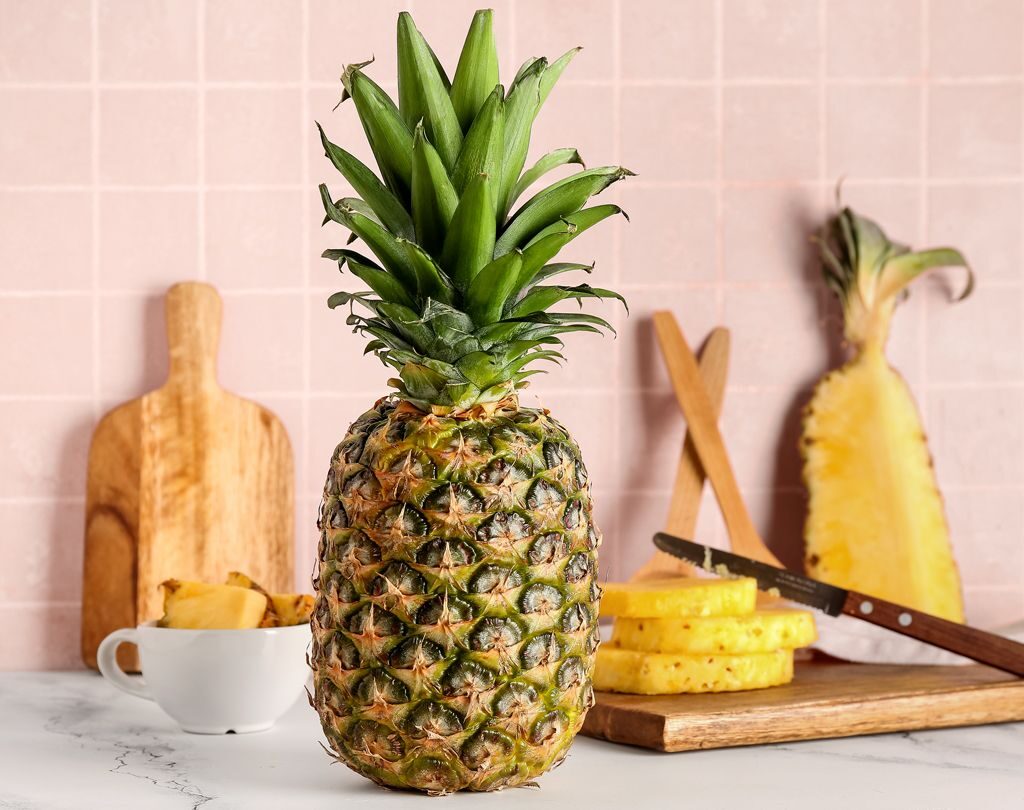
Step 1: Choose a Ripe Pineapple
Look for a healthy, ripe pineapple with:
- Fresh, green, and firm leaves in the crown
- No mold, soft spots, or shriveled leaves
- A sweet, fruity fragrance
Avoid overripe fruits with browning leaves or mushy skin.
Step 2: Remove the Crown
- Firmly grasp the leafy crown and twist it off the fruit. Alternatively, slice off the crown with about an inch of fruit attached.
- Carefully trim away excess fruit flesh at the base of the crown to prevent rot.
- Peel away the lower leaves (about 1 inch) to expose small root buds — these look like tiny brown dots around the stem.
Step 3: Dry the Crown
Allow the prepared crown to dry for 1–3 days in a cool, shaded area. This helps prevent rotting when it’s planted in soil or water.
Step 4: Root the Pineapple Crown (Two Methods)
Method 1: In Water (Optional)
- Place the dried crown in a glass of water, ensuring only the stem is submerged.
- Set the glass in a bright, warm spot.
- Change the water every 2–3 days.
- Wait for roots to grow — usually in 1–2 weeks.
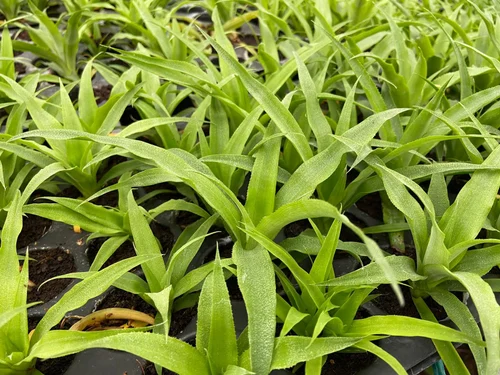
Once roots are about 2 inches long, it’s ready for soil.
Method 2: Directly in Soil
- Fill a pot or garden hole with well-draining potting mix.
- Make a small hole and plant the dried crown about 1–2 inches deep.
- Firm the soil around the base and water lightly.
Step 5: Place in a Sunny Spot
Position your pineapple plant in a sunny location that gets at least 6 hours of light daily. Indoors, place it near a bright, south-facing window.
Step 6: Water Wisely
Pineapples prefer to stay slightly dry rather than overly wet.
- Water sparingly, allowing the top inch of soil to dry out between waterings.
- Pour water directly into the center of the rosette of leaves (leaf cup) — it acts as a natural reservoir.
- Reduce watering in winter when growth slows.
Step 7: Fertilize Occasionally
Feed your pineapple plant with a balanced liquid fertilizer every 2–3 months during the growing season. A slow-release or organic fertilizer also works well.
Tip:
You can use diluted compost tea or fish emulsion for a natural boost.
Step 8: Repot or Transplant as Needed
If your plant outgrows its pot or you’re moving it outdoors:
- Choose a larger container or sunny garden spot with well-draining soil.
- Handle the root ball gently when transplanting.
- Keep the plant upright and water thoroughly after moving.
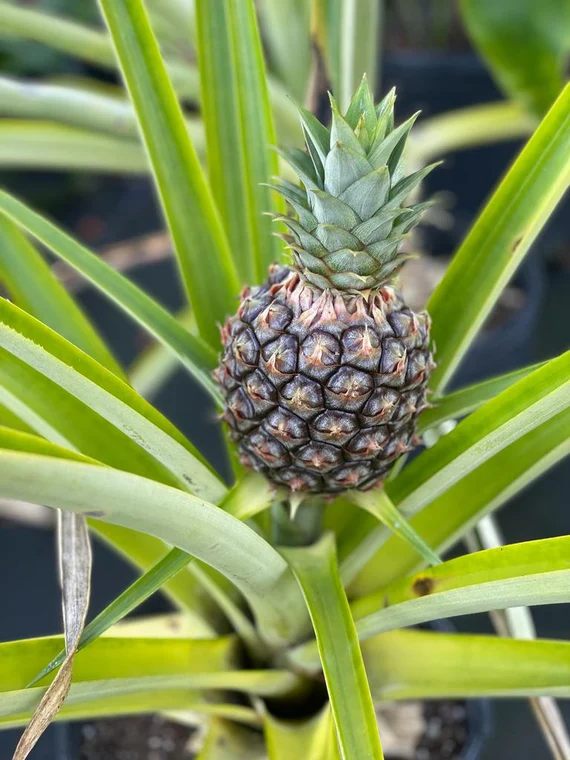
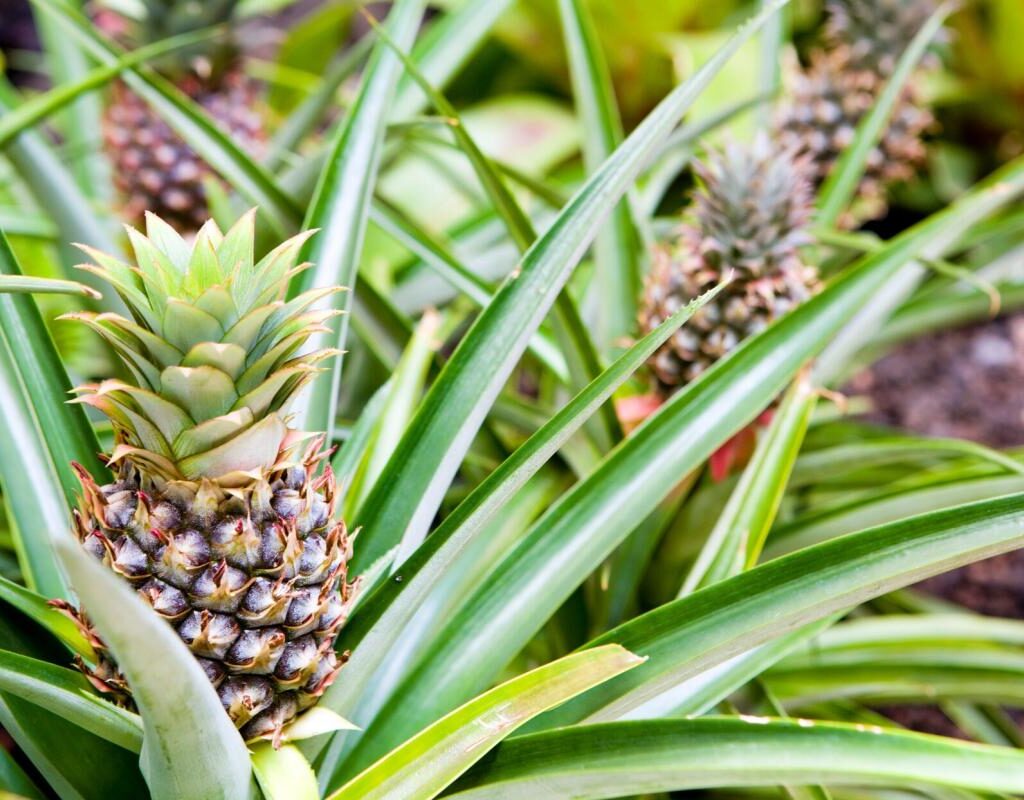
When Will My Pineapple Bear Fruit?
Pineapples are slow-growing and typically take 18–24 months to produce fruit. While this might seem like a long wait, the plant’s tropical beauty makes it worth it.
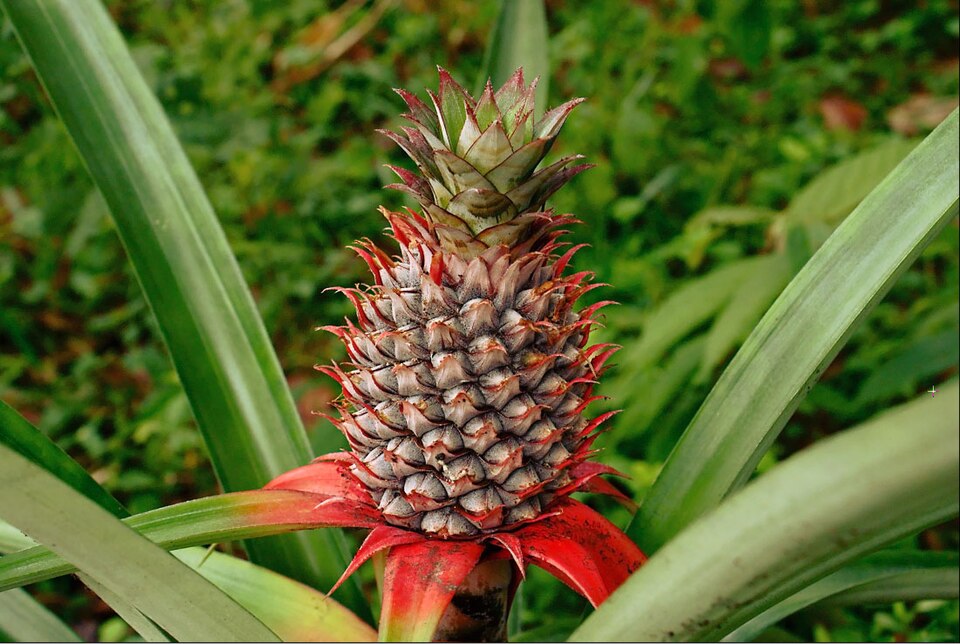
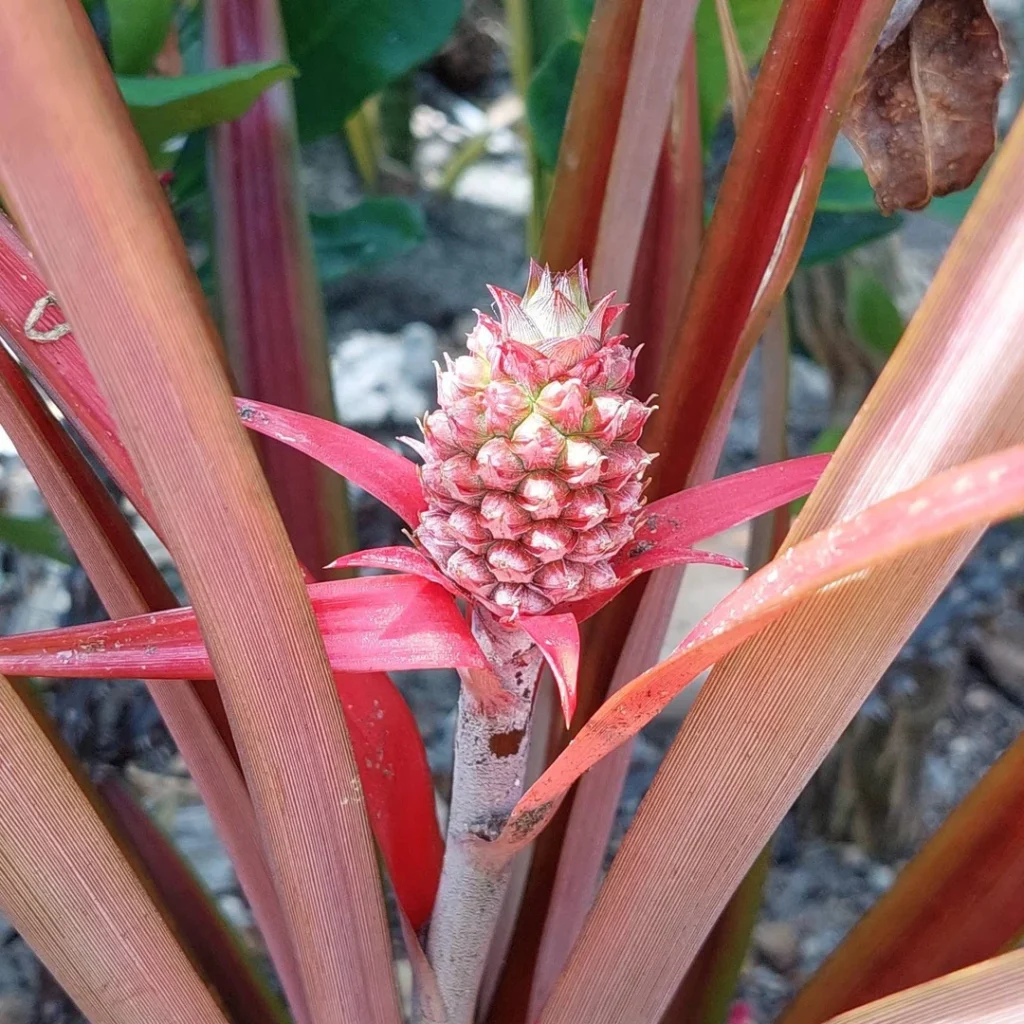
Signs your pineapple is ready to fruit:
- The plant reaches about 3 feet tall.
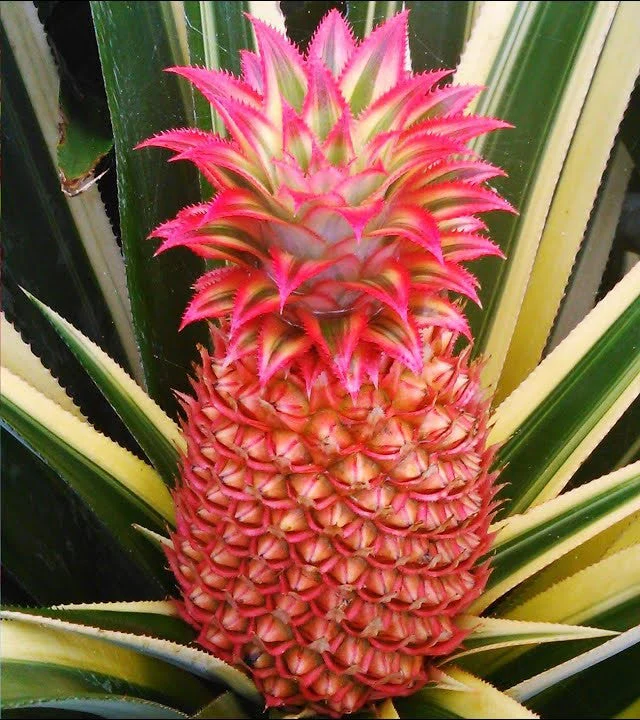
- A red or pink flower spike appears from the center, eventually forming a small fruit.
Once it ripens, you can harvest and repeat the process by planting the new crown.
Common Pineapple Plant Care Tips
Pests & Problems:
- Watch for mealybugs, spider mites, and scale insects.
- Avoid overwatering to prevent root rot.
Winter Care:
- In cooler climates, bring container plants indoors before the first frost.
- Place them in a bright room and reduce watering during dormancy.
Pruning:
- Remove dead or damaged leaves as needed.
- Cut off suckers (small shoots) if you prefer one main fruit-bearing plant.
Fun Facts About Pineapples
- Pineapples are not grown from seeds — they grow from crowns, slips, or suckers.
- A single pineapple plant produces one fruit per cycle.
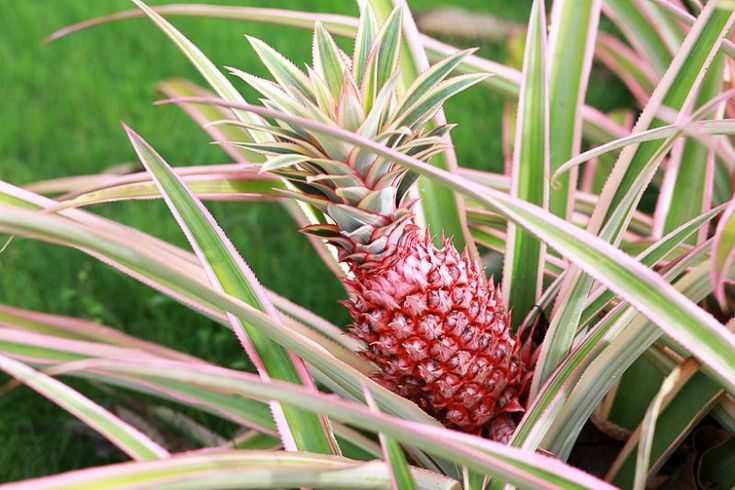
- The plant’s spiky leaves store water, making it drought-resistant.
- In colonial times, pineapples were a symbol of hospitality and wealth.
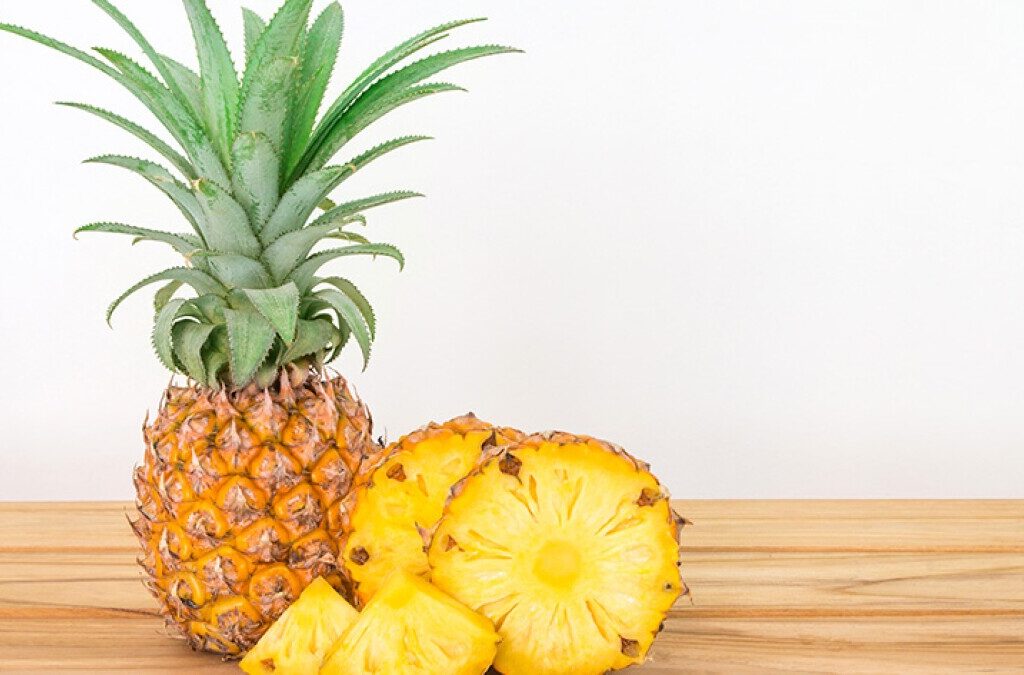
Final Thoughts
Growing a pineapple plant is an easy, budget-friendly, and rewarding project that transforms your home or garden into a mini tropical retreat. With its spiky foliage, minimal maintenance needs, and eventual juicy reward, it’s a must-try for plant lovers and foodies alike.
Whether you’re placing it on a sunny patio, bright windowsill, or backyard garden, your pineapple plant will bring a touch of the tropics right to your doorstep.
So the next time you enjoy a sweet, ripe pineapple, save the crown — and start creating your very own tropical haven at home!