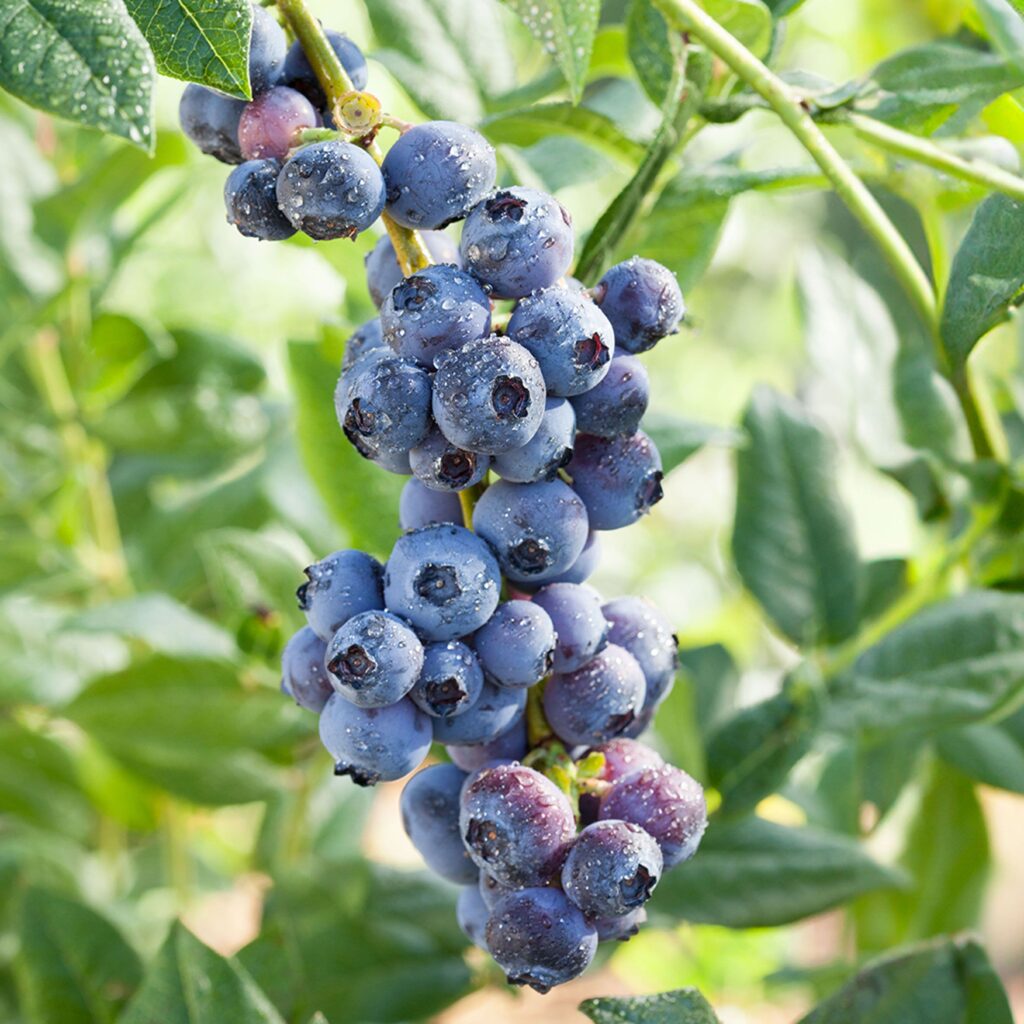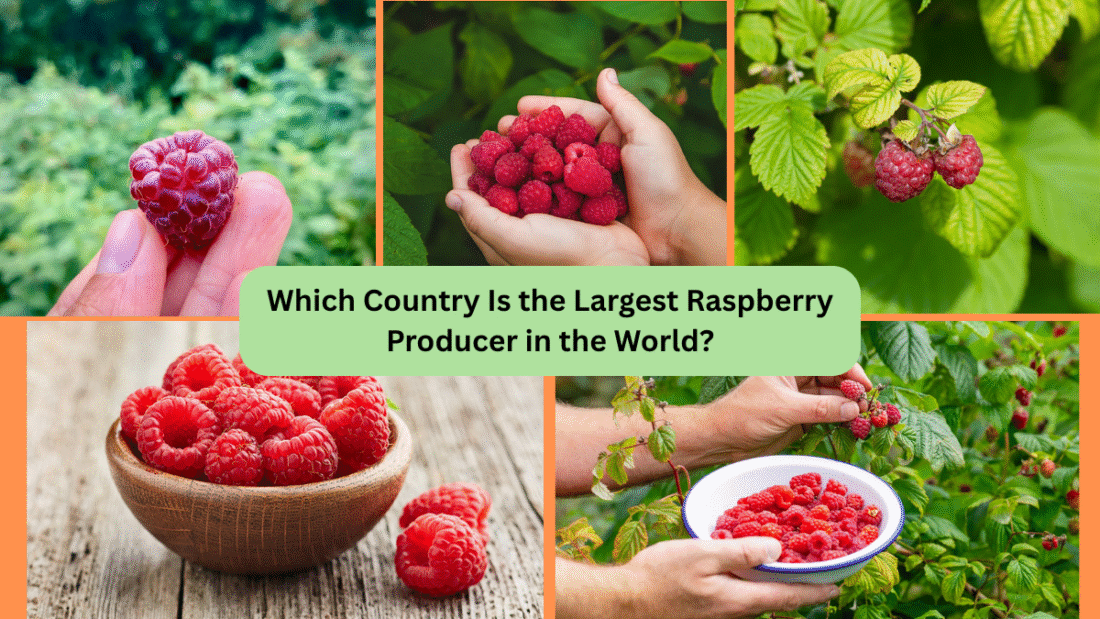
Raspberries—those vibrant, jewel‑red berries with a perfect balance of sweet and tart—have captivated taste buds across the globe. Whether enjoyed fresh, baked into desserts, frozen, or blended into preserves and liqueurs, raspberries are coveted for both their flavor and nutrition. But in the vast world of berry cultivation, one country stands out as the undisputed leader. Let’s explore the armies of raspberries, uncover the global production landscape, and discover who reigns supreme.
A Taste of Raspberry History & Cultivation

Members of the Rubus genus (rose family), raspberries boast a rich history. Wild varieties thrived in temperate regions of Europe and North America, where they were collected and cherished for centuries. Modern cultivation advances have dramatically improved yield, berry size, and harvest techniques.
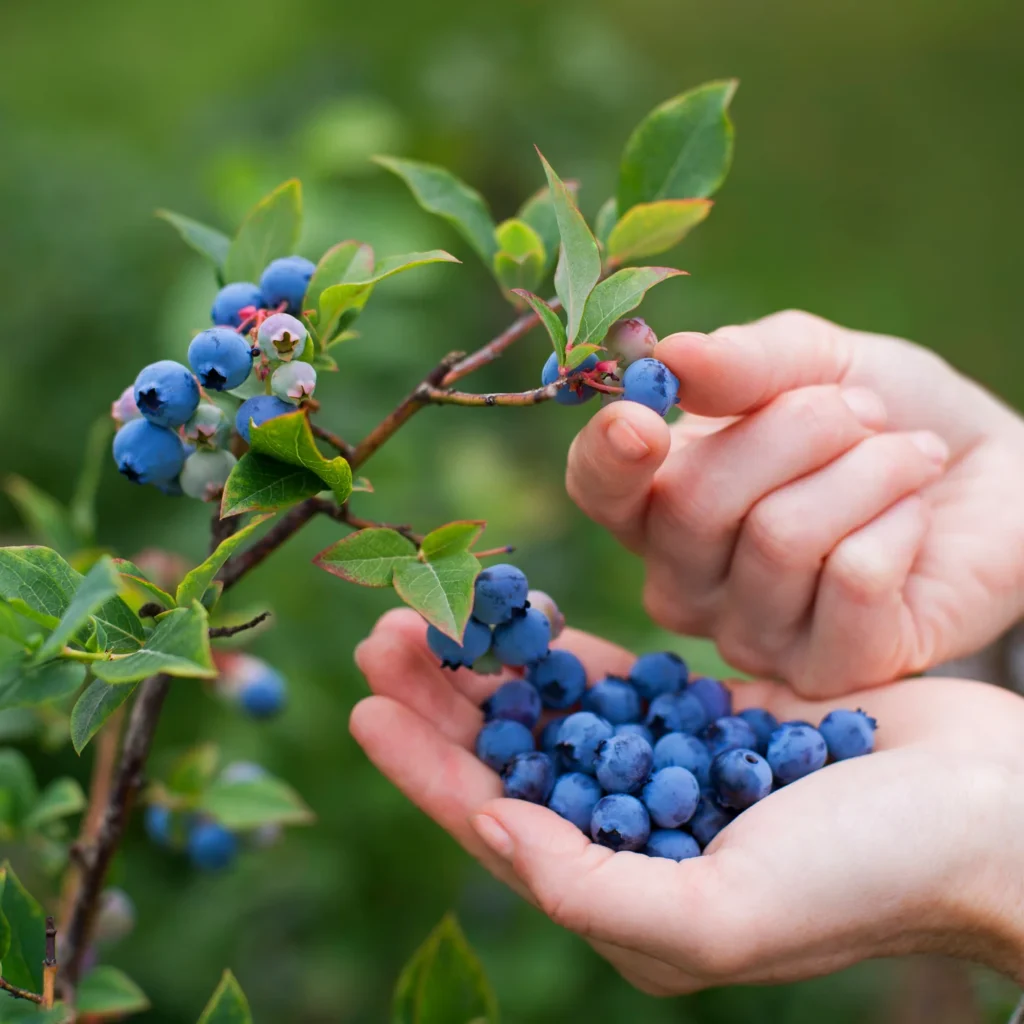
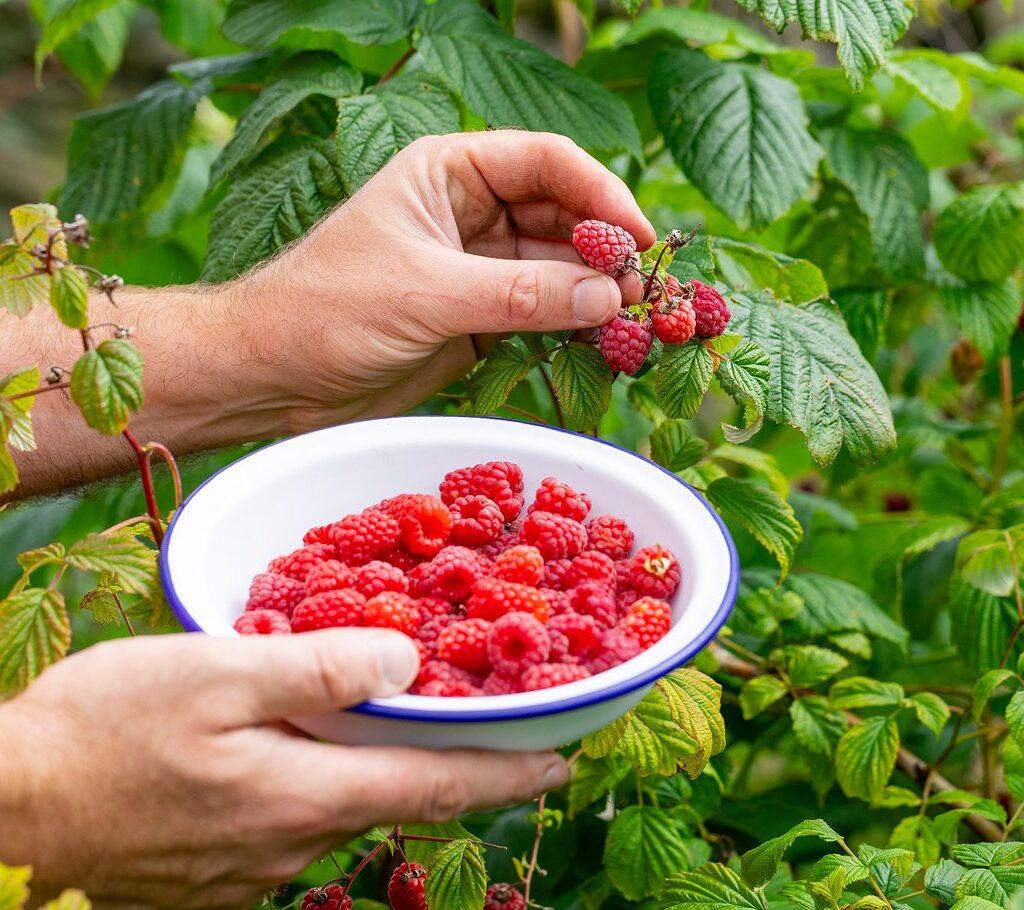
Raspberries thrive in cool, moist climates, and growers often use raised beds, drip irrigation, and skilled pruning techniques. The fruit is mostly harvested by hand or mechanically when fully ripe, and it’s quickly processed, frozen, or sold fresh due to its short shelf life.
Global Raspberry Production Snapshot
According to FAOSTAT, global raspberry production in 2022 reached approximately 948,000 metric tons, with a very similar figure seen in 2023 (~941,000 t)
But which country produces the most raspberries of all?
#1 Raspberry Producer: Russia

Topping the list by a wide margin is Russia, producing around 212,300 tonnes in 2022—roughly 22 % of world production Updated 2023 figures suggest production rose to approximately 219,300 tonnes, confirming Russia’s continued dominance
Russia’s expansive land, favorable regions in the Moscow, Bryansk, and Krasnodar areas, and large-scale mixed farms are key factors. The climate supports both fresh consumption and processing, notably freezing.
#2 Rising Star: Mexico
Just behind Russia, Mexico produced about 165,700 tonnes in 2022 But the real story is Mexico’s explosive growth—up from 6 tonnes in 1986 to over 146,000 tonnes by 2020 Reports say 2023 output may have grown further to around 279,000 tonnes, capturing nearly 33 % of global production .
What’s driving this? Year-round greenhouse and macro-tunnel cultivation in Jalisco, Michoacán, and Baja California lets Mexico export fresh raspberries when northern markets are off-season—often at premium prices
#3 Serbia: Europe’s Raspberry Powerhouse

Serbia ranks third globally, with around 116,000 tonnes produced in 2022 . Serbia boasts long-standing expertise, particularly in provinces like Vojvodina. Historically consistent and high-quality, Serbia remains a vital European raspberry player .
Other Major Producers
- Poland: World’s fourth-largest producer (~104,000–127,000 tonnes) and Europe’s top exporter. The Lublin region produces ~70% of its crop .
- United States: Producing around 76,000–81,000 tonnes, with major cultivation in Washington, Oregon, and California
- Spain, Ukraine, Portugal, Bosnia & Herzegovina, Chile, UK, Canada, Germany, and others each contribute tens of thousands of tonnes
Ranking Summary (2022)
| Rank | Country | Production (t) | Share of Global (%) |
|---|---|---|---|
| 1 | Russia | 212,300 | ~22% |
| 2 | Mexico | 165,700 | ~17% |
| 3 | Serbia | 116,000 | ~12% |
| 4 | Poland | 104,000–127,000 | ~11–13% |
| 5 | United States | 76,000–81,000 | ~8% |
China and Canada are minor players in raspberry output compared to these leaders.
Why Russia Leads

- Massive Arable Areas: Covering vast tracts in temperate western Russia.
- Suitable Climate: Cool springs and mild summers are optimal for raspberries.
- Integrated Production: Many farms combine fresh and frozen output, supported by good infrastructure.
- Domestic & Export Demand: SFrozen exports and strong local market consumption bolster acreage.
Mexico’s Meteoric Rise
- Weather Advantage: Warm, winter-friendly climates enable year-round harvests.
- Macro-Tunnel Technology: ~70% of raspberries are grown under protective tunnels, tripling yields compared to open fields
- Strategic Export: Proximity to the U.S. market—huge demand and premium off-season pricing .
European Significance
- Poland: Often referred to as the “world’s largest producer” in media due to record harvests, though Russia outranks it overall .
- Serbia: Maintains a stable top‑3 position thanks to mixed farms and regional specialties.
- Spain: A major exporter of fresh berries to Europe, often using greenhouse techniques.
Uses & Economic Impact
- Fresh Market: Prized for eating or fresh delivery to supermarkets.
- Frozen/Processed: Abundant usage in jams, purees, juices, desserts.
- Economic Value: E.g., Mexico’s export revenue reached US $1.3 billion in 2023, supporting 120,000 jobs
- Agritourism: Pick-your-own farms and festivals enhance rural economies in Russia, Poland, and North America.
Industry Challenges & Trends
- Global Demand Growth: Healthy eating drives expanding consumption worldwide.
- Seasonal Balancing: Mexico and Chile supply fresh berries during northern off-season.
- Sustainability push: Protected-cover systems reduce pesticide use and extend shelf life—but may increase plastic usage.
- Breeding & R&D: New varieties offer improved flavor, shelf life, productivity, and climate resistance.
- Trade Policies: Tariffs, phytosanitary standards, and logistics impact global trade flows.
Final Takeaway
Which country tops the list as the world’s largest raspberry producer? The answer is clear: Russia, with around 220,000 tonnes, leading global production by volume.
However, Mexico’s meteoric rise—leaping to nearly 33% of world production (2023)—signals an exciting shift in global dynamics. Meanwhile, European leaders like Serbia and Poland and traditional producer the U.S. continue to hold key regional and quality-focused roles.
Conclusion
Russia remains the undisputed leader in raspberry production thanks to its size, climate, and balancedfocus on fresh and frozen markets. But Mexico’s rapid ascent demonstrates how climate-smart agriculture, strategic exports, and protective farming techniques can transform global supply chains.
As health-conscious consumer demand rises and global supply chains adapt, we can expect further innovation in raspberry farming—from sustainable packaging to new berry varieties and diversified geographic sourcing.