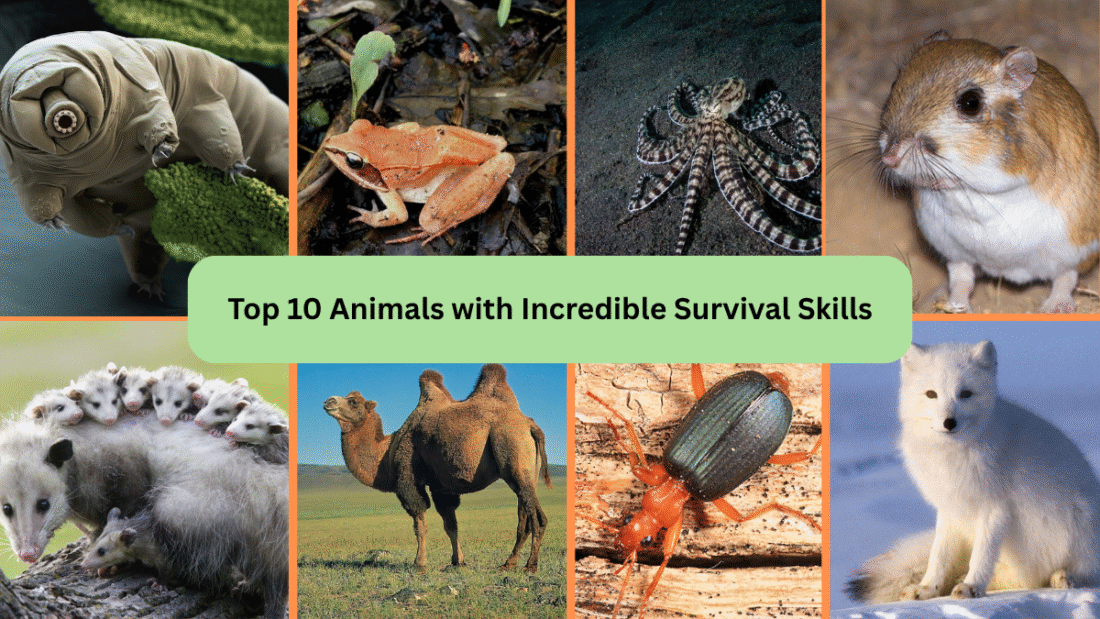
In the wild, survival is a daily battle against predators, harsh climates, and scarce resources. While some animals rely on speed or strength, others possess truly astonishing survival skills that defy belief. From creatures that can freeze solid and come back to life to those that regenerate lost body parts, the animal kingdom is filled with remarkable species perfectly adapted to life’s toughest challenges. Let’s explore ten fascinating animals whose survival abilities prove just how ingenious nature can be.
1. Tardigrade (Water Bear)
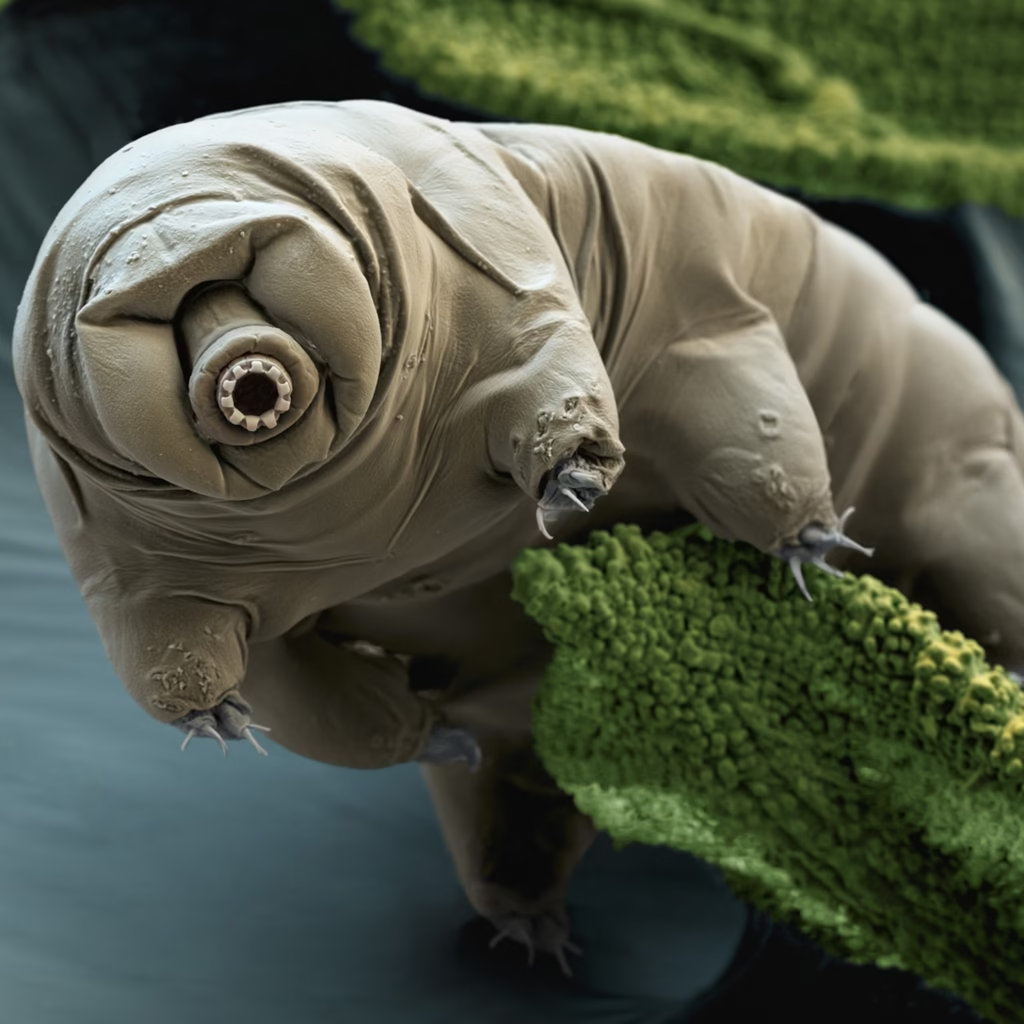
Arguably the toughest creature on Earth, the tiny Tardigrade can survive conditions that would obliterate most lifeforms. Found in water droplets, soil, and moss, these microscopic animals endure temperatures ranging from -272°C to 150°C, extreme radiation, dehydration, and even the vacuum of space. When faced with harsh environments, tardigrades enter a cryptobiotic state, essentially suspending life functions for decades until conditions improve. Their unmatched resilience has earned them the nickname “immortal animal” among scientists.
2. Wood Frog (Rana sylvatica)
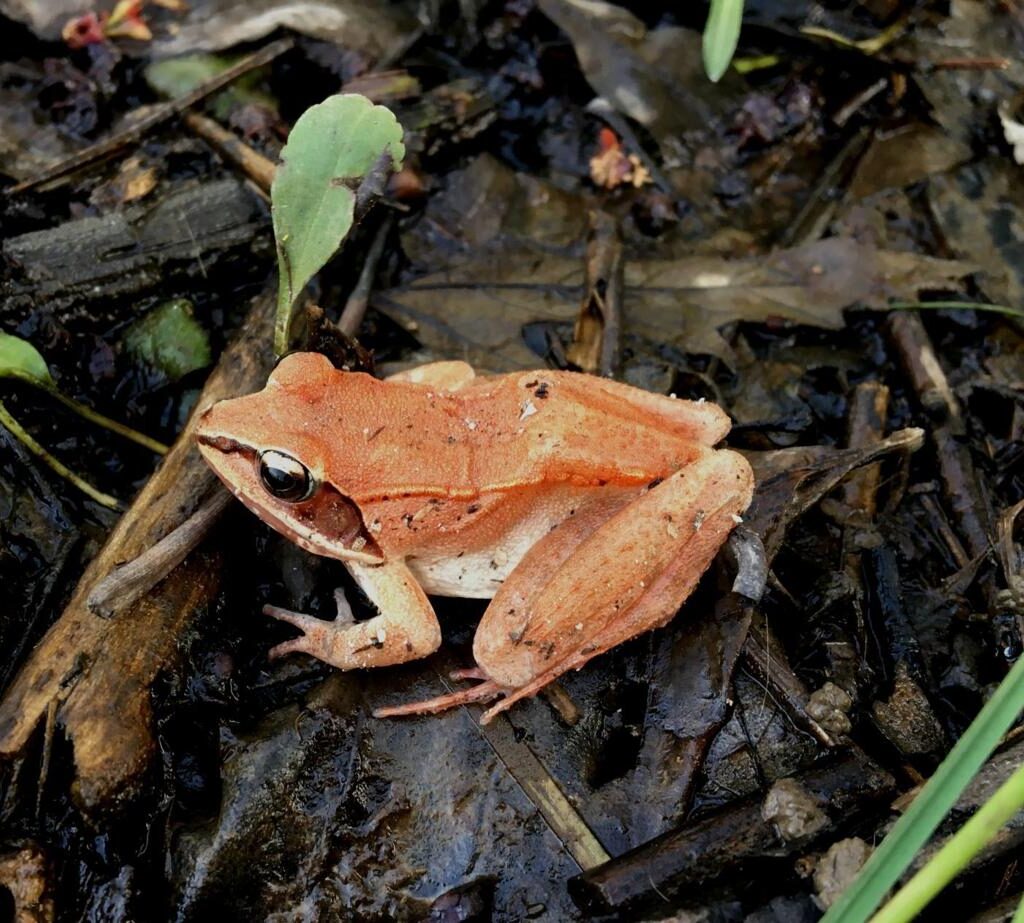
The Wood Frog of North America has an astonishing ability to survive being frozen solid during winter. As temperatures drop, its heart stops beating and up to 70% of its body water turns to ice. Remarkably, high concentrations of glucose in its vital organs prevent ice damage, acting as a natural antifreeze. When spring arrives, the frog thaws and resumes normal activity. This ability allows the Wood Frog to inhabit regions as far north as the Arctic Circle — one of the only amphibians to do so.
3. African Spiny Mouse (Acomys)
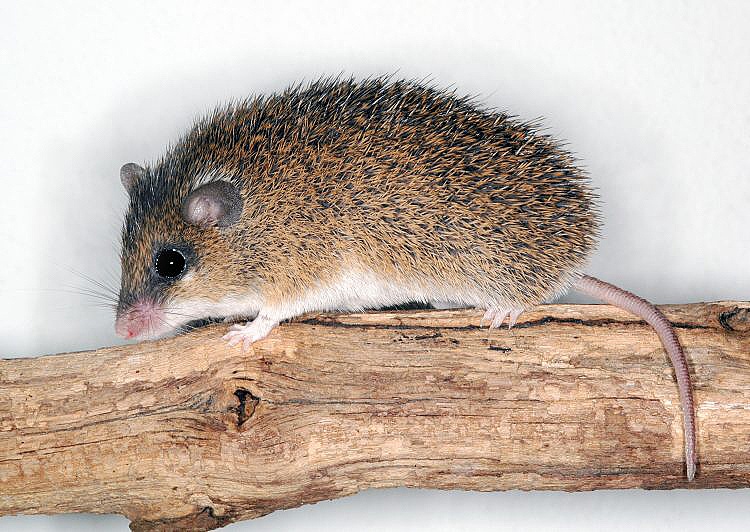
Nature’s little miracle, the African Spiny Mouse has the rare ability to shed large patches of skin and regrow them completely, including fur, hair follicles, and even cartilage. This ability allows it to escape predators by leaving them with a mouthful of skin while the mouse scurries away. What’s even more impressive is its regenerative capability, which has fascinated scientists studying wound healing. In the wild, this unique adaptation increases its chances of survival in predator-rich environments.
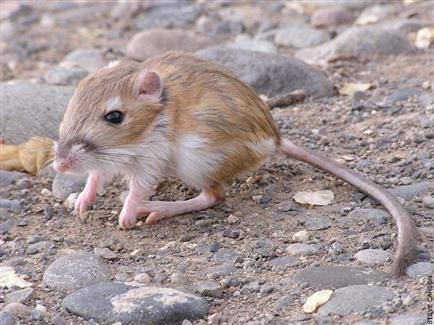
4. Kangaroo Rat (Dipodomys)
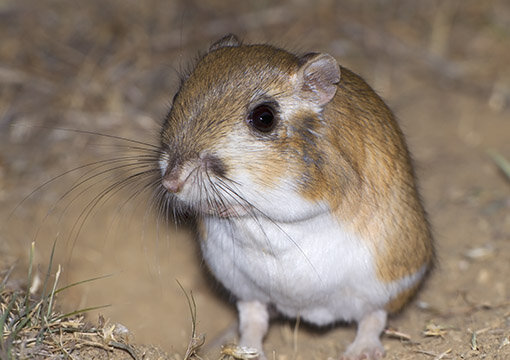
Thriving in some of North America’s hottest and driest deserts, the Kangaroo Rat survives without ever drinking water. It extracts moisture entirely from seeds and plants and has specialized kidneys that conserve water by producing highly concentrated urine. Its burrowing lifestyle also keeps it cool during the scorching daytime heat. By foraging at night and avoiding direct sunlight, the Kangaroo Rat expertly manages the delicate balance of hydration and heat in a habitat where many animals struggle to live.
5. Mimic Octopus (Thaumoctopus mimicus)
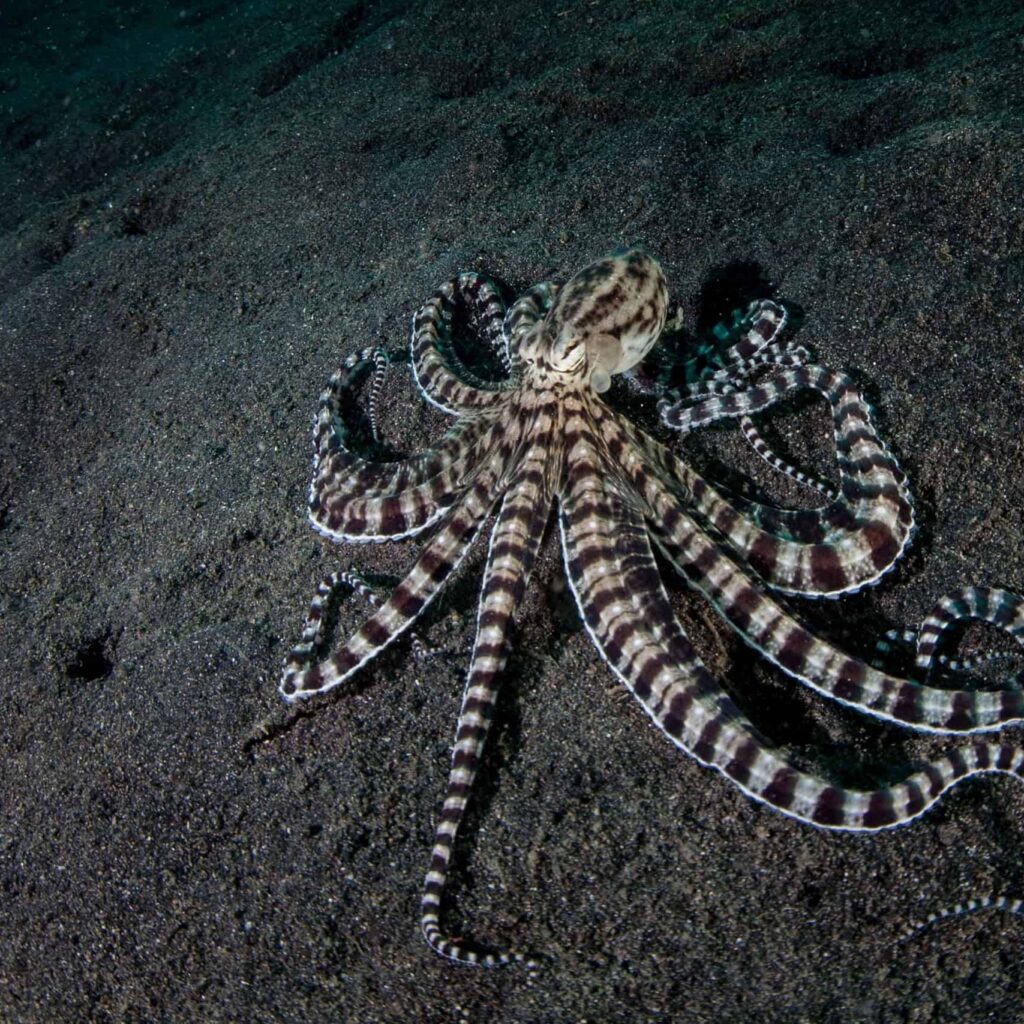
The Mimic Octopus of Southeast Asia’s coastal waters has a unique defense mechanism: it can imitate the appearance and movements of up to 15 different marine species, including venomous lionfish, flatfish, and sea snakes. By changing the color, texture, and shape of its body, the octopus confuses predators and escapes danger. Its astonishing mimicry skills not only help it avoid threats but also aid in ambush hunting. This master of disguise showcases some of the most advanced survival strategies in the ocean.
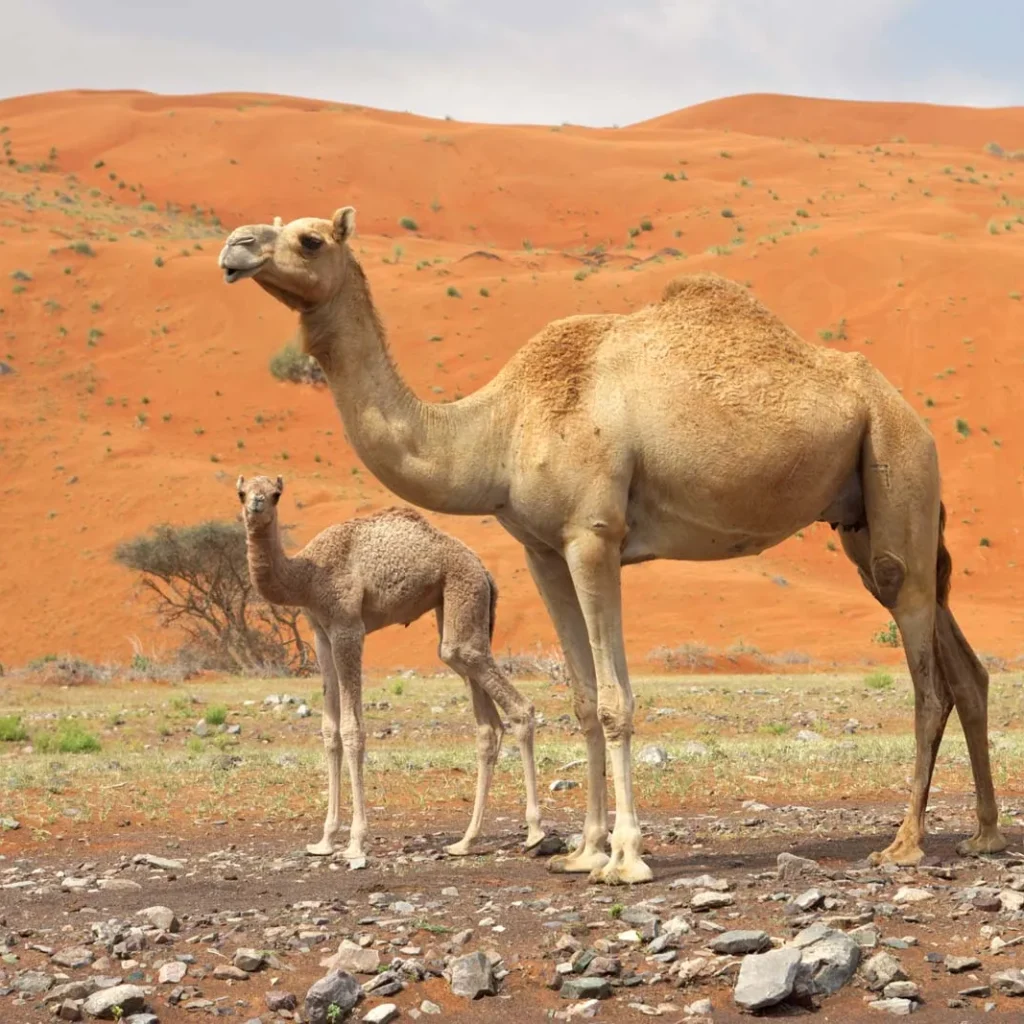
6. Camel (Camelus)
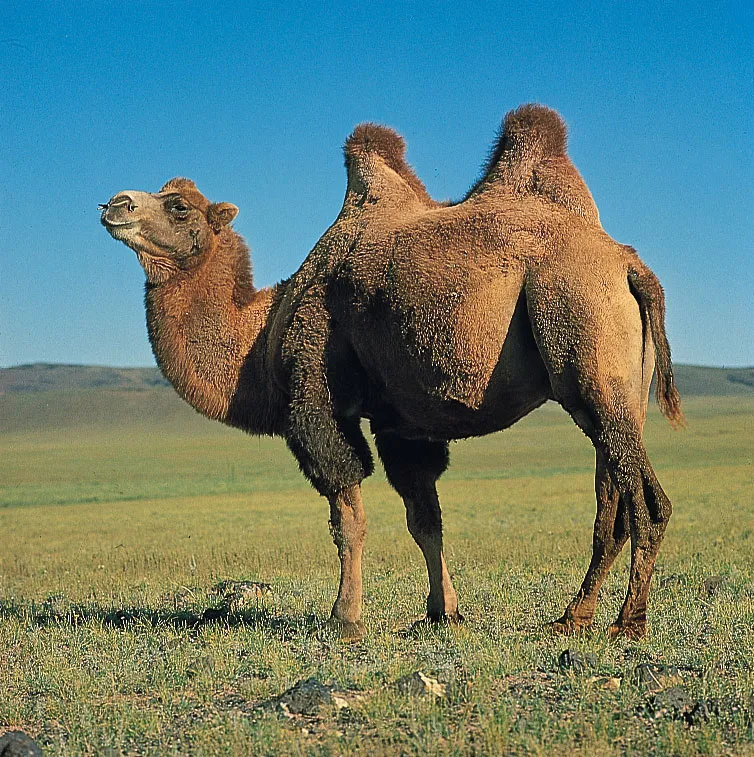
Famed as the “ship of the desert,” the Camel is perfectly built for survival in scorching, arid regions. Its humps store fat — not water — which it can convert into energy and moisture. Camels can drink up to 40 gallons (150 liters) of water in one sitting and lose up to 25% of their body weight in fluids without fatal consequences. Thick eyelashes, closable nostrils, and broad, padded feet help them navigate sandy landscapes and avoid dehydration while enduring blistering desert temperatures.
7. Opossum (Didelphimorphia)
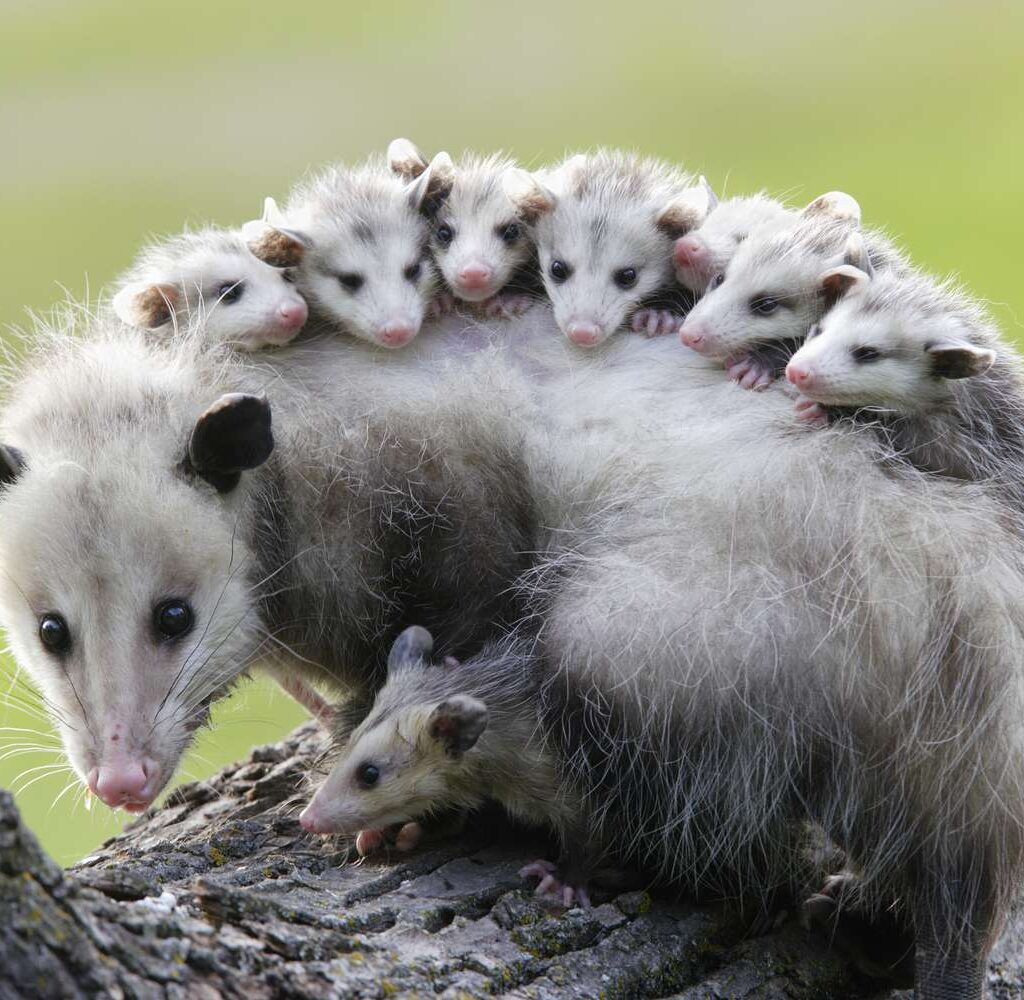
When threatened by predators, the Opossum uses a dramatic survival tactic: it plays dead, a behavior known as thanatosis. During this state, the opossum lies motionless with its mouth open and emits a foul-smelling fluid to deter attackers. This defense mechanism can last for several minutes to hours, fooling predators into thinking the opossum is diseased or spoiled meat. This remarkable act, paired with a strong immune system and resistance to snake venom, makes the opossum a true survivor of urban and wild environments alike.
8. Lyrebird (Menura)
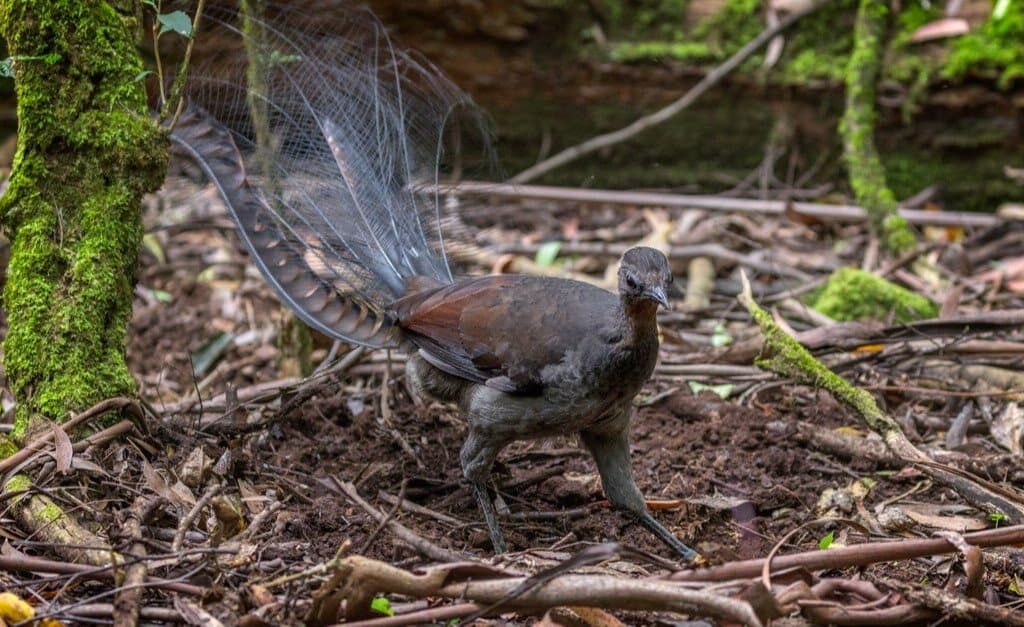
One of nature’s most extraordinary mimics, the Lyrebird of Australia can imitate almost any sound it hears — from chainsaws and car alarms to other bird calls. This remarkable vocal ability confuses predators and competitors alike while also impressing potential mates during elaborate courtship displays. By mastering the sounds of its environment, the Lyrebird uses deception as a survival tool, manipulating both rivals and threats in its complex, densely forested habitat.
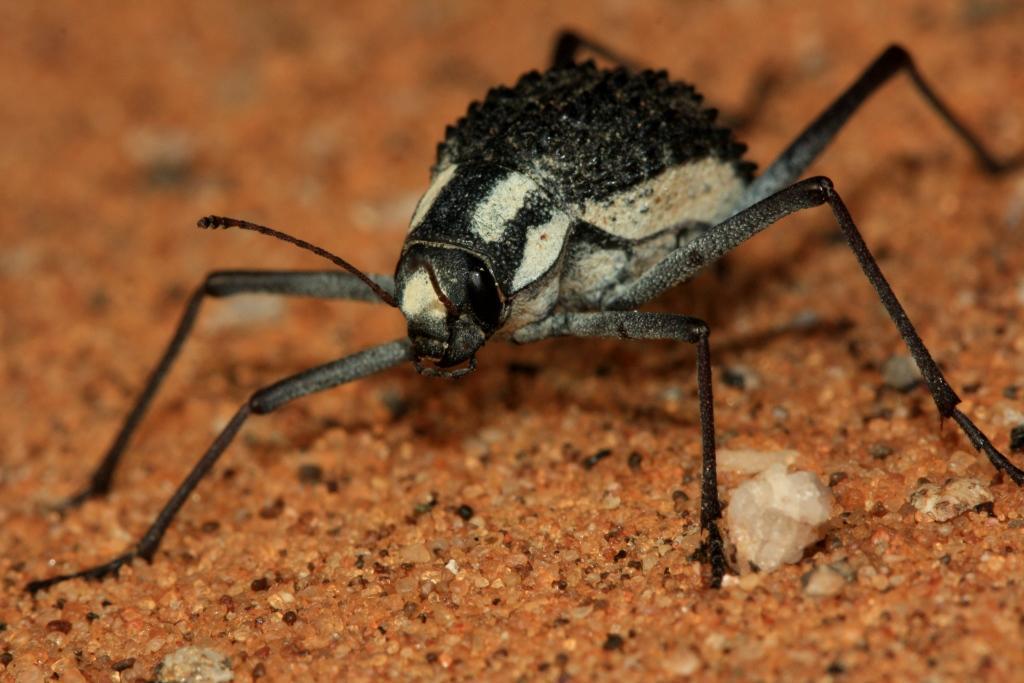
9. Bombardier Beetle (Brachinus)

The Bombardier Beetle defends itself with a literal chemical explosion. When threatened, it ejects a boiling, noxious spray of chemicals from its abdomen at temperatures up to 100°C (212°F). This toxic mixture of hydrogen peroxide and quinones creates a loud popping sound and deters predators instantly. The beetle’s specially designed internal chambers safely contain and control the reaction, making this tiny insect one of the most impressively armed creatures in the animal kingdom.
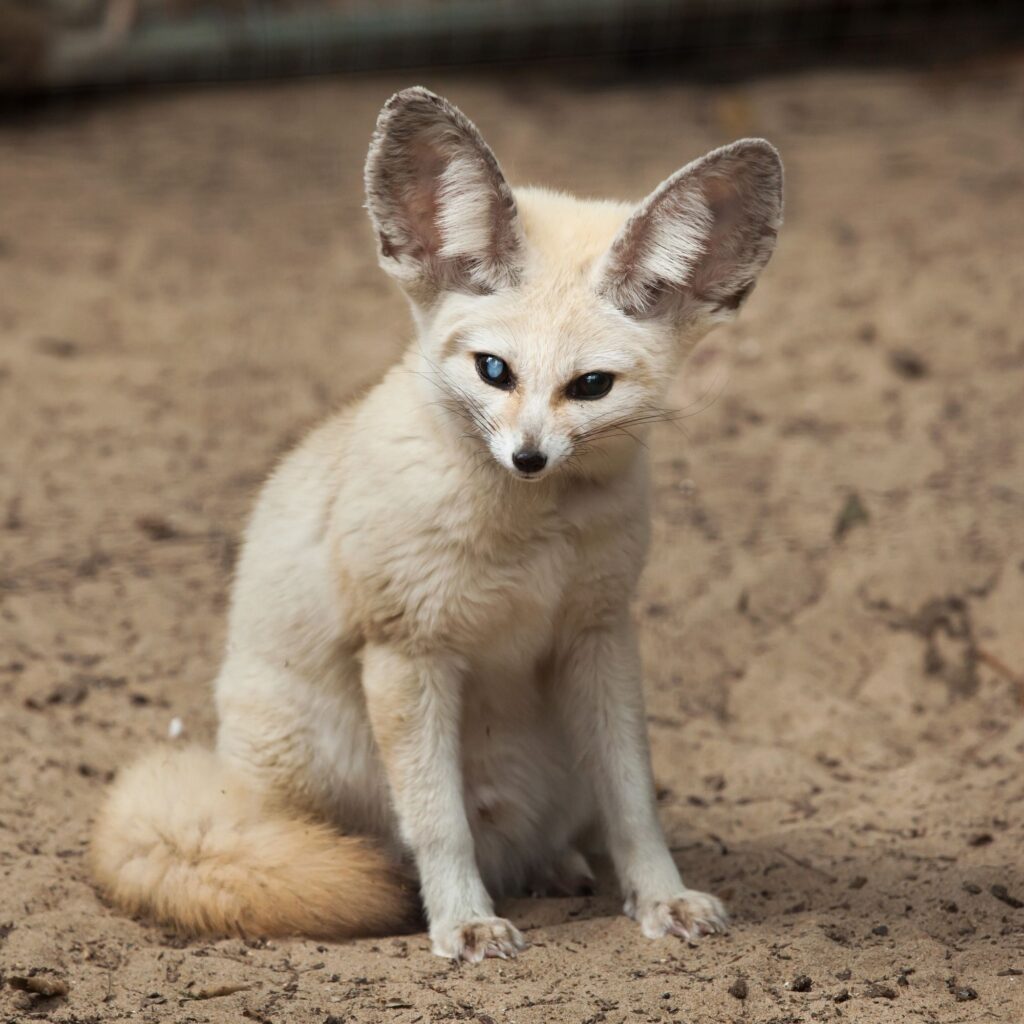
10. Arctic Fox (Vulpes lagopus)
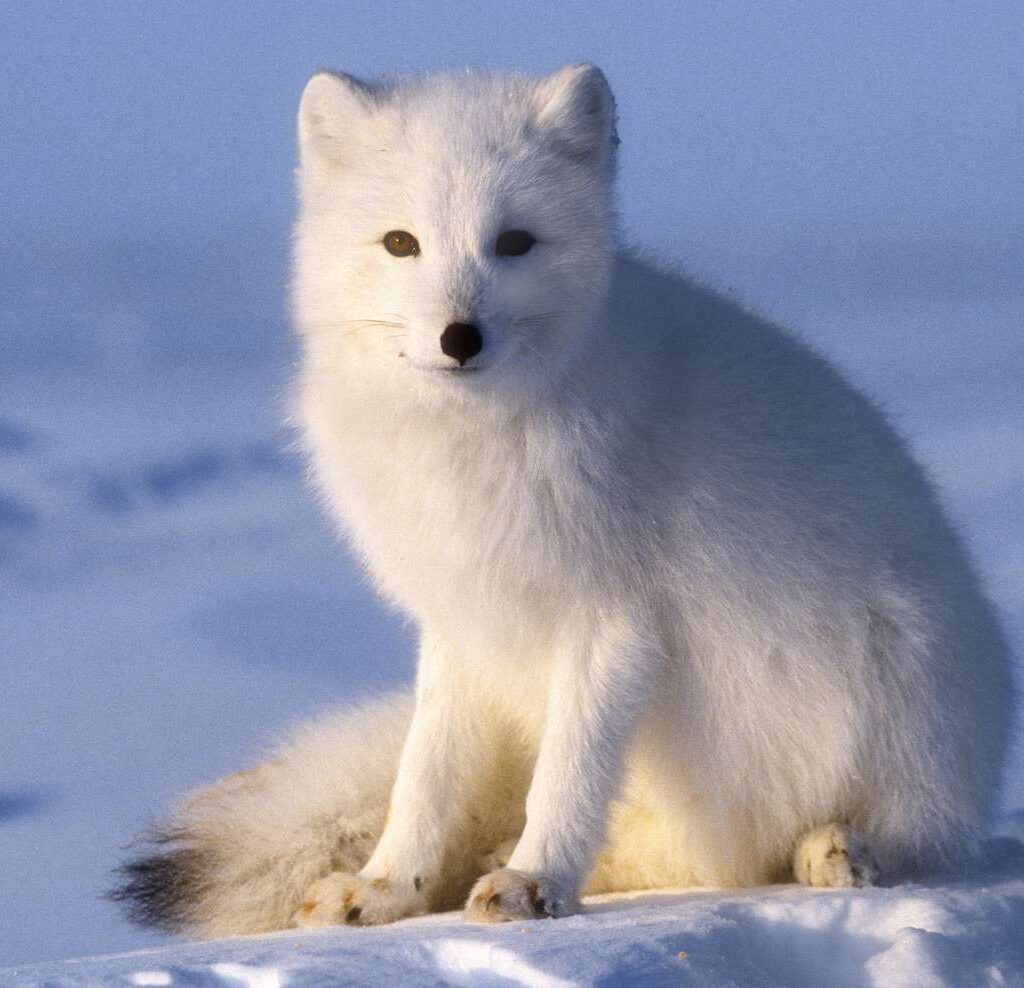
Living in one of the harshest climates on Earth, the Arctic Fox survives temperatures as low as -50°C (-58°F). Its dense, multi-layered fur changes color with the seasons — white in winter and brown-gray in summer — for perfect camouflage. Short, rounded ears and a compact body minimize heat loss, while a bushy tail doubles as a warm cover in freezing blizzards. The Arctic Fox is a scavenger and opportunistic hunter, able to store food and survive long periods when resources are scarce.
Conclusion
From microscopic creatures surviving the vacuum of space to mammals capable of regenerating lost skin, these ten animals reveal nature’s boundless ingenuity. Each of them, in their own unique way, showcases extraordinary adaptations that have evolved over millions of years. Their stories are not just fascinating but also remind us of the importance of preserving diverse ecosystems where such remarkable survivalists continue to thrive.