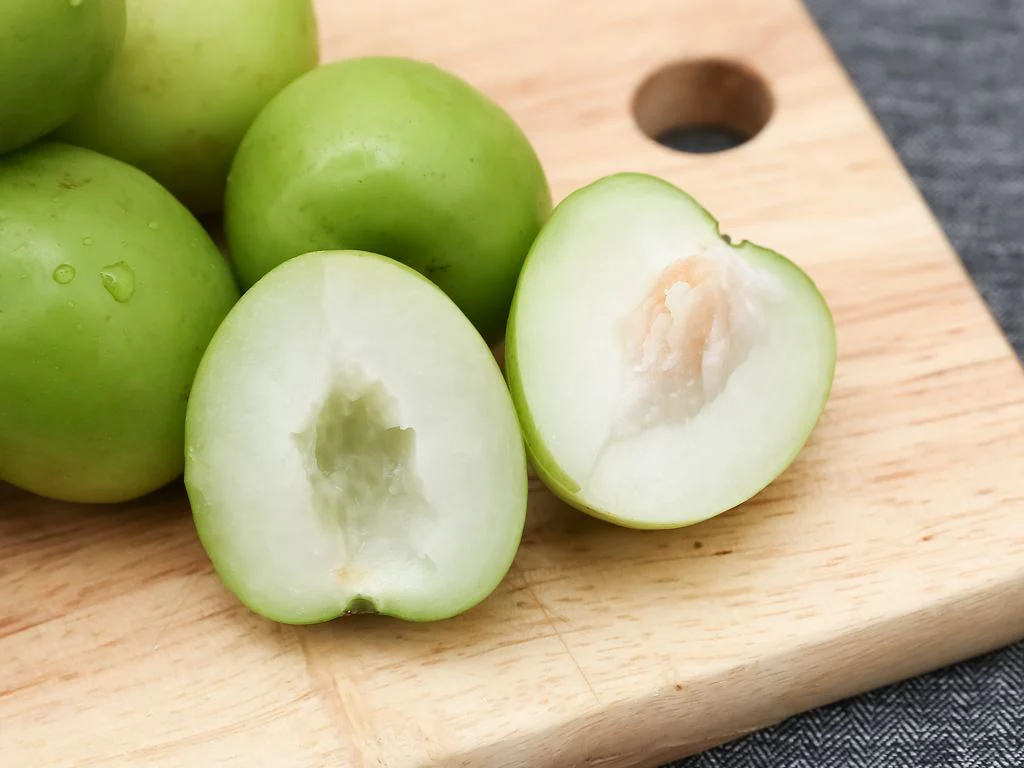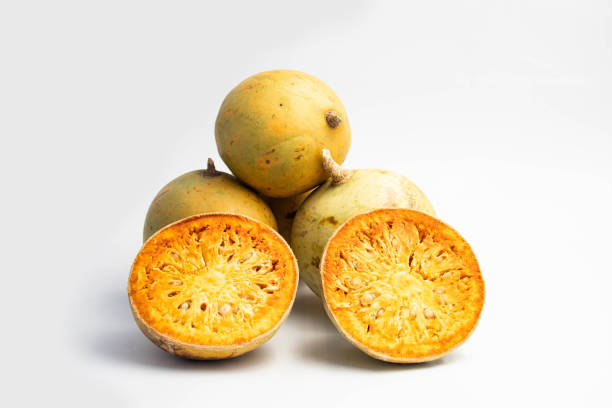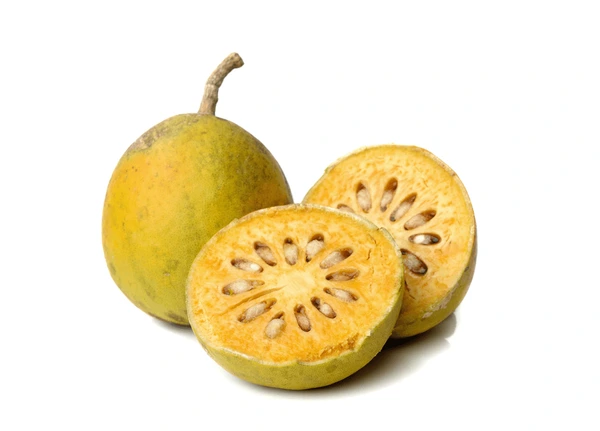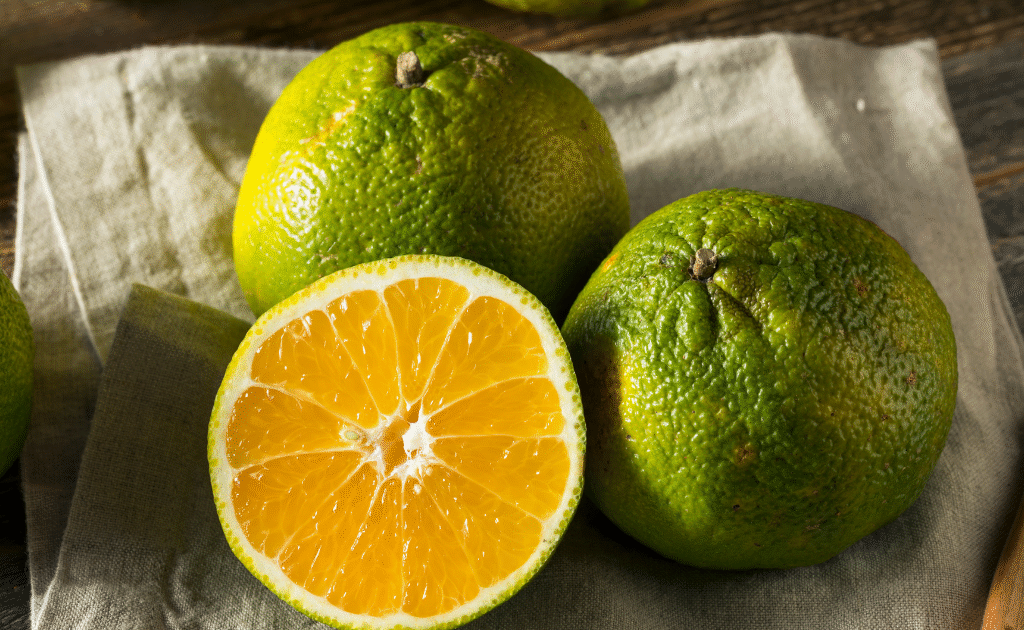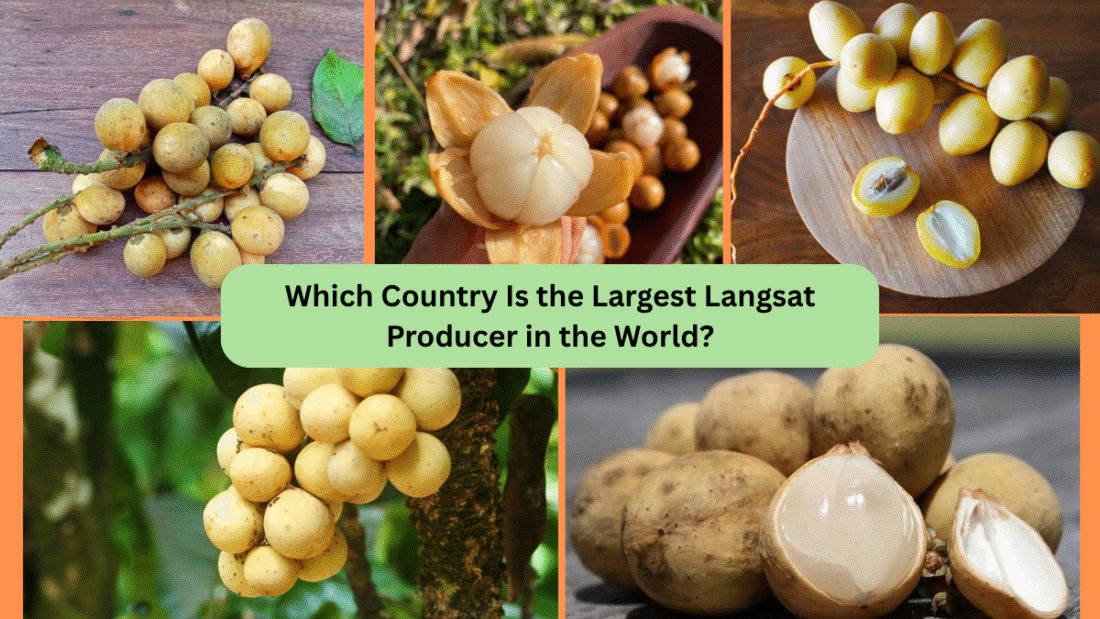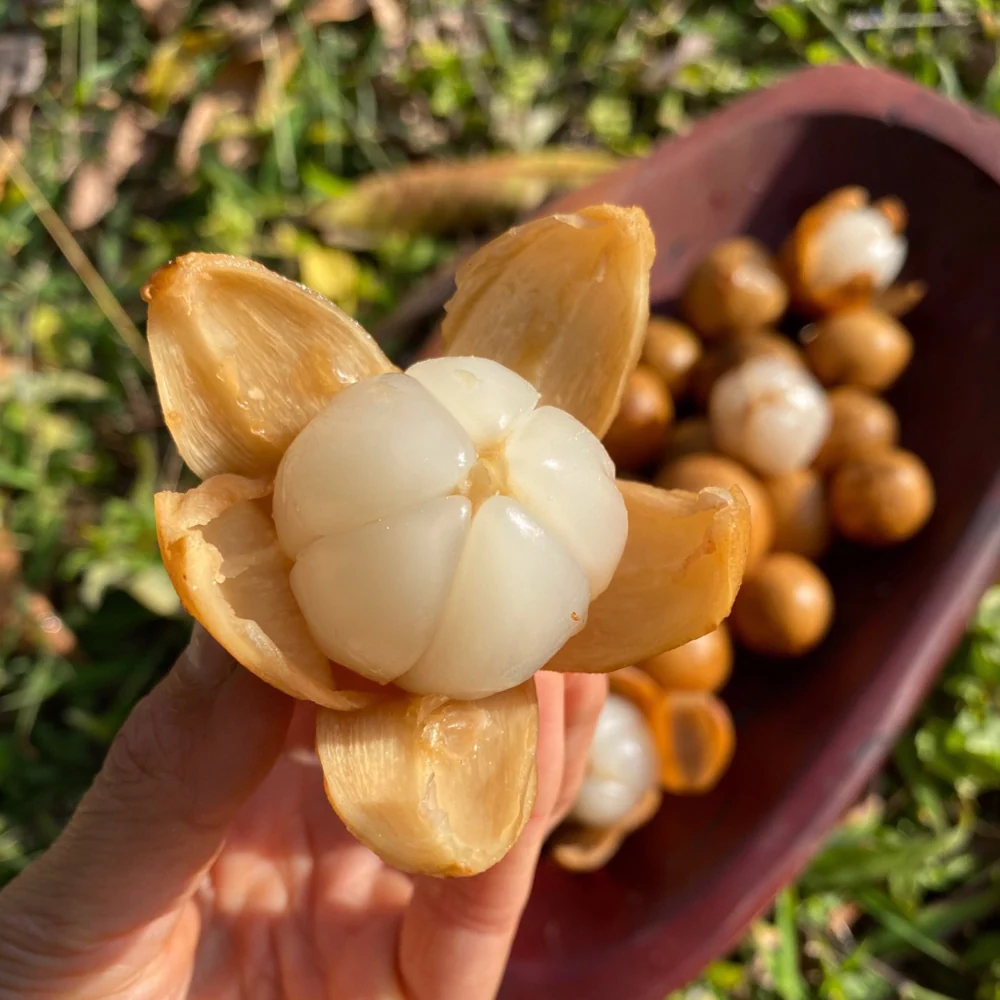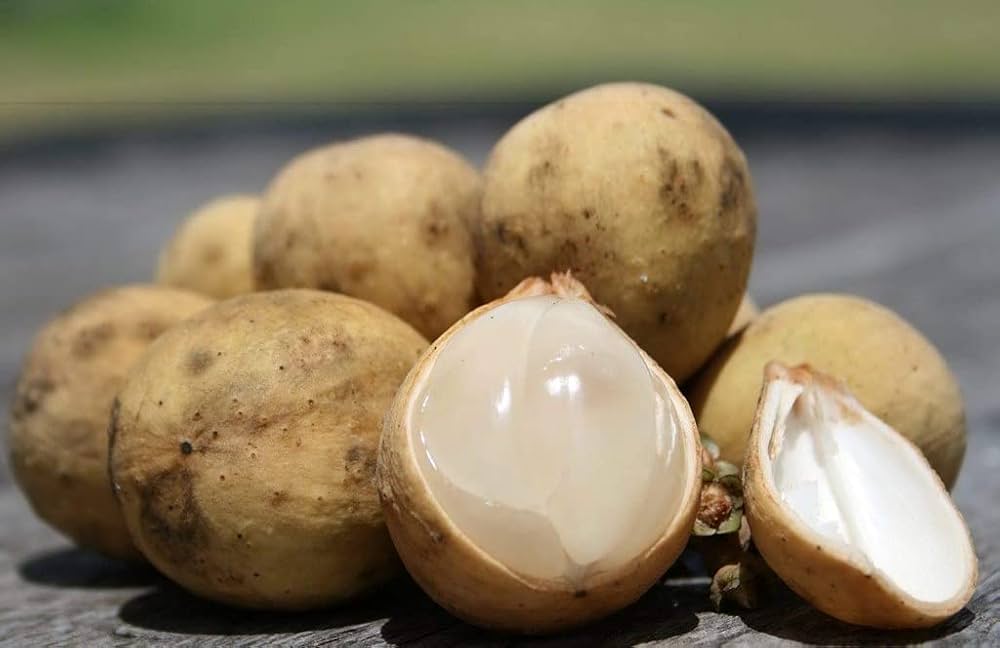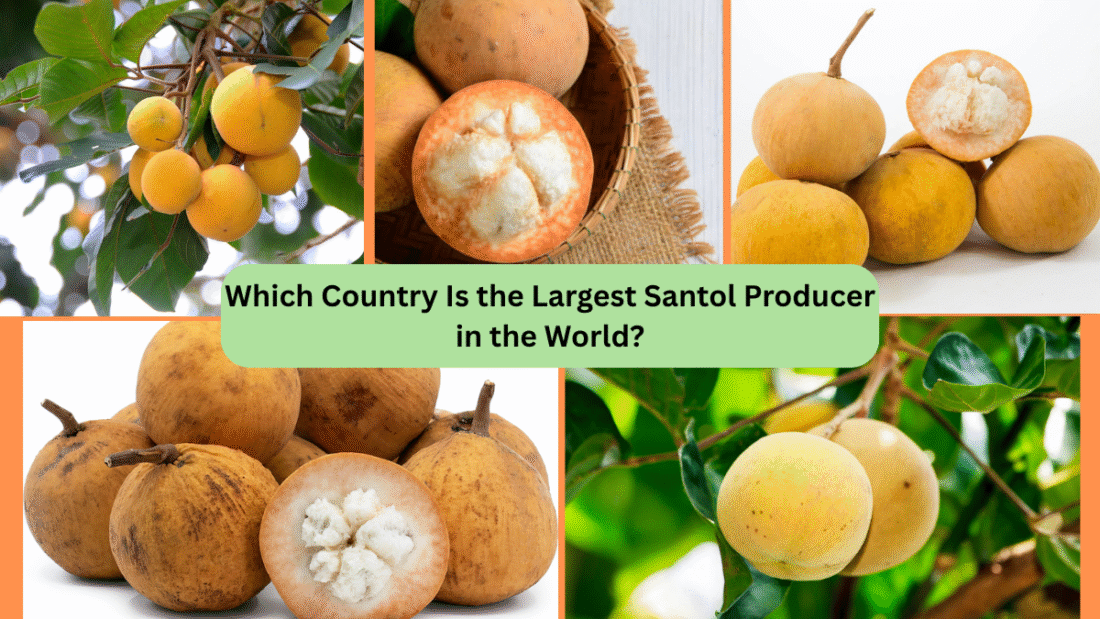
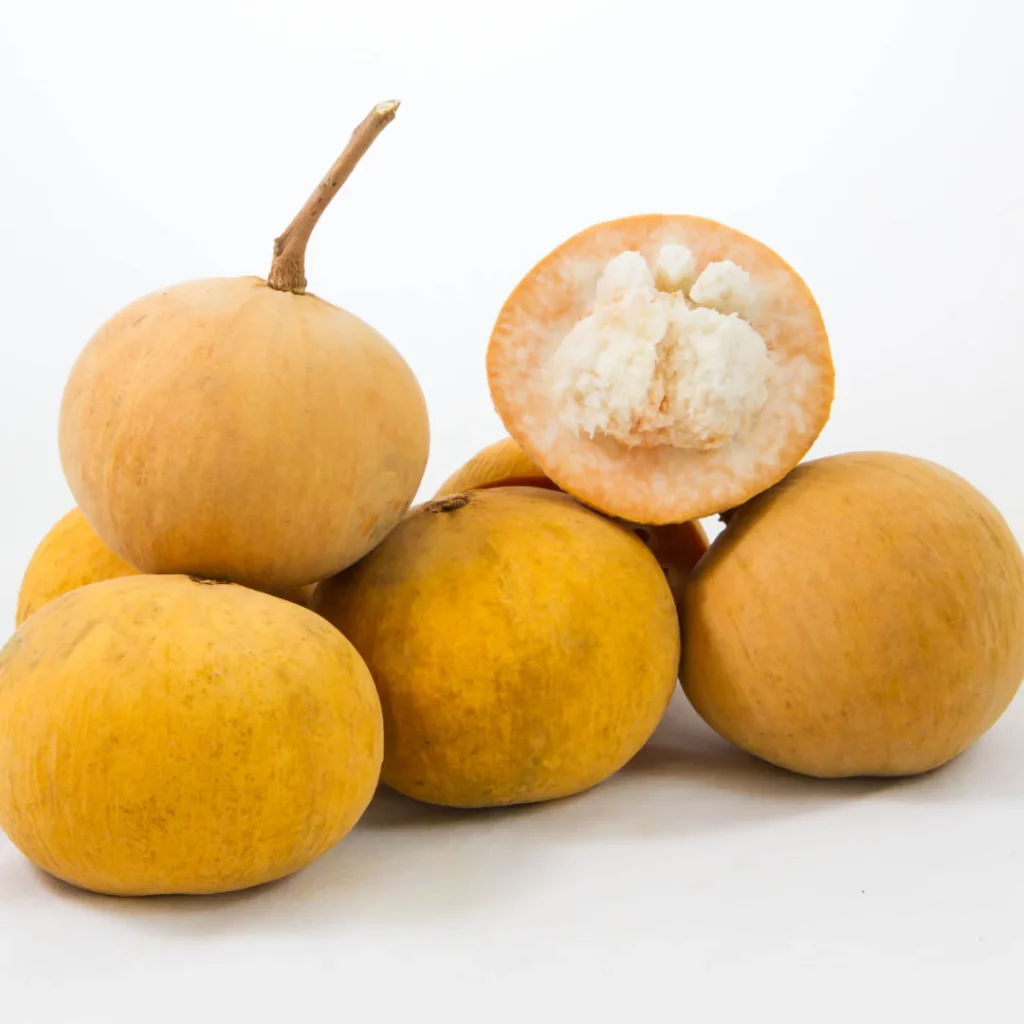
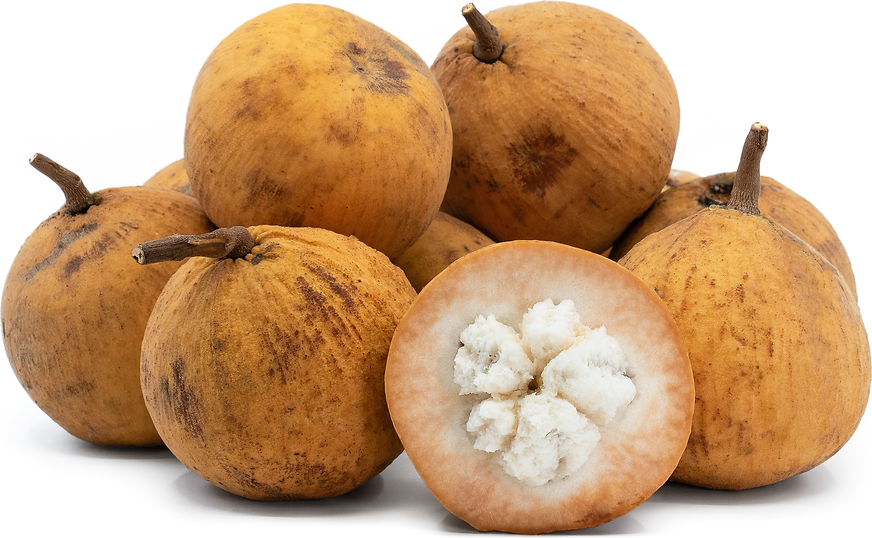
The tropical delight known as santol—also called cotton fruit, sentul, or sandorica—may not be a household name globally, but across Southeast Asia it’s beloved for its unique mix of sweet and sour flavors. With a creamy white pulp encasing large seeds and a leathery rind, santol adds character to everything from spicy salads and curries to refreshing snacks. But which country produces the most of this intriguing fruit?
While exact production data is limited across Southeast Asia, Thailand is widely regarded as the world’s largest commercial santol producer, followed closely by the Philippines. Here’s a deeper dive into why Thailand leads and how the santol story unfolds across the region.
What Is Santol?
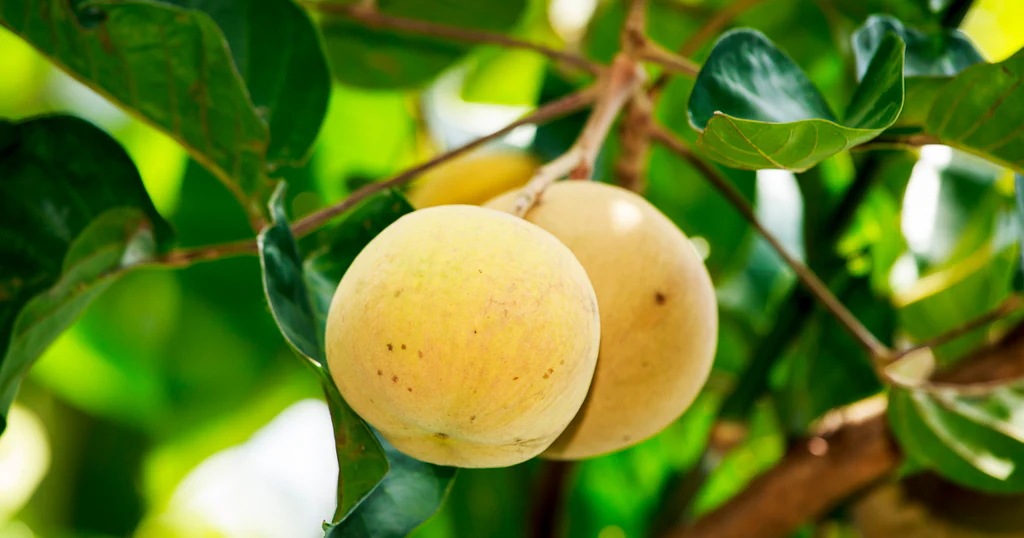
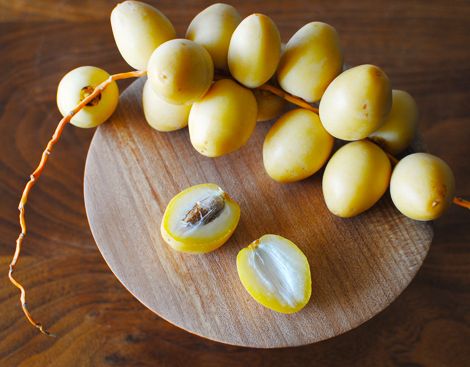
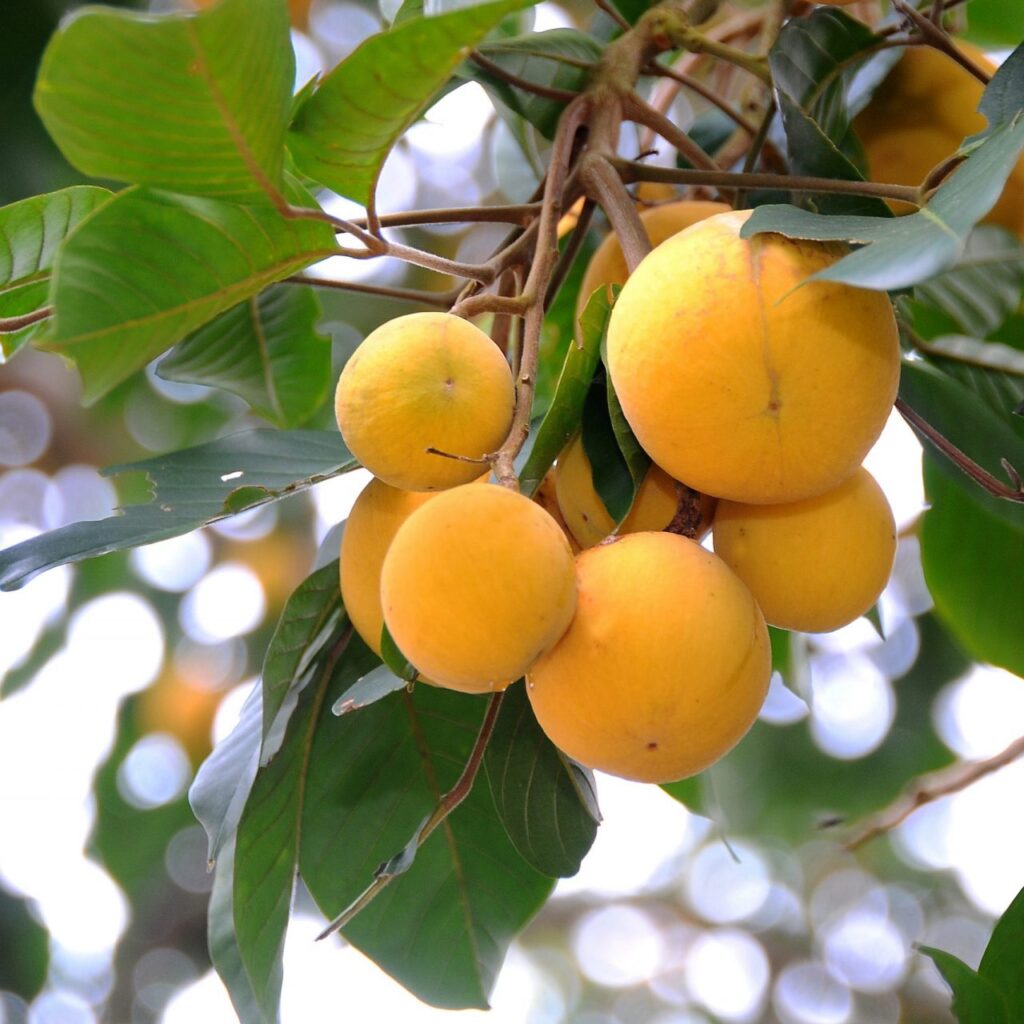
Santol (Sandoricum koetjape) is a tropical fruit native to Maritime Southeast Asia, particularly Malaysia, Indonesia, Cambodia, Laos, and Vietnam, before spreading into Thailand, the Philippines, and beyond itfnet.orgreddit.com+4en.wikipedia.org+4world-crops.com+4.
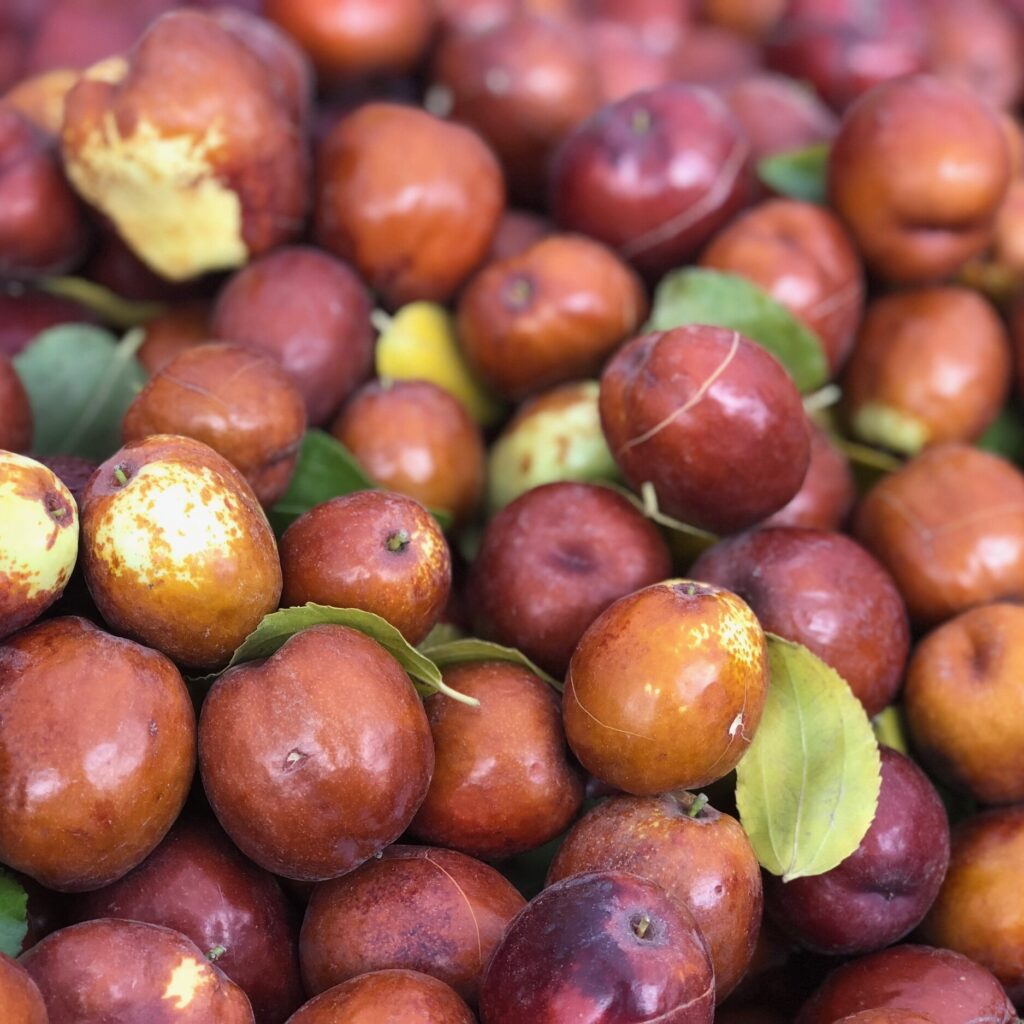
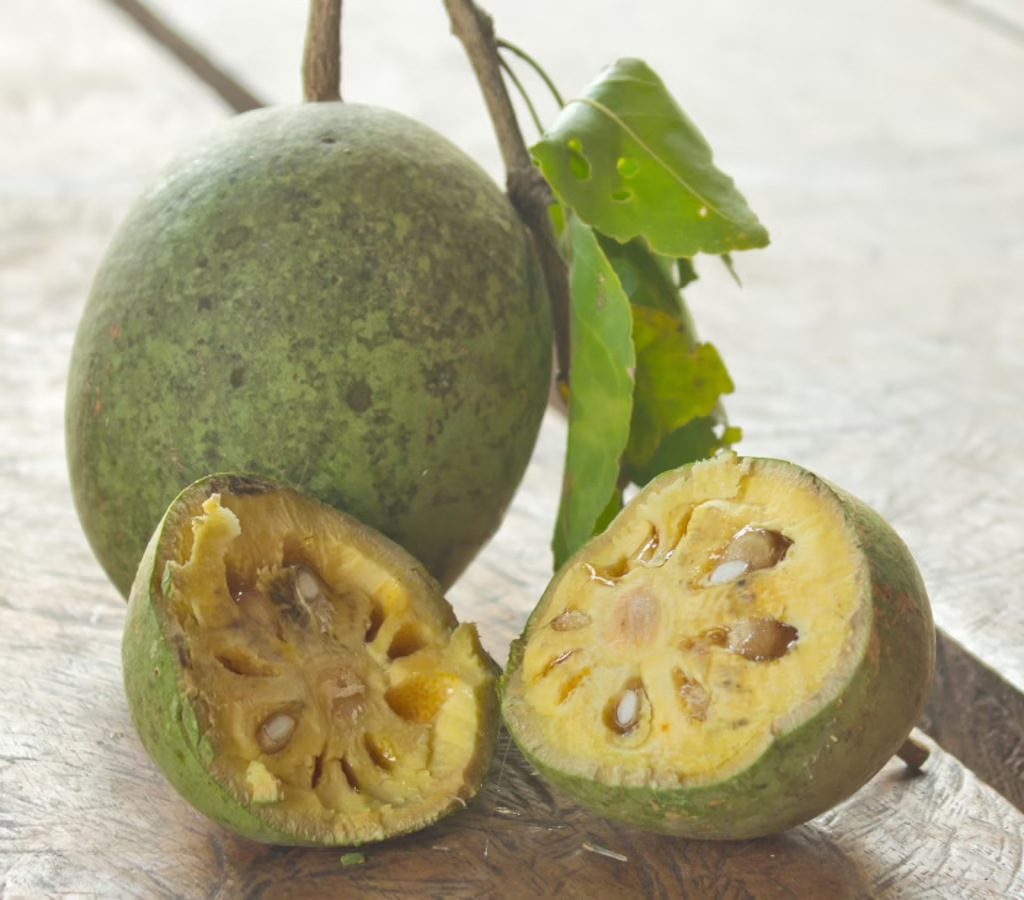
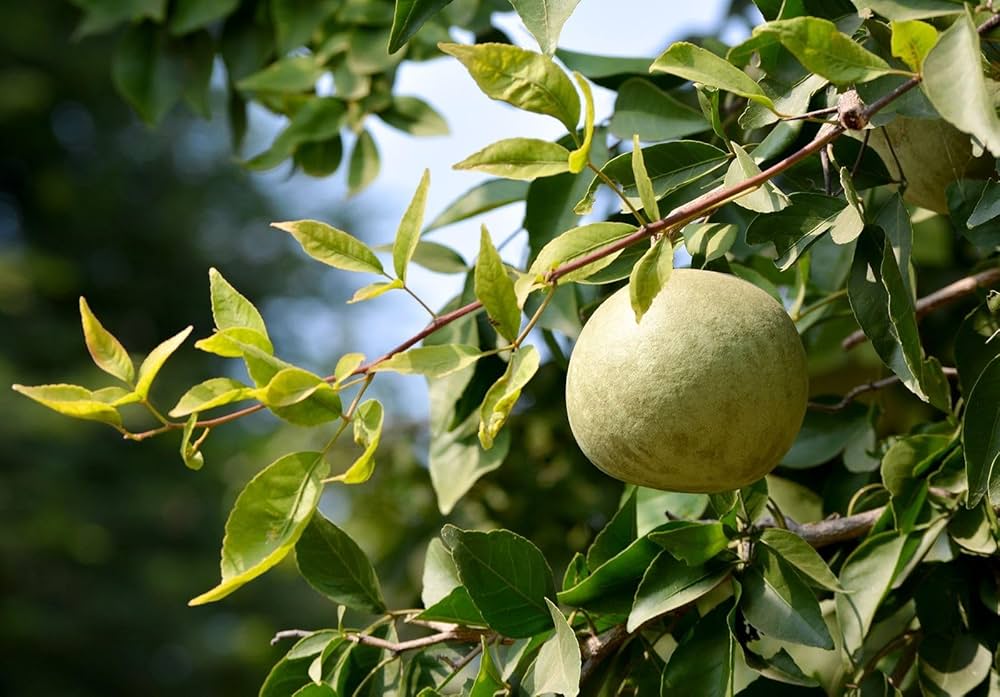
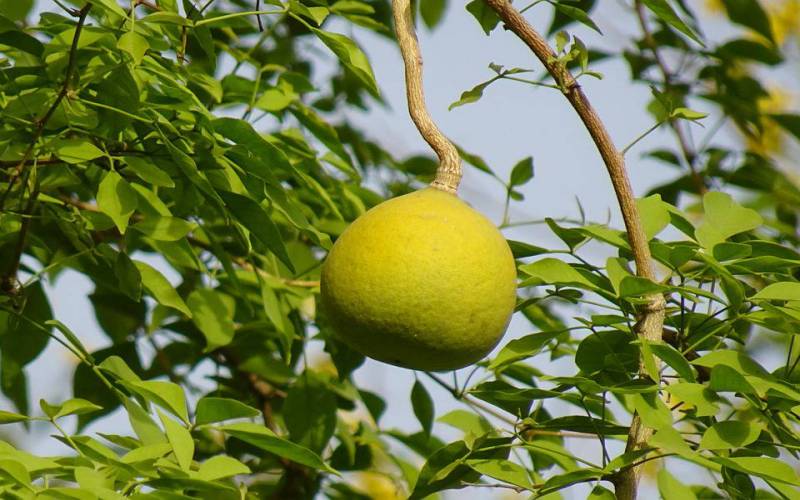
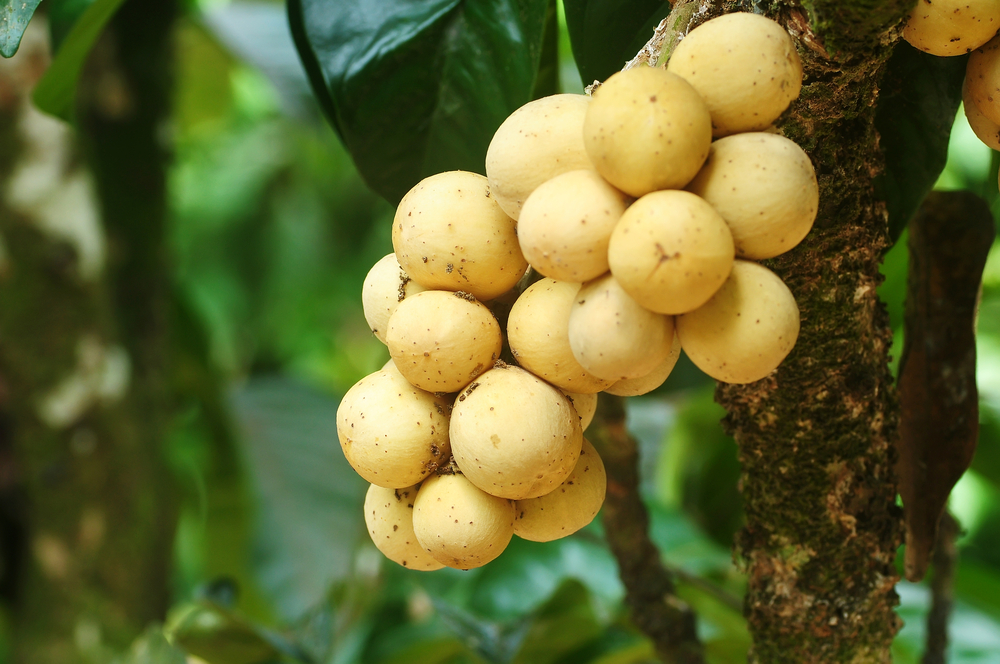
It grows on large evergreen trees, producing hundreds to thousands of fruits per mature tree annually—up to 24,000 fruits in ideal conditions specialtyproduce.com+2es.wikipedia.org+2en.wikipedia.org+2. Fruits range from 4–15 cm, ripening to yellow‑brown and housing creamy pulp eaten fresh or cooked specialtyproduce.com.
Thailand: Leading Santol Producer
Thailand has emerged as the largest commercial producer of santol due to:
Ideal Conditions & Varietal Innovation
Santol thrives in Thailand’s tropical climate, especially in southern and central regions like Lopburi Province en.wikipedia.org+15specialtyproduce.com+15itfnet.org+15. Indigenous varieties such as Pui Fai, Ela, Ruby, and the large, sweet Bangkok Santol, have been perfected through cultivation and breeding reddit.com+3specialtyproduce.com+3ovcre.uplb.edu.ph+3.
Culinary Integration
Thai cuisine incorporates santol in both savory and sweet dishes—som tam (green papaya salad), curries, stir-fries, sweets soaked in syrup, jams, and chili-sugar coated snacks .
Export-Oriented Farming
Thai growers follow Global G.A.P. standards and use careful harvesting and packaging to export santol fresh to Europe and other markets reddit.com+4thaifreshexpress.com+4world-crops.com+4.
Cultural & Seasonal Celebrations
Santol plays a part in local fruit festivals, celebrating its March–May and extended seasonal presence .
Philippines: Close Behind
The Philippines also grows santol extensively:
- Widely available in markets year-round, especially March–October reddit.com+4microdata.fao.org+4growables.org+4specialtyproduce.com.
- Warm-weather climate supports cultivation across Luzon, Visayas, and Mindanao .
- Featured in traditional dishes like sinantolan (santol cooked in coconut milk) and sinigang sa santol en.wikipedia.org+1specialtyproduce.com+1.
- Filipino farmers harvest wild and cultivated trees, numbering thousands per tree annually specialtyproduce.com+2en.wikipedia.org+2specialtyproduce.com+2.
- Loved by consumers—as one Redditor recalled, “nang bata pa ako… lalagyan tubig, asukal, yelo” ovcre.uplb.edu.ph+8reddit.com+8en.wikipedia.org+8.
Although smaller and more informal than Thailand’s commercial orchards, the Philippines produces a comparable volume, largely for domestic consumption.
Other Producers Across the Region
Santol is also grown—though on a smaller scale—in several countries:
- Malaysia, Indonesia, Cambodia, Laos, Vietnam, India, Sri Lanka, parts of Australia, and tropical Pacific Islands, often for local use rather than export itfnet.org+2husfarm.com+2thaifreshexpress.com+2ovcre.uplb.edu.ph+5world-crops.com+5es.wikipedia.org+5.
- In Puerto Rico and Hawaii, santol grows in gardens and select local farms reddit.com+4es.wikipedia.org+4reddit.com+4.
None match the scale and commercial infrastructure found in Thailand.
Why Thailand Leads
| Factor | Why It Matters |
|---|---|
| Climatic Advantage | Thailand’s climate supports commercial orchards and multiple harvests/year . |
| Cultivar Development | Select varieties like Pui Fai and Bangkok Santol outperform others . |
| Market Integration | Santol is entrenched in Thai cuisine, from street food to high-end dishes . |
| Export Readiness | With G.A.P. adherence, packaging quality, and logistics, Thailand exports santol internationally . |
| Cultural Celebration | Seasonal festivals raise awareness and consumption . |
Culinary & Nutritional Appeal
Santol is both tasty and nutritious:
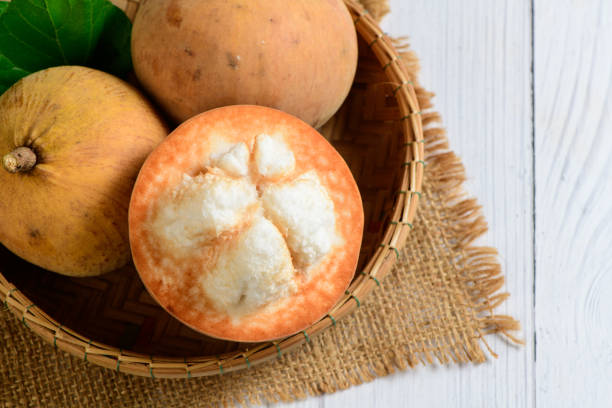
- Flavor profile: Creamy, sweet-tart, sometimes savory—resembled by one Thai fan as “savory, earthy” with basil-like notes .
- Nutritional value: High in vitamin C, fiber, iron, potassium, calcium, magnesium, folate, and B vitamins .
- Health uses: Traditional remedies use santol bark and rind for digestive issues, inflammation, infections, and skin ailments specialtyproduce.com.
- Culinary versatility: Eaten fresh with dip, cooked in curries, turned into jams, candied, or used in beverages .
Challenges and Opportunities
Challenges
- Seasonal window: Mostly available March–May or through mid-year .
- Seed hazards: Ingestion of seeds can cause harmful intestinal blockage stuartxchange.com+9en.wikipedia.org+9reddit.com+9.
- Short shelf life: Pulp spoils quickly—requires care in harvesting and packing .
Opportunities
- Productization: Candy, dried pulp, jams, and extracts offer value-added potential en.wikipedia.org.
- Global market expansion: Santol’s unique flavor could appeal in wellness, exotic fruit, and gourmet spheres.
- Branding and tourism: Fruit festivals and spa/culinary branding could enhance its value.
The Verdict
While santol grows across tropical Southeast Asia, Thailand stands out as the leading producer—due to its year-round cultivation, agronomic sophistication, export systems, and culinary prominence. The Philippines follows closely with strong local production and cultural adoption, but Thailand’s commercial base gives it the edge.
In Conclusion
Thailand’s santol is more than just a fruit—it’s a cultural gem, agricultural success, and a growing commodity. As consumer curiosity grows for exotic, nutrient-rich foods, santol’s tangy-creaminess and traditional roots may well push it onto the global stage.
Would you like a snappy SEO title, meta description, or social media captions to accompany this article? I’d be happy to help!