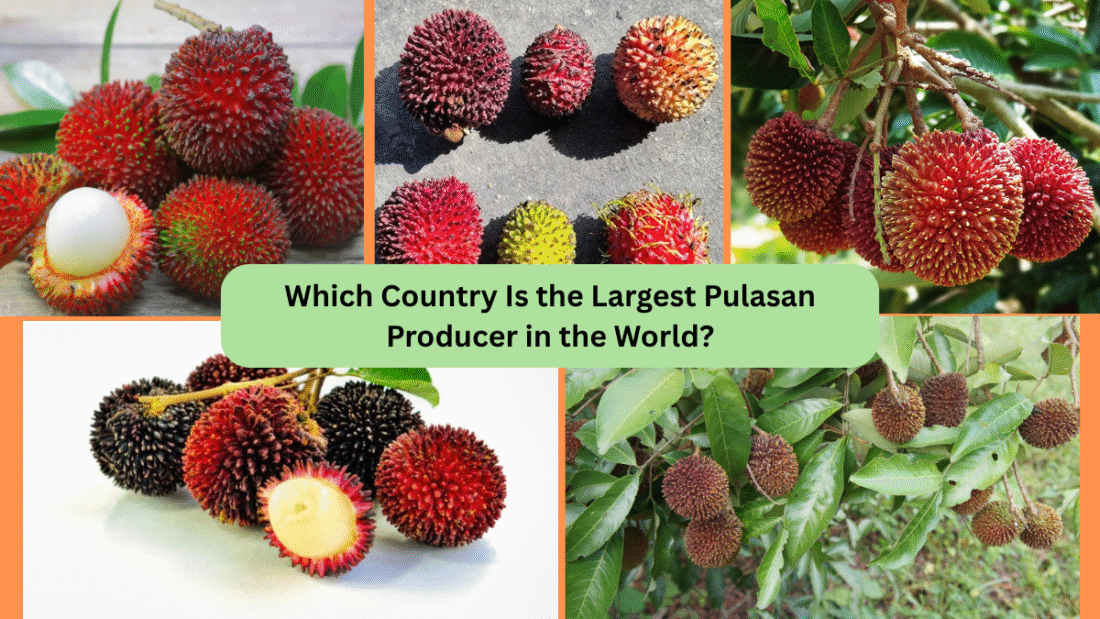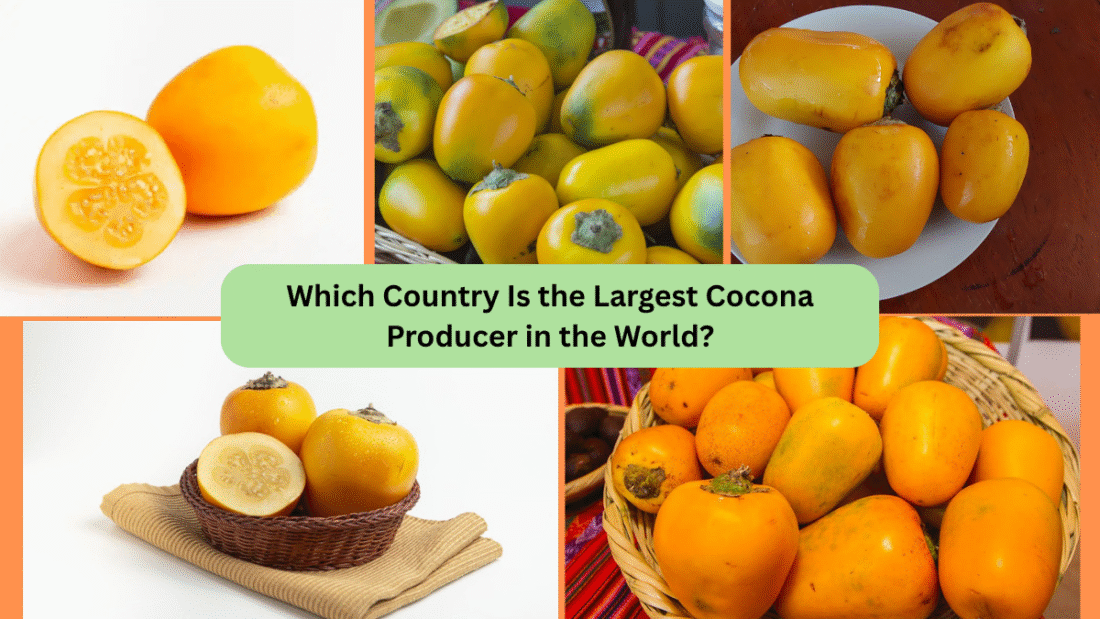
Among the many fruits cultivated and cherished across the globe, the Indian Fig — commonly known as prickly pear — holds a special place. Known for its succulent, sweet flavor and nutritional benefits, this versatile fruit thrives in arid and semi-arid climates, where other fruits might struggle. But have you ever wondered which nation leads the world in the production of this resilient and valuable fruit?
In this detailed article, we’ll explore the origins, botanical characteristics, uses, and — most importantly — identify the largest producer of Indian Fig in the world. Along the way, you’ll learn about its cultural, culinary, and economic significance in different parts of the globe.
What Is Indian Fig?

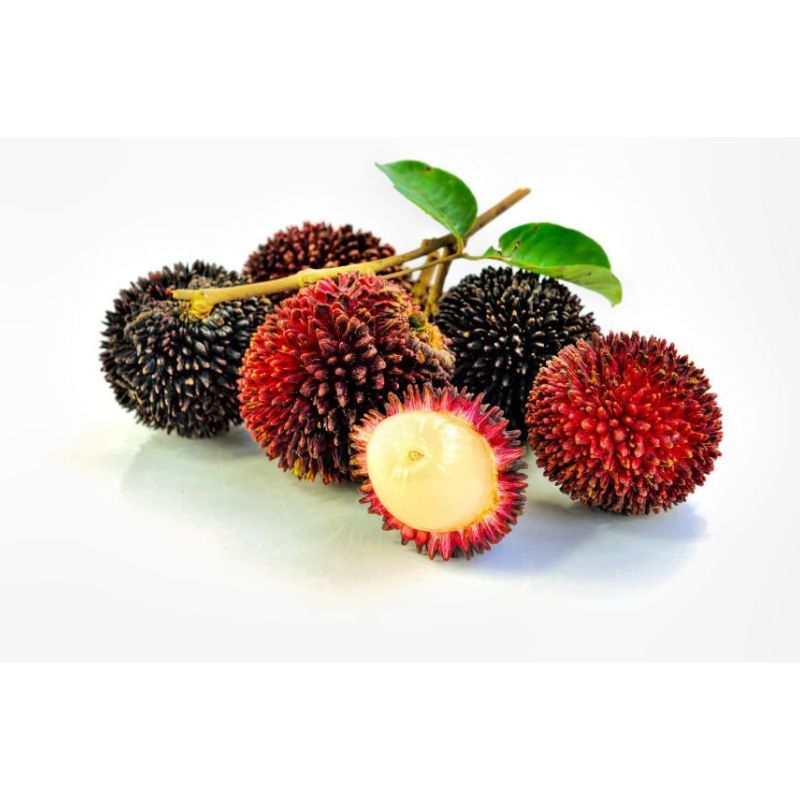
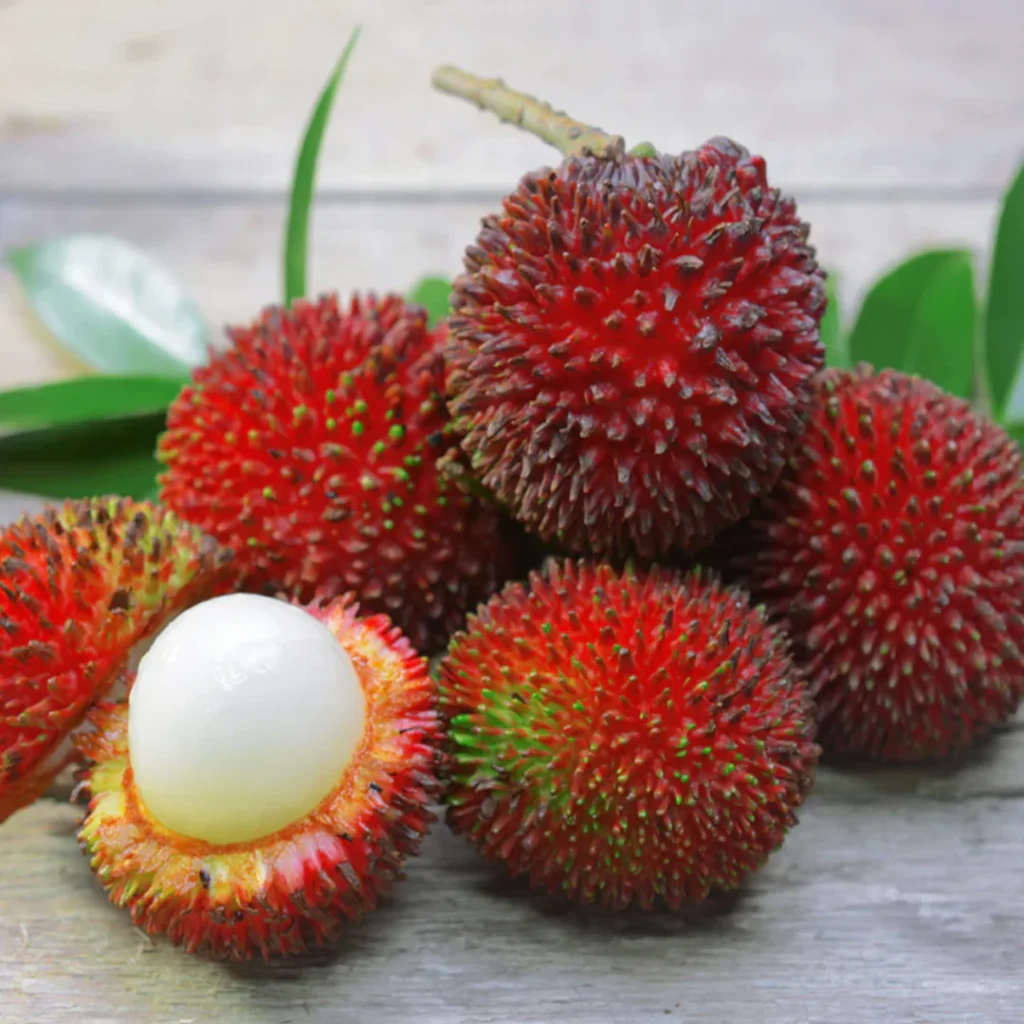
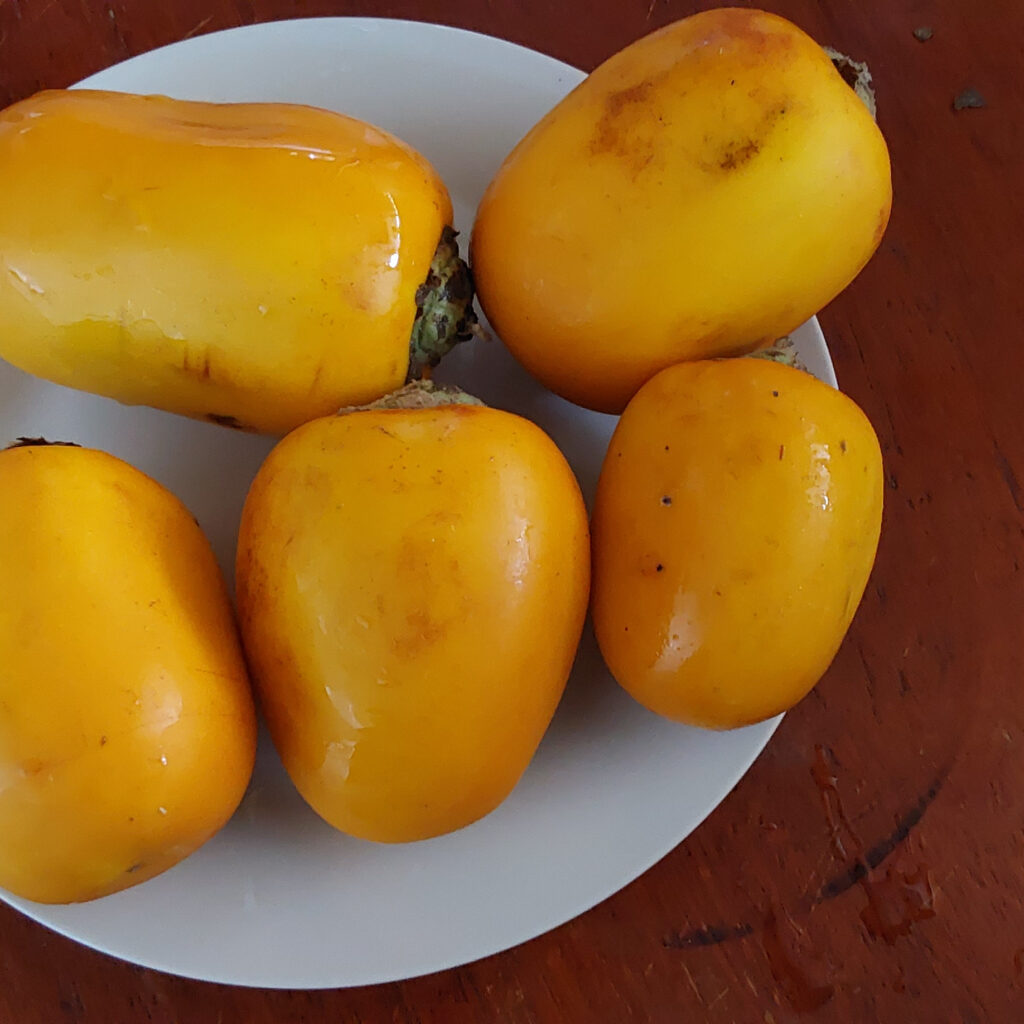
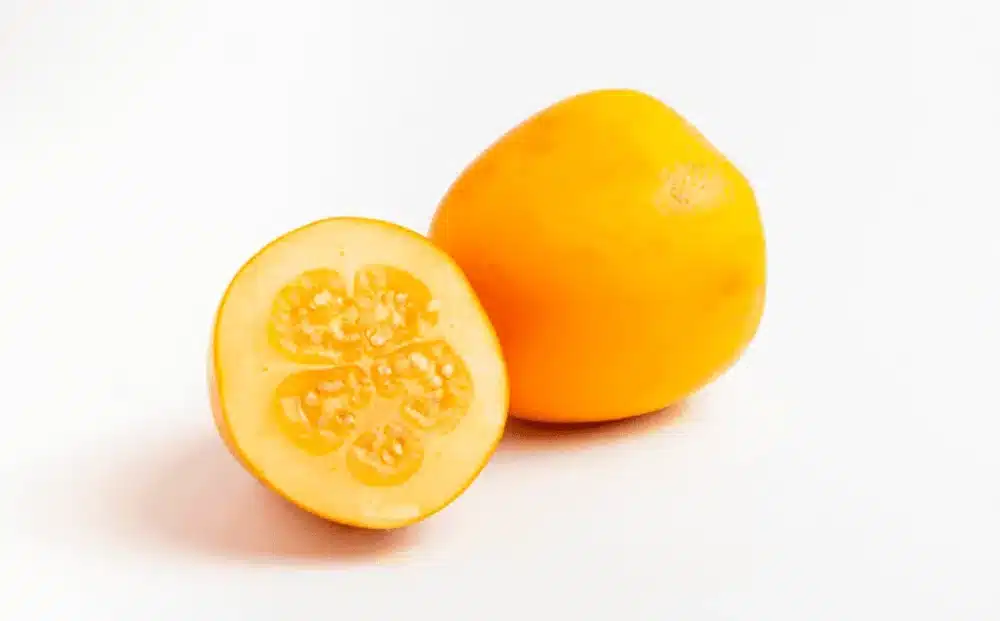
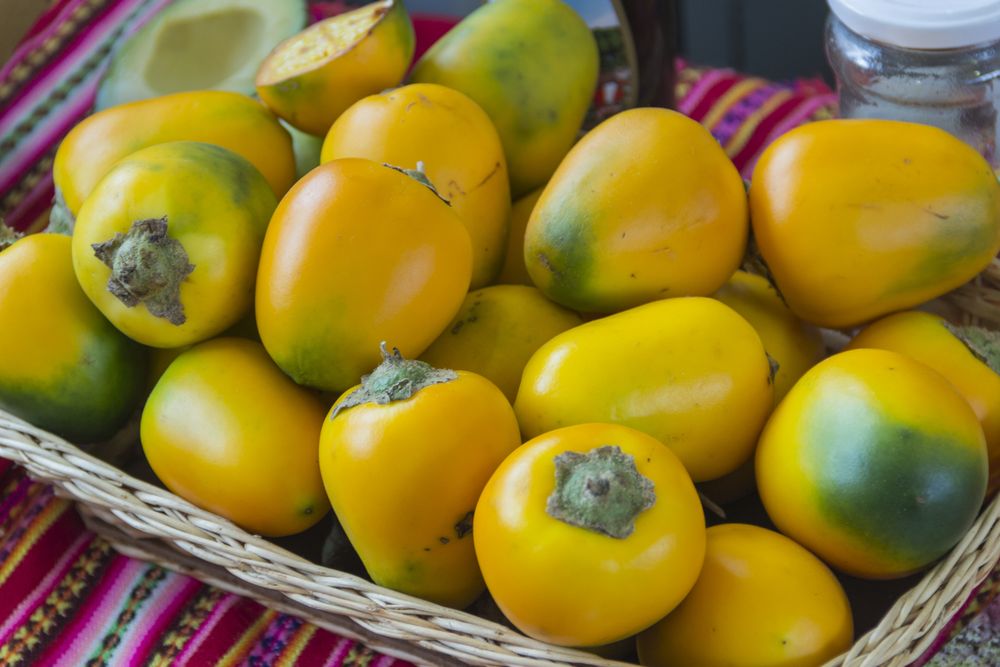
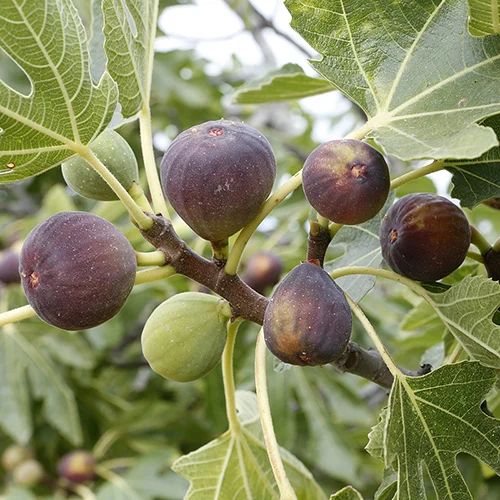
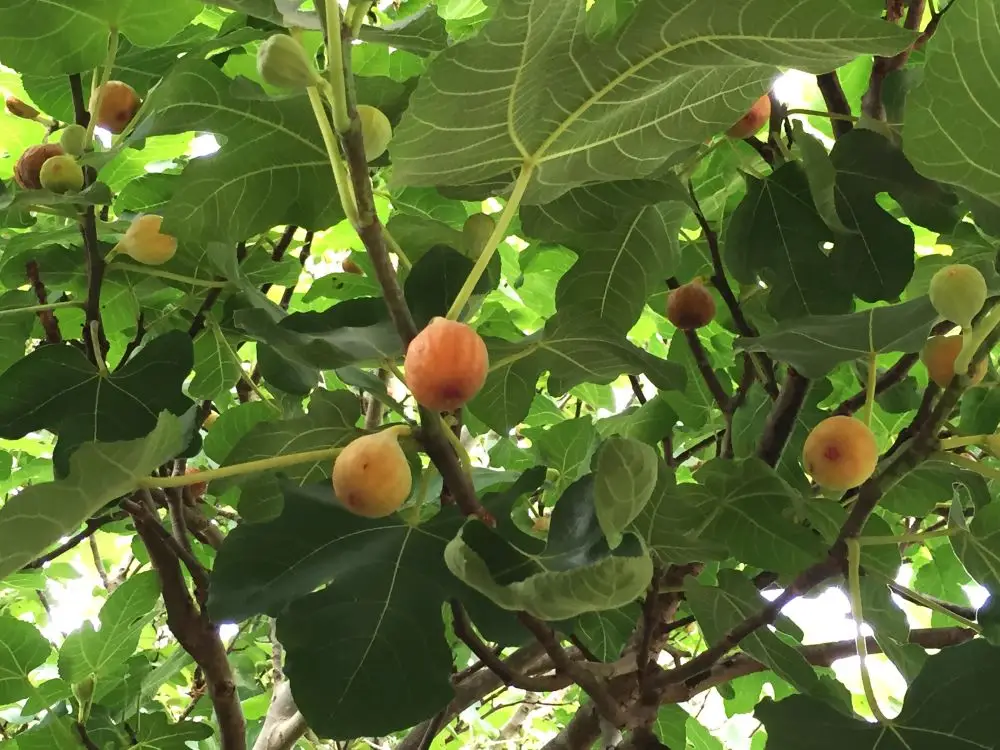
The Indian Fig, scientifically known as Opuntia ficus-indica, is a species of cactus native to Mexico. Despite its name, the fruit isn’t originally from India but gained its moniker through trade routes and colonial references.
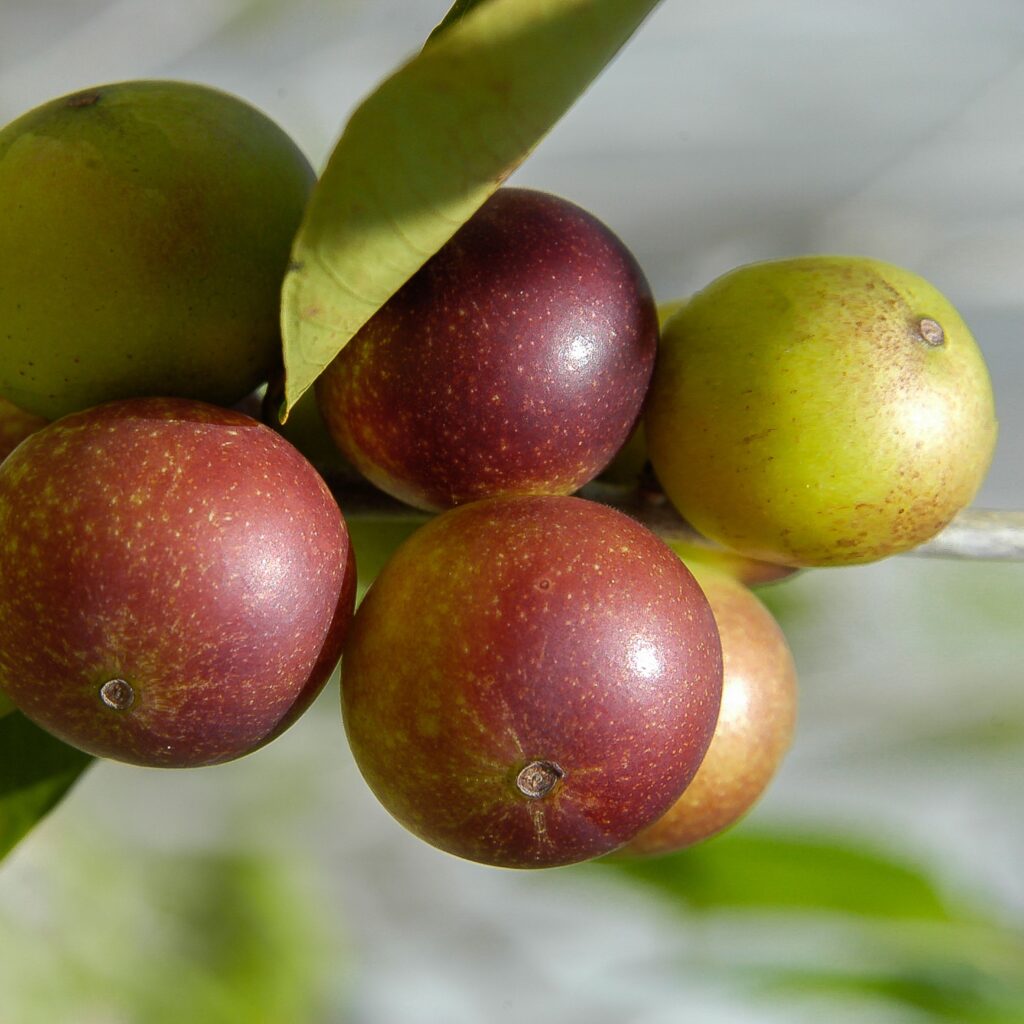
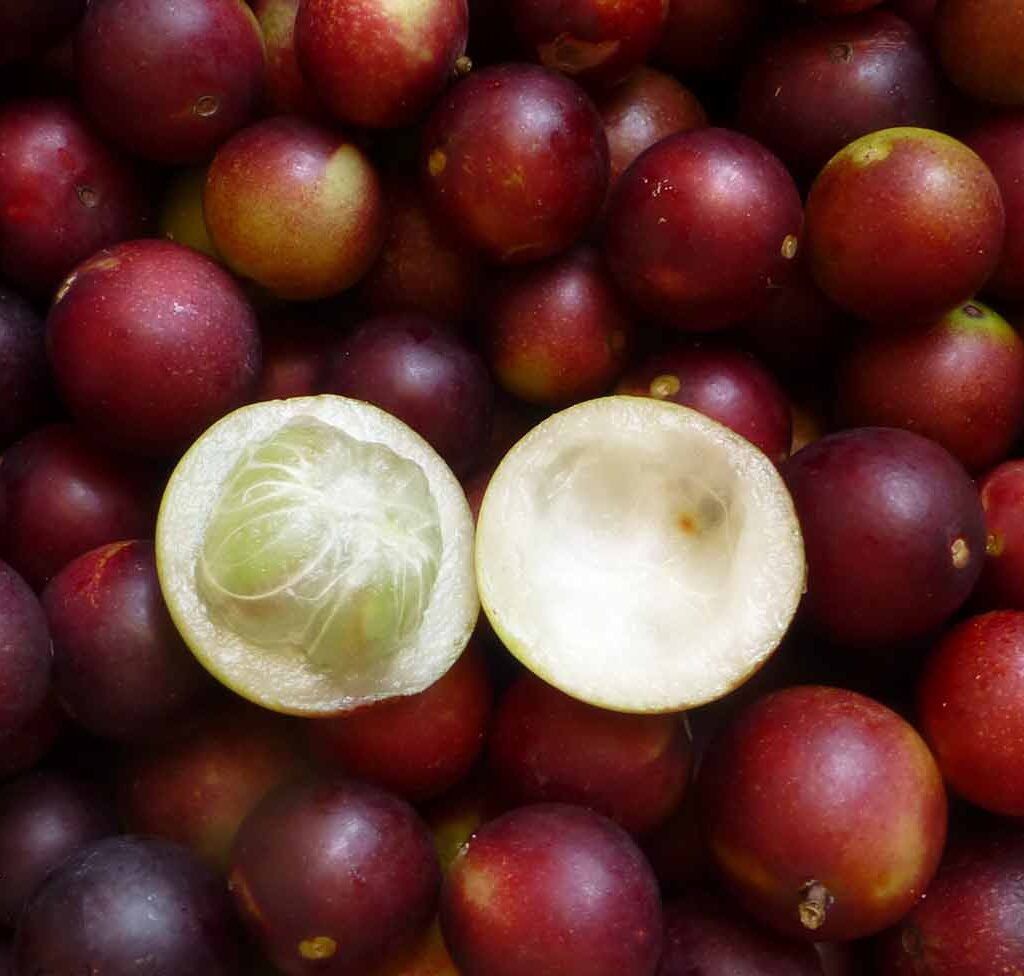
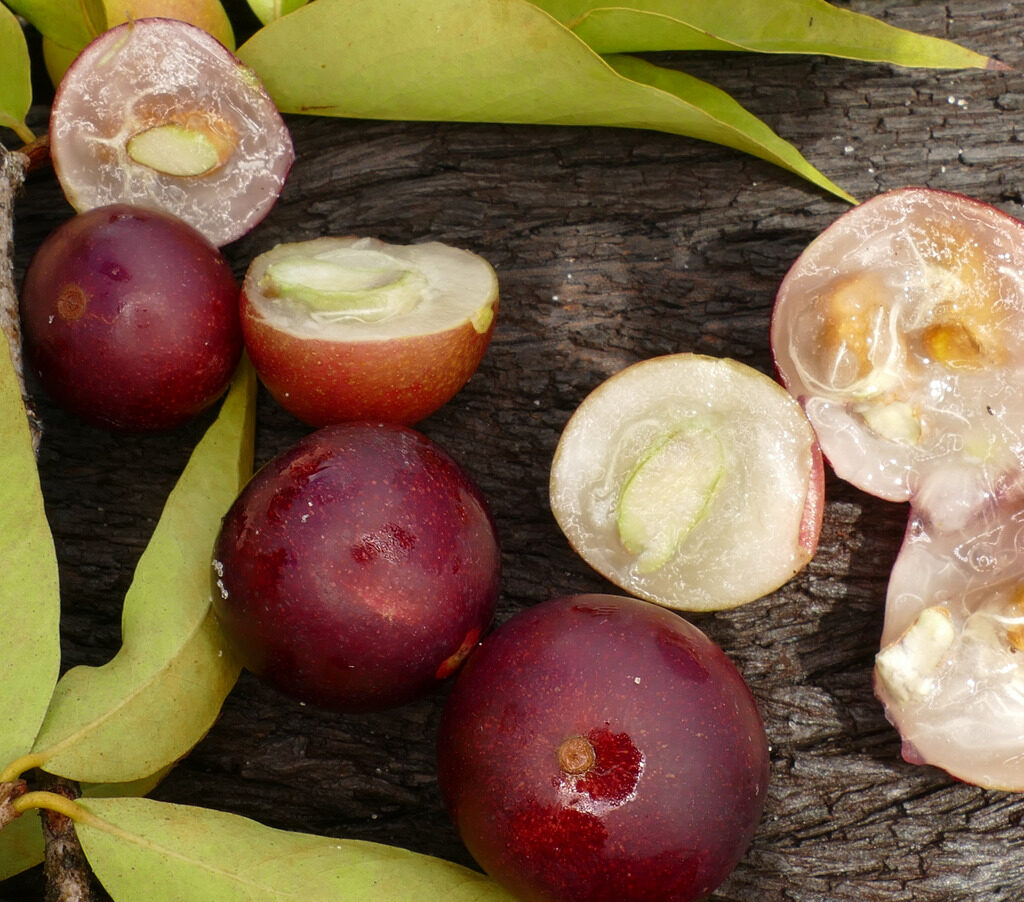
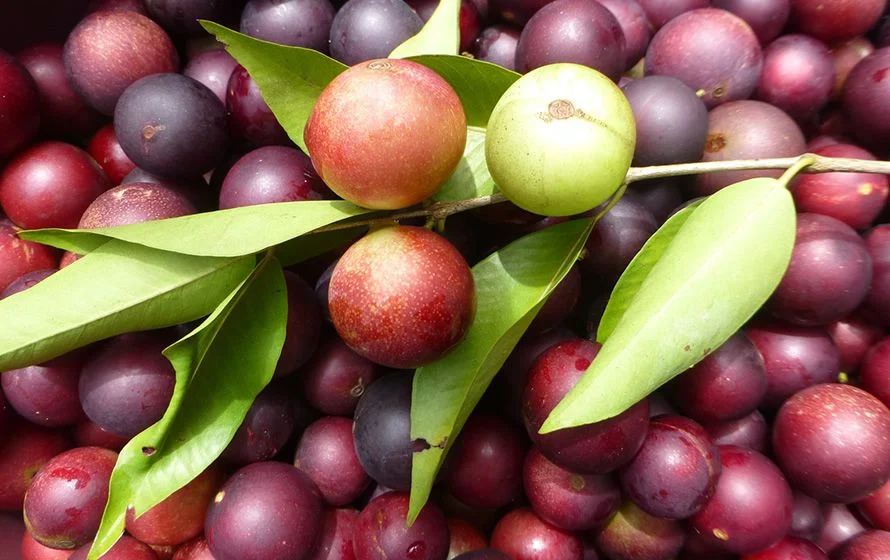
The plant is characterized by its thick, flat, paddle-shaped cladodes (commonly referred to as cactus pads) and its colorful, spiny fruits, which range in color from green and yellow to deep red and purple when ripe. The fruit, often called prickly pear, is valued for its mildly sweet pulp, edible seeds, and medicinal properties.
Historical Background
The Indian Fig cactus has a rich history that dates back thousands of years to pre-Columbian Mexico, where indigenous civilizations like the Aztecs and Mayans cultivated it for food, medicine, and dye production. Spanish explorers later introduced the plant to other parts of the world, including India, Africa, the Middle East, and the Mediterranean.
Today, it flourishes in semi-arid and desert climates, where it serves as an important food source, livestock fodder, and soil erosion control plant.
Global Cultivation of Indian Fig

Indian Fig is now cultivated in numerous countries thanks to its adaptability to poor, dry soils and minimal water requirements. Major producing countries include:
- Mexico
- India
- Tunisia
- Italy
- Egypt
- Morocco
- South Africa
- United States (California and Arizona)
- Brazil
- Algeria
Each country cultivates Indian Fig for varying purposes, including fresh fruit, dried products, juices, jams, medicinal extracts, and even cosmetic applications.
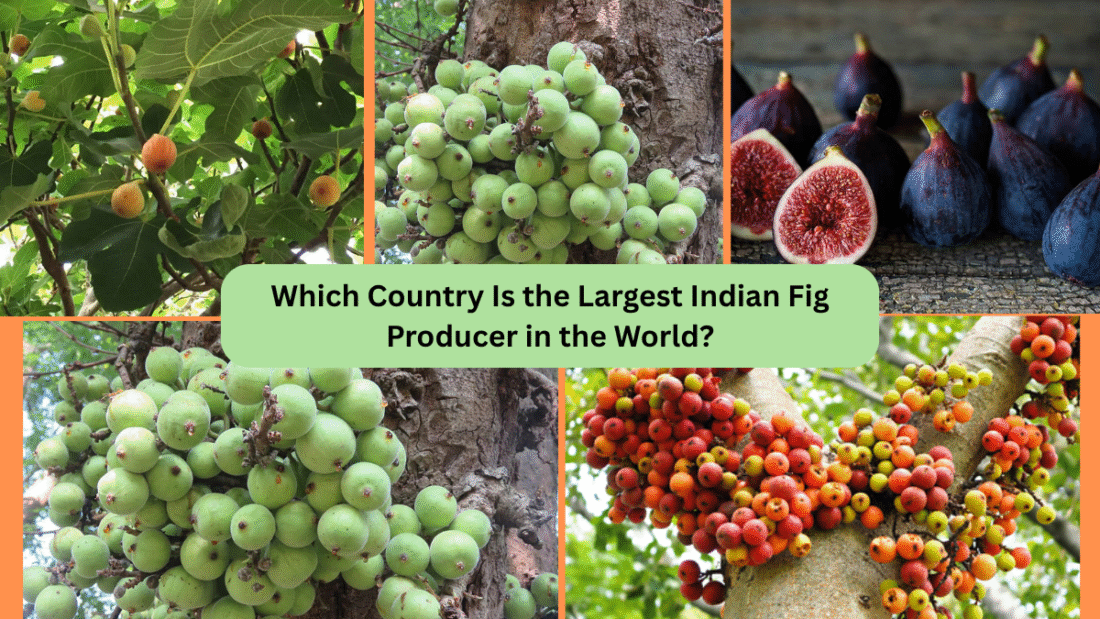
Which Country Is the Largest Producer?
After extensive agricultural research and industry analysis, it’s clear that Mexico holds the title as the largest producer of Indian Fig in the world.
Why Mexico Leads the World:
- Native Origin and Cultural Heritage:
As the birthplace of the Indian Fig cactus, Mexico has centuries of experience cultivating and utilizing this resilient plant. It plays a central role in the nation’s agriculture, diet, and traditional medicine. - Ideal Growing Conditions:
Mexico’s vast semi-arid regions, such as Zacatecas, Puebla, Hidalgo, and San Luis Potosí, offer perfect conditions for large-scale Indian Fig cultivation. The plant thrives in dry, rocky, and nutrient-poor soils with little rainfall. - High Domestic and International Demand:
In Mexico, Indian Fig is a dietary staple and is widely consumed fresh, in candies, beverages, jams, and traditional dishes. Additionally, Mexico exports significant quantities to the United States, Europe, and Asian markets. - Extensive Agricultural Infrastructure:
The country has well-developed systems for cultivating, harvesting, processing, and distributing Indian Fig products, ranging from fresh fruit to cosmetics and medicinal extracts. - Government Support and Research:
Mexican agricultural authorities actively promote Indian Fig production due to its drought resistance and potential to provide income in arid regions, investing in research and export promotion.
Other Major Producers
Though Mexico dominates, several other countries play important roles in global Indian Fig production:
India:
Despite the misleading name, India isn’t the largest producer but has significant regional cultivation, especially in Maharashtra, Gujarat, Tamil Nadu, and Rajasthan. Here, the plant is primarily used for its drought-resistant properties, fruit, and medicinal applications.
Tunisia:
Tunisia is one of the leading producers in Africa, with vast plantations primarily in the Kasserine and Sidi Bouzid regions. Tunisian Indian Figs are prized for their sweetness and are used in jams, juices, and syrups.
Italy:
Particularly in Sicily, Indian Fig (called fico d’India) is an important part of local cuisine and culture. Italian varieties are known for their bright colors and delicate sweetness.
Egypt and Morocco:
Both countries have increasingly large plantations and are investing in Indian Fig for food security and environmental reasons, especially in combating desertification.
United States:
In California and Arizona, Indian Fig is cultivated on a smaller scale, mainly for niche markets, health food stores, and gourmet restaurants.
Uses of Indian Fig
The versatility of Indian Fig has made it invaluable across cultures. Its uses include:
1. Culinary Uses
- Consumed fresh
- Used in fruit salads, smoothies, and jams
- Ingredient in traditional Mexican candies and syrups
- Juices and alcoholic drinks like colonche (a traditional Mexican fermented beverage)
2. Medicinal Applications
Traditional medicine uses the fruit and cladodes for:
- Treating diabetes and lowering blood sugar
- Soothing inflammation and ulcers
- Relieving hangovers
- Supporting digestion
3. Cosmetic and Skincare Products
Indian Fig seed oil, known for its anti-aging and hydrating properties, is an ingredient in luxury skincare items.
4. Environmental and Agricultural Uses
- Acts as a natural barrier against desertification
- Used as livestock fodder in arid regions
- Helps retain soil moisture and prevent erosion
Cultivation Challenges
Despite its drought tolerance, cultivating Indian Fig comes with its challenges:
- Susceptibility to Cochineal Insects: While cochineal insects are farmed for natural dye, uncontrolled infestations can damage plants.
- Fungal Diseases: Certain fungal infections can affect fruit yield.
- Labor-Intensive Harvesting: The presence of spines requires careful handling during harvesting.
Nonetheless, experienced growers in Mexico have developed time-tested techniques to manage these issues effectively.
Future Outlook
Global demand for Indian Fig is steadily rising due to its nutritional value, climate resilience, and health benefits. It’s increasingly popular in health-conscious markets in North America, Europe, and Asia.
Mexico is well-positioned to maintain its leading role, thanks to:
- Expanding export markets
- Improved farming practices
- Value-added products like juices, supplements, and cosmetics
Other countries like India, Tunisia, and Morocco are also investing in increasing production and export capacities.
Conclusion

The Indian Fig or prickly pear is much more than a desert plant. It’s a symbol of resilience, nutrition, and tradition. While many countries cultivate and cherish this fruit, Mexico stands tall as the world’s largest producer, owing to its rich history, ideal growing conditions, high domestic consumption, and expanding international market.
As global interest in sustainable and health-beneficial fruits continues to grow, the Indian Fig’s future looks bright, and Mexico is poised to remain at the heart of its worldwide cultivation and trade.
Would you like a formatted version of this article with SEO-optimized headings, meta description, and image suggestions for web use? I’d be happy to create that for you as well — just say the word!Tools