Among the array of vibrant berries cherished across Europe and beyond, redcurrants hold a special place for their glossy, bright-red appearance and their tart, refreshing flavor. Packed with antioxidants, vitamin C, and unique culinary versatility, redcurrants are a staple ingredient in jams, jellies, desserts, sauces, and even beverages.
But which nation leads the world in producing this exquisite berry? In this article, we’ll uncover which country is the largest redcurrant producer in the world, along with a deep dive into the fruit’s origins, cultivation practices, uses, health benefits, and global market dynamics.
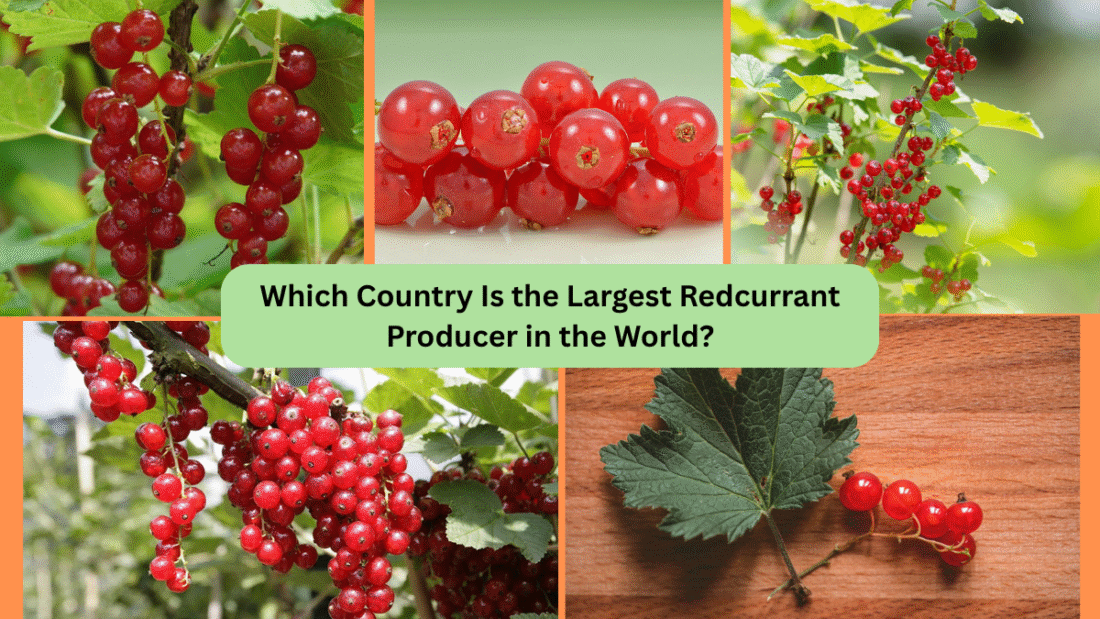
What Are Redcurrants?

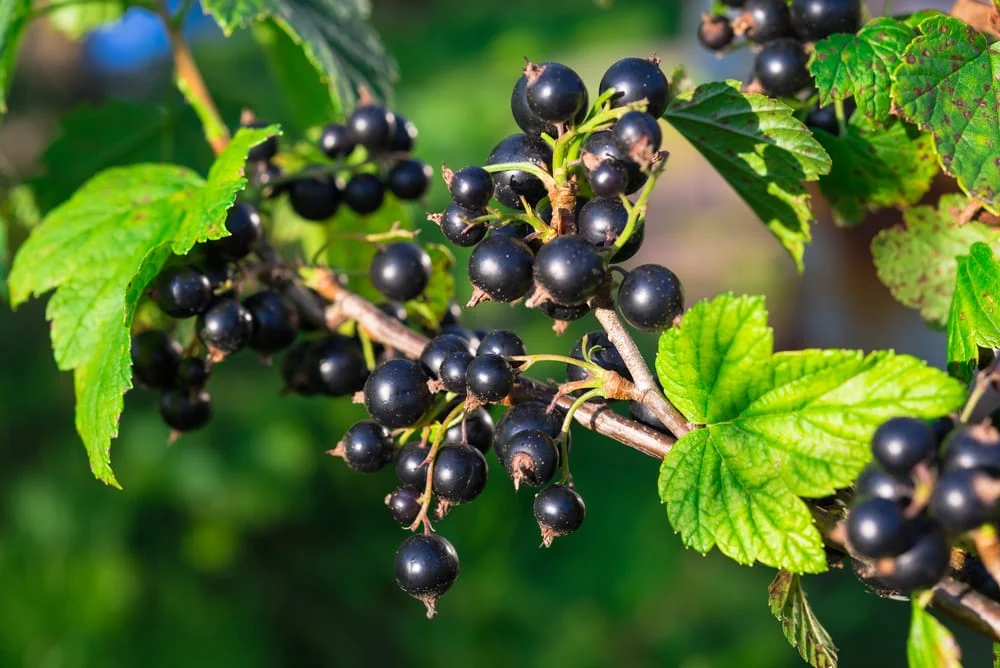
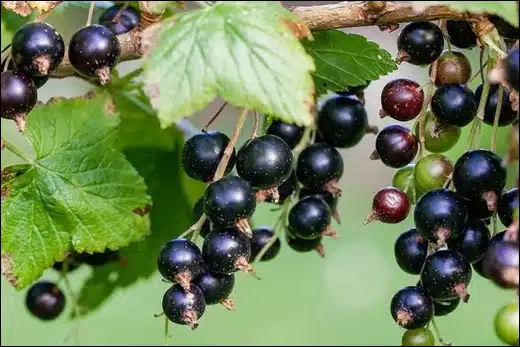
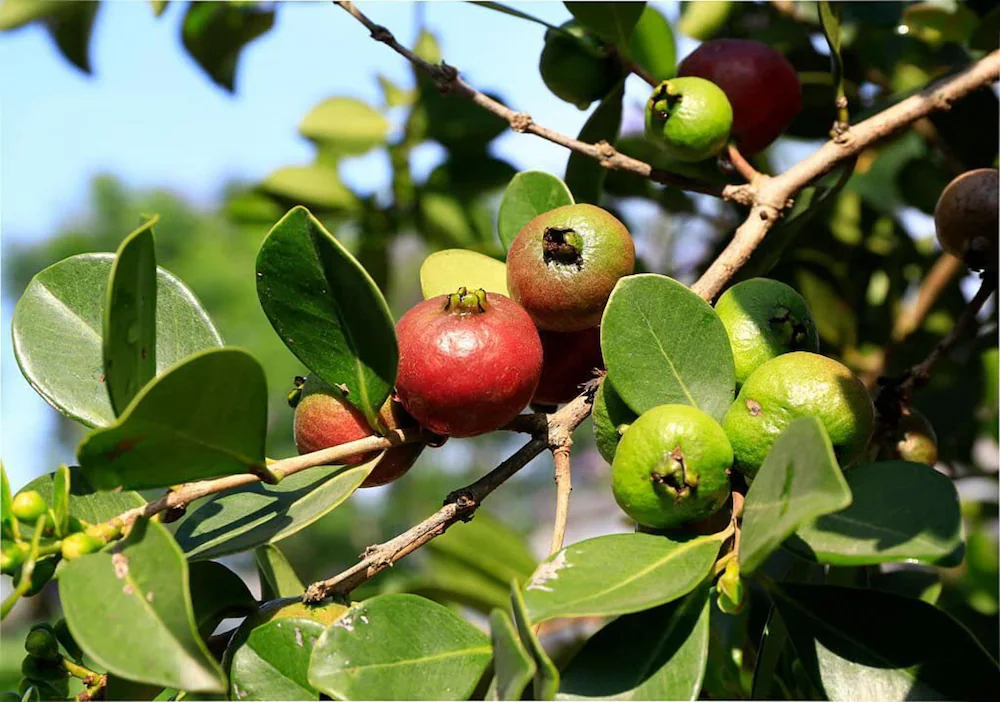
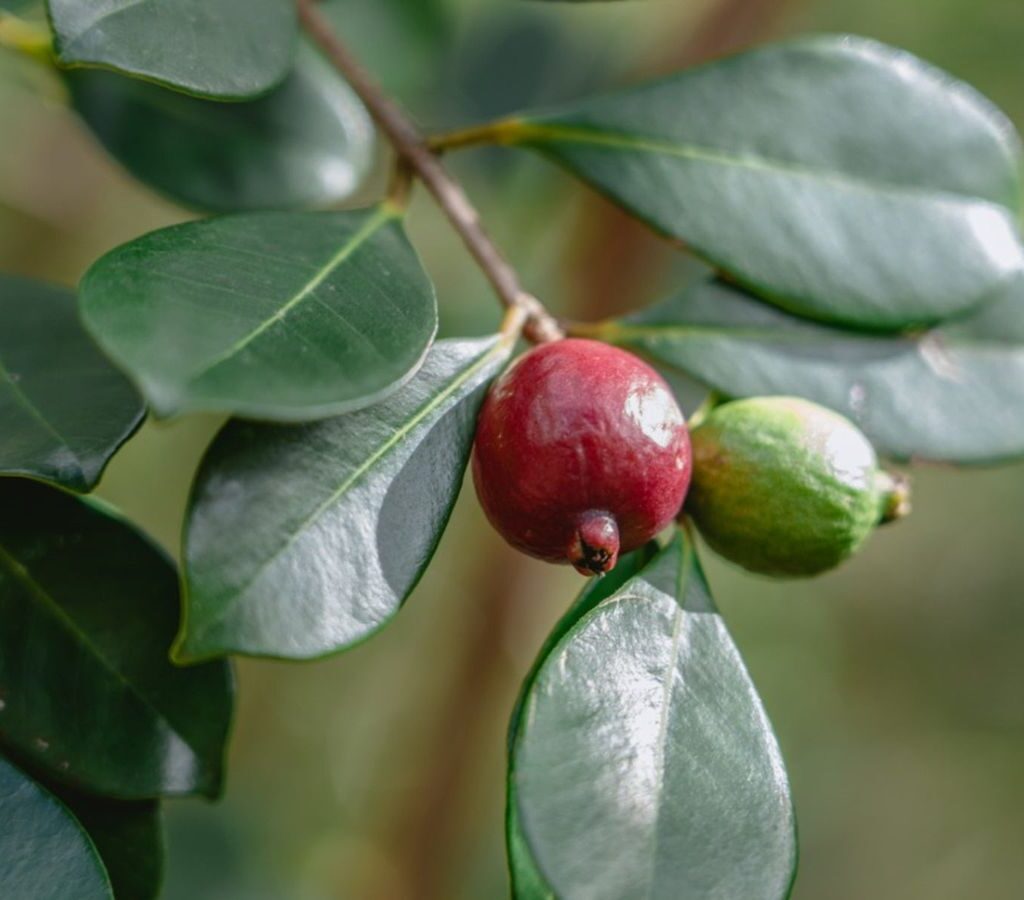
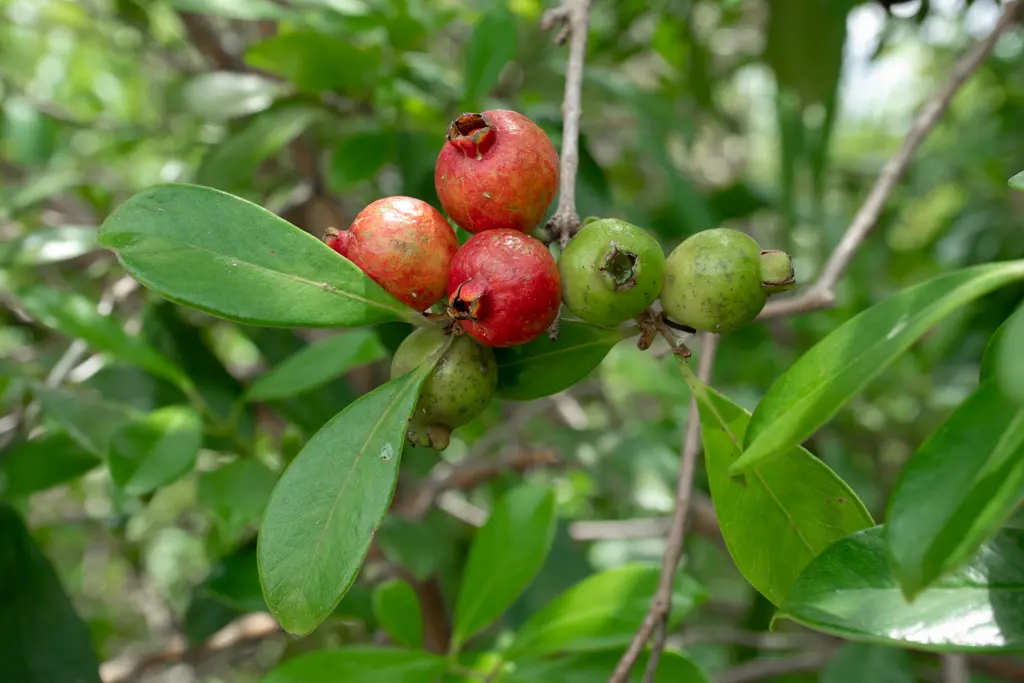
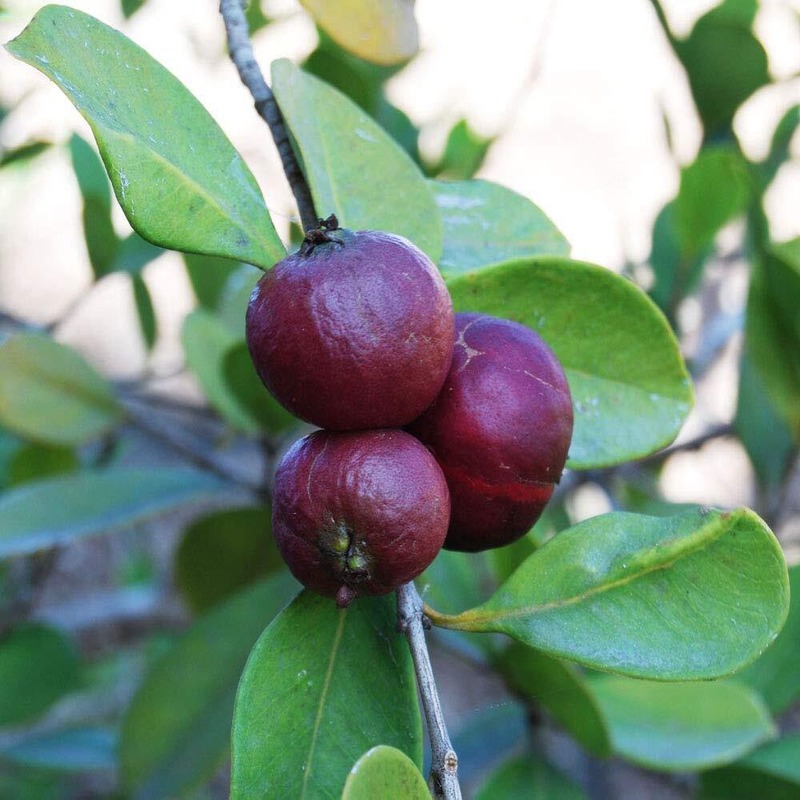
Redcurrants (Ribes rubrum) are small, round berries belonging to the Grossulariaceae family. Native to parts of Western Europe, these jewel-like berries grow in clusters on deciduous shrubs. Their flavor is bright and tart, making them a favorite for both sweet and savory recipes.
Redcurrants thrive in cool, temperate climates, and are traditionally grown in home gardens, orchards, and commercial berry farms across Europe. They are highly perishable and typically harvested in mid to late summer.
Which Country Is the Largest Redcurrant Producer in the World?
Russia is the largest redcurrant producer in the world.
Key Redcurrant Production Statistics in Russia:
- Annual Production: Over 60,000 metric tons
- Global Market Share: Roughly 35% of total world production
- Major Growing Regions: Central Russia, the Volga region, and areas of western Siberia.
Russia’s dominance in redcurrant production can be attributed to its vast agricultural lands, temperate climate, and deep-rooted berry-picking culture. Redcurrants are commonly found in Russian home gardens and are integral to the nation’s culinary heritage, especially in preserves and syrups.
Why Is Russia the Top Redcurrant Producer?

Several factors explain why Russia leads global redcurrant production:
- Ideal Climatic Conditions: Redcurrants require cold winters for dormancy and mild, humid summers for fruit development. Russia’s temperate climate provides optimal growing conditions.
- Abundance of Arable Land: The country boasts millions of hectares of cultivable land, much of it suitable for berry farming.
- Strong Domestic Consumption: Redcurrants are widely consumed in Russia in traditional recipes, preserves, and homemade beverages.
- Cultural Significance: Berry foraging and cultivation have been part of Russian rural life for generations.
- Government Agricultural Support: In recent years, Russia has promoted berry farming to support local food industries and reduce reliance on imports.
Other Leading Redcurrant Producing Countries
While Russia leads, several other countries play important roles in global redcurrant production:
Poland
- Annual Production: Around 50,000–55,000 metric tons
- Poland is the second-largest redcurrant producer globally.
- Redcurrants are a staple in Polish cuisine, appearing in desserts, jams, and syrups.
- Poland is also a significant exporter of redcurrants to Germany, France, and the UK.
Germany
- Produces a substantial quantity for both domestic consumption and export.
- German cuisine incorporates redcurrants in cakes, tarts, and sauces, particularly to accompany game meats.
United Kingdom
- Historically a significant producer, with redcurrants found in British gardens and farmsteads.
- Commonly used in jams, jellies, and the iconic summer pudding.
France
- Known for the gourmet Bar-le-Duc jelly, a delicacy made from seedless redcurrant preserves.
- Redcurrants feature prominently in French pastry and dessert traditions.
Redcurrant Cultivation: Plant Profile and Growing Conditions

Redcurrants grow on deciduous shrubs reaching 1–1.5 meters in height. They produce clusters of berries in early to mid-summer.
Ideal growing conditions include:
- Cool, temperate climates
- Moist, well-drained, fertile soils
- Sheltered positions away from harsh winds
- Winter chilling (essential for bud formation)
- Annual pruning to encourage airflow and sunlight exposure
Harvesting typically takes place between June and August, depending on local climate.
Culinary and Commercial Uses of Redcurrants
Redcurrants are renowned for their sharp, tart flavor, making them ideal for both sweet and savory dishes. Popular uses include:
- Jams, jellies, and preserves
- Fruit syrups and cordials
- Desserts like tarts, crumbles, and puddings
- Sauces for roasted meats, particularly game and poultry
- Wine and liqueur production
- Garnishes for salads, cakes, and cocktails
The famous Bar-le-Duc jelly from France is one of the most luxurious redcurrant products globally.
Health Benefits of Redcurrants

Redcurrants are not just delicious — they also offer a variety of health benefits:
- Rich in Vitamin C: One cup contains nearly 75% of the recommended daily intake.
- High in antioxidants: Including anthocyanins and flavonoids, which help fight oxidative stress.
- Supports heart health: Their polyphenols may lower blood pressure and improve circulation.
- Aids digestion: Thanks to a good amount of dietary fiber.
- Anti-inflammatory properties: Traditionally used to relieve joint pain and inflammation.
Redcurrants have been part of European herbal medicine for centuries, used to treat colds, fevers, and digestive issues.
Global Market Trends for Redcurrants
The global demand for redcurrants has grown steadily due to rising health awareness and the popularity of natural, antioxidant-rich foods.
Key market trends:
- Rising demand for functional foods and superfruits
- Growth in organic berry farming in Eastern Europe
- Expansion of redcurrant exports, particularly from Poland and Russia
- Increased use in the confectionery and baking industries
- Growing popularity in health-focused juice blends and smoothies
The market for frozen and processed redcurrants is also expanding, especially in regions without a natural growing season.
Fun Facts About Redcurrants

- Redcurrant shrubs can live up to 15–20 years when well cared for.
- In medieval Europe, redcurrants were considered a medicinal plant before becoming a food crop.
- Redcurrant leaves are sometimes used in pickling recipes to add flavor.
- Summer pudding, a classic British dessert, prominently features fresh redcurrants.
Redcurrant Farming Challenges
Despite their popularity, redcurrant farming faces several challenges:
- Susceptibility to pests and diseases, including aphids and currant blight.
- Short harvest window due to the fruit’s perishable nature.
- Climate change impacts on temperature and rainfall patterns.
- Market price fluctuations depending on annual harvest volumes and export demand.
Farmers in Russia, Poland, and Germany invest in sustainable farming practices and disease-resistant cultivars to address these challenges.
Conclusion
In summary, Russia remains the world’s largest redcurrant producer, followed closely by Poland and Germany. Thanks to its vast agricultural lands, temperate climate, and cultural affinity for berries, Russia continues to dominate global redcurrant production.
As global demand rises for antioxidant-rich superfoods, redcurrants are poised to gain even greater popularity — not just for their vibrant flavor, but also for their impressive health benefits and versatility in modern kitchens.
Whether enjoyed fresh, in jams, or as a rich sauce over game meats, redcurrants continue to captivate culinary traditions and health enthusiasts worldwide.
FAQs
Q: Which country grows the most redcurrants in the world?
A: Russia is the largest redcurrant producer globally.
Q: What is redcurrant used for?
A: Primarily for jams, jellies, sauces, desserts, beverages, and as a garnish.
Q: Are redcurrants healthy?
A: Yes — they’re rich in vitamin C, antioxidants, fiber, and have anti-inflammatory properties.
Q: Where did redcurrants originate?
A: Redcurrants are native to parts of Western Europe and Northern Asia.