
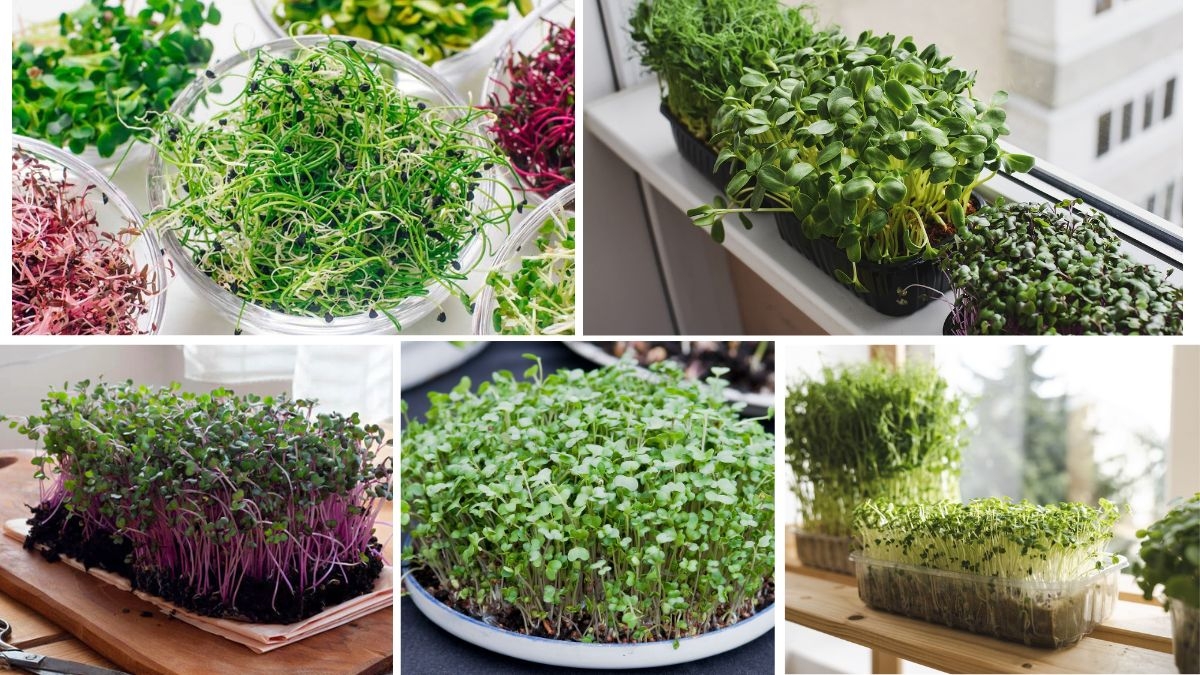
Microgreens are nutrient-rich, flavorful young plants harvested just after the first leaves develop. Perfect for small spaces and quick harvests, they’ve become a top choice for home gardeners and health enthusiasts. This guide will help you explore the best microgreens to grow at home fast, with tips on growing, harvesting, and using them in your kitchen.
Why Grow Microgreens at Home?
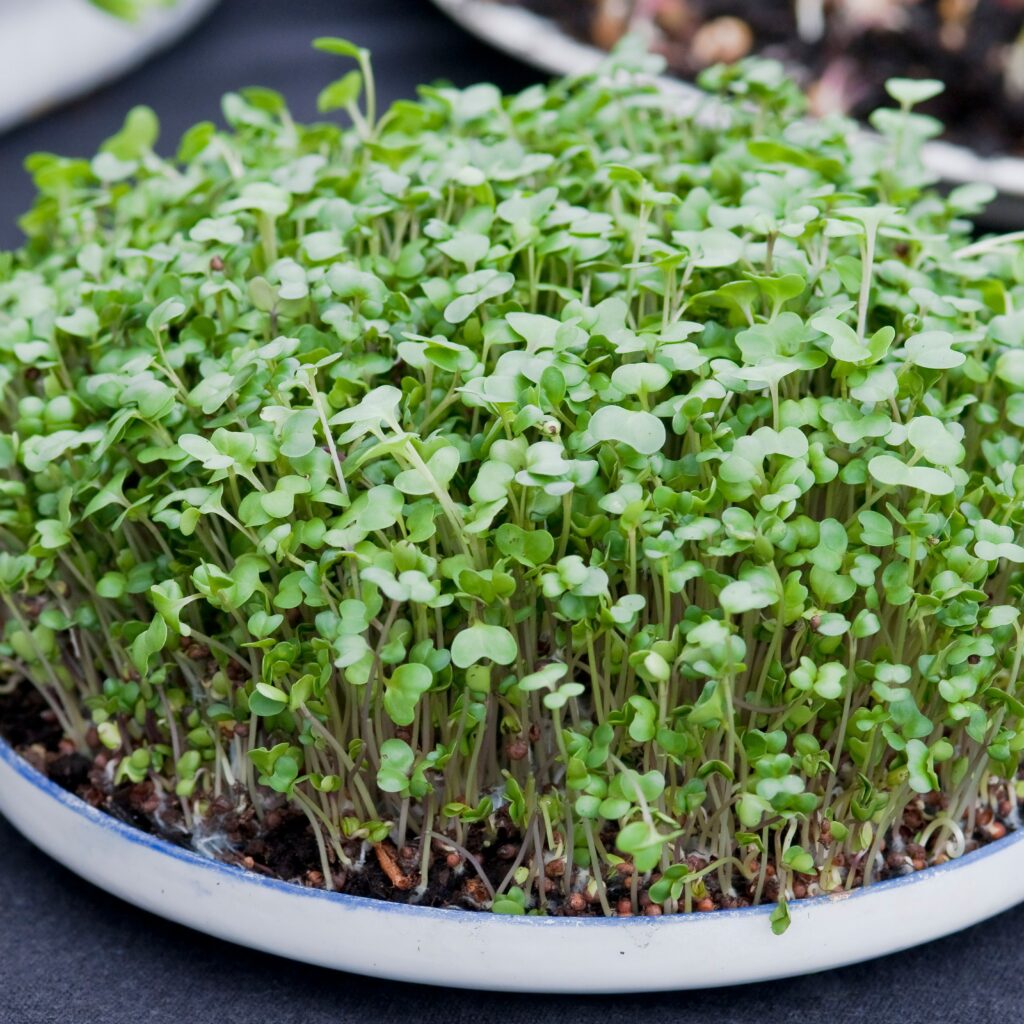
Growing microgreens at home is not only fun and rewarding but also ensures access to fresh, pesticide-free greens. They’re compact, grow in shallow containers, and need minimal supplies. More importantly, most microgreens are ready to harvest in 7–14 days, making them ideal for impatient or busy gardeners.
Top Microgreens That Grow Fast at Home
Here are some of the fastest and easiest microgreens you can grow indoors:
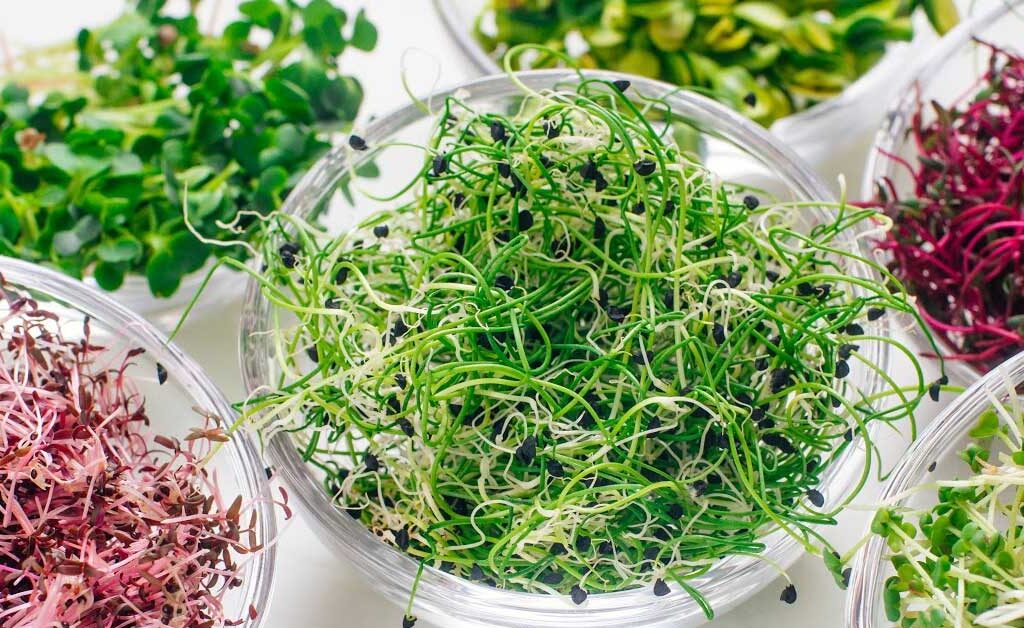
1. Radish Microgreens
- Germination Time: 1–2 days
- Harvest Time: 5–10 days
- Flavor: Spicy and peppery
- Why Grow: Radish microgreens are among the fastest to grow and are extremely flavorful. Their vibrant stems and leaves also make your dishes more appealing.
2. Broccoli Microgreens
- Germination Time: 2–3 days
- Harvest Time: 7–10 days
- Flavor: Mild and slightly bitter
- Why Grow: Packed with antioxidants and nutrients, broccoli microgreens are considered one of the healthiest. They’re easy to grow and taste great in salads and smoothies.
3. Mustard Microgreens
- Germination Time: 1–2 days
- Harvest Time: 6–8 days
- Flavor: Sharp and tangy
- Why Grow: If you like a bit of heat, mustard microgreens are for you. They add a wasabi-like kick to any dish and grow quickly indoors.
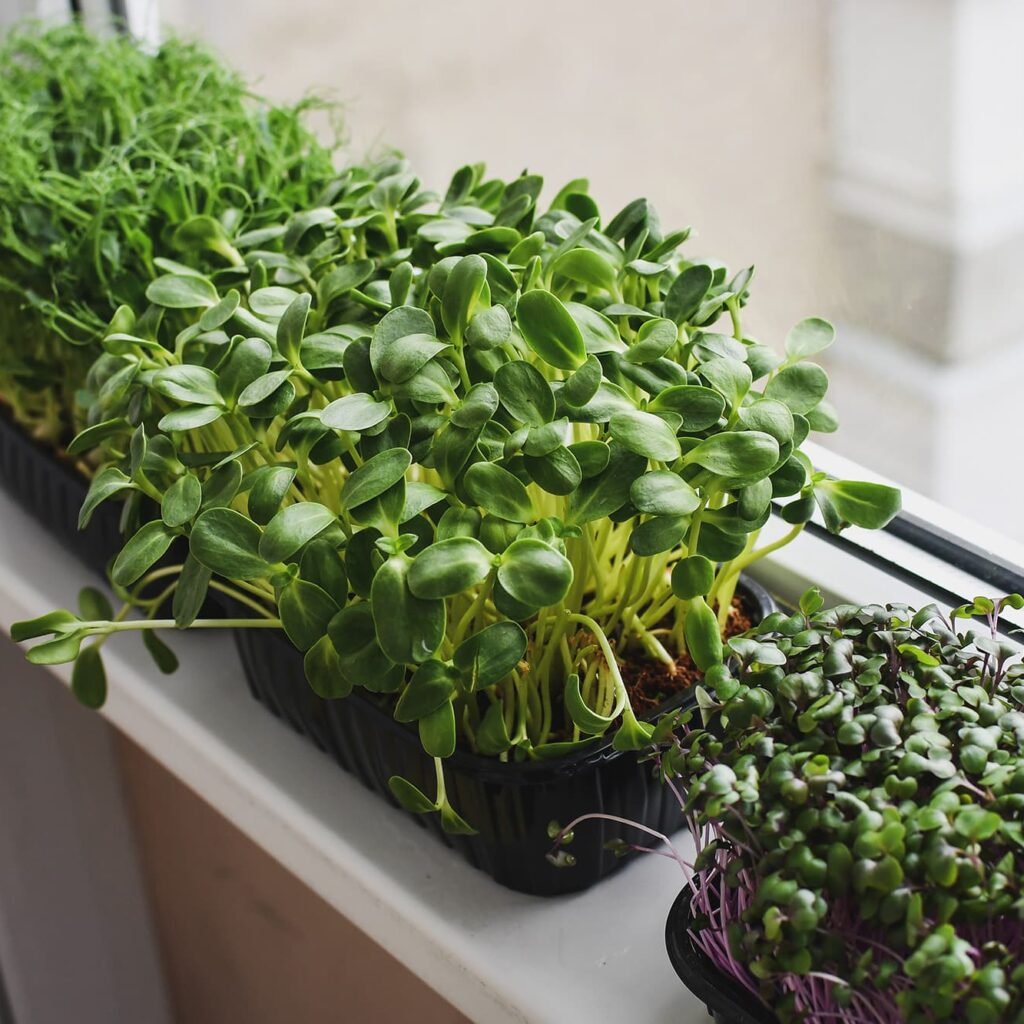
4. Sunflower Microgreens
- Germination Time: 2–3 days
- Harvest Time: 8–12 days
- Flavor: Nutty and sweet
- Why Grow: These are crunchy and full of protein. They’re a little bulkier than other microgreens, so they make a great base for salads.
5. Pea Shoot Microgreens
- Germination Time: 2–3 days
- Harvest Time: 10–14 days
- Flavor: Sweet and mild, like fresh peas
- Why Grow: Pea shoots grow taller than most microgreens and offer a crunchy texture. They’re also a rich source of vitamins A, C, and folic acid.
6. Cabbage Microgreens
- Germination Time: 2–3 days
- Harvest Time: 7–10 days
- Flavor: Mild and earthy
- Why Grow: Easy to grow and mild in taste, cabbage microgreens are great for beginners and blend well into any dish.
7. Kale Microgreens
- Germination Time: 2–3 days
- Harvest Time: 8–12 days
- Flavor: Mild and slightly sweet
- Why Grow: Kale is a superfood, and its microgreen form retains all its health benefits in a smaller, more digestible portion.
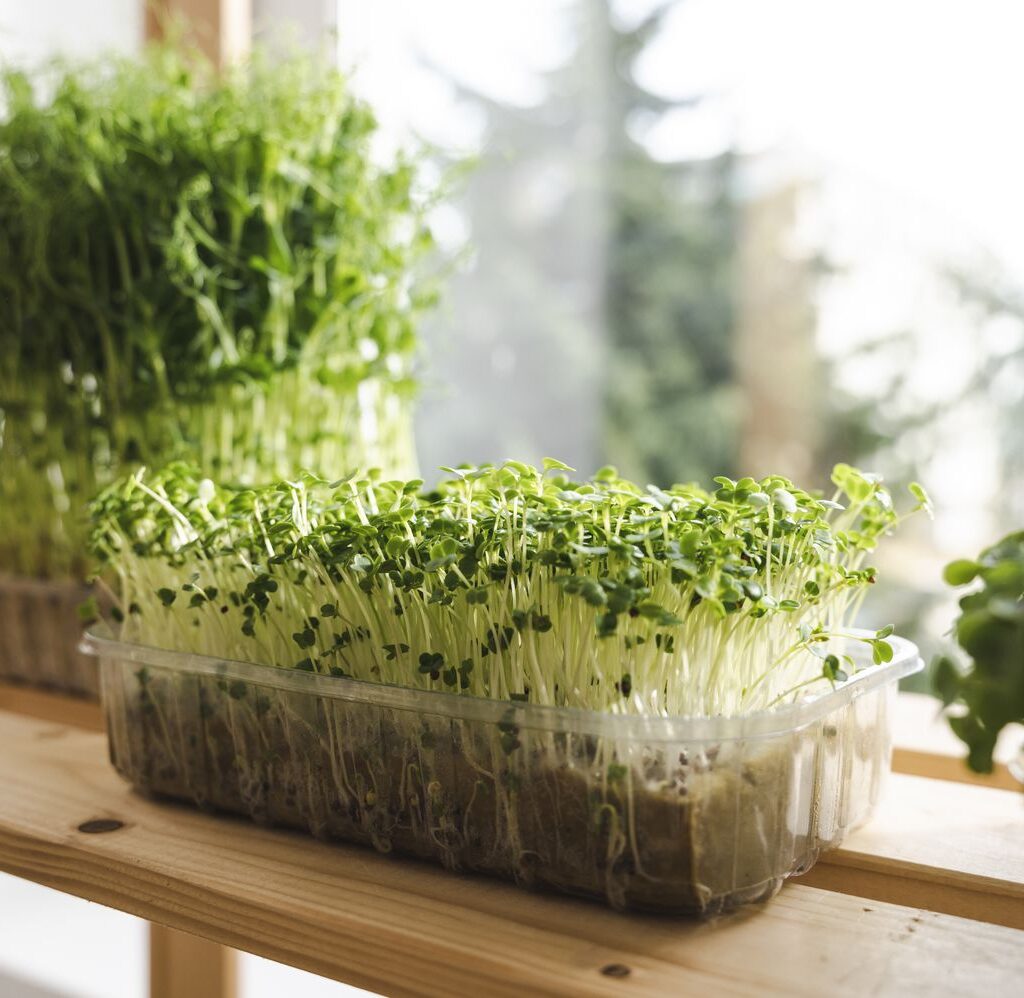
How to Grow Microgreens at Home – Step-by-Step
1. Choose Your Seeds
Buy organic, untreated seeds specifically labeled for microgreen production. Always check for high germination rates.

2. Prepare a Growing Tray
Use shallow trays or containers (2–3 inches deep) with drainage holes. You can use seedling trays, old food containers, or even baking trays.
3. Add Growing Medium
Fill the container with a light potting mix, coconut coir, or a microgreen mat. Level and moisten the surface lightly.
4. Sow the Seeds
Sprinkle seeds evenly and densely on the surface—don’t bury them. Gently press them down to ensure contact with the soil.
5. Cover and Germinate
Cover the tray with a lid or another tray to block light and retain moisture for 2–4 days. This helps in faster germination.

6. Provide Light and Water
Once seeds sprout, remove the cover and place the tray in bright, indirect sunlight or under grow lights. Mist the soil daily to keep it moist but not soggy.
7. Harvest Time!
Use scissors to snip microgreens just above the soil line when they reach 1–3 inches tall. Rinse and use immediately for best flavor.
Tips for Growing Microgreens Successfully
- Avoid Overwatering: Water gently and only as needed to prevent mold and rot.
- Use a Fan: Light airflow reduces humidity and prevents fungal growth.
- Harvest on Time: If left too long, microgreens may become leggy or bitter.
- Sanitize Trays: Clean trays thoroughly between batches to avoid contamination.
- Rotate Crops: Try different varieties to enjoy varied flavors and nutrients.
Creative Ways to Use Microgreens

- Toss them in salads or wraps for a nutrition boost.
- Add them to smoothies or soups for texture and flavor.
- Use as a garnish on pizza, pasta, or omelets.
- Blend into pesto or dips for a healthy twist.
- Top off your sandwiches and burgers with crunchy freshness.
Nutritional Benefits of Microgreens
Microgreens are known to contain 4–40 times more nutrients than their mature counterparts. Rich in vitamins A, C, E, K, and essential minerals, they’re perfect for boosting immunity, improving digestion, and promoting heart health.
Some highlights:

- Broccoli microgreens – High in sulforaphane (anti-cancer compound)
- Radish microgreens – Aid digestion and detoxification
- Sunflower microgreens – Rich in healthy fats and proteins
- Pea shoots – Full of antioxidants and phytonutrients
Conclusion
Growing microgreens at home is a quick, easy, and rewarding gardening activity. With just a little effort, you can enjoy fresh, healthy greens every week right from your kitchen shelf or balcony. From the peppery punch of radish to the sweet crunch of sunflower, the variety and flavor microgreens offer are unbeatable. Start with the fastest-growing types, experiment with different seeds, and turn your home into a mini garden of health.
Leave A Comment