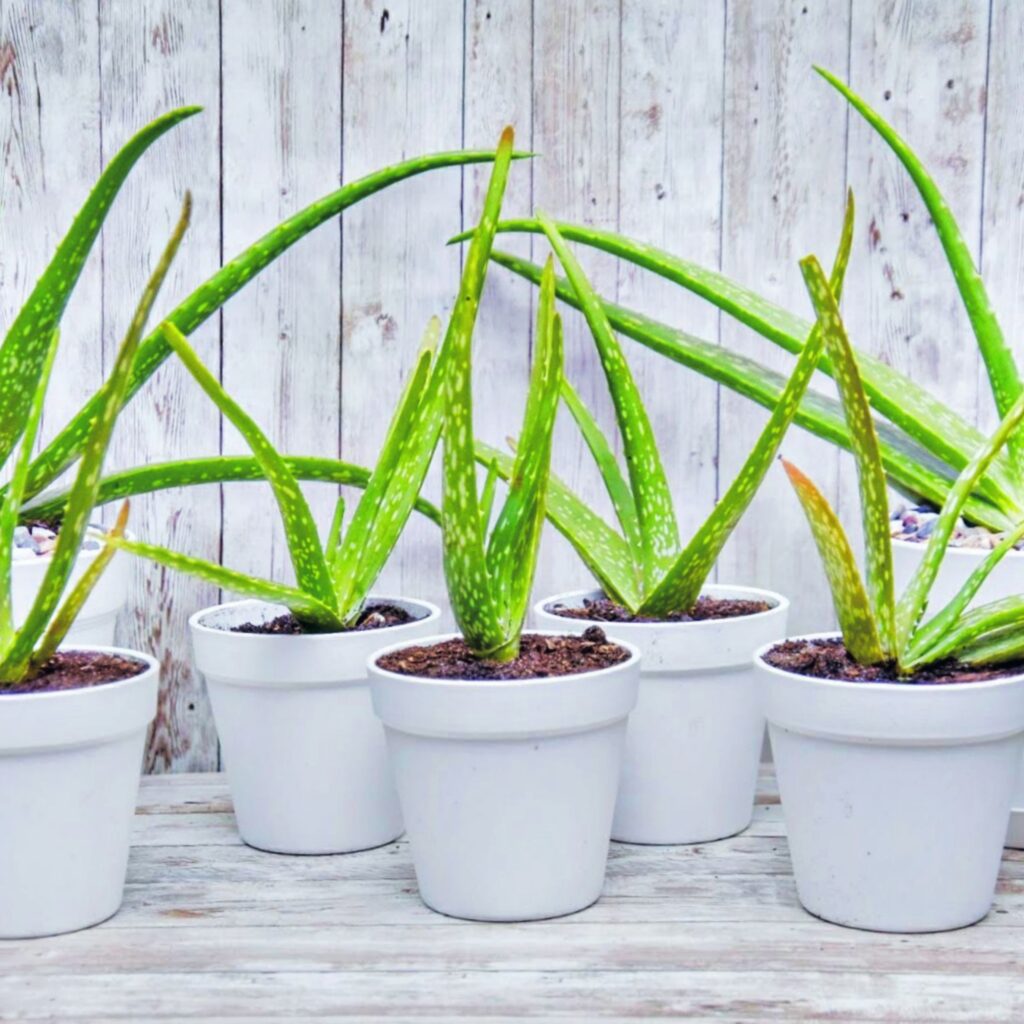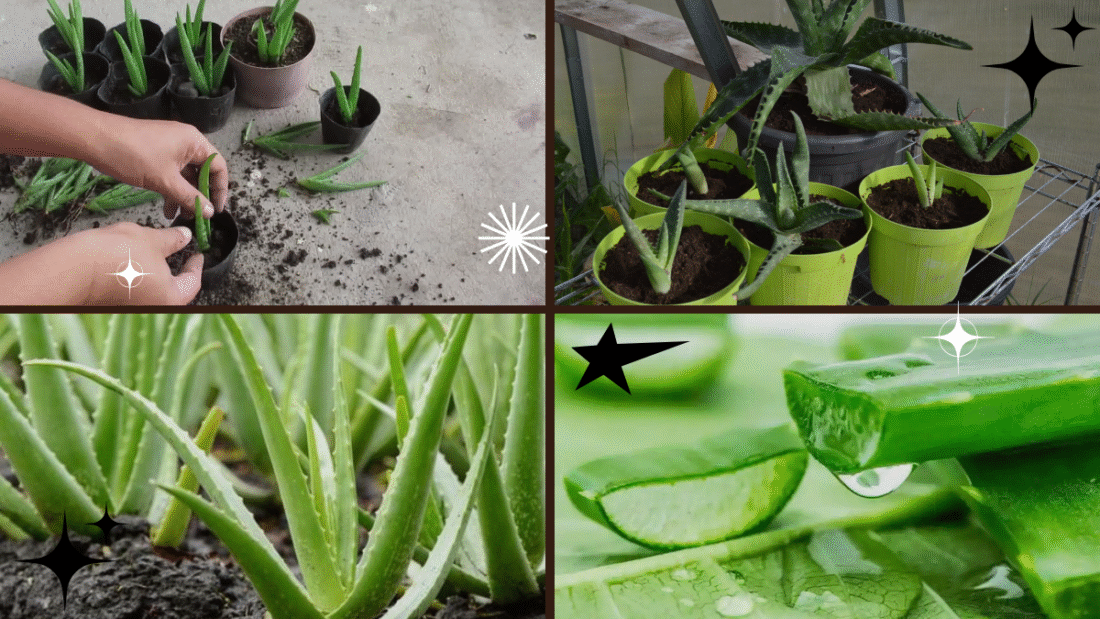
Aloe vera is one of the most beloved houseplants, celebrated for its striking beauty and incredible healing properties. From soothing sunburns to adding a serene, green accent to your windowsill, this succulent is both decorative and functional. But like any living thing, your aloe vera needs proper care to thrive — and that includes knowing when and how to repot it.
If your aloe is looking cramped, top-heavy, or is producing plenty of little offshoots, it’s time to give it a fresh start. In this comprehensive guide, we’ll walk you through everything you need to know about how to repot an aloe vera plant — from the best time to do it to step-by-step instructions, tools you’ll need, and post-repotting care.
Why Repot an Aloe Vera Plant?
Before we dive into the how, let’s cover the why. Repotting isn’t just about aesthetics — it directly affects your plant’s health and longevity. Here’s why repotting aloe vera is essential:
- Promotes Healthy Root Growth: When roots become cramped, they can’t absorb water and nutrients efficiently.
- Prevents Root Rot: Old, compacted soil can retain too much moisture, increasing the risk of root rot.
- Refreshes Nutrient Supply: Fresh soil provides the minerals and drainage aloe needs to thrive.
- Allows for Baby Aloe Separation: Aloe vera plants often produce small offshoots (pups) that crowd the main plant.
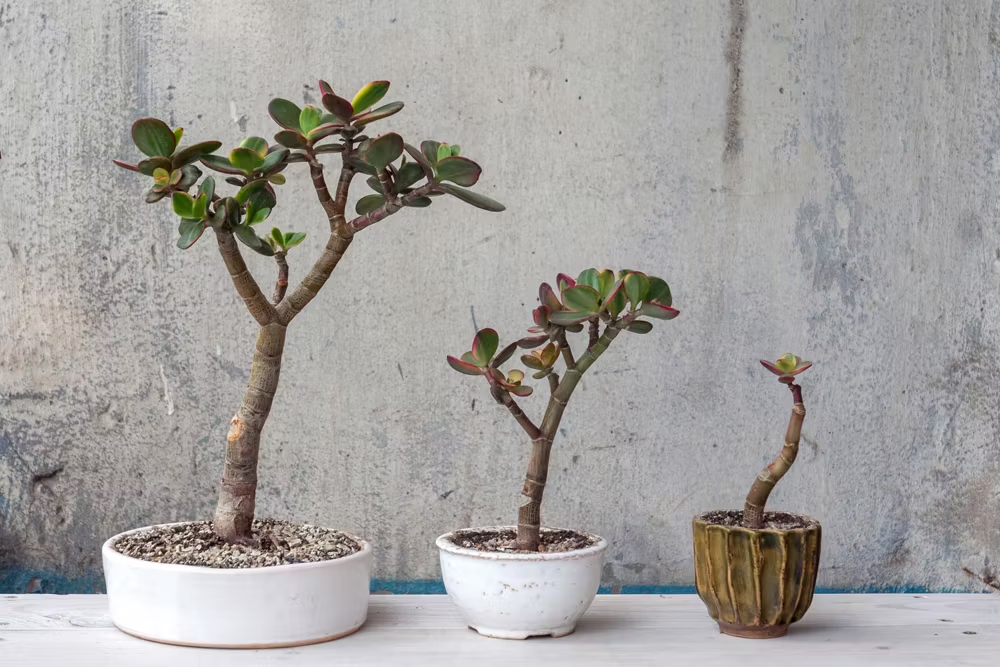
- Balances Plant Size: Mature aloe plants can become top-heavy, leading to tipping or instability.
Repotting every 1-2 years ensures your aloe remains healthy, vibrant, and ready to deliver its natural healing benefits.
When Is the Best Time to Repot Aloe Vera?
The best time to repot aloe vera is during its active growing season — typically spring or early summer. This is when the plant is at its strongest, actively producing new roots and leaves, making it better equipped to handle the stress of repotting.
Avoid repotting in the cooler, dormant months (fall and winter), when the plant’s growth slows down and it’s less resilient.
What You’ll Need to Repot Aloe Vera
Before getting started, gather the following tools and materials to ensure a smooth process:
- Your aloe vera plant
- New pot with drainage holes (one size larger than the current pot)
- Succulent or cactus potting mix
- Small spade or garden trowel
- Sterilized scissors or pruning shears
- Gloves (optional, if sensitive to aloe sap)
- Pebbles or stones (optional, for drainage layer)
- Rooting hormone powder (optional, for pups)
Step-by-Step Guide: How to Repot an Aloe Vera Plant
Ready to refresh your plant’s home? Follow these simple steps for a safe and effective repotting process.
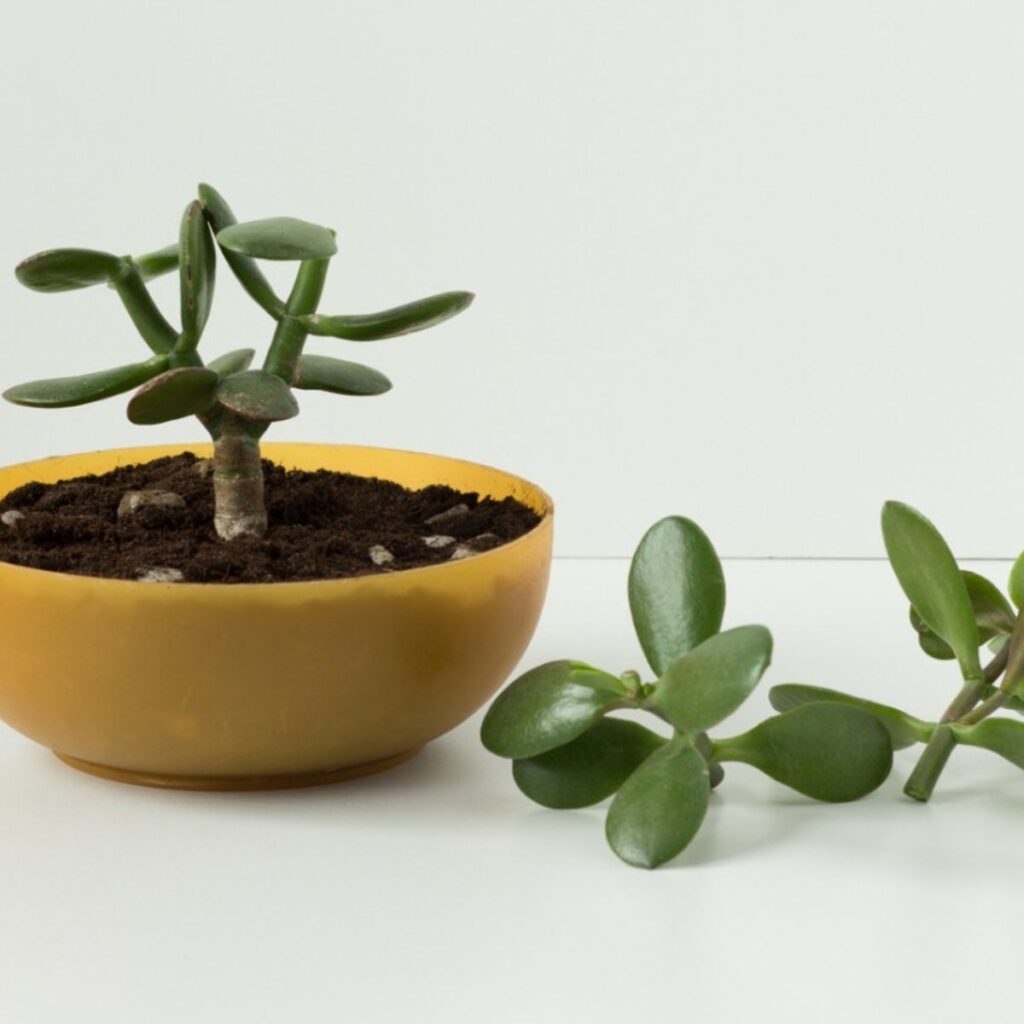
Choose the Right Pot
Select a pot that’s one size larger than the current one. Aloe vera prefers shallow, wide containers because its roots grow horizontally rather than deep.
Ensure the pot has drainage holes to prevent standing water, which can cause root rot. Terracotta or clay pots are excellent choices because they naturally wick away excess moisture.
Prepare the Soil
Aloe vera requires well-draining soil. Use a commercial succulent or cactus potting mix, or create your own by combining:
- 2 parts potting soil
- 1 part perlite or coarse sand
- 1 part pumice or small stones
Optional: Add a layer of pebbles at the bottom of the pot for extra drainage.
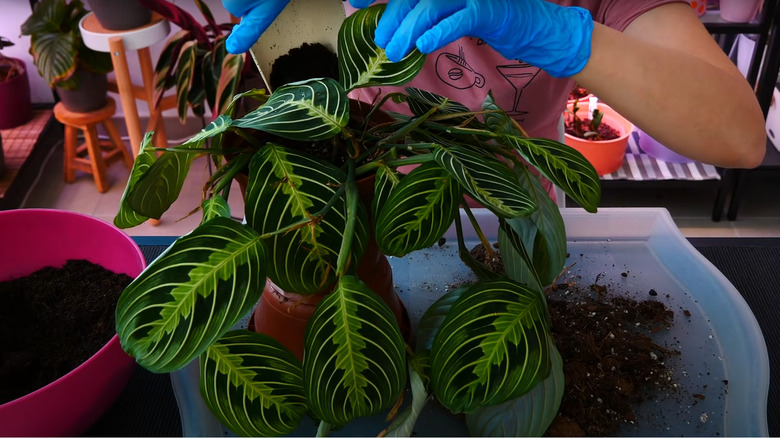
Remove the Aloe Vera from Its Pot
Turn the pot sideways and gently grasp the aloe plant at the base of its leaves. Carefully slide it out of the pot. If it’s stuck, tap the sides or use a small spade to loosen the soil.
Tip: Be gentle — aloe leaves are fleshy and can snap easily.
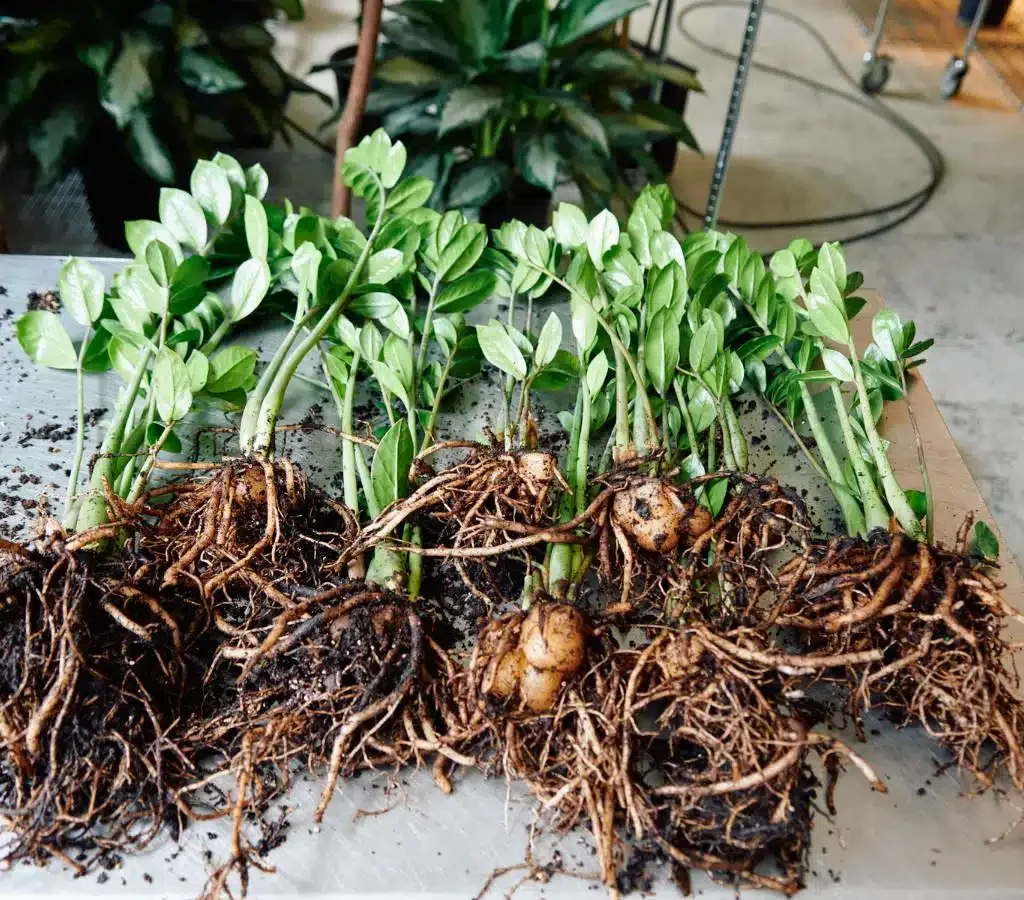
Inspect and Clean the Roots
Shake off excess soil and examine the root system. Trim away:
- Dead or mushy roots (brown or black and soft)
- Excessively long or tangled roots
Use sterilized scissors or pruning shears to avoid introducing bacteria.
If any roots appear damp, allow the plant to air dry for several hours before repotting to minimize the risk of rot.
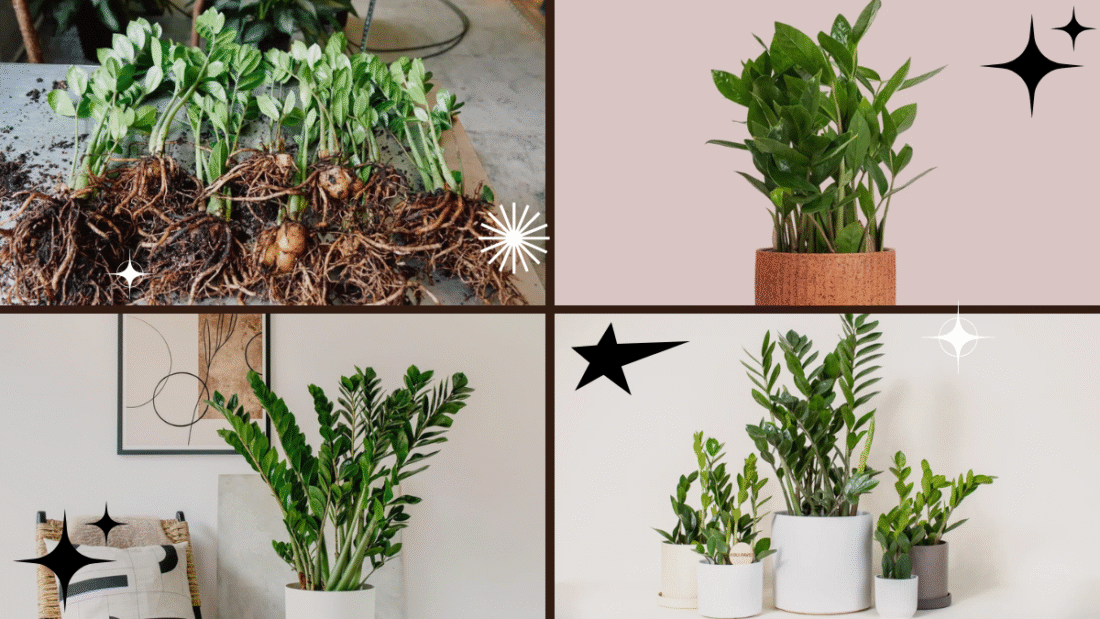
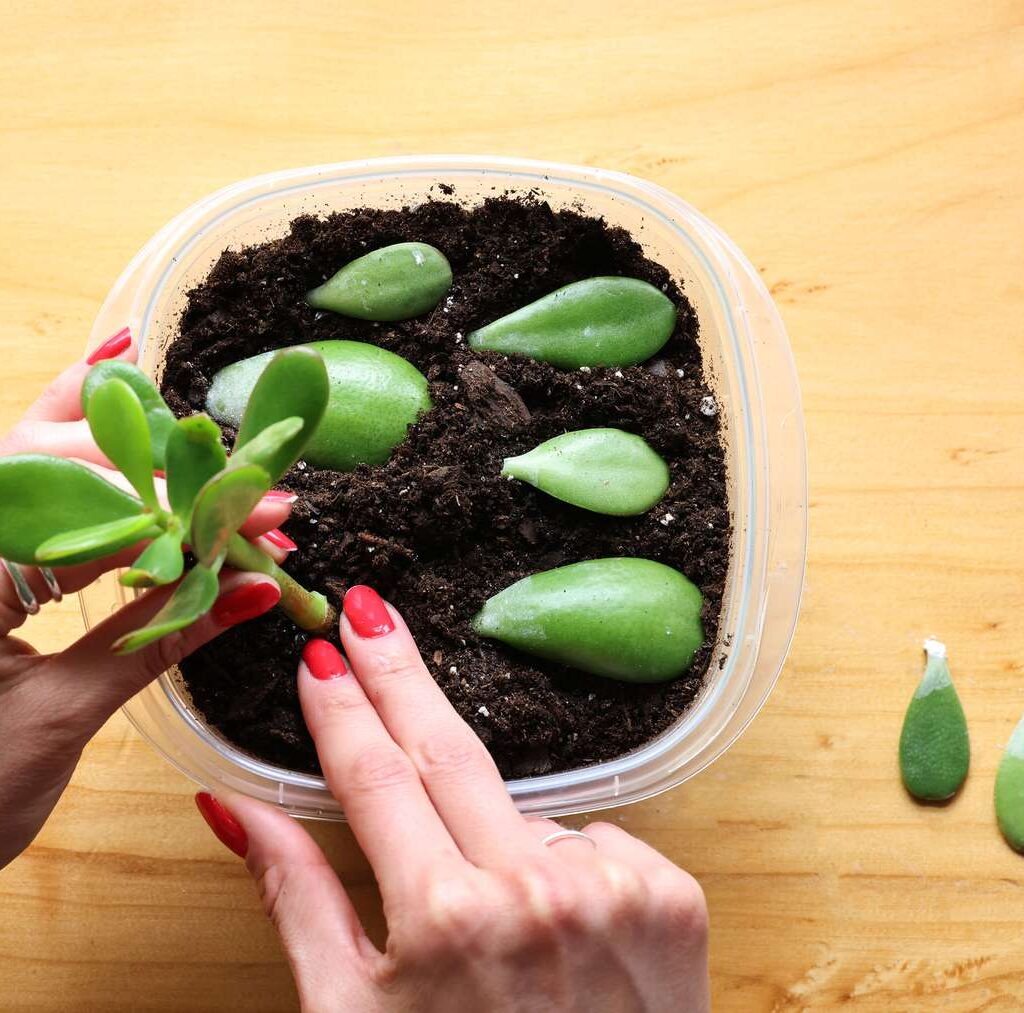
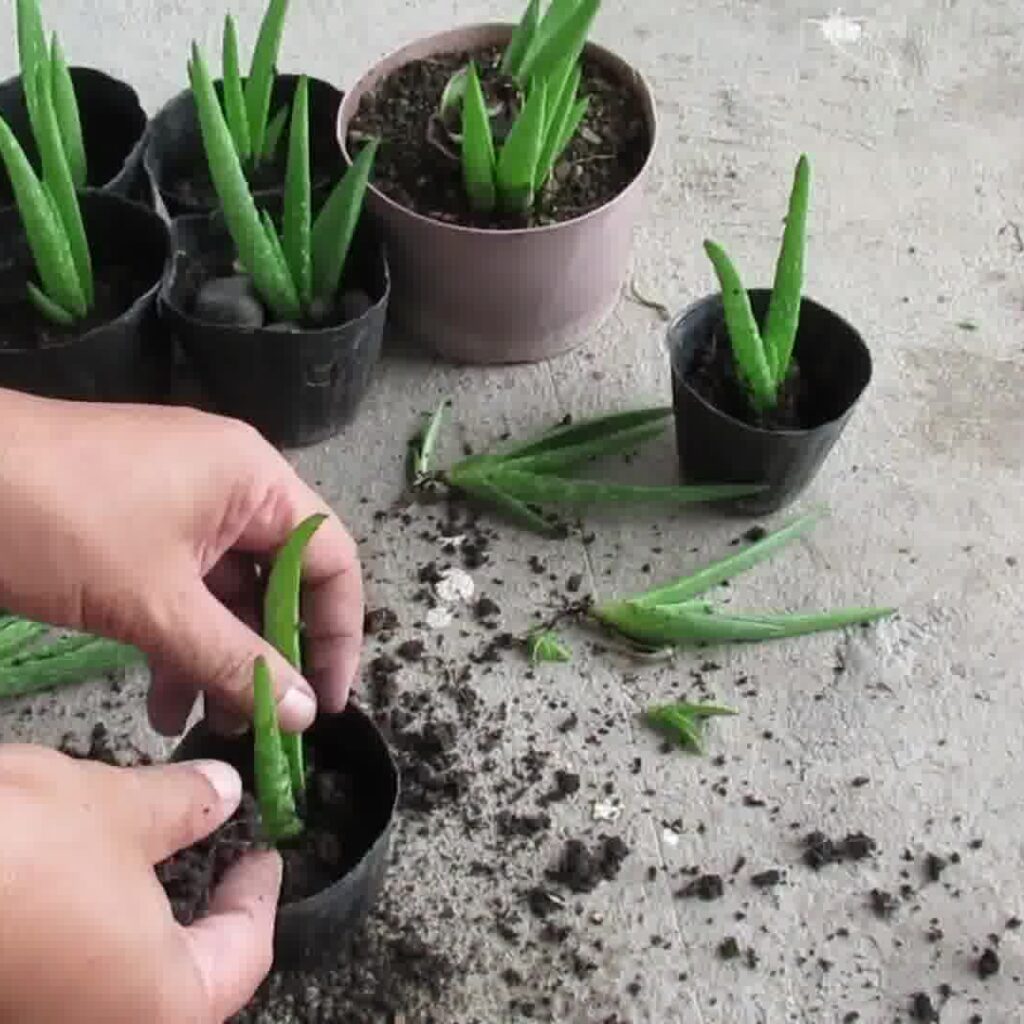
Separate Baby Aloe Offshoots (Pups)
If your aloe has produced pups (small new plants growing at its base), this is the perfect time to divide them.
How to separate pups:
- Gently pull the pups away from the main plant.
- Ensure each has its own roots attached.
- If the pup lacks roots, let it dry for a day or two before potting.
- Optionally dip the base in rooting hormone to encourage growth.
You now have new aloe plants to nurture or share!
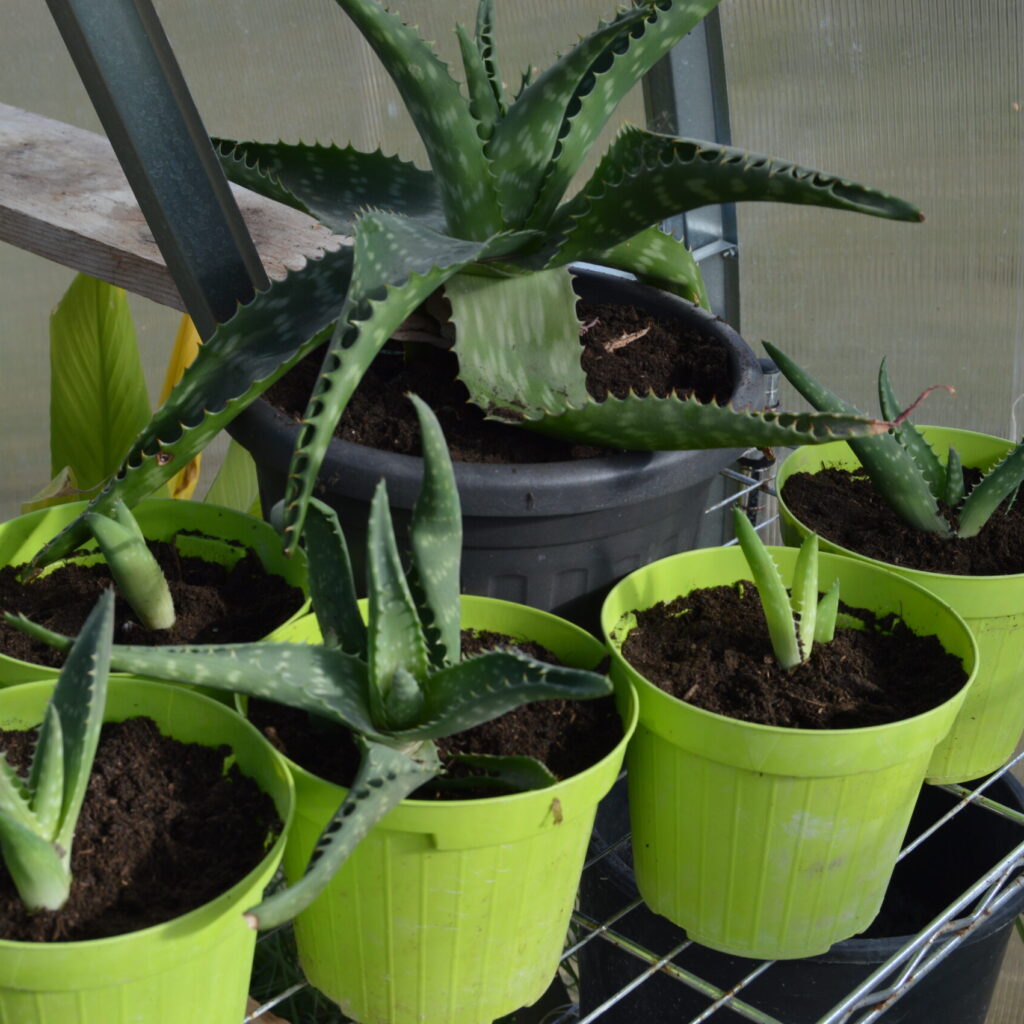
Repot the Aloe Vera
Place a layer of fresh soil at the bottom of the new pot. Position your aloe plant so the base of the leaves sits just above the soil surface — burying leaves can lead to rot.
Fill in around the plant with more soil, gently pressing down to secure the roots but not compacting the soil too tightly.
Leave about an inch of space between the soil surface and the rim of the pot for watering.
Water Sparingly
After repotting, wait 4-5 days before watering. This gives the roots time to settle and heal from any minor damage.
When you do water, give it a good soak, ensuring water drains freely from the bottom.
Aftercare: How to Keep Your Aloe Vera Thriving
Once your aloe vera is repotted, follow these care tips to help it flourish:
- Light: Place in bright, indirect sunlight. A south or west-facing window is ideal.
- Watering: Water deeply but infrequently. Let the soil dry out completely between waterings.
- Temperature: Prefers temperatures between 60°F-80°F (15°C-27°C).
- Feeding: Fertilize sparingly — once in spring and summer with a diluted cactus fertilizer.
- Cleaning: Wipe leaves with a damp cloth occasionally to remove dust and let them breathe.
Common Repotting Mistakes to Avoid
- Overwatering after repotting: Leads to root rot.
- Using dense or poorly draining soil: Aloe needs dry, sandy soil.
- Potting too deeply: Burying leaves causes stem rot.
- Skipping drainage holes: Traps water and suffocates roots.
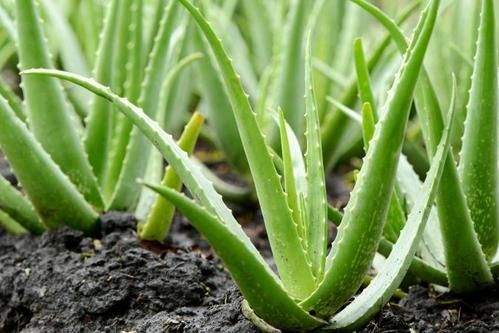
Benefits of a Well-Repotted Aloe Vera Plant
Repotting doesn’t just refresh your aloe’s appearance — it revitalizes the entire plant. A properly repotted aloe vera will:
- Grow faster and stronger
- Produce more pups
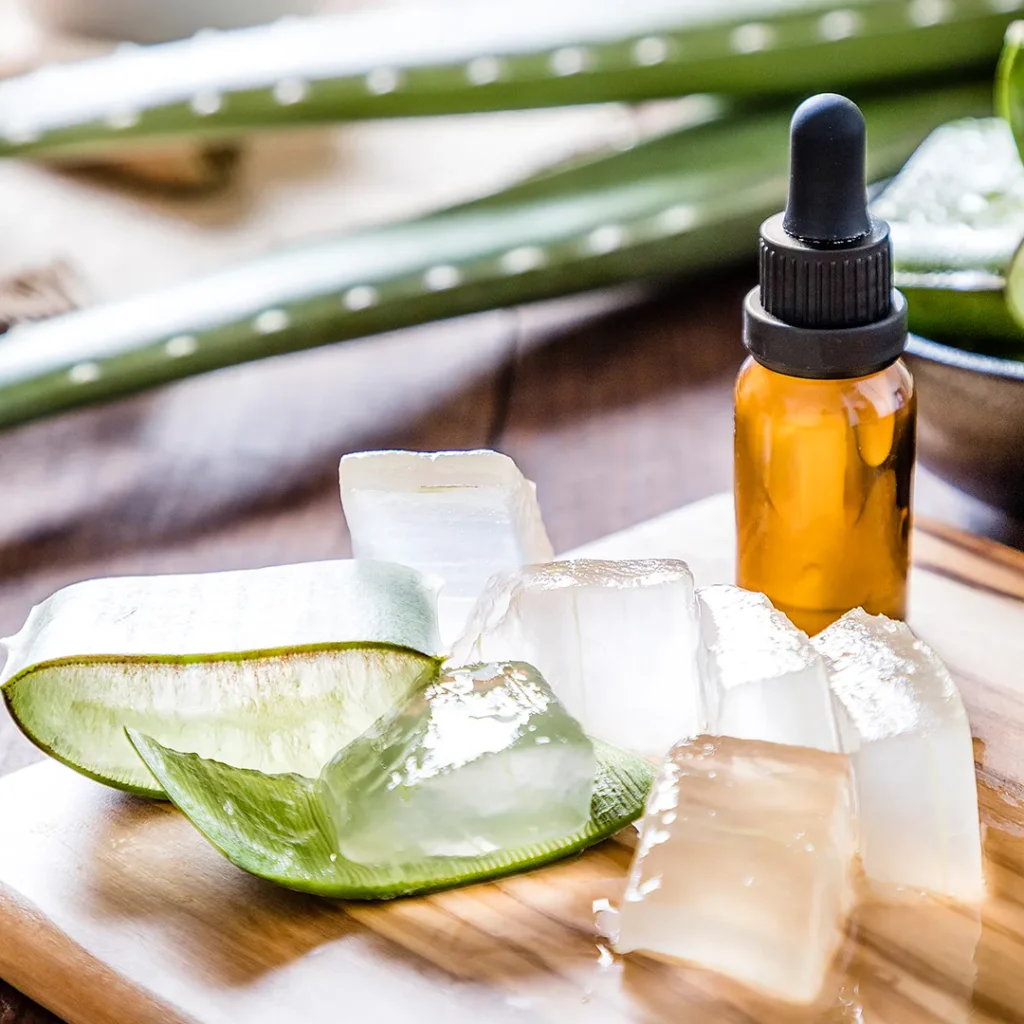
- Provide fresher, healthier gel for home remedies
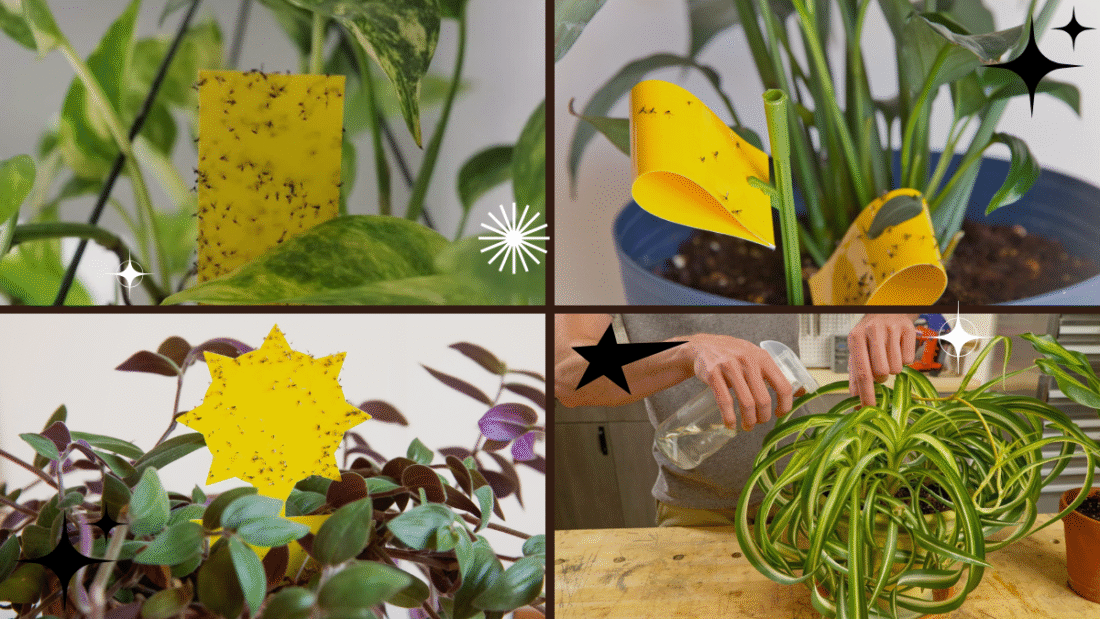
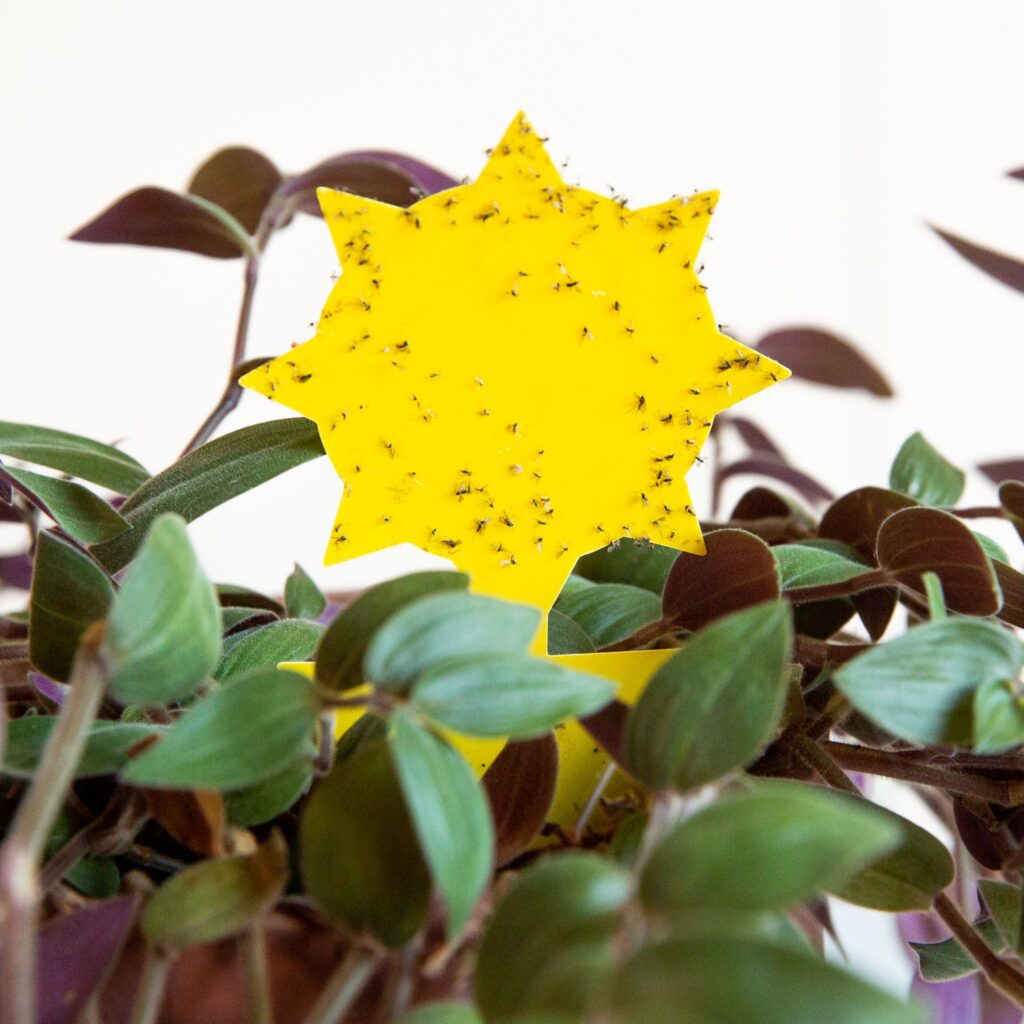
- Resist pests and diseases better
- Stay upright and stable without toppling over
Final Thoughts
Aloe vera is an easygoing, healing plant that deserves a little extra care now and then. By learning how to repot an aloe vera plant, you’re not just giving it a new home — you’re ensuring it remains a reliable source of natural beauty and wellness for years to come.
Whether your aloe has outgrown its pot, produced new pups, or simply needs a fresh start, these simple steps will help you nurture nature’s healer and keep your green space flourishing.