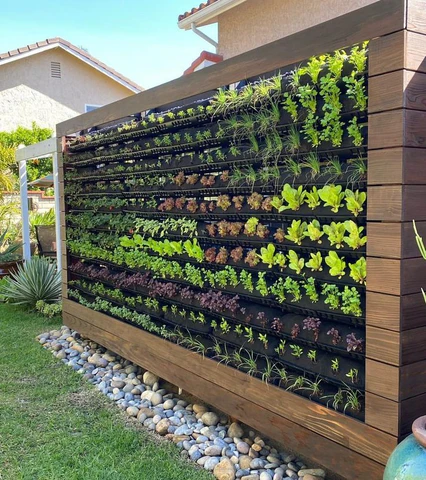
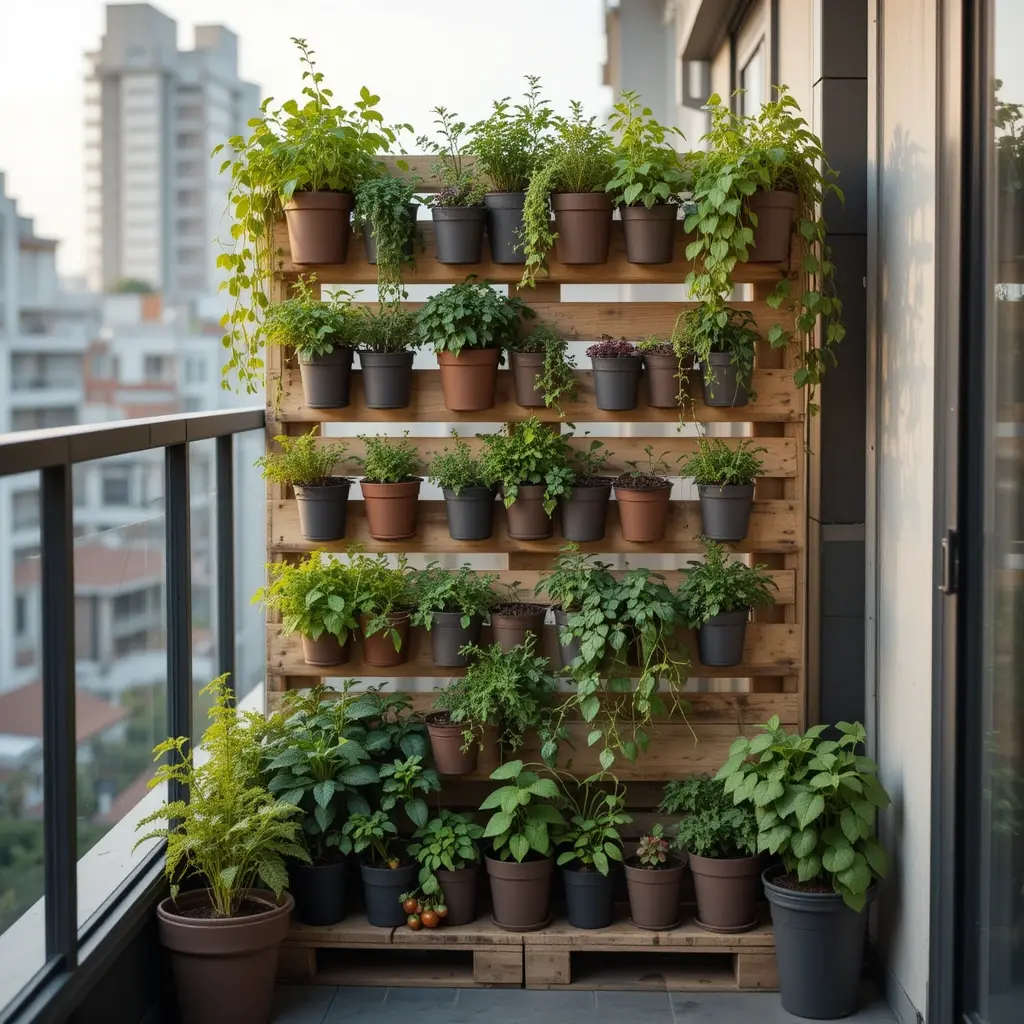
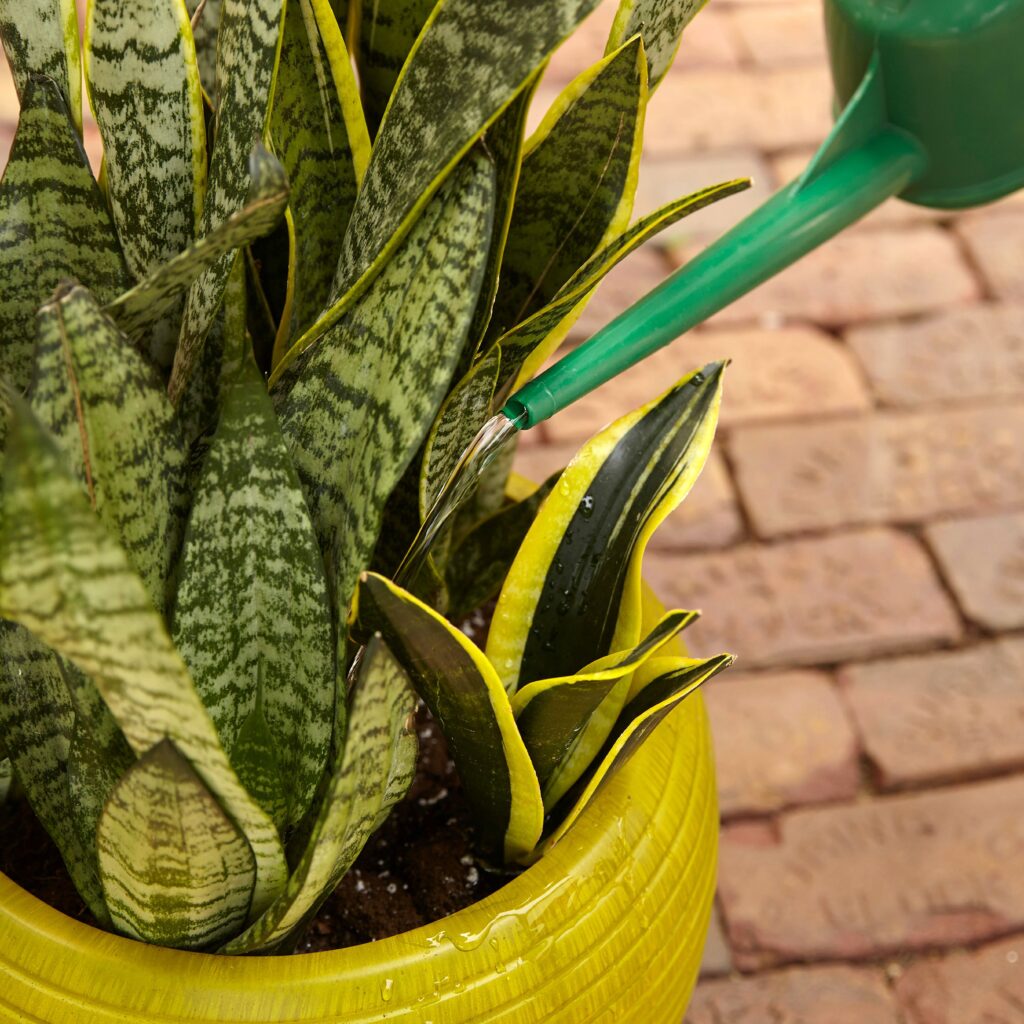
In an age where sustainability and eco-conscious living are becoming more important, natural fertilizers are emerging as a simple yet powerful way to enrich your garden without relying on chemical alternatives. Many people don’t realize that their kitchen is already stocked with nutrient-rich ingredients that can help plants grow faster, healthier, and more resilient. Whether you’re tending to a balcony herb garden or a large vegetable patch, homemade natural fertilizers not only save money but also reduce waste, making them a win-win for your garden and the planet.
This guide will walk you through why natural fertilizers are better, the essential nutrients plants need, and step-by-step instructions to make your own fertilizers from everyday kitchen waste.
Why Choose Natural Fertilizers Over Chemical Ones?

Chemical fertilizers may give plants an instant boost, but they often cause long-term harm to soil health, water systems, and even human health. Over time, they can deplete beneficial microorganisms in the soil, making plants more dependent on synthetic feeds.
Natural fertilizers, on the other hand:
- Improve soil structure and fertility over the long term.
- Feed plants gradually, preventing nutrient overload.
- Support beneficial microbes and earthworms in the soil.
- Reduce food and kitchen waste.
- Cost virtually nothing compared to store-bought alternatives.
Understanding the Basics: What Nutrients Do Plants Need?

Before you start creating your own fertilizer, it’s essential to know the three main nutrients plants rely on:
- Nitrogen (N) – Encourages leafy green growth. Essential for herbs, leafy greens, and young plants.
- Phosphorus (P) – Promotes strong roots, flowers, and fruiting.
- Potassium (K) – Strengthens overall plant health, boosts disease resistance, and improves fruit quality.
Kitchen waste often contains these nutrients in abundance—making it perfect for homemade fertilizers.
Natural Fertilizers You Can Make from Your Kitchen

1. Banana Peel Fertilizer
Best for: Flowering plants, fruit trees, tomatoes, peppers.
Banana peels are rich in potassium and phosphorus, making them ideal for encouraging flowering and fruiting.
How to make:
- Save banana peels after eating.
- Chop them into small pieces for quicker decomposition.
- Bury them 2–3 inches deep around plant bases.
- Alternatively, blend the peels with water to create a potassium-rich “banana smoothie” and pour directly onto the soil.
2. Coffee Grounds Fertilizer

Best for: Acid-loving plants like roses, blueberries, azaleas, and hydrangeas.
Coffee grounds provide nitrogen, improve soil structure, and help retain moisture.
How to make:
- Collect used coffee grounds (avoid flavored or sweetened coffee).
- Dry them slightly to prevent mold.
- Sprinkle a thin layer around plant roots or mix them into compost.
- Avoid overusing, as too much can make soil overly acidic.
3. Eggshell Fertilizer
Best for: Tomatoes, peppers, eggplants, and any plant prone to calcium deficiency.
Eggshells are an excellent source of calcium, which prevents blossom-end rot in tomatoes and peppers.
How to make:
- Rinse eggshells after use and allow them to dry.
- Crush them into a fine powder using a blender or mortar and pestle.
- Sprinkle the powder into the planting hole or around the base of plants.
- For quicker nutrient release, boil crushed eggshells in water, let it cool, and use the “eggshell tea” to water plants.
4. Rice Water Fertilizer

Best for: Indoor plants and seedlings.
Water used to rinse rice contains small amounts of nitrogen, phosphorus, and potassium as well as beneficial starch that supports microbial growth in soil.
How to make:
- After rinsing rice, collect the cloudy water.
- Use it immediately to water plants.
- Repeat 1–2 times a week for a gentle nutrient boost.
5. Vegetable Scrap Fertilizer
Best for: General plant health.
Instead of throwing away vegetable scraps like carrot tops, spinach stems, or celery leaves, turn them into a nutrient-rich broth.
How to make:
- Save vegetable peels and scraps.
- Boil them in a pot of water for 15–20 minutes.
- Let the water cool, strain out the solids, and use the nutrient-rich broth to water plants.
- Compost the leftover scraps for even more soil enrichment.
6. Used Tea Leaves or Tea Bag Fertilizer
Best for: Roses, ferns, and other acid-loving plants.
Tea leaves contain tannic acid and trace minerals that improve soil quality.
How to make:
- Save used tea leaves or tea bags (without plastic mesh).
- Sprinkle them directly onto the soil or mix them into compost.
- For liquid fertilizer, steep used tea leaves in water for 24 hours before watering plants.
7. Molasses Fertilizer
Best for: Boosting microbial life in soil.
Molasses is high in sugar and trace minerals that feed beneficial microbes, which in turn make nutrients more available to plants.
How to make:
- Mix 1–2 tablespoons of molasses in 1 liter of water.
- Use once every two weeks as a soil drench.
8. Onion and Garlic Peel Fertilizer
Best for: Pest control and general nutrition.
Onion and garlic skins contain nutrients and natural sulfur compounds that deter pests.
How to make:
- Collect peels and soak them in water overnight.
- Strain and use the water to spray plants or water the soil.
- The remaining peels can be composted.
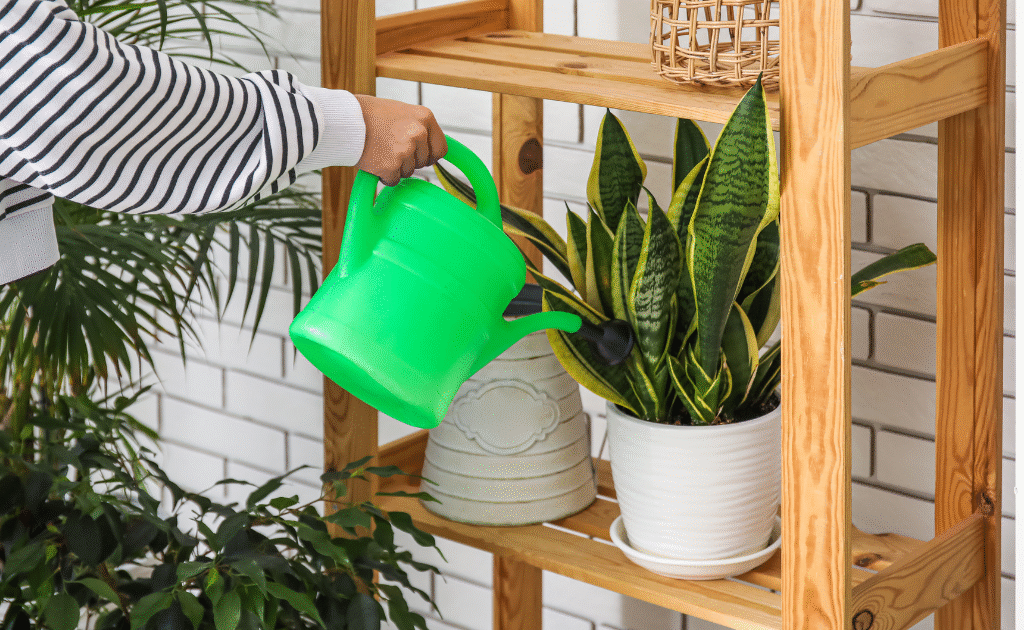
How to Use Homemade Fertilizers Effectively
- Frequency: Apply most kitchen-based fertilizers once every 2–4 weeks to avoid nutrient overload.
- Combination: Mix different types to cover all nutrient needs.
- Composting: For a steady nutrient supply, combine kitchen scraps in a compost bin and use the finished compost as a long-term soil conditioner.
- Observation: Watch for signs of nutrient deficiency—yellow leaves (nitrogen shortage), poor flowering (phosphorus shortage), or weak stems (potassium shortage)—and adjust accordingly.
Common Mistakes to Avoid
- Over-fertilizing: Even natural fertilizers can burn plants if used excessively.
- Using moldy or rotten waste directly: This can attract pests or harm roots.
- Not balancing nutrients: Too much nitrogen can lead to leafy growth with few flowers or fruits.
- Ignoring soil pH: Some fertilizers, like coffee grounds, can change pH levels, so monitor your plants’ needs.
Benefits Beyond the Garden
Making natural fertilizers from kitchen waste does more than nourish your plants:
- Reduces household food waste.
- Cuts down on garbage disposal and landfill usage.
- Saves money on store-bought fertilizers.
- Encourages eco-friendly habits.
- Strengthens your connection with your garden.
Final Thoughts
The journey toward healthier plants doesn’t have to involve expensive store-bought fertilizers or harmful chemicals. By turning everyday kitchen waste into powerful plant food, you not only enrich your soil but also contribute to a more sustainable lifestyle. From banana peels to coffee grounds, each ingredient plays a unique role in supporting your garden’s growth.
Next time you’re about to toss out food scraps, remember—they might be exactly what your plants are craving. With just a little creativity and consistency, your kitchen can become the heart of your garden’s health.