Have you ever wondered if you could grow your own potatoes at home, starting with just one potato? The good news is — you can! Potatoes are one of the easiest and most rewarding crops to grow, whether you have a large backyard garden or a small sunny balcony. All it takes is one sprouting potato, some soil, and a little patience.
In this detailed guide, we’ll walk you through everything you need to know about growing a potato plant from a single potato, from choosing the right spud to harvesting your homegrown crop.
Why Grow Potatoes at Home?
Potatoes are a kitchen staple — versatile, filling, and loved by just about everyone. Growing them at home comes with several benefits:
- Fresh and Organic: You control what goes into your soil, meaning no harmful pesticides or chemicals.
- Highly Productive: One potato can produce several pounds of new potatoes.
- Low Maintenance: Potatoes are hardy, adaptable, and surprisingly easy to grow.
- Fun Gardening Project: Perfect for beginner gardeners, kids, or anyone who loves a good harvest.
Plus, homegrown potatoes simply taste better — tender, flavorful, and freshly dug from the earth.
Understanding How Potatoes Grow
Before diving into the process, it’s helpful to understand how potatoes grow. Unlike seeds, potatoes reproduce through vegetative propagation. The eyes (small indentations) on a potato sprout stems that grow into new plants. These stems form roots and tubers (the edible part we harvest) underground.
Each sprouted eye can become a new plant, and a single healthy potato can produce multiple new potatoes in one season.
What You’ll Need
To grow potatoes at home, gather the following supplies:
- One seed potato (or a sprouting store-bought potato)
- A large container (5 gallons or more) or a garden bed
- Loose, well-draining soil
- Compost or organic fertilizer
- A sunny location
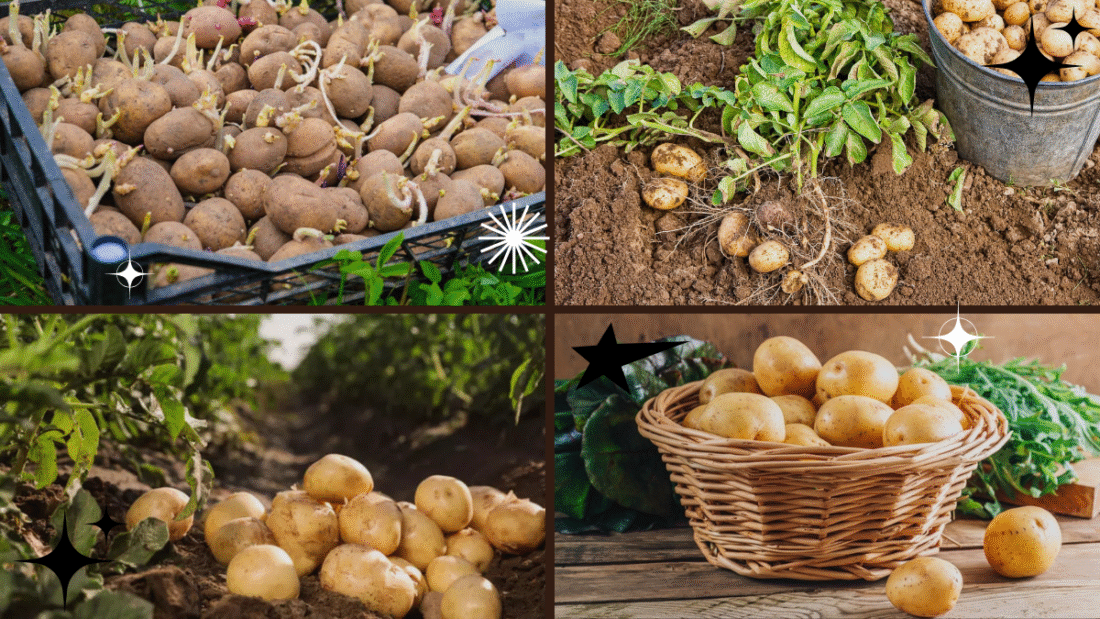
Choosing the Right Potato
While you can start with a supermarket potato, it’s best to use certified seed potatoes from a garden center or online supplier. They’re disease-free and bred for growing new plants. However, if you have a sprouting potato in your kitchen, you can use that too — just be aware of potential diseases.
Popular potato varieties for home growing include:
- ‘Yukon Gold’
- ‘Red Pontiac’
- ‘Russet Burbank’
- ‘Kennebec’
- ‘Fingerling’
Preparing Your Potato for Planting
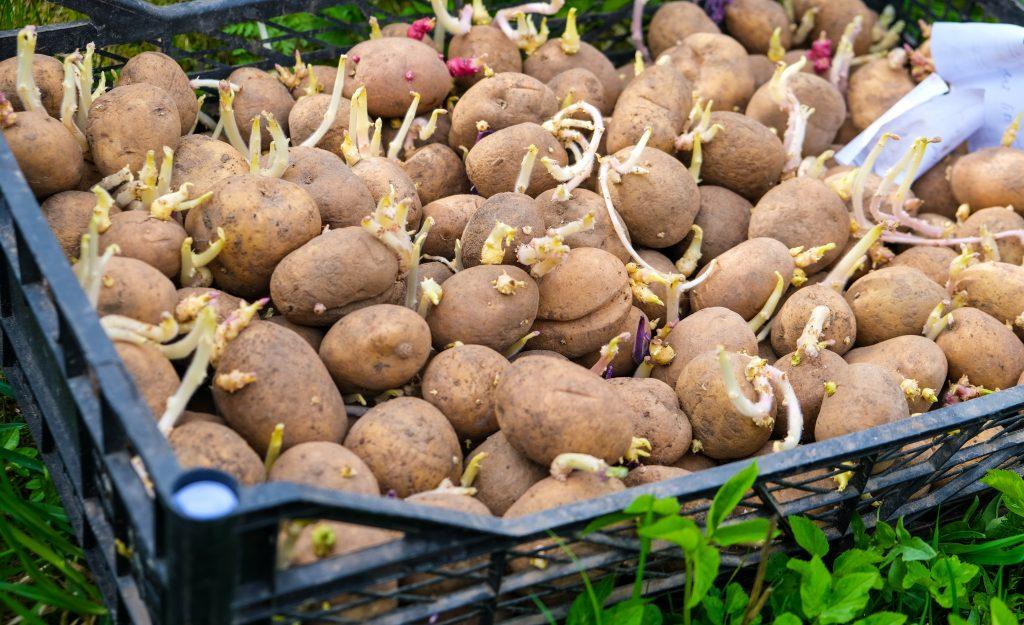
1. Check for Sprouts
Look for a potato with several eyes, preferably already sprouting. If not, place it in a cool, bright area for 1-2 weeks until it begins to sprout.
2. (Optional) Cut and Cure
If your potato is large with multiple eyes, you can cut it into pieces — each with at least one or two eyes.
- Let the cut pieces sit at room temperature for 24-48 hours to allow the cut surfaces to dry and callus over. This reduces the risk of rot when planted.
Planting Your Potato
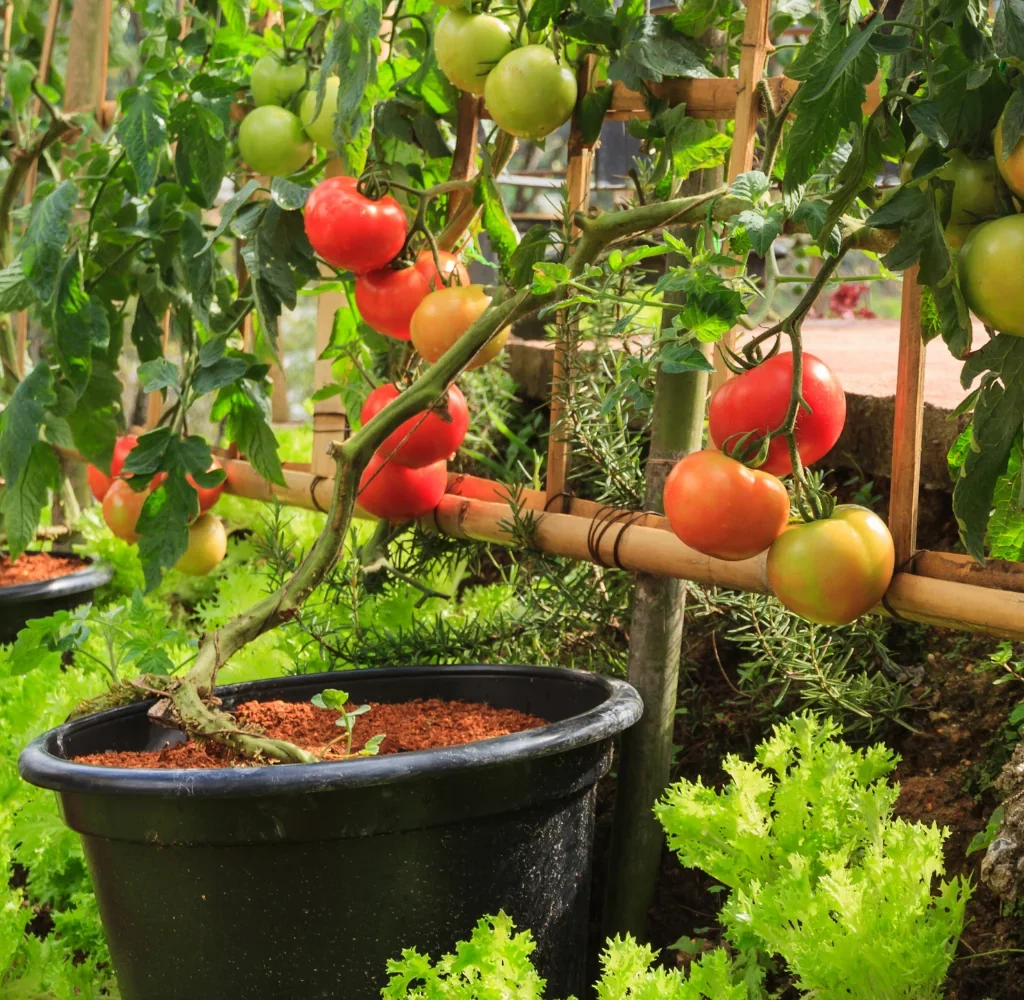
In Containers
Potatoes thrive in containers, grow bags, or barrels. This method is clean, space-saving, and easy to manage.
Steps:
- Fill your container with 4-6 inches of loose, fertile soil.
- Place the potato (sprout side up) on the soil surface.
- Cover with 3-4 inches of soil.
- Water lightly.
As the plant grows, you’ll add more soil to cover the stems, encouraging more tubers to form.
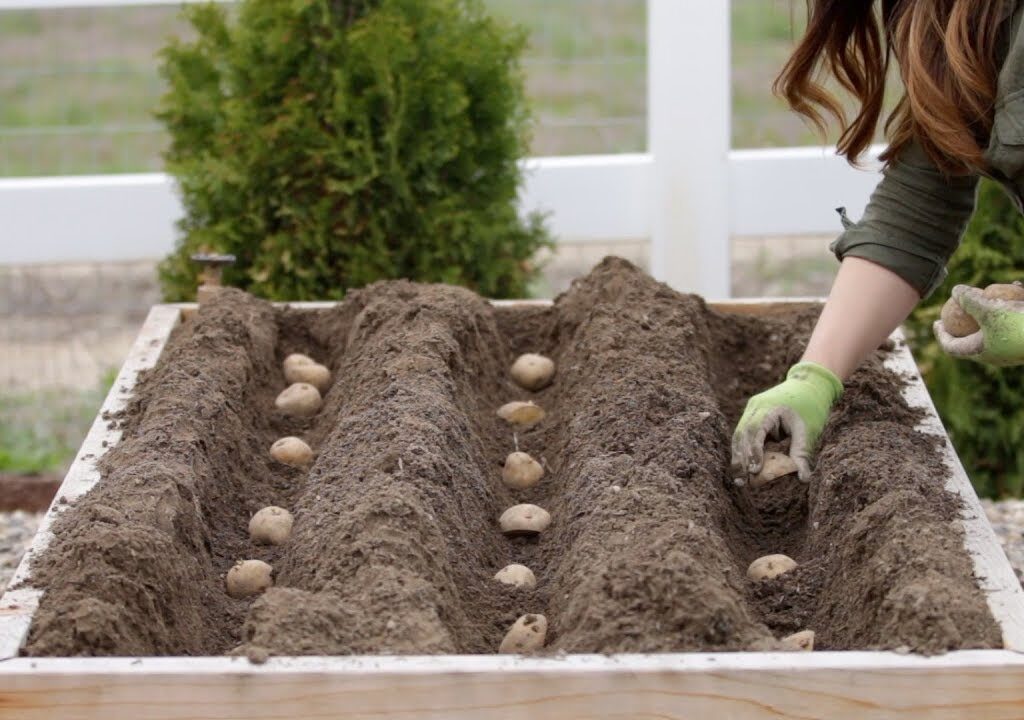
In Garden Beds
Choose a sunny, well-draining spot in your garden.
Steps:
- Dig a trench about 6-8 inches deep.
- Place the potato (sprouts facing up) in the trench.
- Space each potato about 12 inches apart.
- Cover with 3-4 inches of soil.
As plants grow, gradually mound soil around the stems to keep developing tubers covered.

Care and Maintenance
Light
Potatoes need 6-8 hours of direct sunlight daily. Choose a bright spot for your container or garden bed.
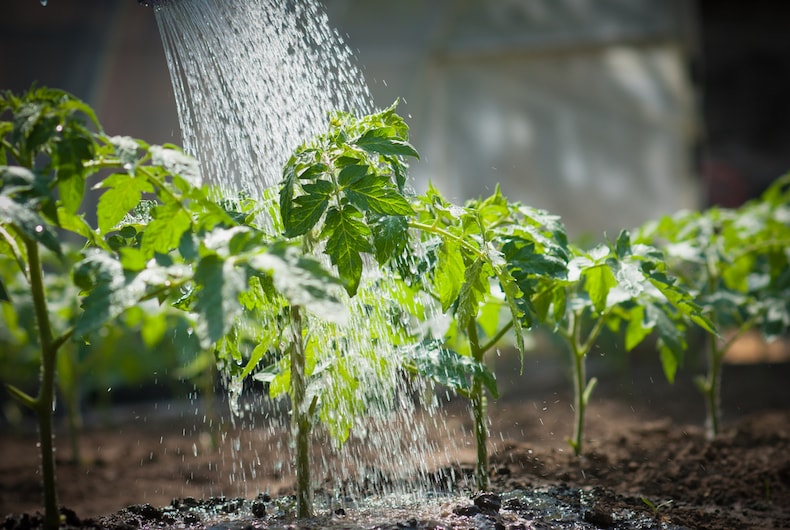
Watering
Keep the soil consistently moist but not soggy. Water deeply once or twice a week, more often during hot, dry spells. Avoid overhead watering to reduce the risk of fungal diseases.
Fertilizing
Feed your potato plant every 4-6 weeks with a balanced, organic fertilizer or compost tea. Avoid excessive nitrogen, which encourages foliage growth over tuber production.
Hilling
As your potato plant grows, continue adding soil or mulch around the base of the stems, a process known as hilling. This:
- Protects developing tubers from sunlight (which turns them green and toxic)
- Increases yield by encouraging more tubers to form along buried stems
Repeat this process until your container is full or the soil mound is about 8-10 inches high.
Common Problems and How to Prevent Them
Even though potatoes are tough, they can face a few issues:
- Green Potatoes: Caused by tubers exposed to sunlight. Always keep them covered with soil.
- Overwatering: Can lead to rot or fungal diseases. Let soil dry slightly between waterings.
- Pests: Watch out for aphids, flea beetles, and potato beetles. Handpick or use organic pest controls as needed.
- Blight: A fungal disease that causes wilting and black spots. Avoid overhead watering and remove infected plants.
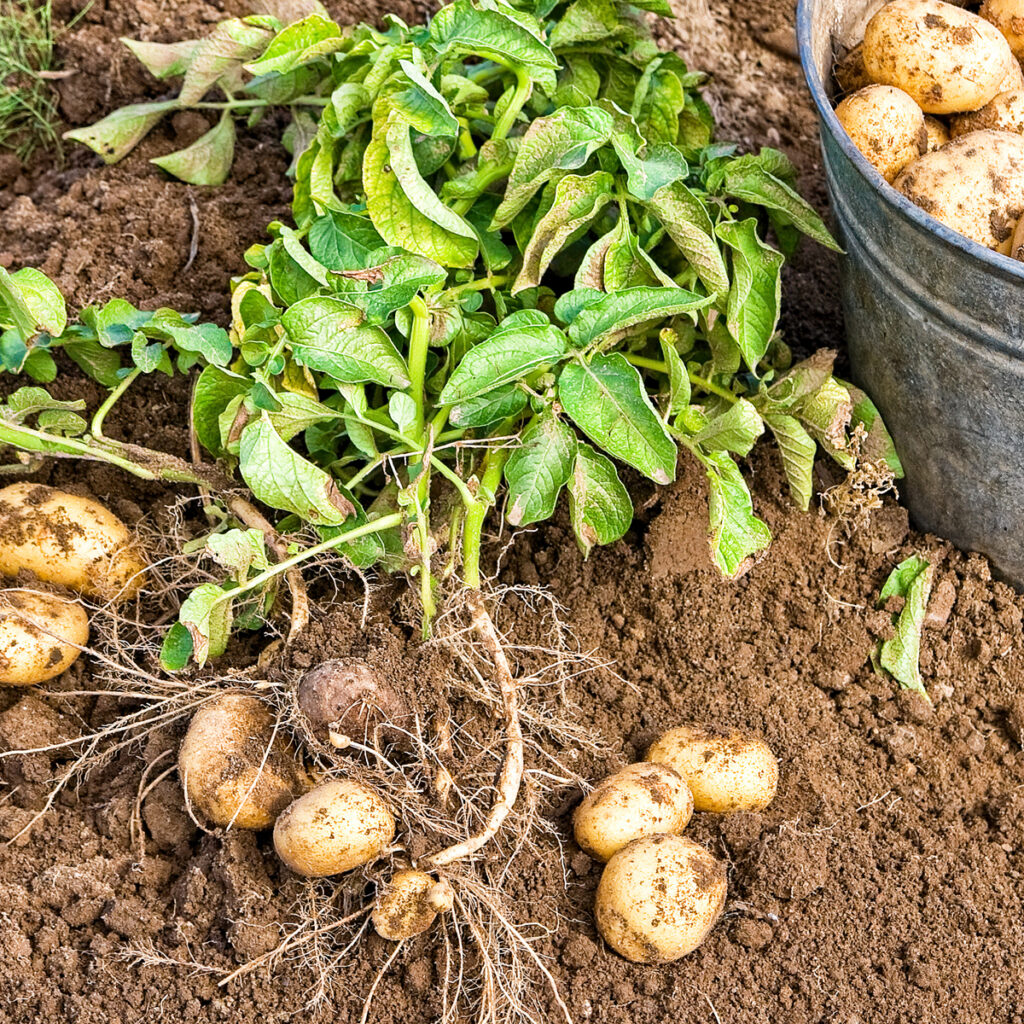
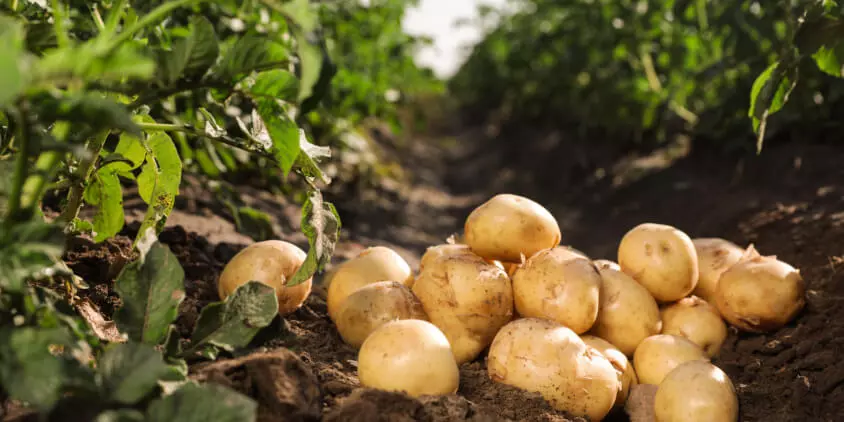
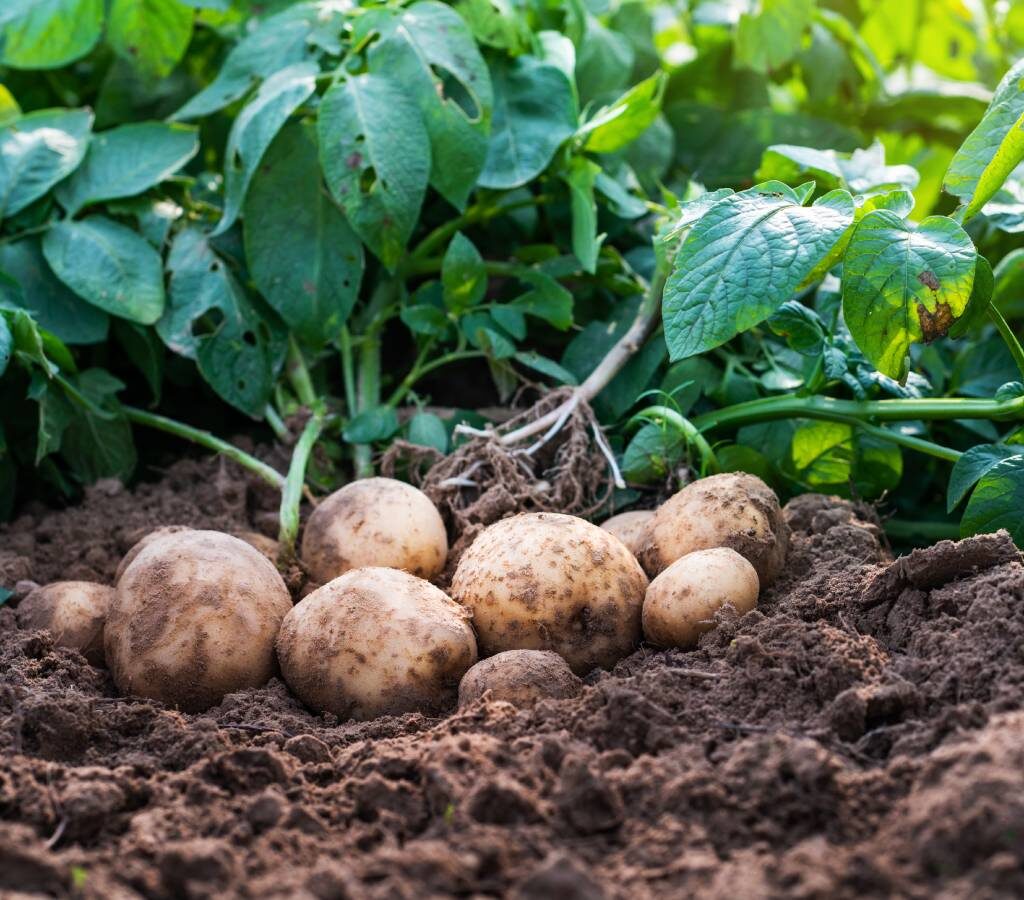
Harvesting Your Potatoes
When to Harvest
- New Potatoes: Harvest when plants flower (around 10-12 weeks). Gently dig around the base for small, tender tubers.
- Mature Potatoes: Wait until the foliage turns yellow and dies back (about 14-18 weeks). Stop watering for a week before harvesting to allow tubers to firm up.
How to Harvest
- Use your hands or a small garden fork to carefully dig around the plant.
- Remove tubers, brushing off excess soil.
- Cure them in a cool, dark, well-ventilated area for a week if you plan to store them.
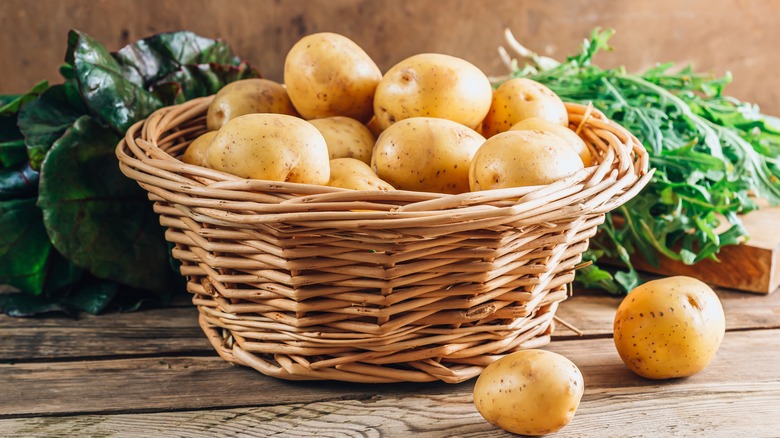
Storing Your Homegrown Potatoes
- Store cured potatoes in a cool, dark place (40°F-50°F) with good airflow.
- Avoid storing them near onions or apples, which emit gases that can spoil potatoes.
- Well-cured potatoes can last for several months.
Fun Tips and Ideas
- Grow Colored Varieties: Try purple or red-fleshed potatoes for visual interest.
- Kids’ Project: Use a clear plastic container so kids can watch tubers form underground.
- Grow in Bags: Fabric grow bags are perfect for patios, balconies, or small yards.
Final Thoughts
Growing a potato plant from a single potato is not only easy and cost-effective but also immensely satisfying. From watching those first sprouts appear to digging up your own homegrown harvest, the process connects you to nature in a truly hands-on way.
With a bit of care, a sunny spot, and regular watering, your humble potato can yield an impressive crop. Whether you have a sprawling backyard or a tiny balcony, you can enjoy fresh, delicious potatoes grown by your own hand.
So next time you spot a sprouting potato in your pantry, don’t toss it — plant it, nurture it, and enjoy the simple joy of homegrown food.