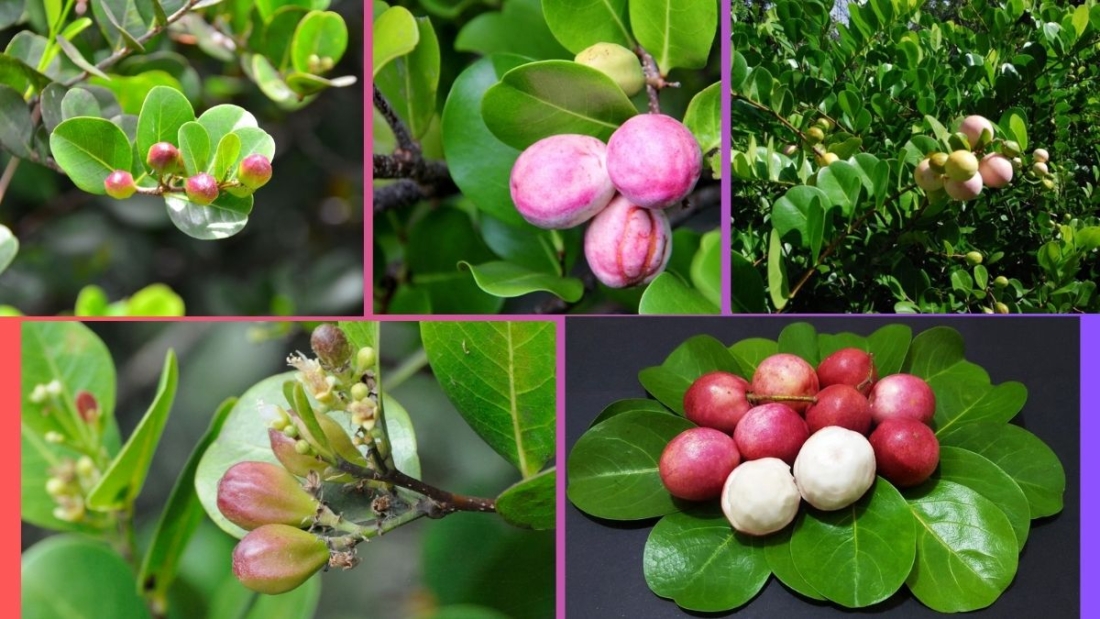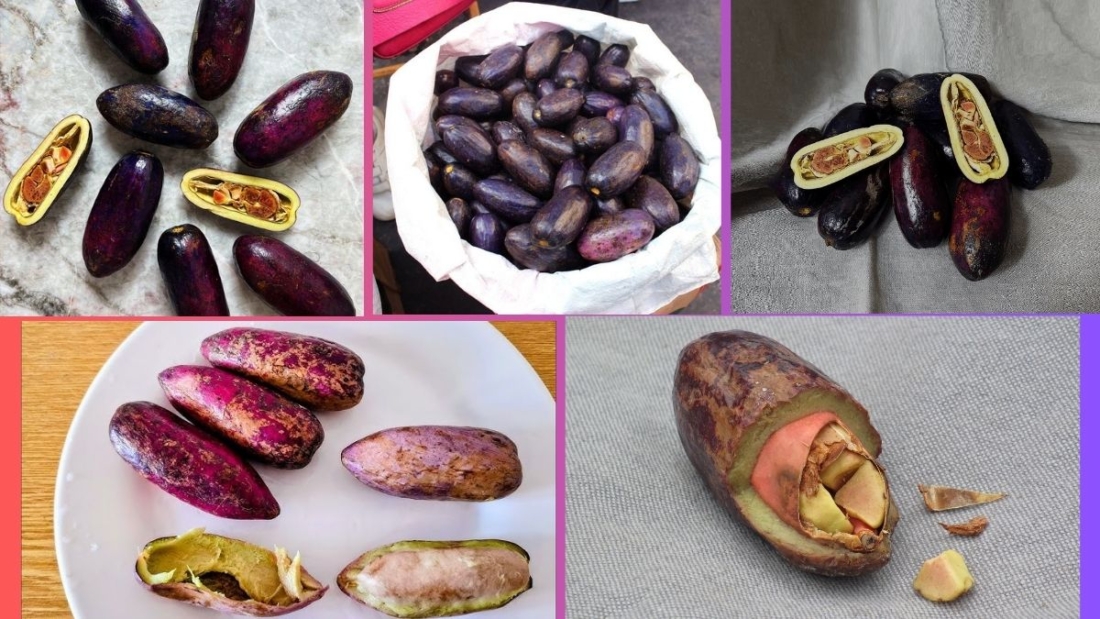
Among the wide variety of fruits indigenous to Africa, few have captured both cultural importance and nutritional value quite like the safou (Dacryodes edulis). Known by various names such as African plum, butterfruit, and bush pear, this highly nutritious fruit is an essential component of diets in Central and West Africa. Beyond its culinary appeal, safou contributes significantly to food security, livelihoods, and agroforestry systems across the region.
As the popularity of non-timber forest products (NTFPs) grows globally due to rising awareness of sustainable agriculture and traditional foods, safou stands out for its commercial potential. Yet, among the countries cultivating this fruit, one nation leads in production, export, and market organization: Cameroon.
This article will explore the production landscape of safou, why Cameroon holds the title of the world’s largest producer, and what makes this fruit increasingly significant on a global scale.
What Is Safou?
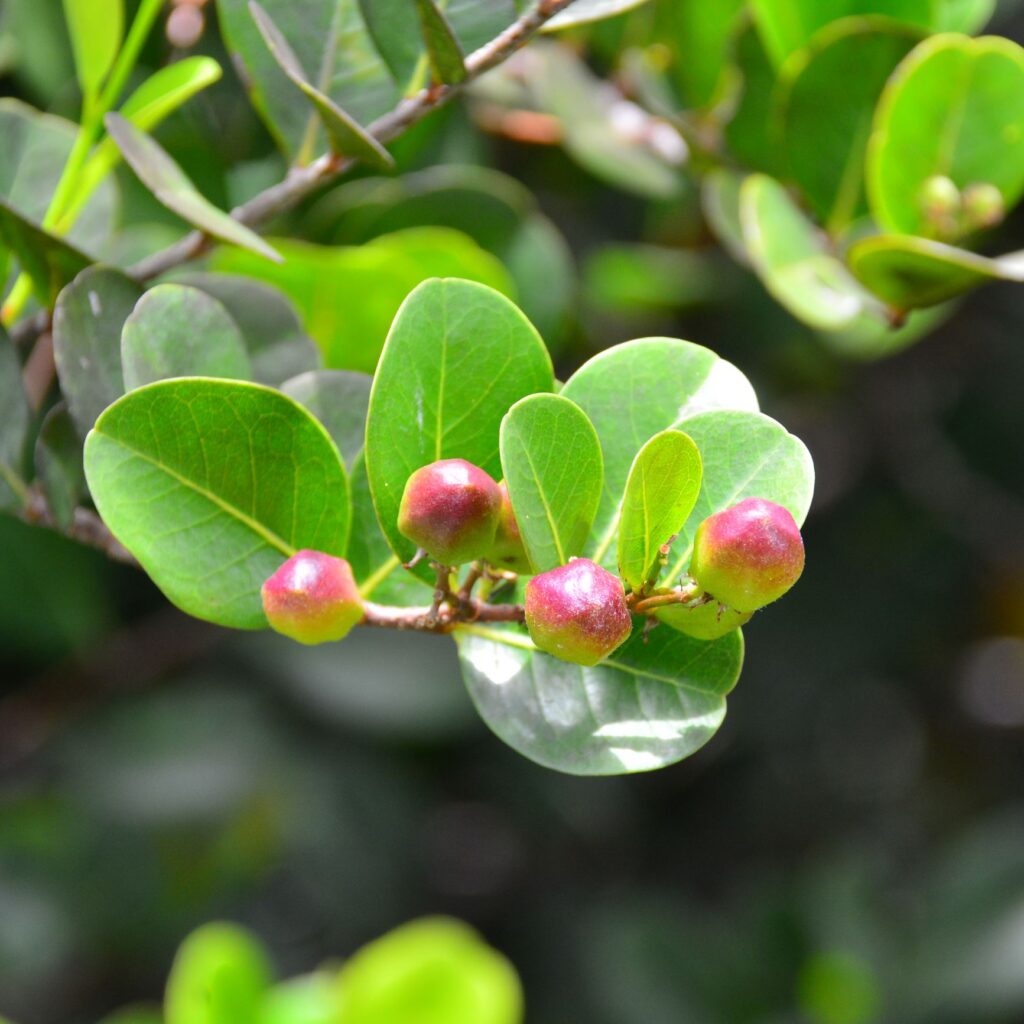
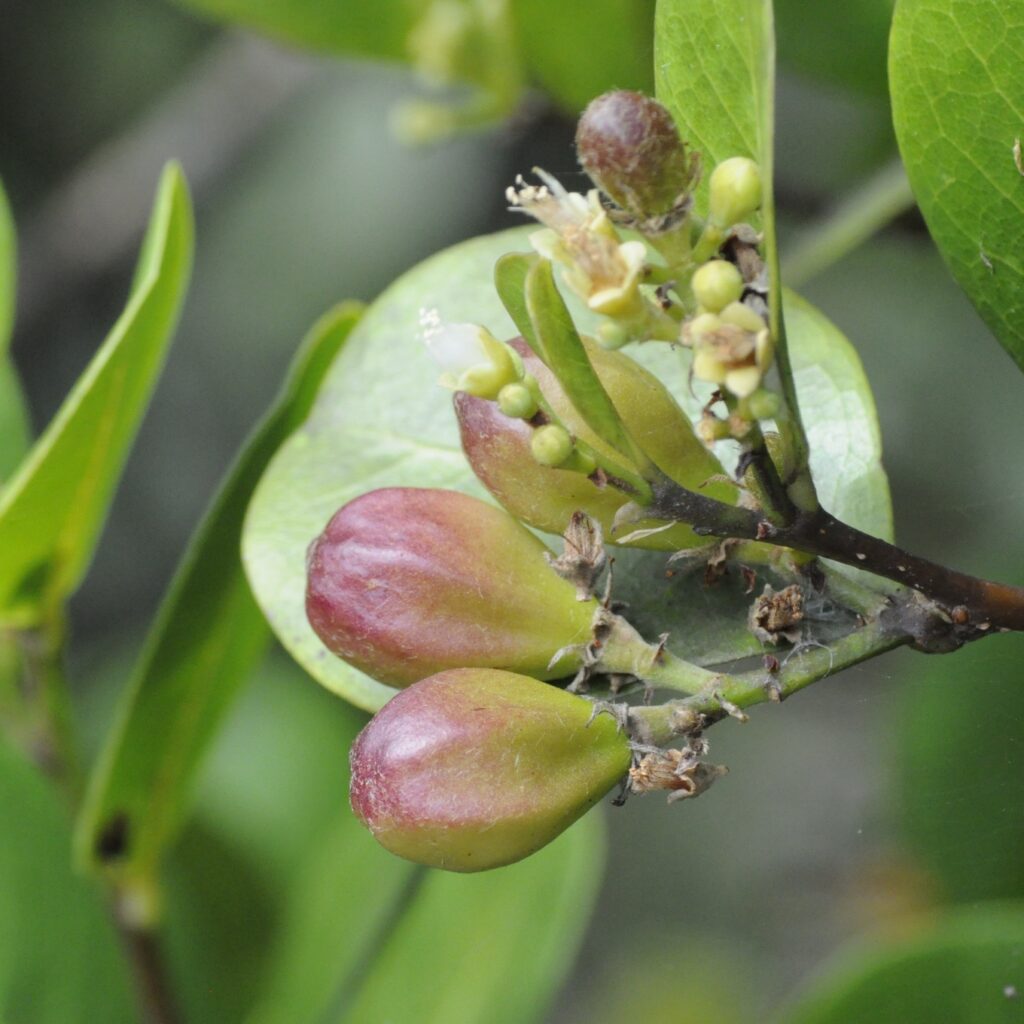
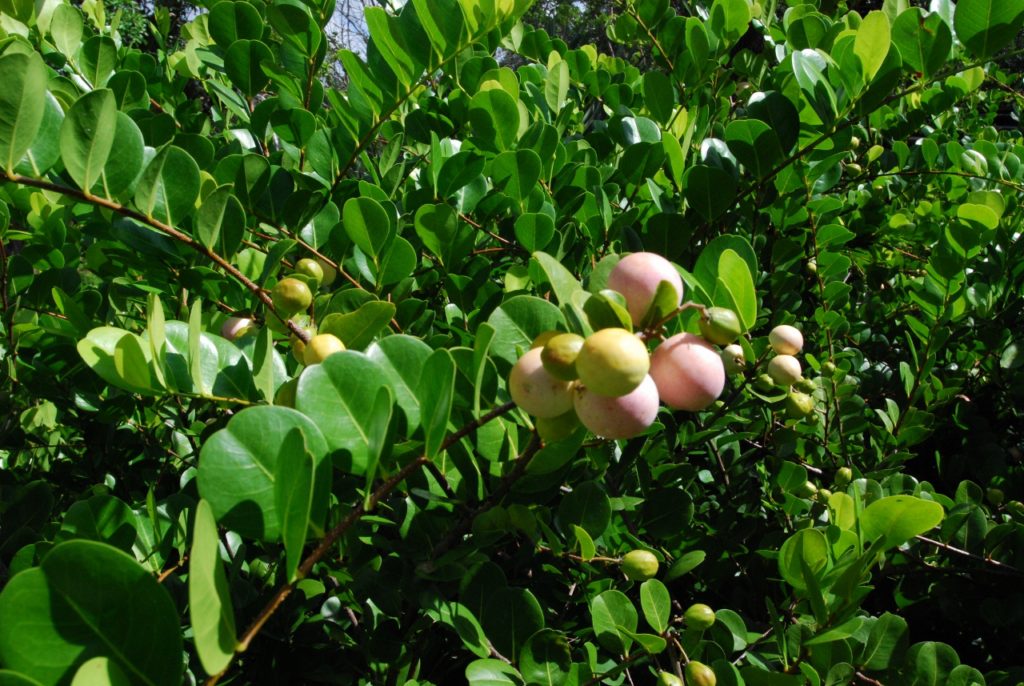
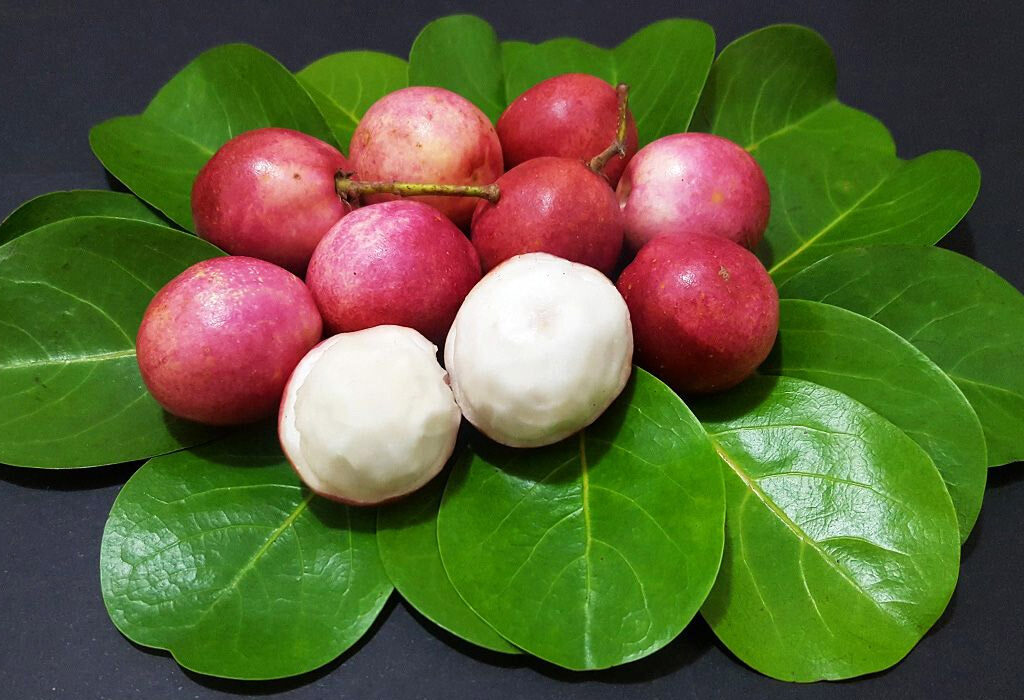
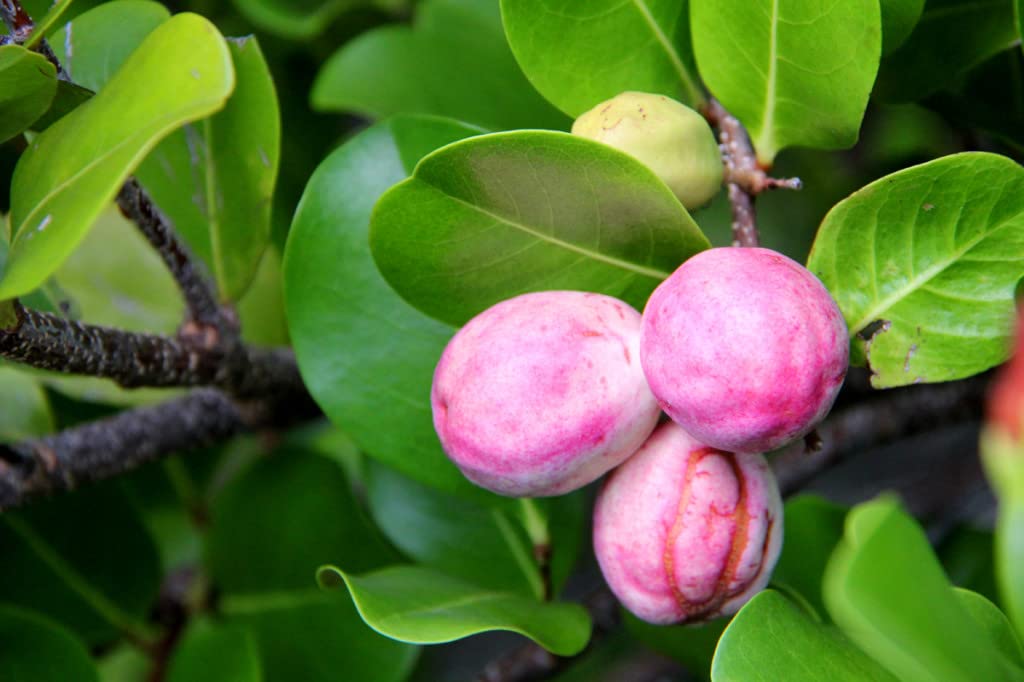
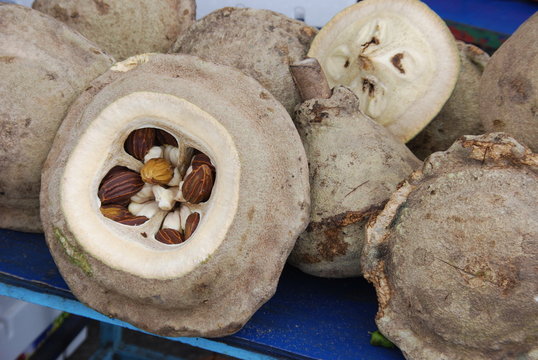
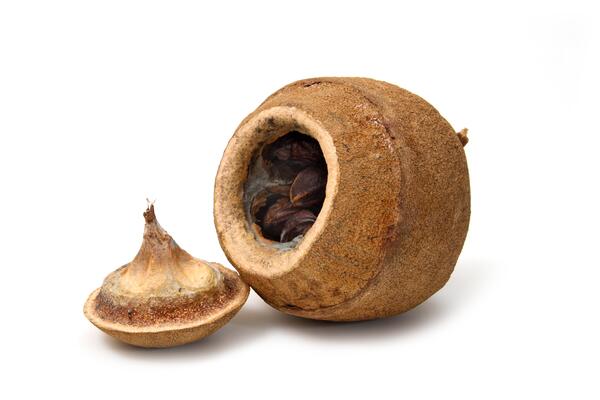
Safou is a fast-growing, evergreen tree native to the tropical rainforests of Central and West Africa. The tree thrives in warm, humid conditions and is widely cultivated in countries like Cameroon, Nigeria, Gabon, the Republic of Congo, and the Democratic Republic of Congo.
Botanical Profile:
- Scientific Name: Dacryodes edulis
- Family: Burseraceae
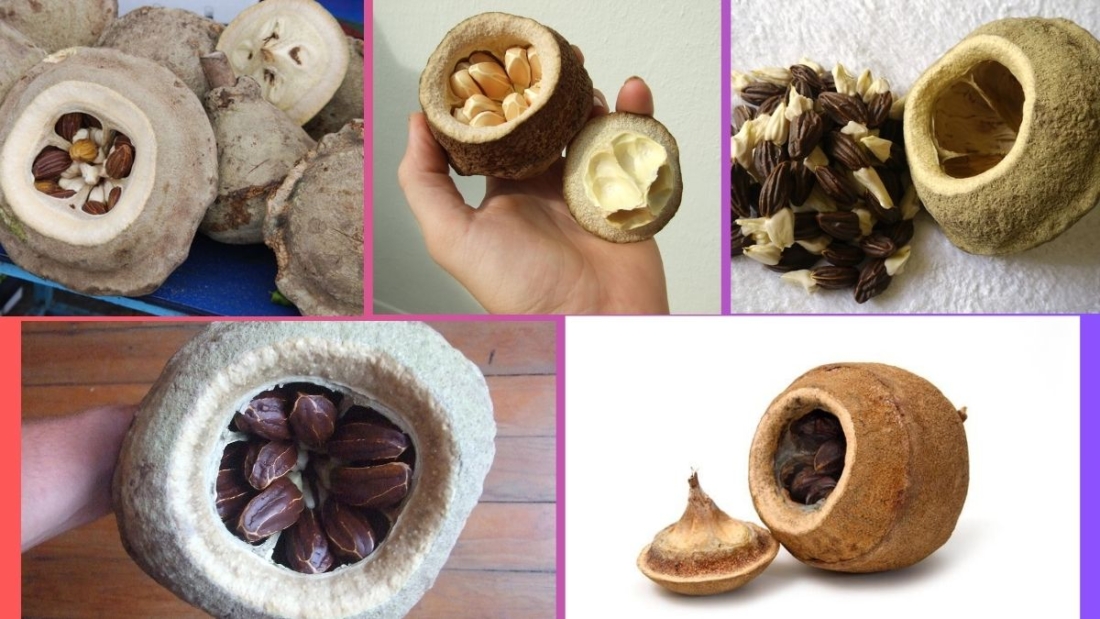
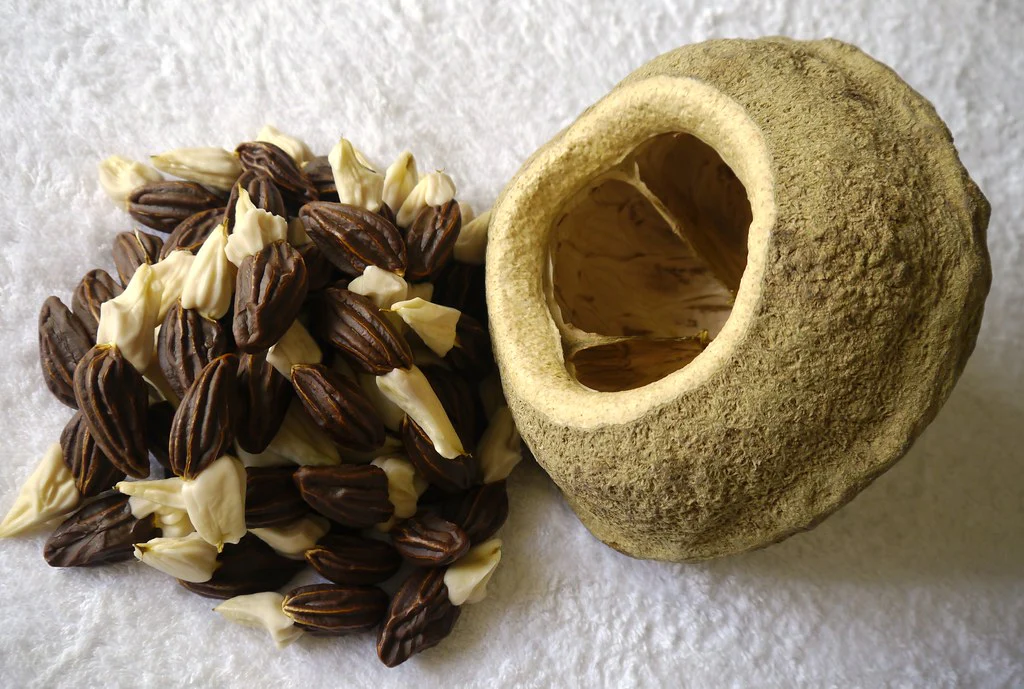
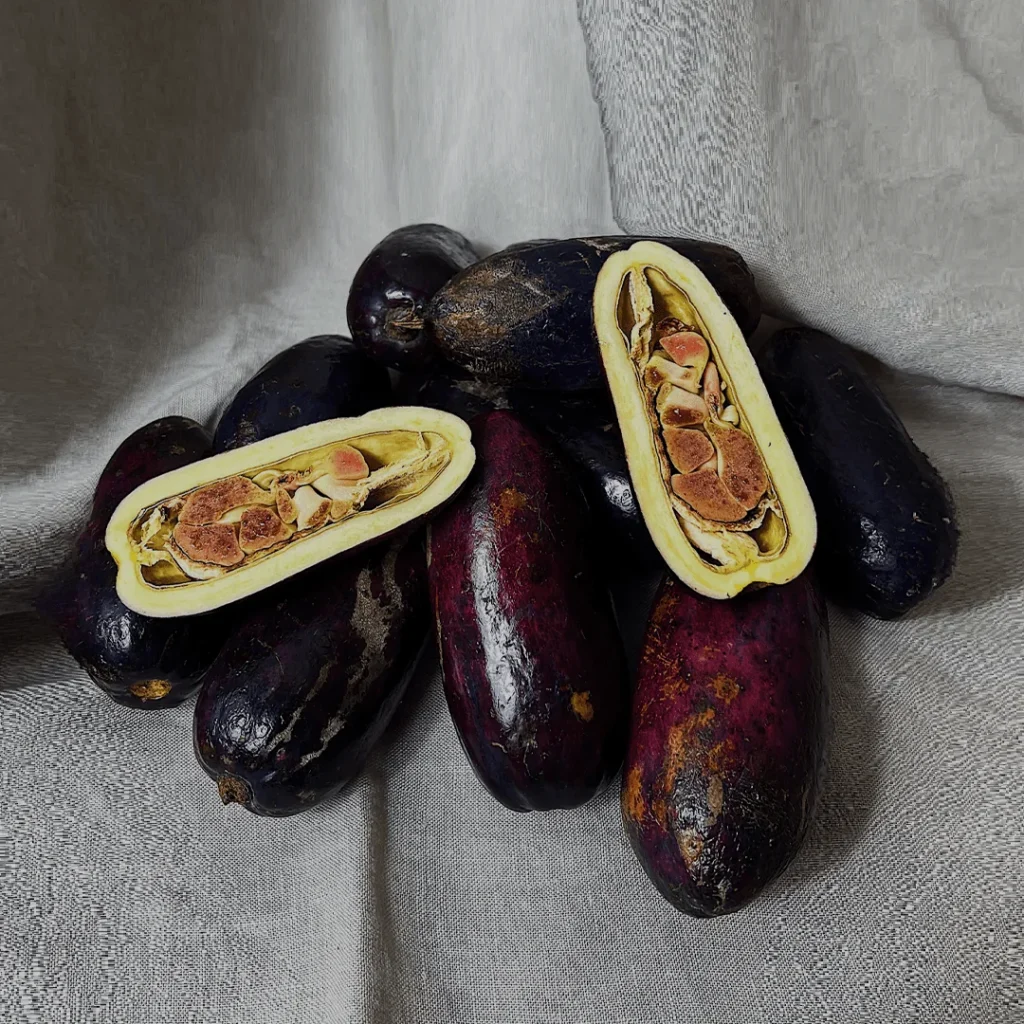
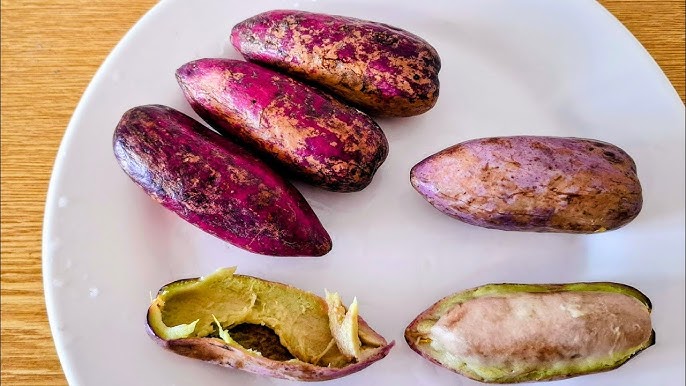
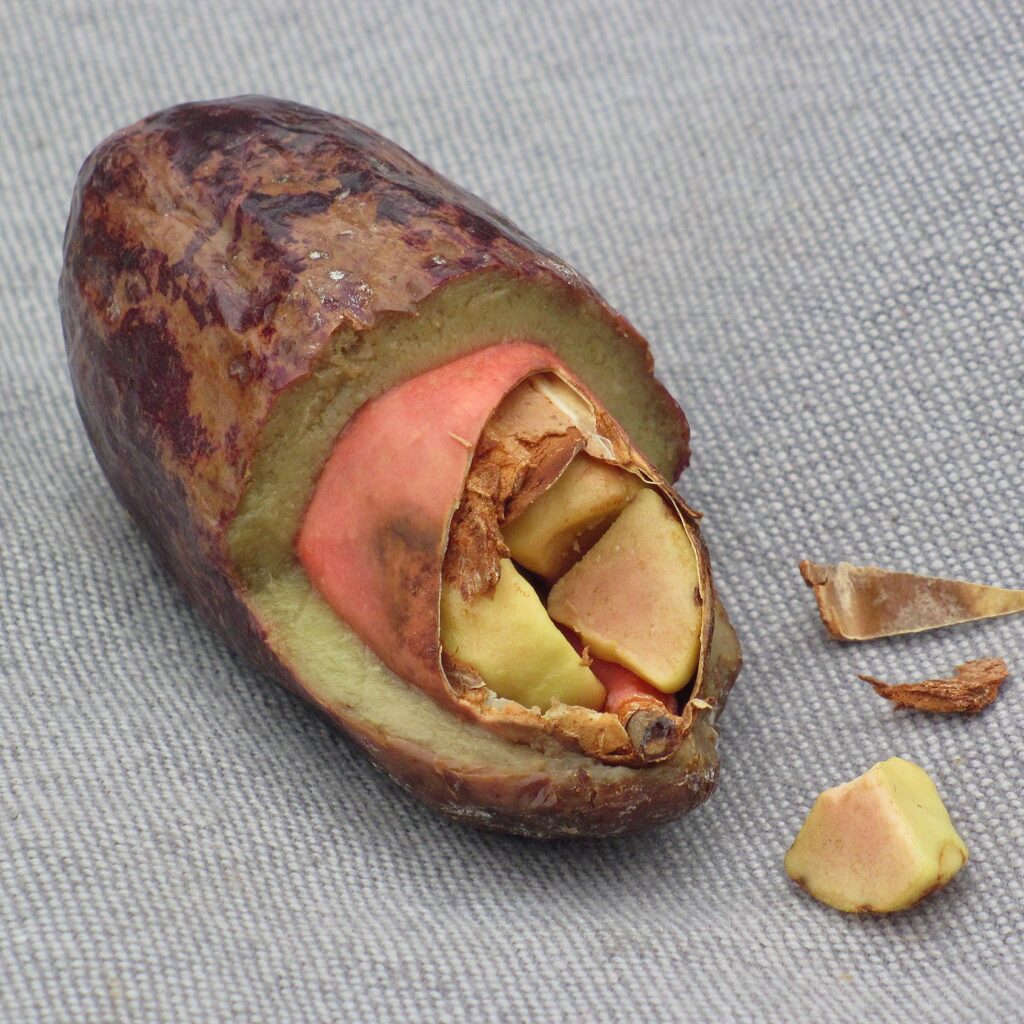
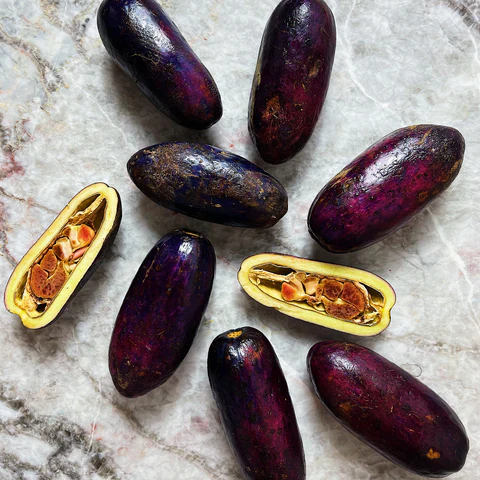
- Fruit Size: 4 to 12 cm in length
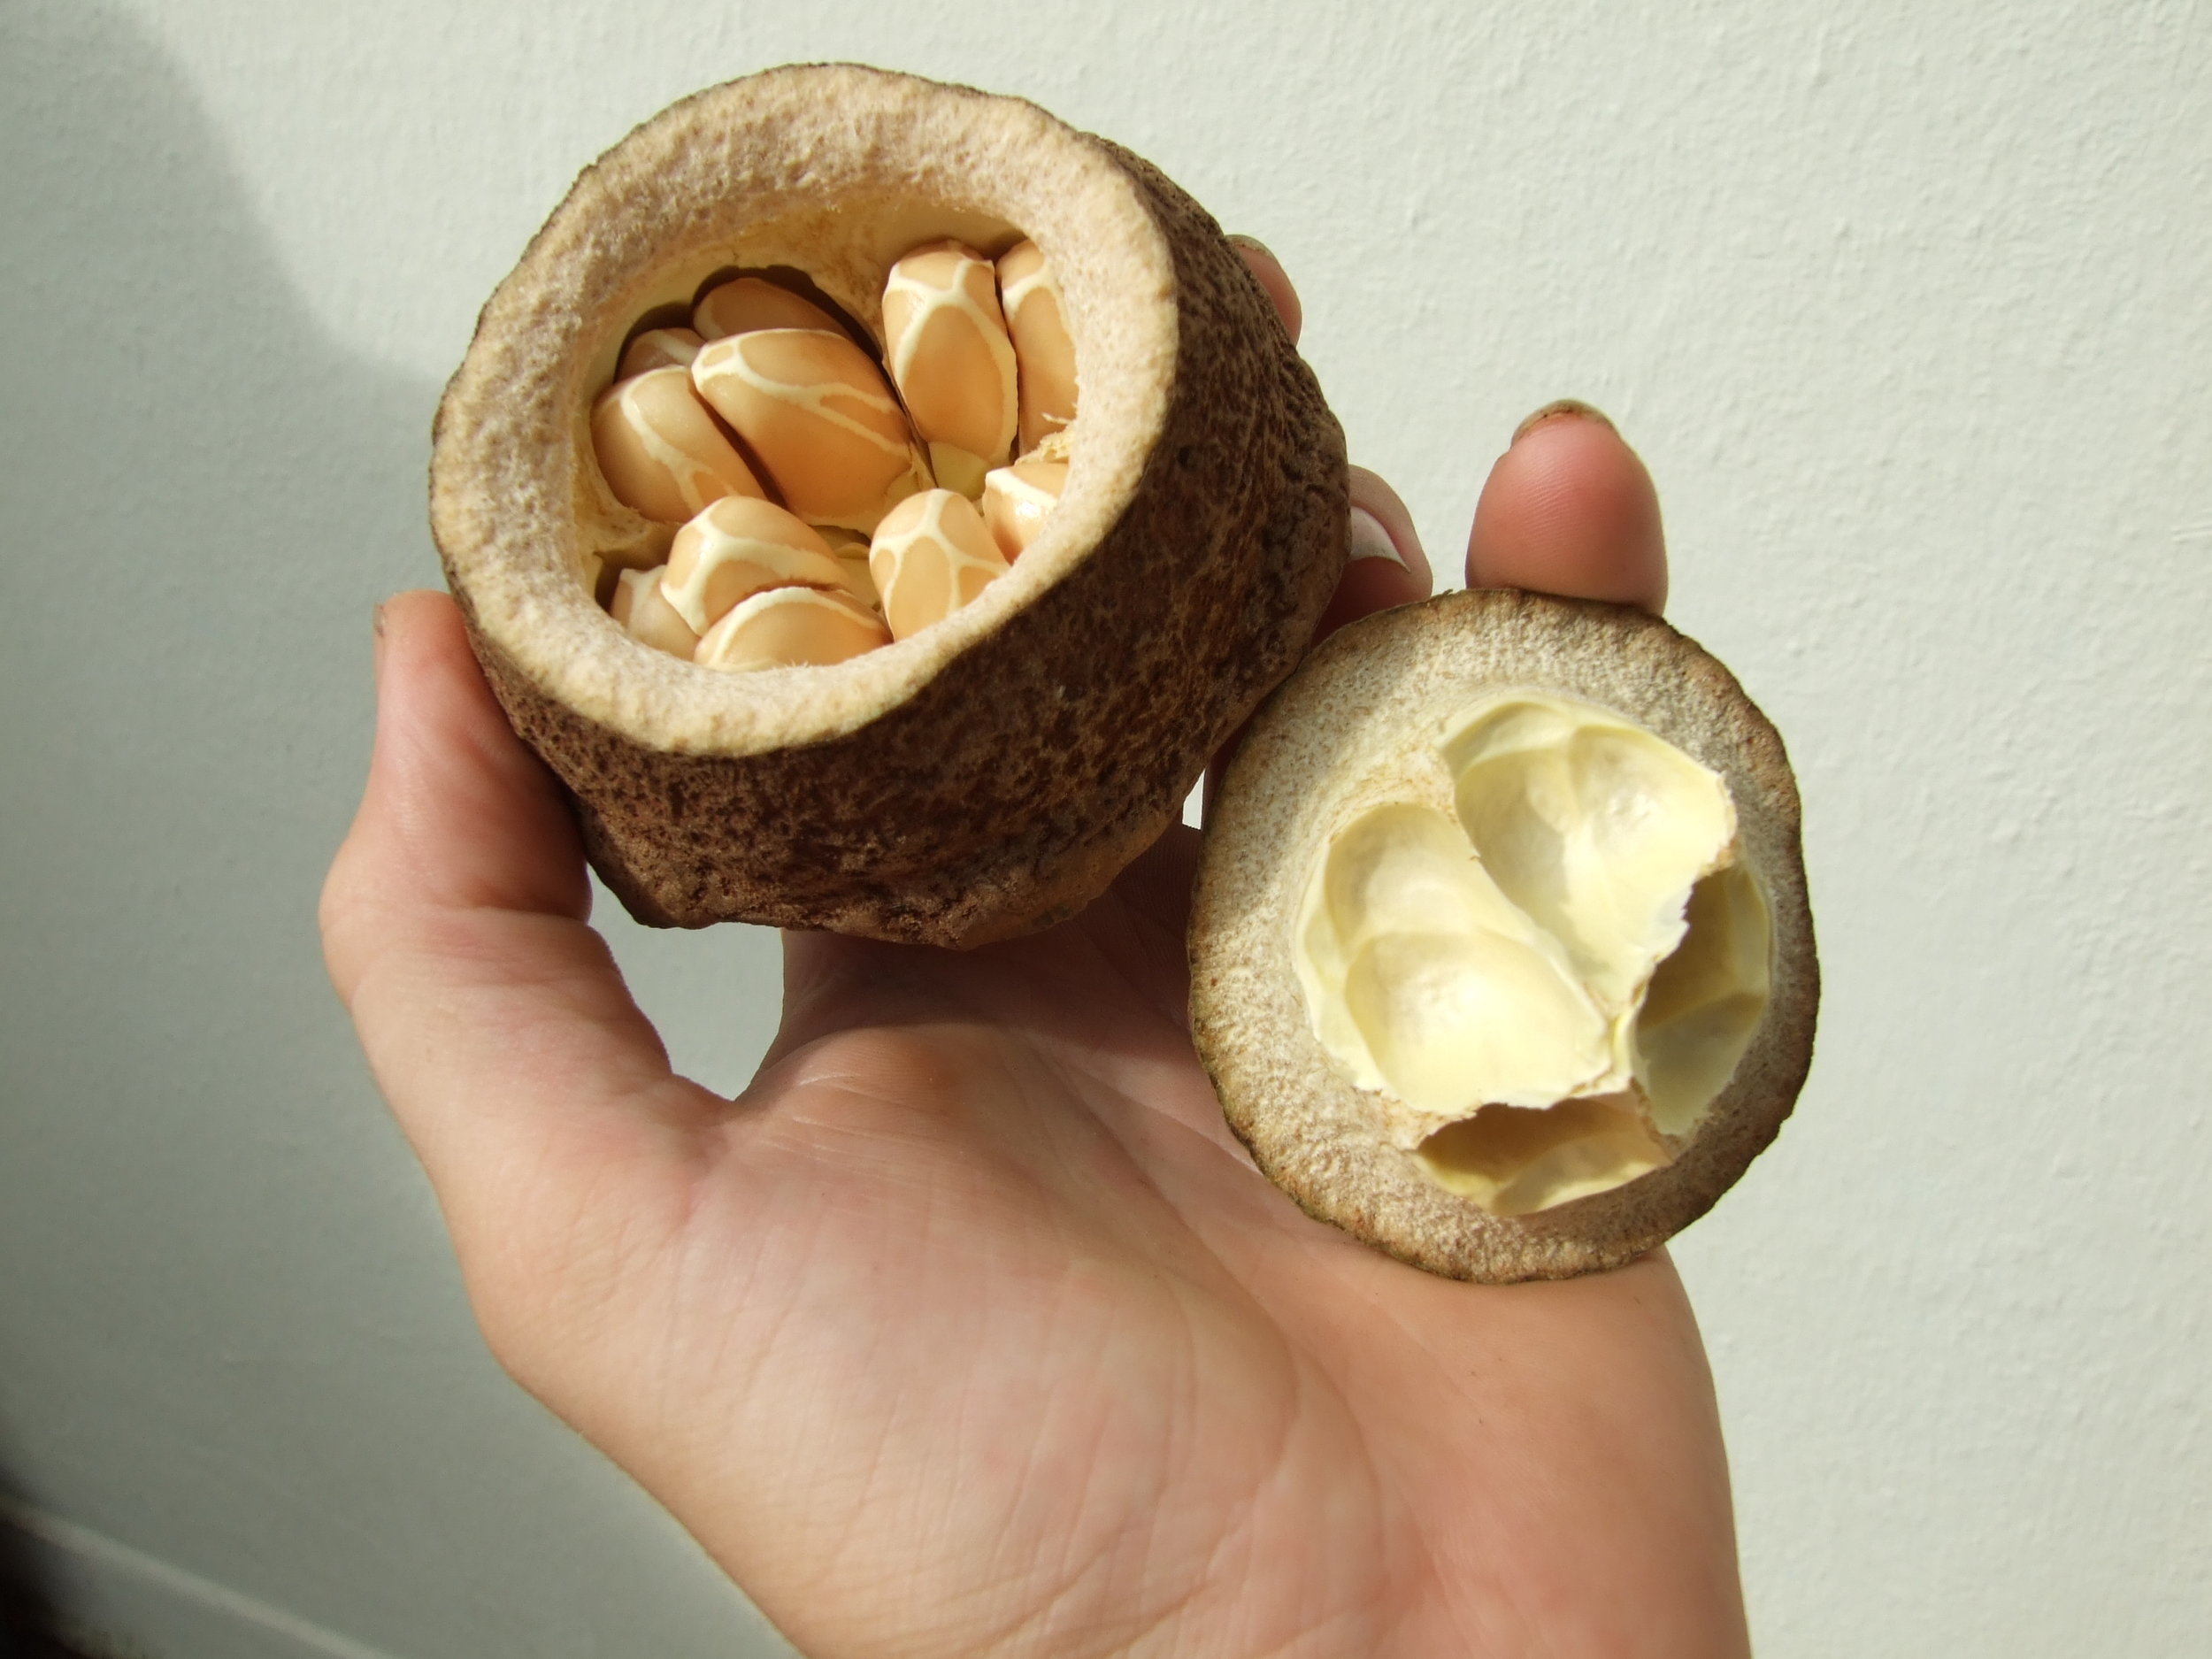
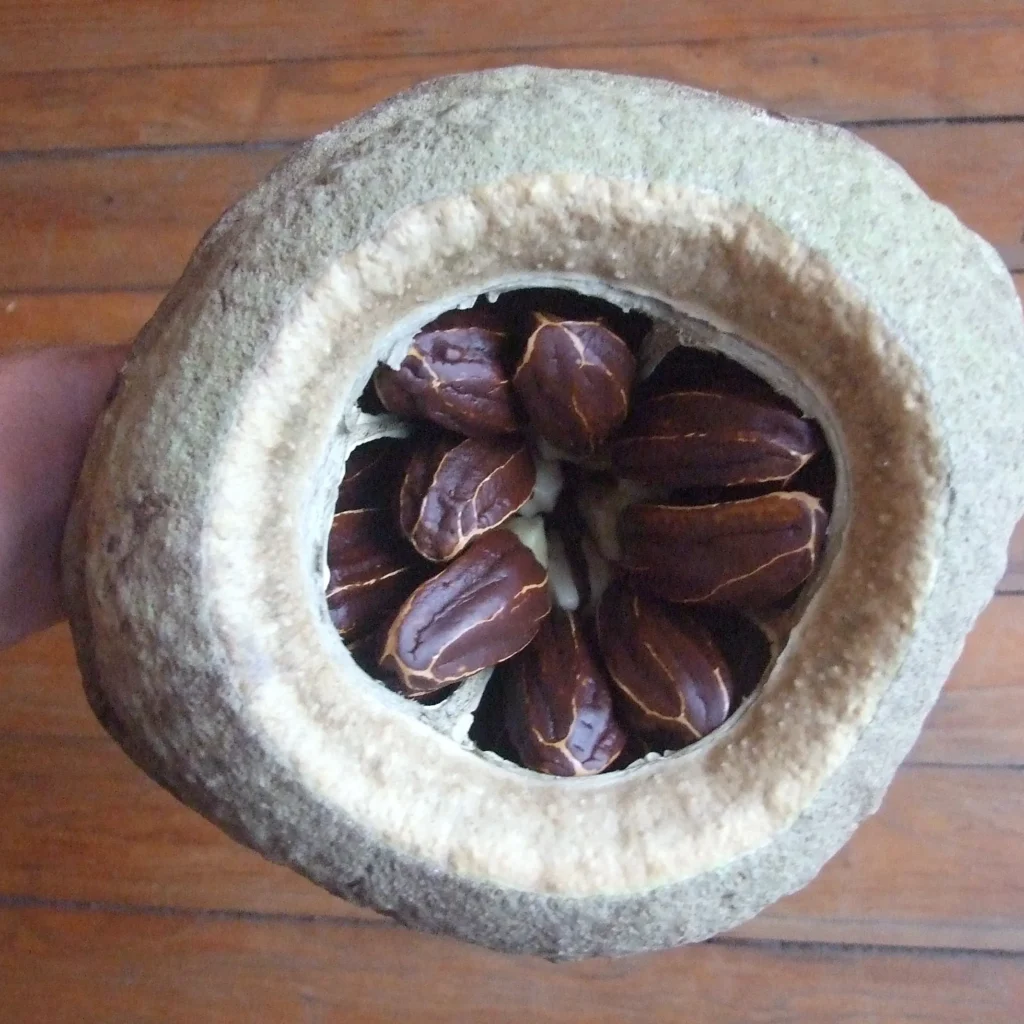
- Pulp: Creamy, oily texture when cooked
- Nutritional Value: Rich in healthy fats (up to 60%), protein, vitamins C and E, calcium, potassium, and fiber.
The fruit is typically consumed roasted or boiled, often served alongside staple foods such as maize, plantain, and cassava. The high oil content has earned it the nickname “butterfruit,” as its softened flesh resembles butter when heated.
Global Distribution of Safou Production
Safou is predominantly produced in Central and West African countries. The major producers include:
- Cameroon
- Nigeria
- Gabon
- Republic of Congo
- Democratic Republic of Congo
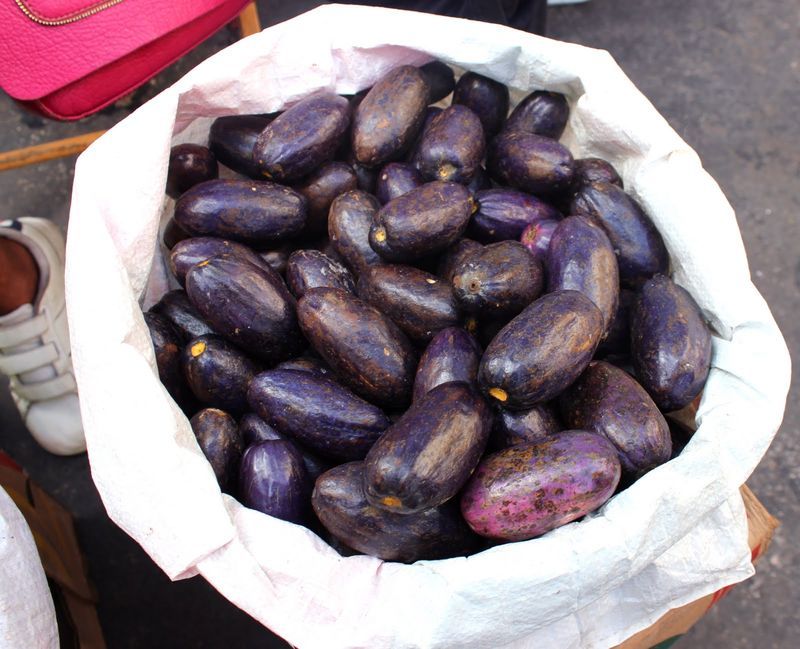
Despite its wide natural distribution, commercial safou production is still largely informal, with most fruits sold in local markets and a growing but limited volume exported to Europe and other African regions.
Cameroon: The Global Leader in Safou Production
Production Volume
According to multiple agricultural and economic studies, Cameroon is the largest safou producer globally, responsible for over 65% of the total safou production in Central Africa. In a landmark study conducted in 1997, Cameroon marketed more than 11,000 metric tons of safou in domestic and international markets. This figure has since grown, bolstered by increasing demand in both local and diaspora communities.
Cameroon’s fertile rainforests, particularly in the Southwest, Littoral, Centre, and East regions, provide ideal growing conditions for safou trees, which thrive in humid, tropical climates.
Economic Value and Market Impact
Safou contributes significantly to rural incomes and national economic activity:
- In Cameroon alone, safou trade was valued at over $7.5 million annually as early as the late 1990s.
- The country exports several tons of fresh safou to Europe, especially France, Belgium, and the UK, serving diaspora markets and specialty produce shops.
- Safou-related industries, such as pulp oil extraction for cosmetics and culinary uses, have expanded domestically, offering added value opportunities.
The safou value chain in Cameroon is also socially significant, involving thousands of smallholder farmers, predominantly women, who dominate the retail distribution of fresh safou in open-air markets.
Integration in Agroforestry Systems
Cameroon’s success as the leading safou producer stems from the country’s well-established agroforestry practices. Safou trees are typically integrated into mixed cropping systems alongside cocoa, coffee, plantains, and other crops. This model not only improves food security but also supports sustainable land use and biodiversity conservation.
Safou trees contribute to:
- Soil fertility improvement
- Erosion control
- Canopy provision for shade-loving crops
The tree’s resilience and adaptability make it an excellent component of diversified, climate-smart agricultural systems, further increasing its cultivation across Cameroon.
Other Major Safou Producers
While Cameroon leads the industry, other countries also contribute to regional production:
- Nigeria: Primarily grown in the southern states, safou is popular in local markets but lacks the organized export infrastructure found in Cameroon.
- Gabon and Congo: Safou is cultivated in home gardens and small-scale farms, often for subsistence or local sale.
- Democratic Republic of Congo (DRC): DRC possesses significant natural safou forests but suffers from logistical and infrastructure challenges, limiting commercial trade.
Collectively, these countries produce substantial quantities of safou for local consumption. However, none match Cameroon’s combination of high production, market organization, and international trade capacity.
Uses and Nutritional Importance of Safou
The appeal of safou extends beyond its pleasant, buttery taste. Its nutritional richness and health benefits have earned it a growing reputation as a functional food.
Key Benefits:
- High in Healthy Fats: Provides essential fatty acids such as oleic and linoleic acid.
- Rich in Vitamins: Particularly vitamins C, E, and provitamin A.
- Mineral-Rich: Contains calcium, potassium, magnesium, iron, and phosphorus.
- Energy Dense: Due to its high oil content, safou is a reliable source of calories.
In traditional medicine, safou is used to treat gastrointestinal ailments, skin conditions, and fatigue. Modern studies have also identified its potential for cholesterol management and antioxidant effects.
Challenges in Safou Production and Marketing
Despite its significance, safou production faces several obstacles:
- Perishability: The fruit has a short shelf life of 3–7 days post-harvest, limiting its marketing range.
- Post-Harvest Losses: Up to 50% of safou harvests are lost due to poor storage and handling practices.
- Limited Processing Infrastructure: Most safou is sold fresh, with underdeveloped processing industries for products like oil, jams, and preserves.
- Uneven Production Cycles: Biennial fruiting habits affect consistent market supply.
Addressing these issues through improved cold storage, value-addition industries, and coordinated producer networks could greatly enhance the safou sector.
Future Prospects for Safou Production
Interest in safou is steadily rising, both within Africa and internationally. The growing demand for indigenous, nutrient-rich fruits presents new opportunities:
- Export Market Expansion: Targeting health-conscious consumers in Europe and North America.
- Agroforestry Promotion: Integrating safou into climate-smart farming systems.
- Product Diversification: Developing safou-based oils, cosmetics, sauces, and preserves.
- Value Chain Development: Strengthening cooperatives, training programs, and infrastructure for improved market access.
Cameroon, with its leadership position and established market systems, is well-placed to capitalize on these emerging opportunities.
Conclusion
In the global context of safou production, Cameroon is unmistakably the leader, commanding the largest share of both domestic and export markets. Its advantageous growing conditions, established agroforestry traditions, and organized trade networks set it apart from neighboring producers.
Safou remains not only a culturally treasured fruit but also an economically vital commodity in Cameroon. As interest in African indigenous fruits grows worldwide, Cameroon’s leadership in safou production is expected to continue, providing livelihoods for thousands and offering the world a sustainable, health-promoting delicacy.