Among the world’s many exotic and lesser-known tropical fruits, Achachairú (Garcinia humilis) stands out for its superb flavor, nutritional benefits, and rich cultural history. Revered in its native regions for centuries, this small, round, orange-hued fruit — often referred to as “Achacha” — is now gaining international recognition as a superfruit.
As its global popularity continues to grow in gourmet kitchens, health food markets, and tropical fruit orchards, one vital question arises for horticulturists, culinary enthusiasts, and global fruit trade analysts alike: Which country is the largest Achachairú producer globally? The clear and definitive answer is Bolivia.
In this article, we will explore the rich history of Achachairú, its ecological significance, cultivation regions, global trade, and why Bolivia remains the world’s top producer of this unique and flavorful tropical fruit.
What is Achachairú?
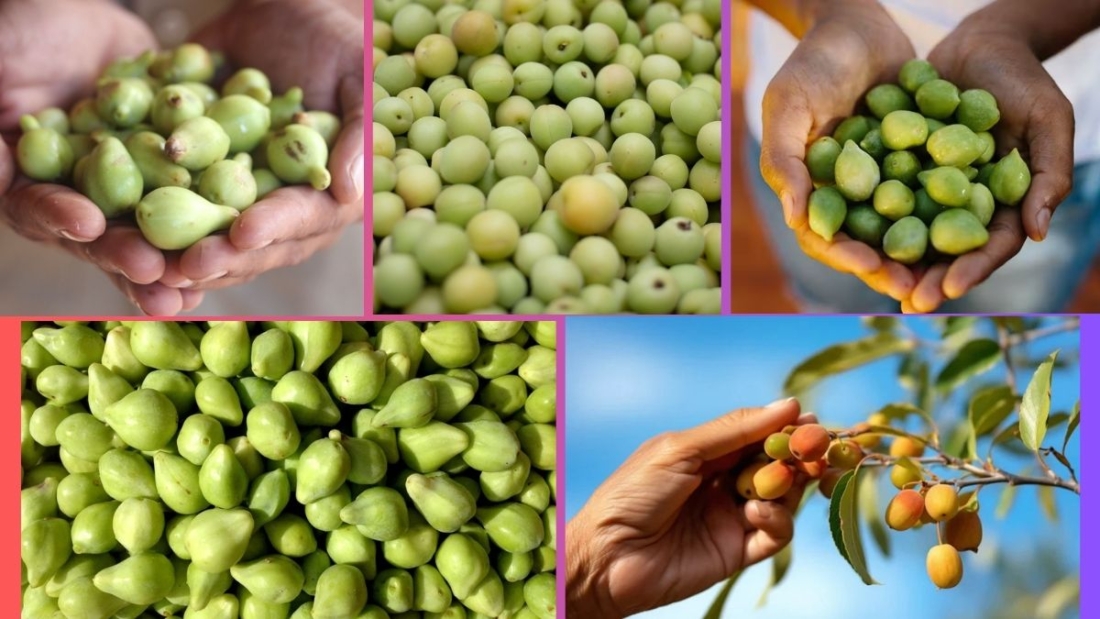
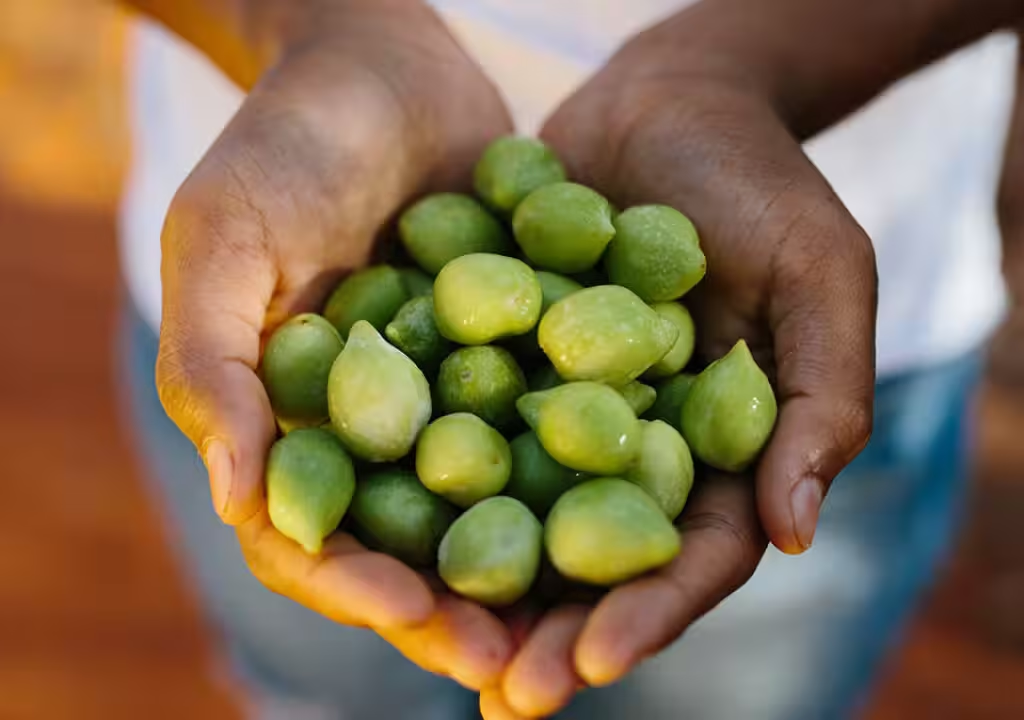
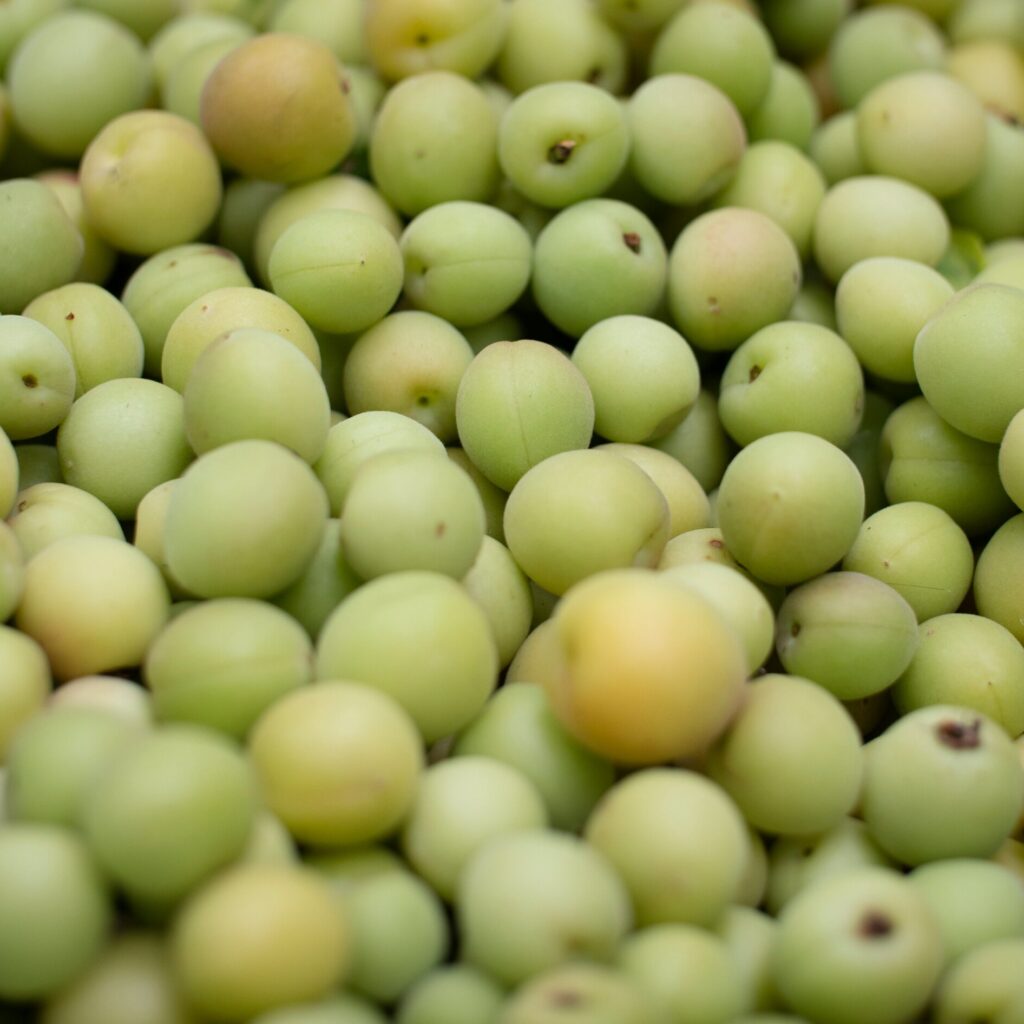
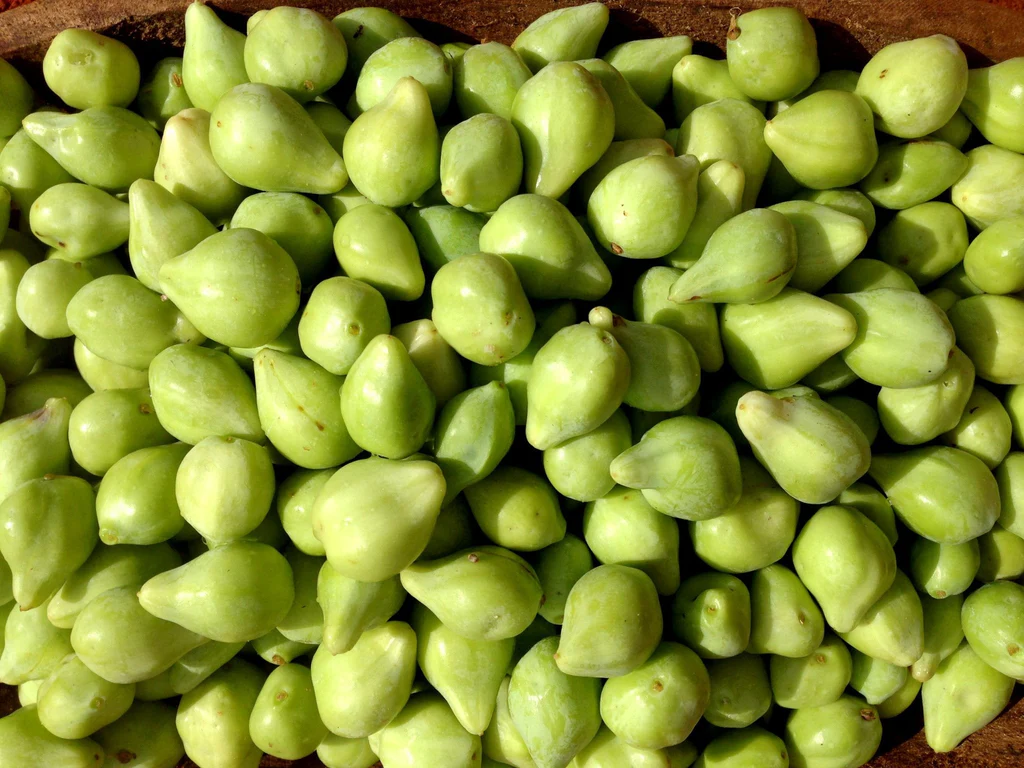
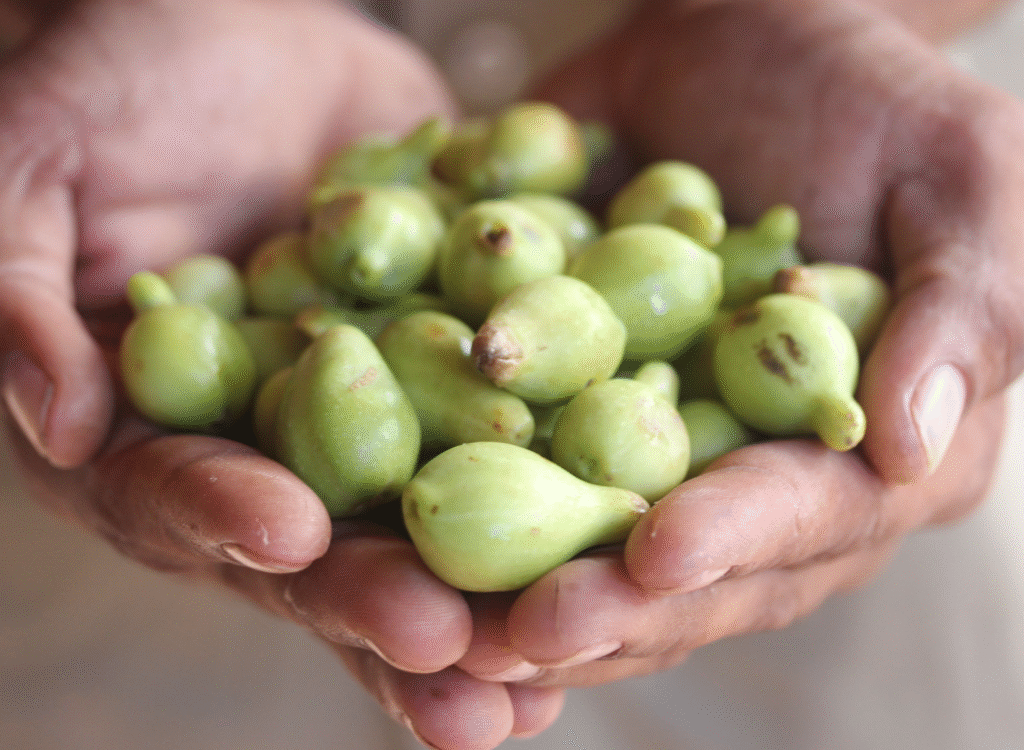
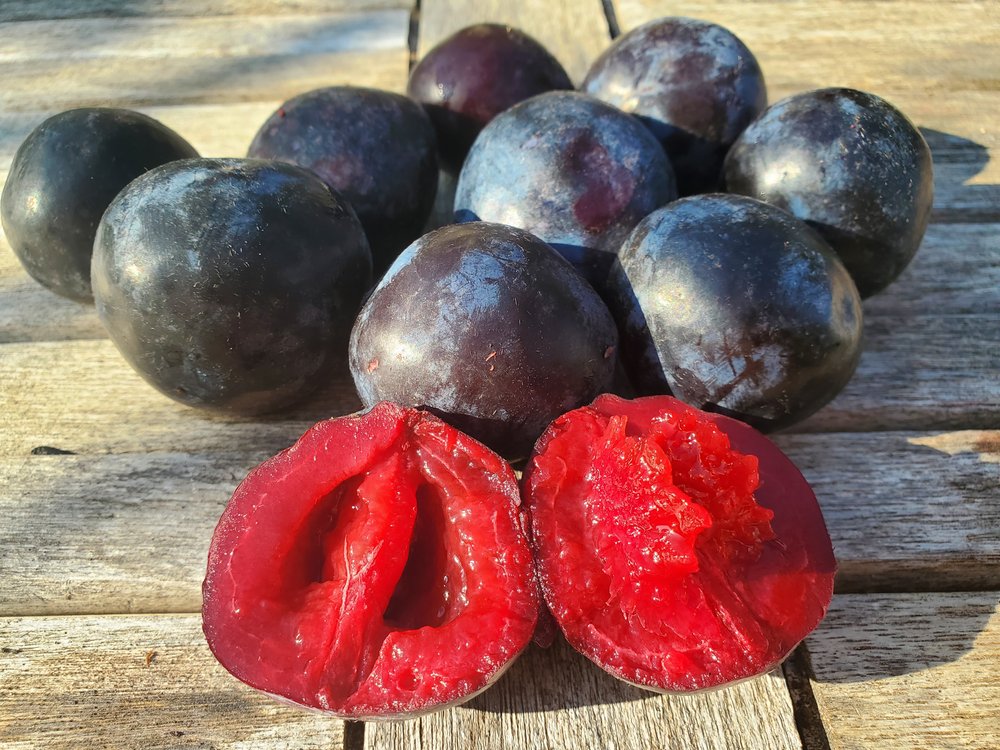
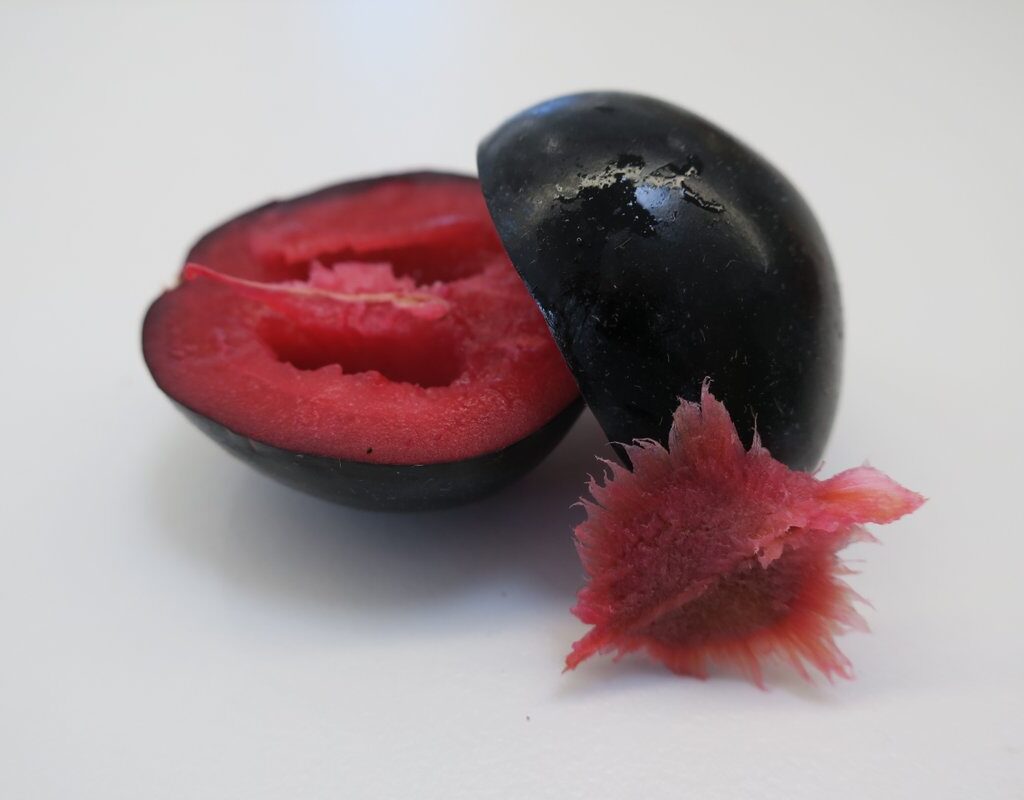
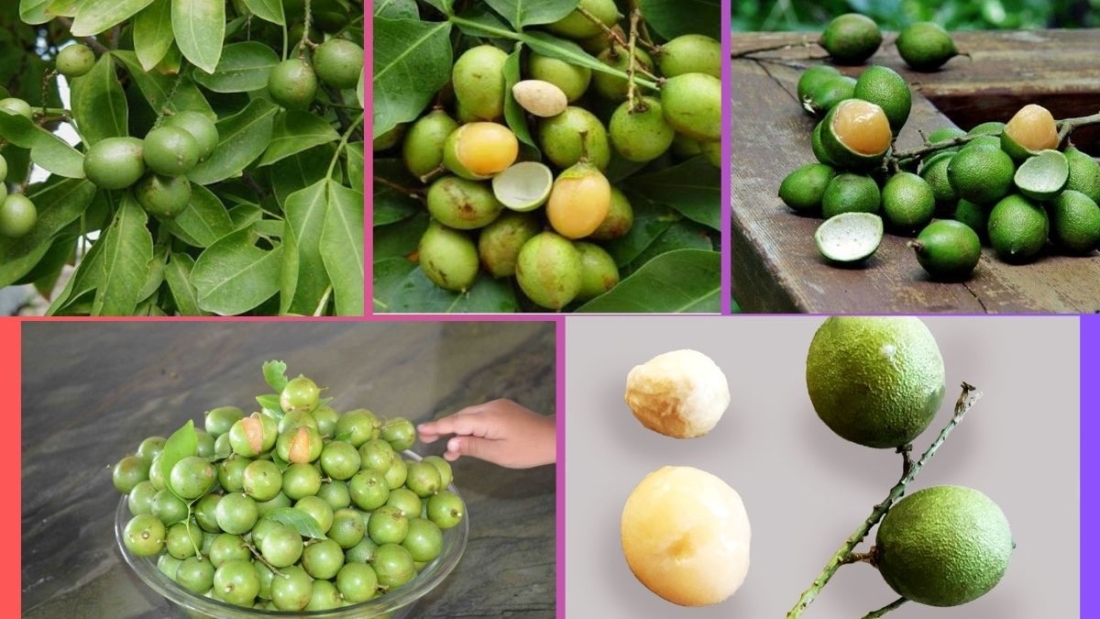
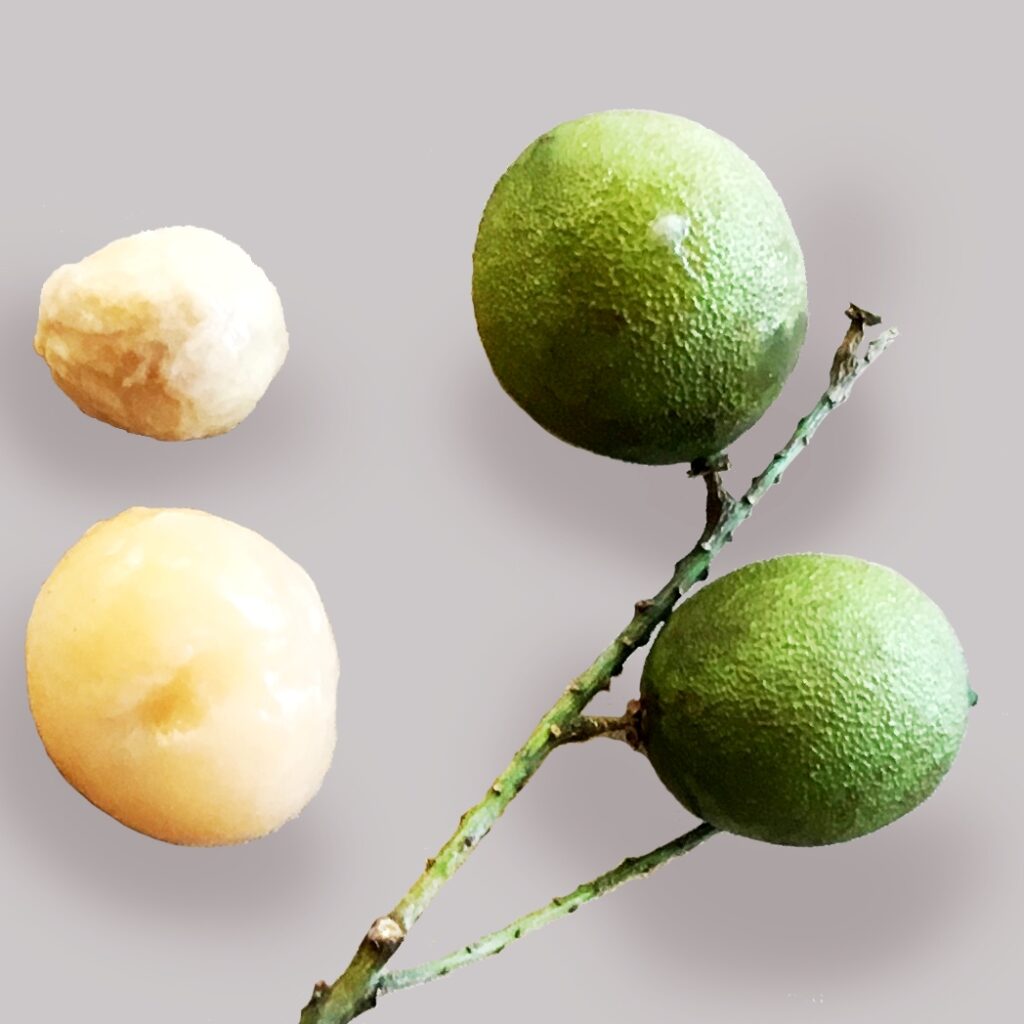
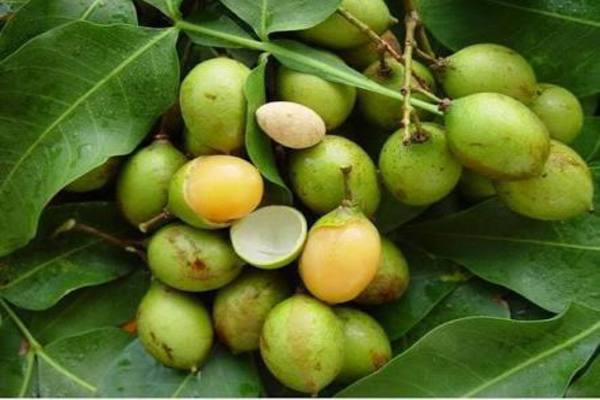
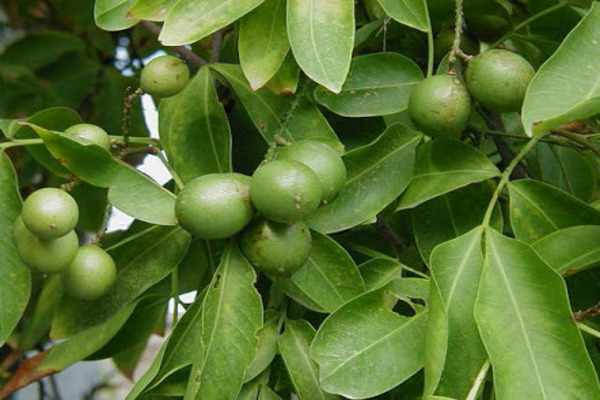
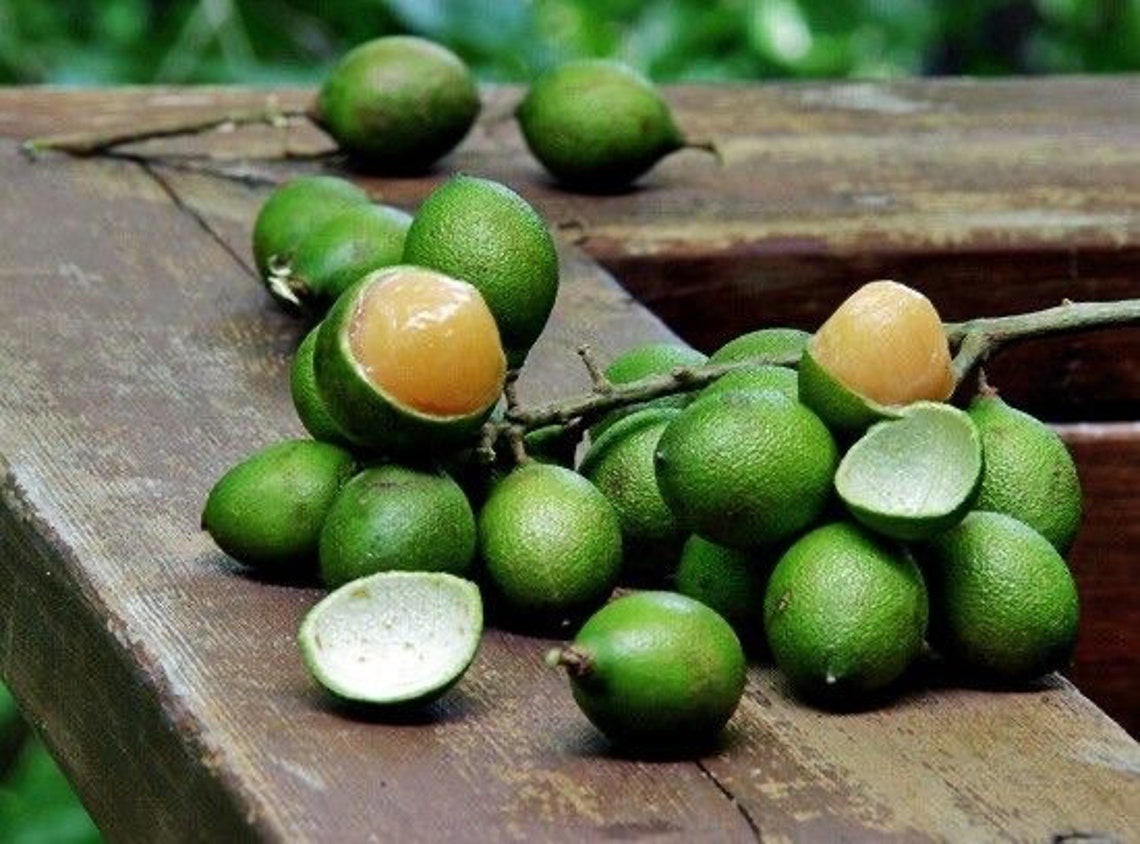
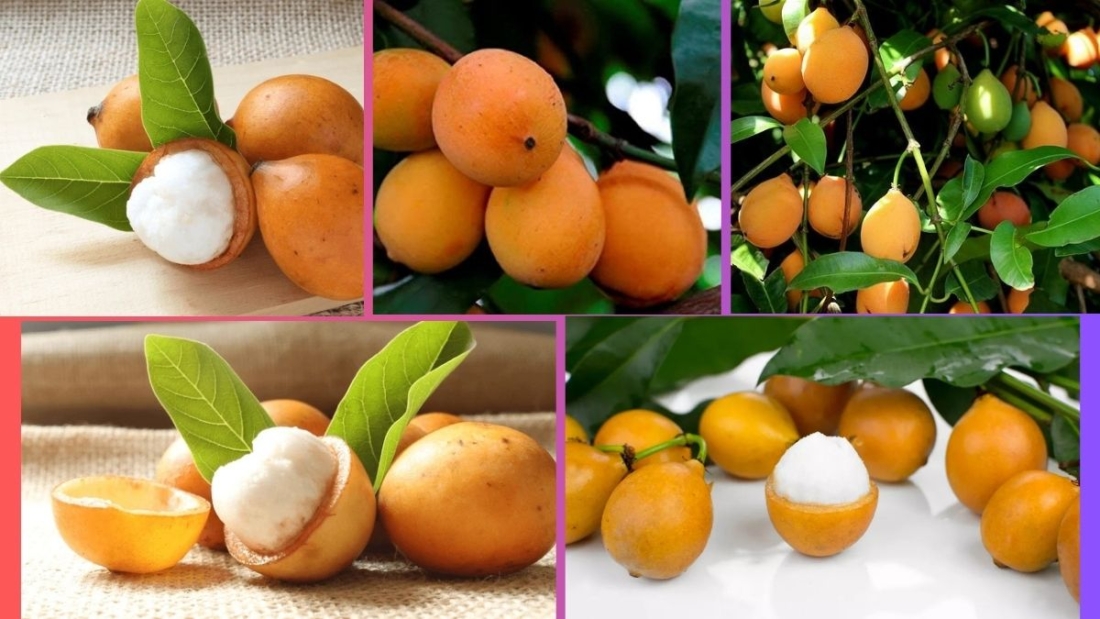
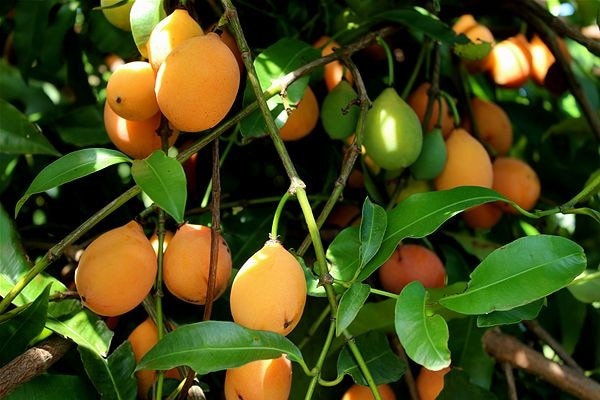
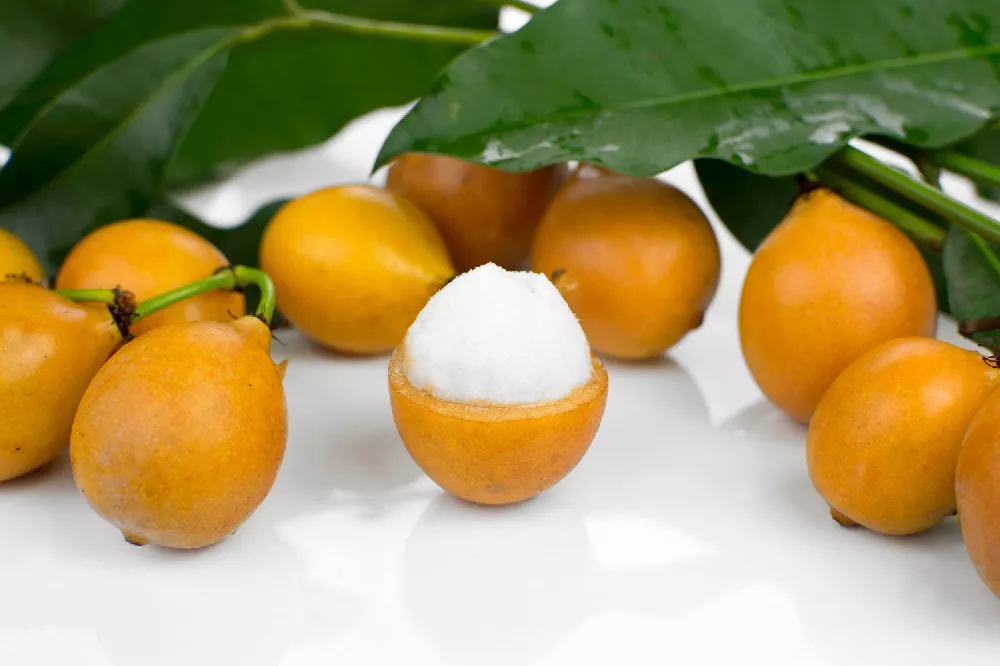
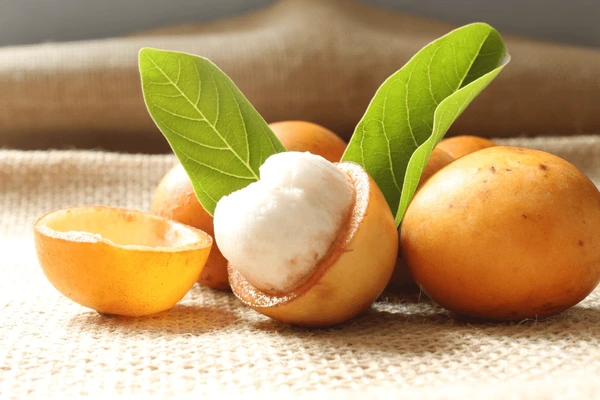
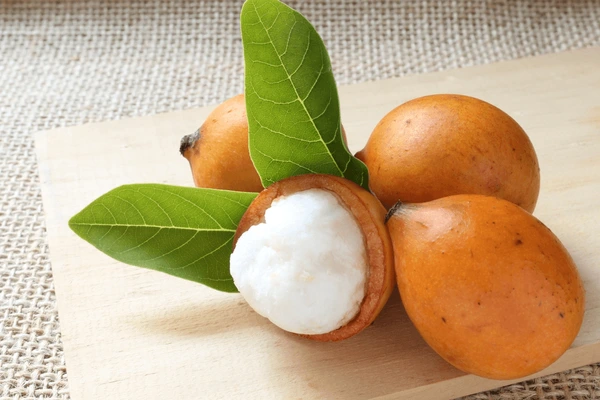
Achachairú, scientifically known as Garcinia humilis, belongs to the same botanical family as the famous mangosteen (Garcinia mangostana). Native to the Amazonian lowlands of Bolivia, Achachairú is a small, orange fruit about the size of a golf ball, with a tough rind and a juicy, aromatic, and tangy-sweet white pulp inside.
Its name ‘Achachairú’ comes from indigenous Guaraní language, meaning “honey kiss”, a tribute to its delicious flavor.
The fruit has been traditionally consumed by Indigenous Bolivian communities both fresh and in beverages, jams, and medicinal remedies for generations. In recent years, it has attracted the attention of international horticulturalists and nutritionists due to its health-promoting properties.
Origin and Historical Significance
Achachairú has a long and culturally significant history in Bolivia, particularly in the Beni and Pando Departments, where it grows naturally in the tropical and subtropical forests of the Amazon basin.
For centuries, Indigenous groups such as the Guaraní and Moxos peoples have gathered Achachairú in the wild and cultivated it near their villages. The fruit was traditionally used to aid digestion, cool the body during hot weather, and as a refreshing, hydrating snack in Bolivia’s humid tropical climate.
Until recently, Achachairú remained largely unknown outside Bolivia, only consumed locally and traded in regional markets.
Where is Achachairú Grown Globally?
Bolivia: The Undisputed Global Leader
When it comes to commercial Achachairú production, Bolivia is by far the largest and most established producer globally. The fruit is native to Bolivia’s tropical regions, where it thrives in rich, well-drained soils and humid, warm conditions.
Key production areas in Bolivia:
- Beni Department (Trinidad region)
- Pando Department
- Santa Cruz Department (especially in the northern zones)
Bolivia’s unique Amazonian ecosystem provides ideal natural conditions for Achachairú to flourish. The combination of tropical rainfall, well-draining soils, and consistent warmth ensures that Achachairú trees produce abundant, high-quality fruit during the harvest season, which runs from November to January.
Cultivation and Harvesting in Bolivia
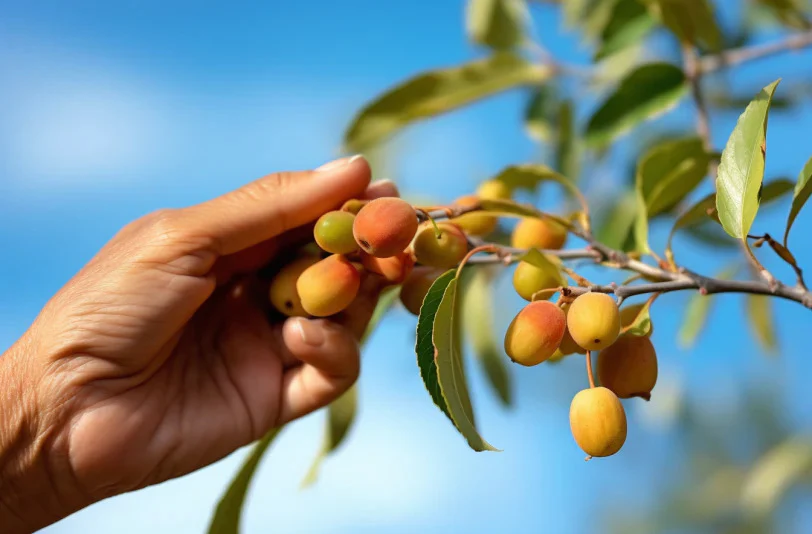
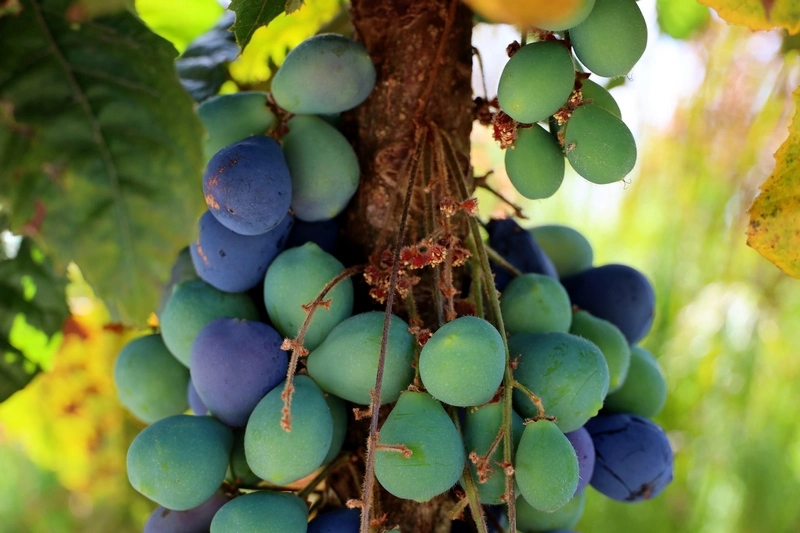
Achachairú trees typically reach heights of 4–10 meters and are known for their dense, dark green foliage and attractive orange fruit. The trees begin producing fruit at around 5 years of age, with mature trees yielding over 200–300 fruits per season.
Harvesting practices:
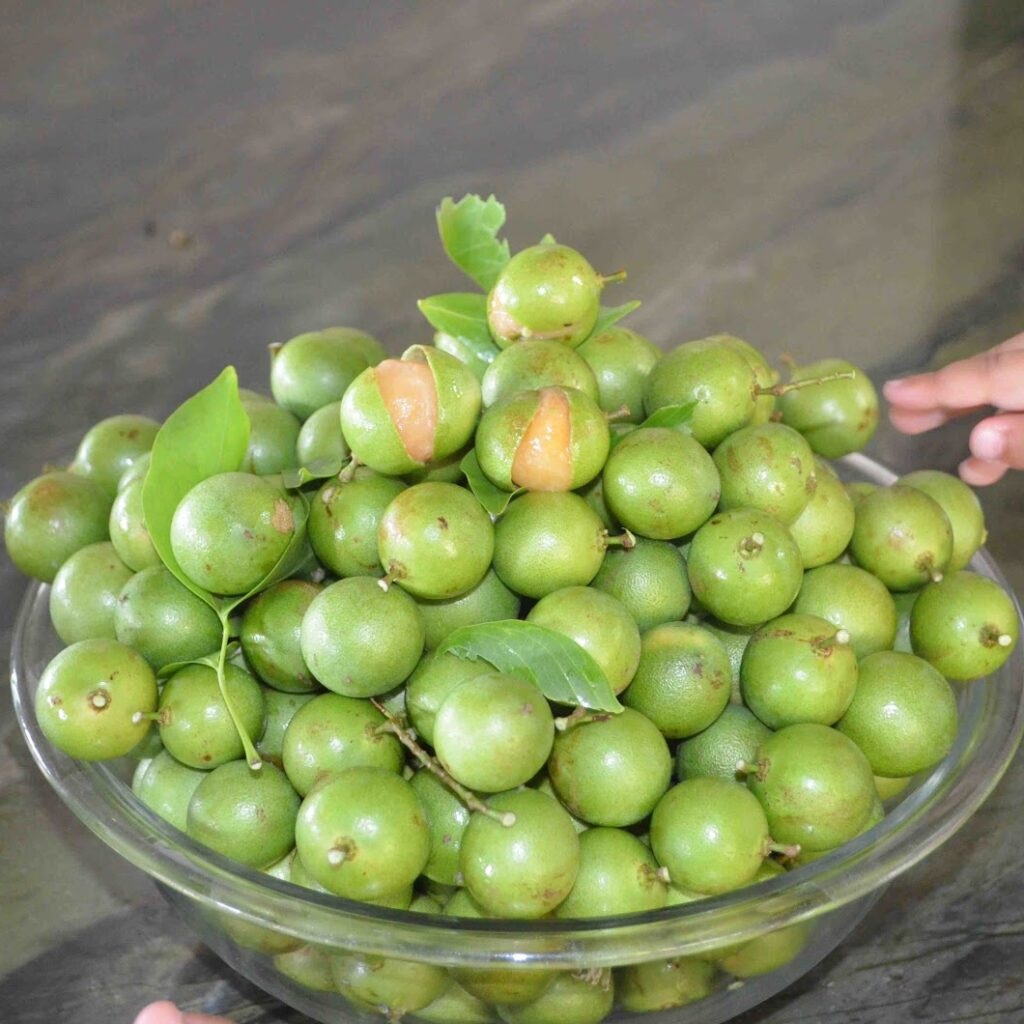
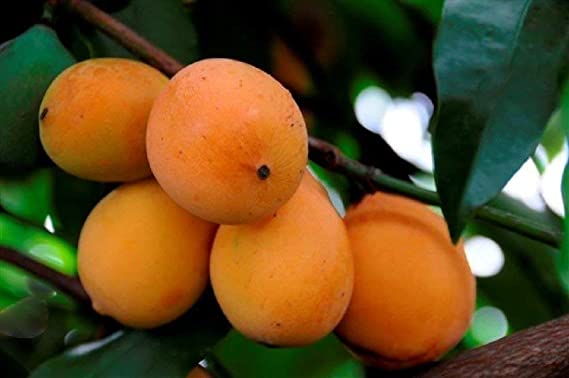
- Fruits are hand-picked when fully ripe (bright orange skin)
- The thick, inedible rind is cracked open to reveal the white, juicy pulp inside
- Fruits are packed fresh for local markets and international export
- The inedible rind is often used locally in traditional drinks and herbal teas
In Bolivia, most Achachairú cultivation is still smallholder or community-based farming, with many Indigenous farmers harvesting from both wild-growing and cultivated trees.
Global Production Statistics
According to regional agricultural data:
- Bolivia produces an estimated 3,000 to 5,000 tonnes of Achachairú annually.
- Approximately 90–95% of the world’s Achachairú supply originates from Bolivia.
- The remainder comes from small, experimental orchards in Australia, Brazil, and Southeast Asia — though none approach Bolivia’s production scale.
In fact, Bolivia exports fresh Achachairú primarily to neighboring South American countries, with limited quantities shipped to North America and Europe. The country also leads in producing Achachairú-based value-added products like juices, jams, and dehydrated pulp.
Why Does Bolivia Lead Global Production?
Several factors contribute to Bolivia’s dominance in Achachairú production:
- Natural Native Habitat:
The fruit thrives in Bolivia’s tropical Amazonian lowlands, where natural ecological conditions — including rainfall patterns, soil quality, and temperature — are perfect for the species. - Cultural Tradition:
Achachairú holds a revered place in Bolivian food culture, with centuries of Indigenous knowledge guiding its sustainable harvesting and cultivation. - Limited Commercialization Elsewhere:
While other countries like Australia (notably in Queensland) have successfully introduced Achachairú orchards, they remain small-scale and seasonal, producing far less than Bolivia’s mature, widespread cultivation areas. - Genetic Diversity:
Bolivia possesses the greatest genetic diversity of Achachairú, allowing for greater resilience to pests, climate changes, and diseases — factors critical for large-scale fruit production.
Nutritional and Health Benefits
Achachairú is prized not just for its flavor but also for its impressive nutritional profile:
- Rich in vitamin C
- High in polyphenols and antioxidants
- Contains anti-inflammatory and antimicrobial properties
- Low in calories and a good source of potassium and calcium
Traditionally, it has been used in Bolivian folk medicine to:
- Aid digestion
- Reduce inflammation
- Soothe fevers and skin irritations
- Hydrate and cool the body during hot weather
Modern nutritionists now recognize Achachairú as a potential superfruit, with antioxidant levels comparable to blueberries and mangosteen.
Culinary and Commercial Uses
In Bolivia, Achachairú is enjoyed:
- Fresh from the tree
- In natural fruit juices
- As a key ingredient in desserts and ice creams
- In jams and preserves
- As a fermented drink base from the discarded fruit peel
Internationally, demand is growing for Achachairú in health food markets, gourmet restaurants, and natural skincare products (due to its antioxidant-rich composition).
Export Markets and Global Reach
Bolivia exports limited quantities of fresh Achachairú to:
- Brazil
- Argentina
- United States
- Spain
- United Kingdom
Due to its delicate nature and short shelf-life, most international sales involve frozen pulp, dehydrated fruit, or jams.
Australia remains the only other country with semi-commercial production, with several orchards in Queensland producing Achachairú for local markets between December and February. However, their volumes are modest compared to Bolivia’s established industry.
Conclusion
To conclusively answer the thesis question — Which country is the largest Achachairú producer globally? — the answer is clear and undisputed: Bolivia.
As the fruit’s native homeland, Bolivia:
- Holds the largest wild and cultivated orchards of Achachairú
- Produces over 90% of the global supply
- Maintains rich cultural, ecological, and culinary traditions centered on this cherished fruit
While small experimental orchards exist in Australia, Brazil, and Southeast Asia, Bolivia’s natural environment, cultural heritage, and established trade networks make it the undisputed global leader in Achachairú production.
With increasing international recognition of its flavor and health benefits, Achachairú’s future appears bright — and Bolivia will continue to lead the way in bringing this Amazonian treasure to the world.