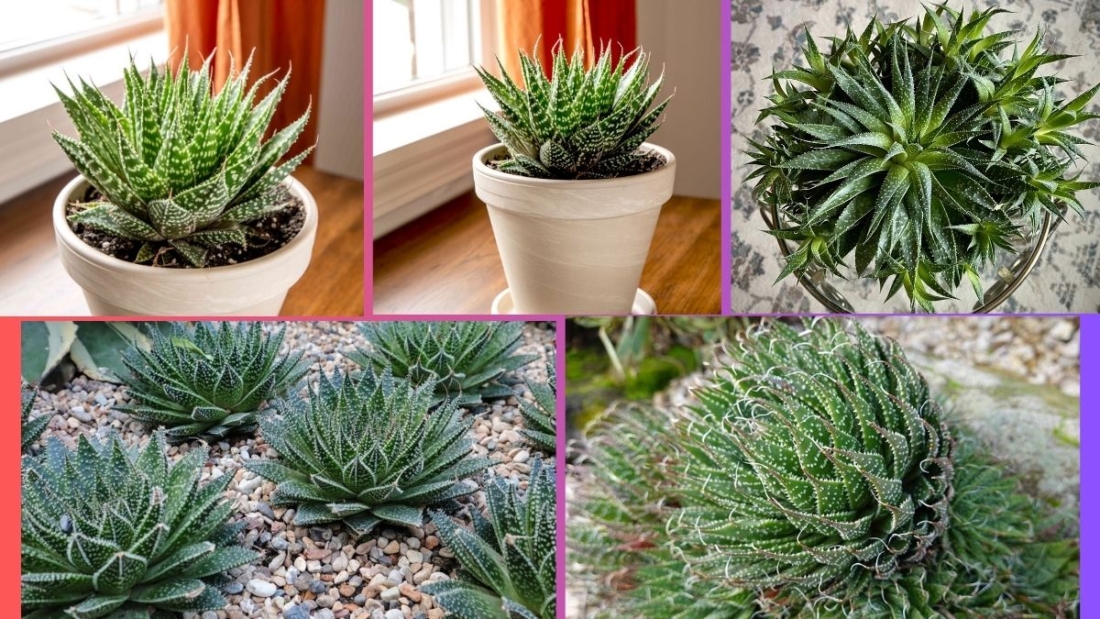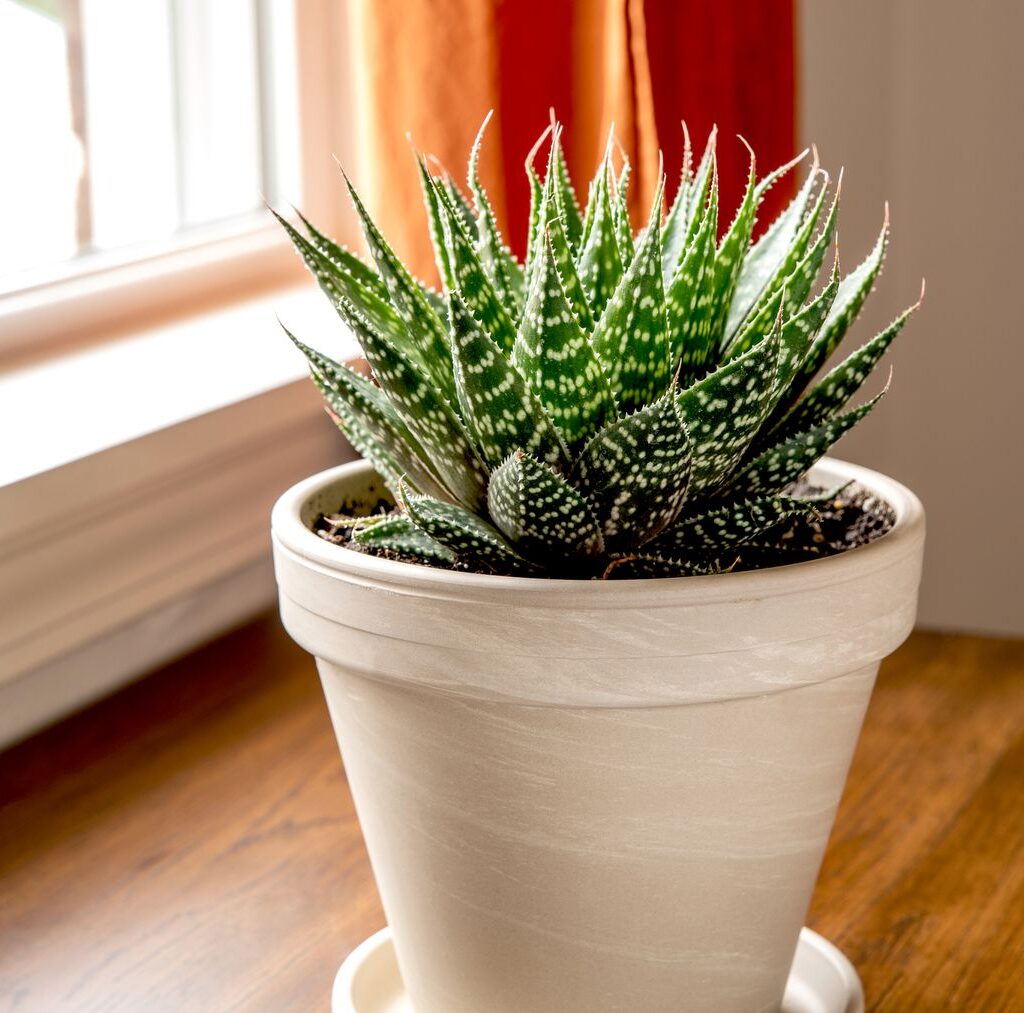
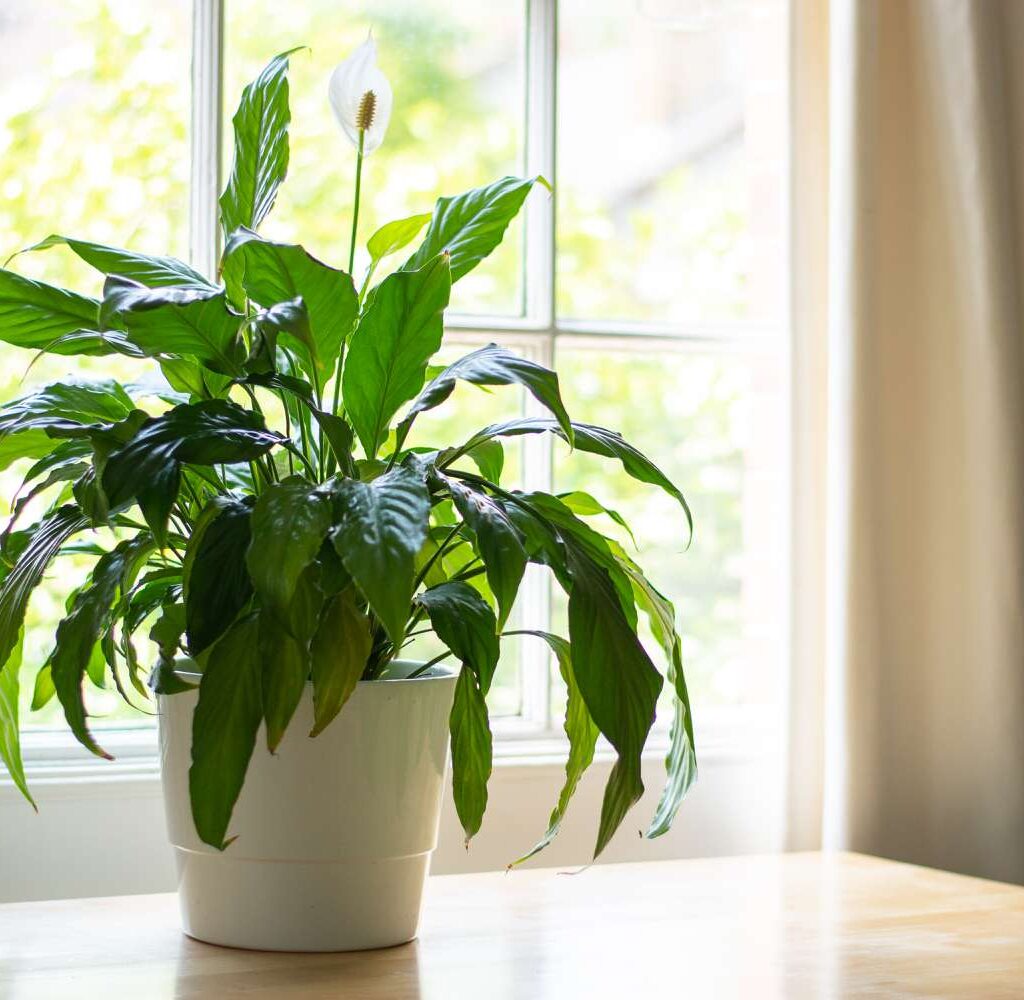
Among the many elegant and charming houseplants cherished for their beauty and air-purifying abilities, the Peace Vine stands out for its lush green foliage, cascading vines, and easy-going nature. Though often overshadowed by popular trailing plants like pothos or philodendrons, the Peace Vine is a delightful addition to homes, patios, and office spaces.
While the plant is relatively hardy, one of the most common questions for new and seasoned plant parents alike is:
How often should you water a Peace Vine?
In this comprehensive guide, we’ll explore the origins of the Peace Vine, its watering needs, the factors influencing hydration frequency, signs of over- and underwatering, best watering practices, and practical care tips to help your Peace Vine thrive indoors and out.
What Is a Peace Vine?
Before diving into watering details, let’s briefly understand the Peace Vine itself.
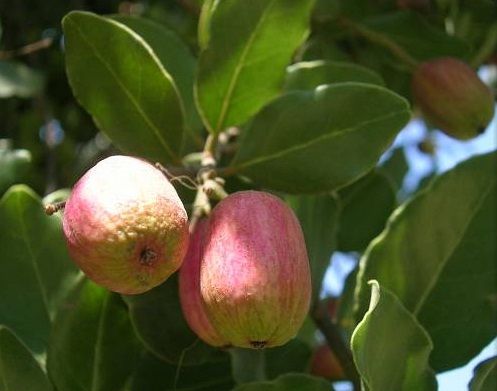
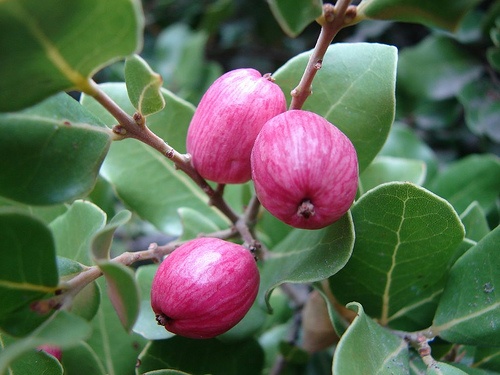
Though the term “Peace Vine” is sometimes casually applied to various vining houseplants, it most commonly refers to Peperomia rotundifolia (also known as Trailing Jade) or Aeschynanthus radicans (commonly known as the Lipstick Plant) in some gardening circles. For this article, we’ll focus on the Peperomia rotundifolia variety — a trailing, non-invasive vine with small, round, succulent-like leaves and a delicate, peaceful appearance.
Key characteristics:
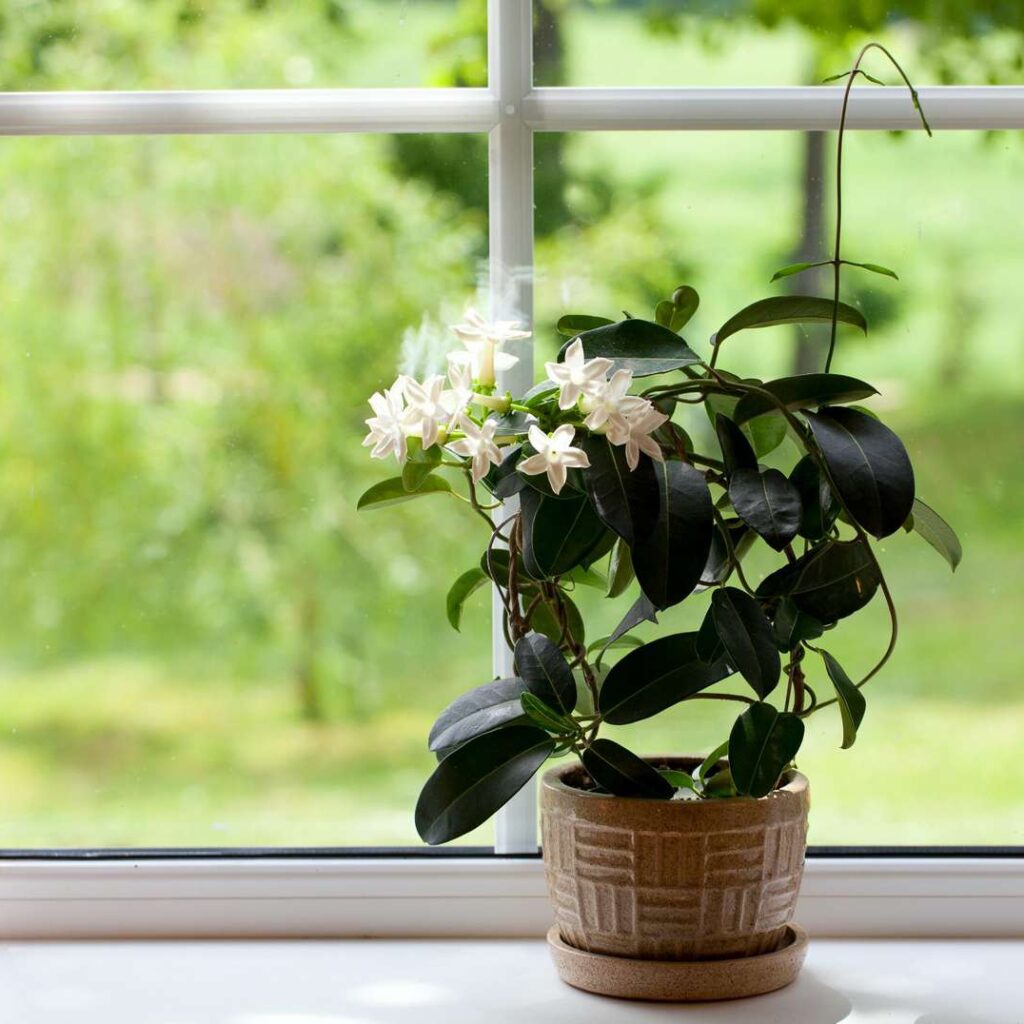
- Native to South American tropical rainforests
- Thrives in warm, humid environments with filtered light
- Known for trailing vines and tiny, rounded, light to dark green leaves
- Popular as a hanging basket plant, tabletop vine, or groundcover in warm climates
How Often Should You Water a Peace Vine?
General Watering Guideline
As a basic rule of thumb:
- Water every 7–10 days during the growing season (spring and summer)
- Water every 14–18 days in cooler months (fall and winter)
Important Principle:
Allow the top 1–2 inches of soil to dry out between waterings but avoid letting the plant completely dry out for extended periods.
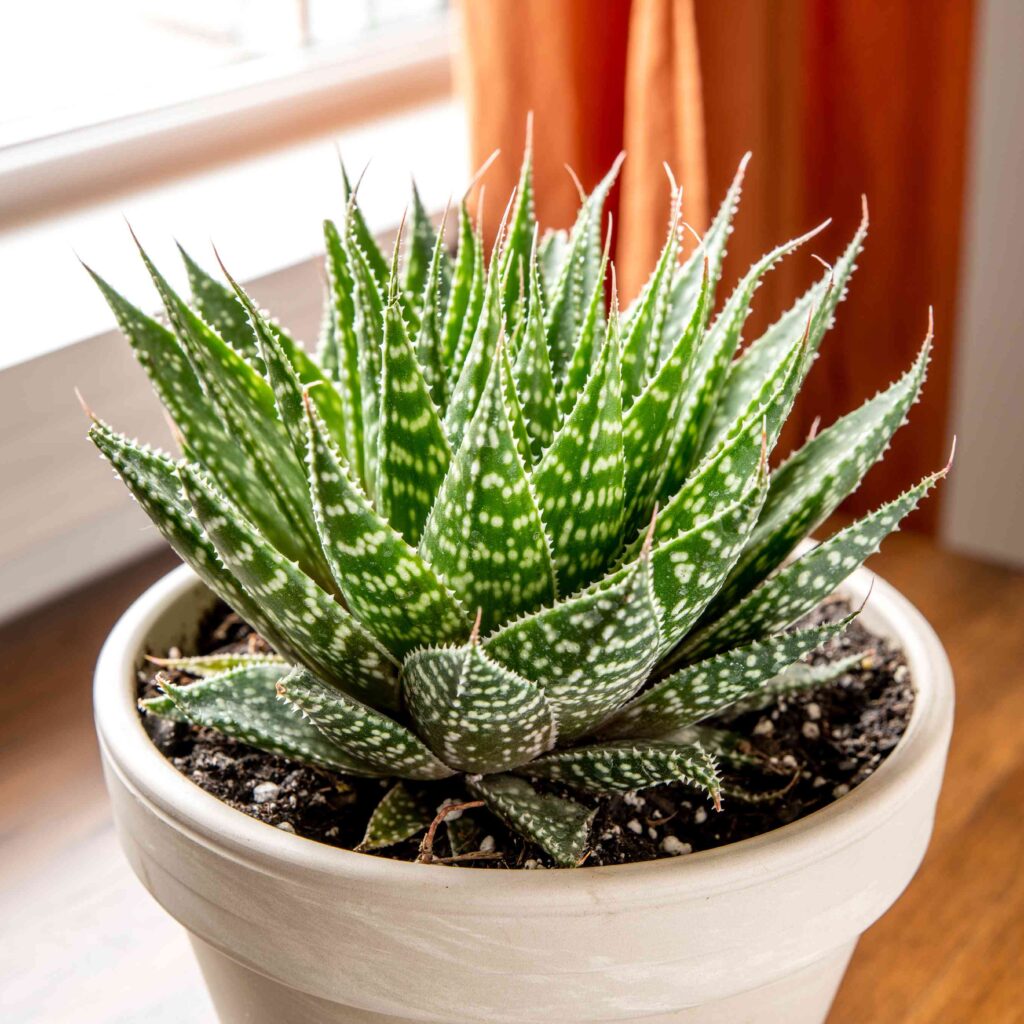
Unlike many tropical plants, Peace Vines have somewhat succulent leaves that can store moisture, making them relatively drought-tolerant, but they still appreciate consistent hydration in their active growing period.
Factors That Affect Peace Vine Watering Needs
Several factors directly influence how often you should water your Peace Vine:
Temperature and Season
- In warm, sunny months, the plant actively grows, requiring more frequent watering.
- In cooler seasons or air-conditioned spaces, growth slows, reducing water needs.
Tip: Monitor soil moisture regularly in summer and cut back watering in winter.
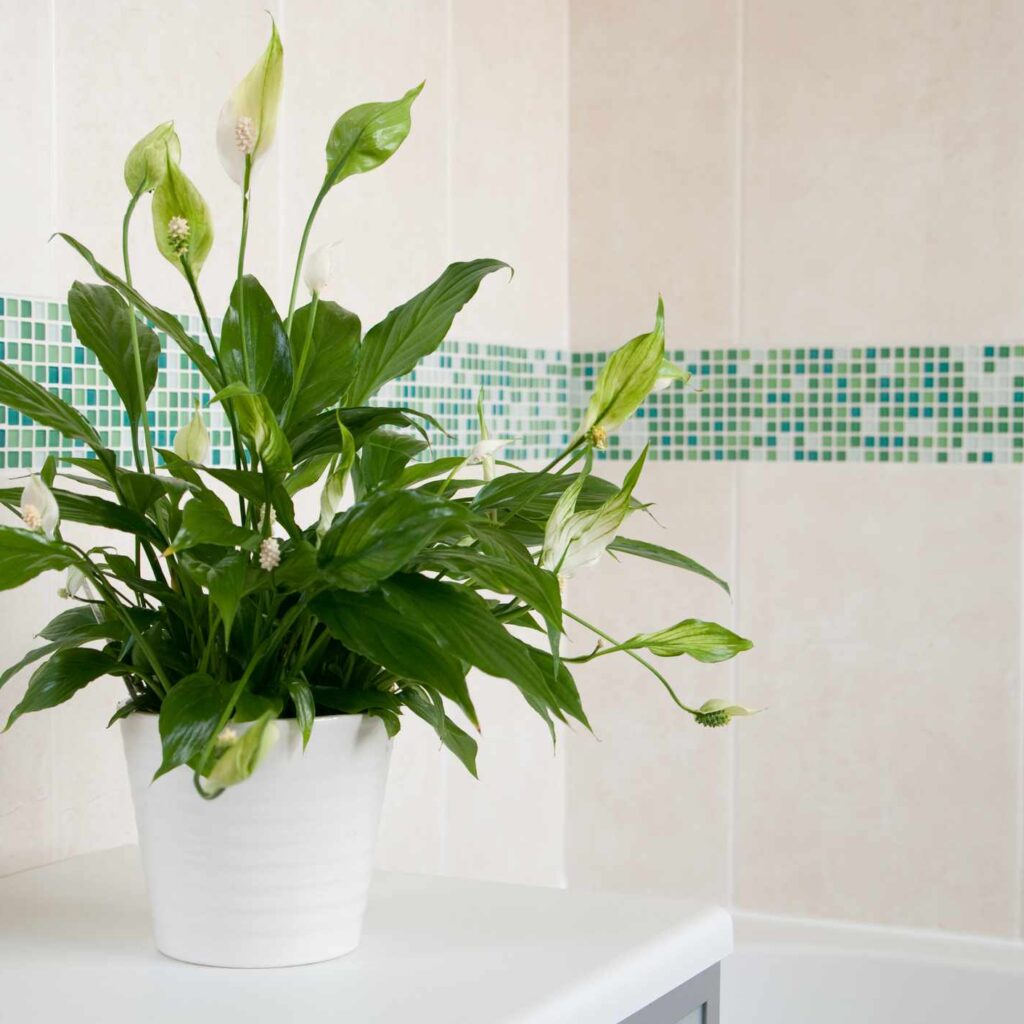
Humidity
Peace Vines naturally thrive in high-humidity environments:
- In dry indoor air, the soil dries out faster, increasing watering frequency.
- In humid rooms like bathrooms or greenhouses, the soil retains moisture longer.
Ideal humidity: 50–70%
Light Exposure
- Bright, indirect light promotes healthy growth and moderate water use.
- Low light areas slow growth and reduce water needs.
Caution: Avoid placing the plant in harsh, direct sunlight as it can scorch the delicate leaves and dry the soil too quickly.
Soil Type and Pot Drainage
- Well-draining, aerated soil mixes (like a cactus or succulent blend) prevent waterlogging.
- Compact or poorly draining soil retains moisture longer, increasing the risk of overwatering.
Tip: Ensure pots have adequate drainage holes.
Pot Size and Material
- Small pots dry out faster than large containers.
- Clay or terracotta pots allow moisture to evaporate quicker than plastic or ceramic pots.
How to Check If Your Peace Vine Needs Water
Finger Test
Insert your finger 1–2 inches into the soil:
- If it feels dry, it’s time to water.
- If it’s still moist, wait another day or two.
Soil Moisture Meter
Use a soil moisture meter for precision. Water when the reading drops to the “dry” or lower “moist” range.
Visual Leaf Cues
- Wilting or drooping leaves typically indicate thirst.
- Wrinkled or soft leaves signal a need for water.
- Yellowing or mushy leaves may suggest overwatering.
Best Watering Techniques for a Peace Vine
Water Deeply, Then Let It Drain
Pour water slowly and evenly around the base until it begins to drain from the bottom. Discard any excess water in saucers to avoid root rot.
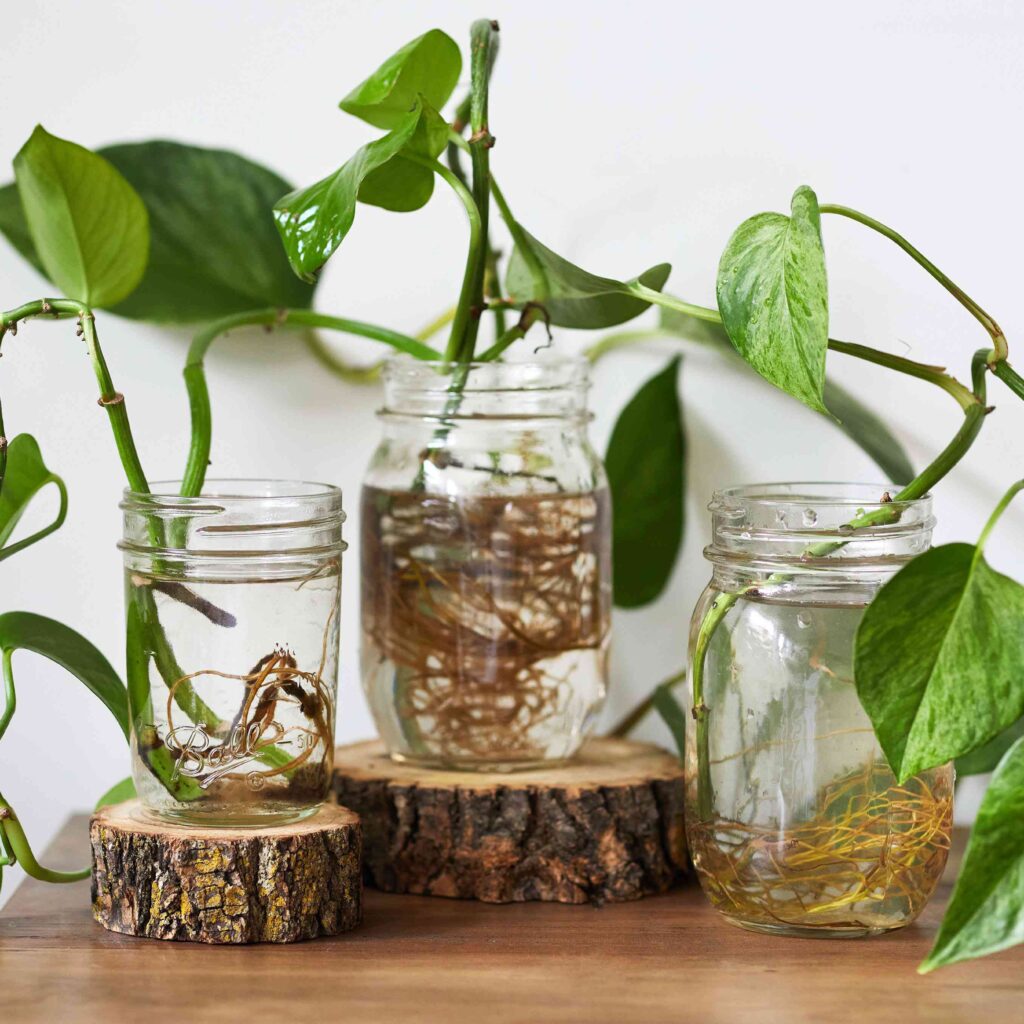
Use Room-Temperature, Non-Chlorinated Water
Peace Vines are sensitive to chlorine and fluoride. Use:
- Filtered water
- Rainwater
- Tap water left out overnight
Water Early in the Day
This allows foliage and soil surfaces to dry before evening, reducing fungal risks.
Seasonal Watering Guide
| Season | Watering Frequency | Additional Tips |
|---|---|---|
| Spring/Summer (Active growth) | Every 7–10 days | Increase in hot, dry conditions |
| Autumn/Winter (Dormancy) | Every 14–18 days | Reduce watering; monitor soil moisture |
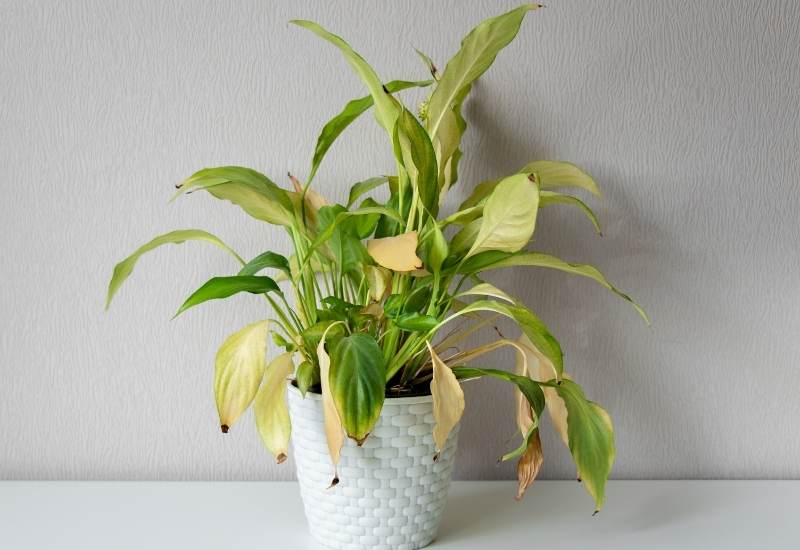
Signs of Overwatering and Underwatering
Overwatering Symptoms
- Yellowing, drooping, or mushy leaves
- Foul-smelling, soggy soil
- Root rot (roots appear black and soft)
Solution:
Reduce watering, improve drainage, remove affected leaves, and repot if needed.
Underwatering Symptoms
- Wilting, drooping leaves
- Dry, crispy leaf edges
- Shriveled or wrinkled leaves
- Bone-dry soil pulling away from the pot sides
Solution:
Water deeply and regularly check soil moisture in dry conditions.
Special Watering Tips for Peace Vines
Mist Occasionally in Dry Air
In arid indoor conditions, mist the foliage lightly to raise ambient humidity.
Avoid Watering the Crown
Water at the base to prevent moisture from collecting on the leaves, which can cause rot.
Check More Frequently in Hanging Baskets
Peace Vines in hanging baskets dry out faster due to air circulation around the pot.
Adjust for Seasonal Shifts
Increase frequency during heatwaves or drought spells; reduce during rainy or cool months.
Use Pebble Trays
Place the pot over a tray filled with pebbles and water to raise humidity without wetting the roots.
Common Watering Mistakes to Avoid
- Overwatering in low-light or cool conditions
- Underwatering in high heat or dry, windy environments
- Using cold or chlorinated water
- Leaving standing water in saucers
- Watering on a rigid schedule without checking soil moisture
Conclusion
Watering your Peace Vine properly is all about striking a balance between hydration and soil aeration. While the plant enjoys consistent moisture during its growing season, it is sensitive to both underwatering and overwatering.
As a general rule, water your Peace Vine every 7–10 days in spring and summer, and every 14–18 days in cooler months, adjusting based on temperature, humidity, and light exposure.
Always check soil moisture before watering, favor deep, even irrigation, and ensure proper drainage. By observing your plant’s signals and adapting your watering routine to environmental changes, you’ll enjoy a lush, trailing Peace Vine that brings beauty and tranquility to your indoor or outdoor spaces.