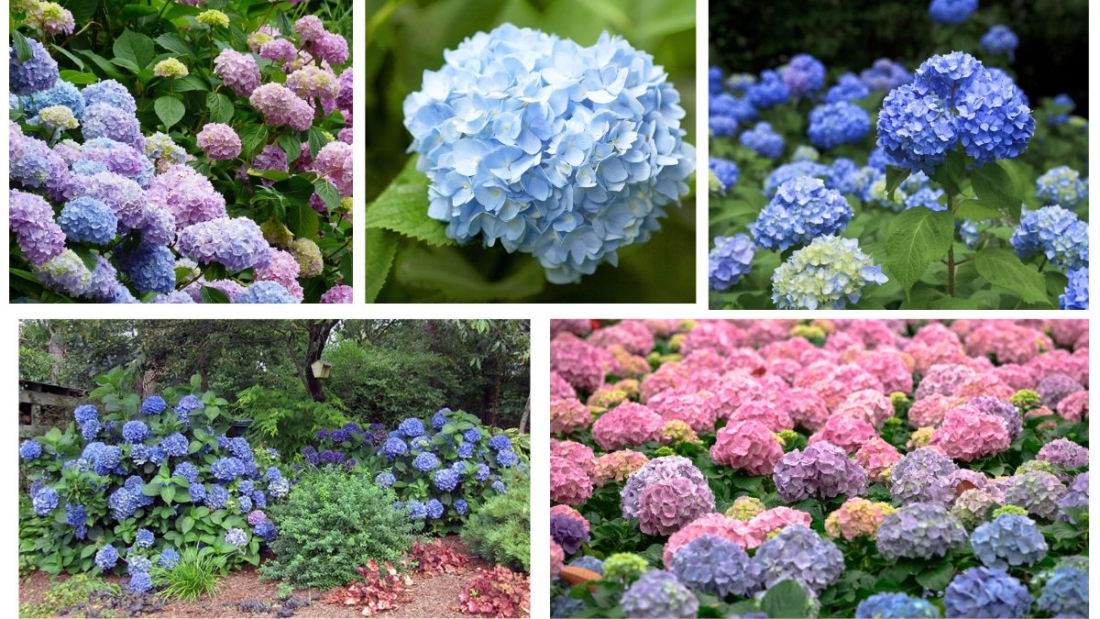
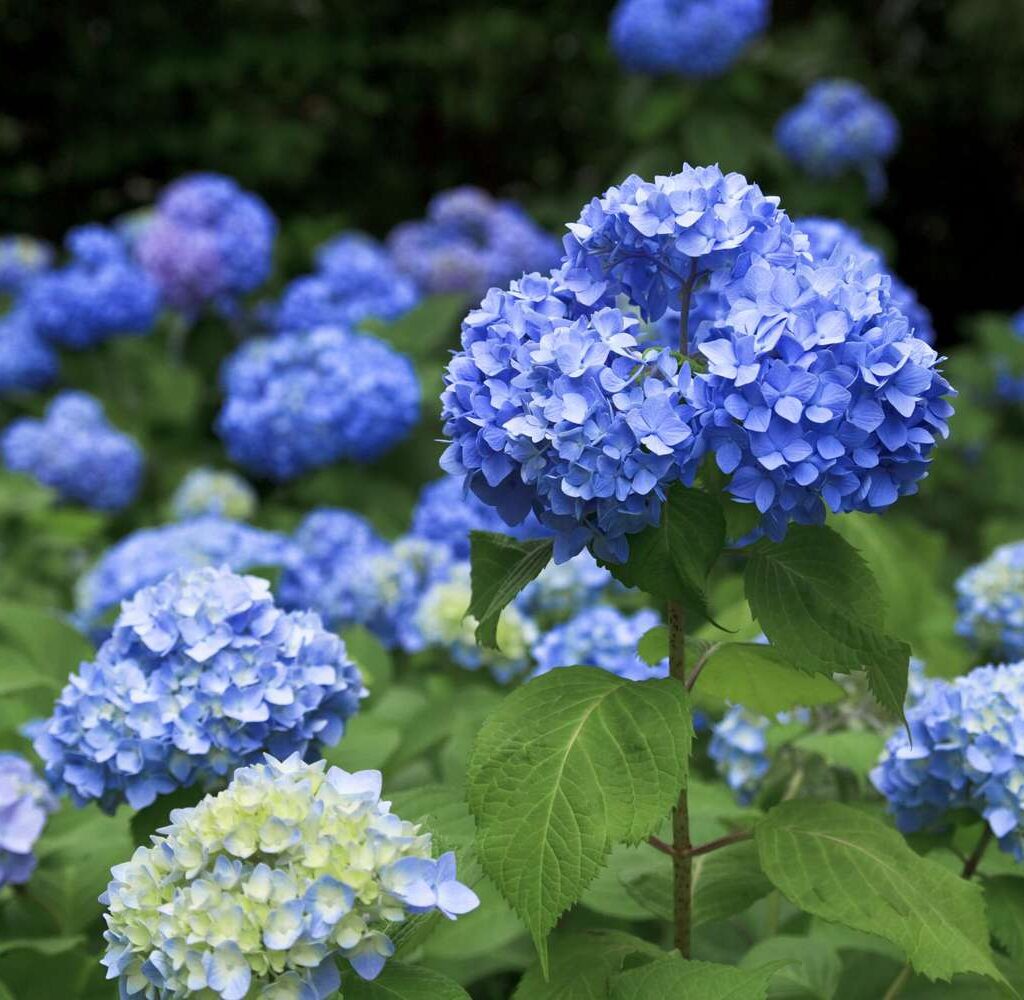
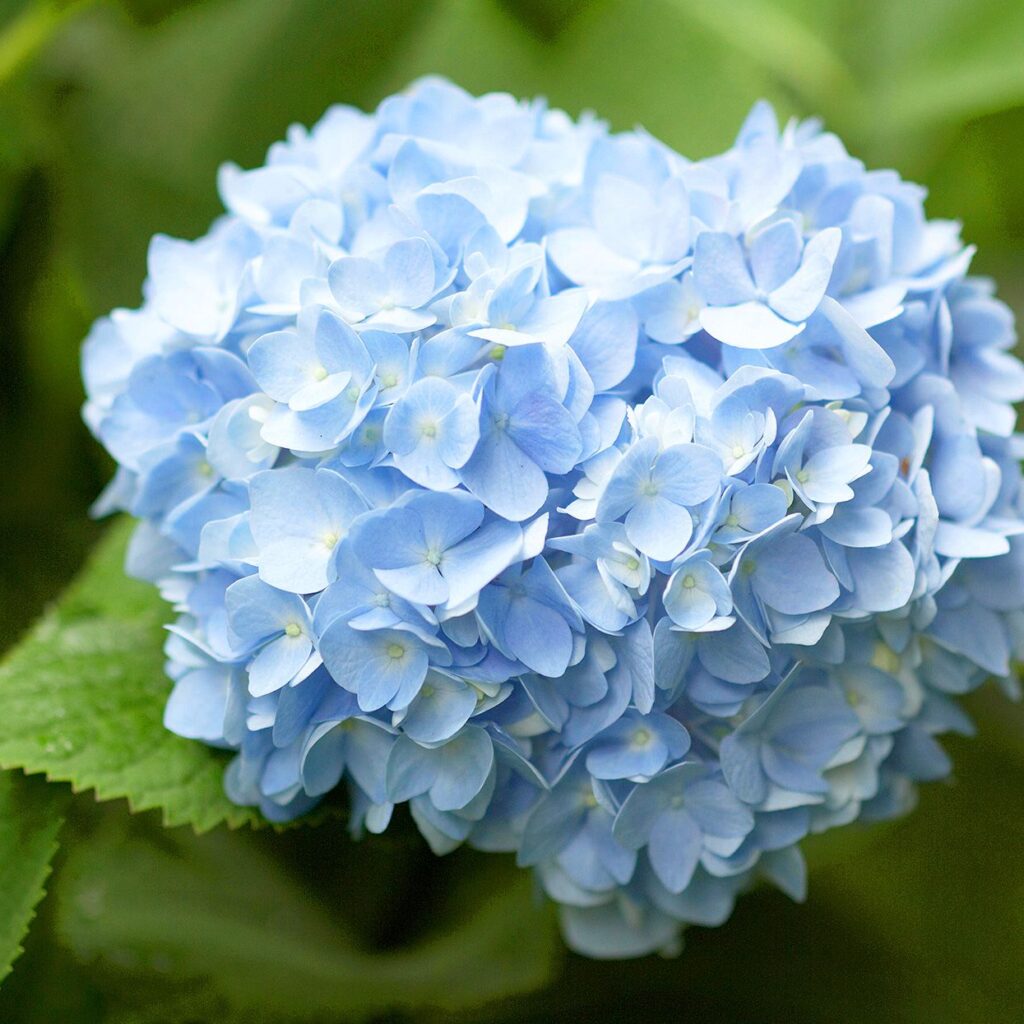
Hydrangeas are beloved flowering shrubs known for their lush, showy blooms that can dramatically transform a garden with bursts of color. Among their many hues, blue hydrangeas hold a special appeal — their rich, cool-toned blossoms evoke calm, elegance, and classic cottage garden beauty. But as many gardeners quickly discover, maintaining those perfect blue flowers isn’t always simple. Factors like soil chemistry, climate, and care practices can cause their blooms to shift from blue to pink, purple, or even off-white.
So how do you keep your hydrangeas reliably blue? The answer lies in understanding the relationship between hydrangeas and soil pH, aluminum availability, and a few essential maintenance techniques. In this article, we’ll explore everything you need to know to nurture and maintain beautifully blue hydrangeas in your garden.
Understanding Hydrangea Color Chemistry

Before diving into care techniques, it’s helpful to understand why hydrangeas change color in the first place.
Hydrangea macrophylla, commonly known as bigleaf hydrangeas or mophead hydrangeas, are the type most responsive to soil chemistry when it comes to flower color. Their blooms can appear pink, purple, or blue depending on two primary factors:
- Soil pH
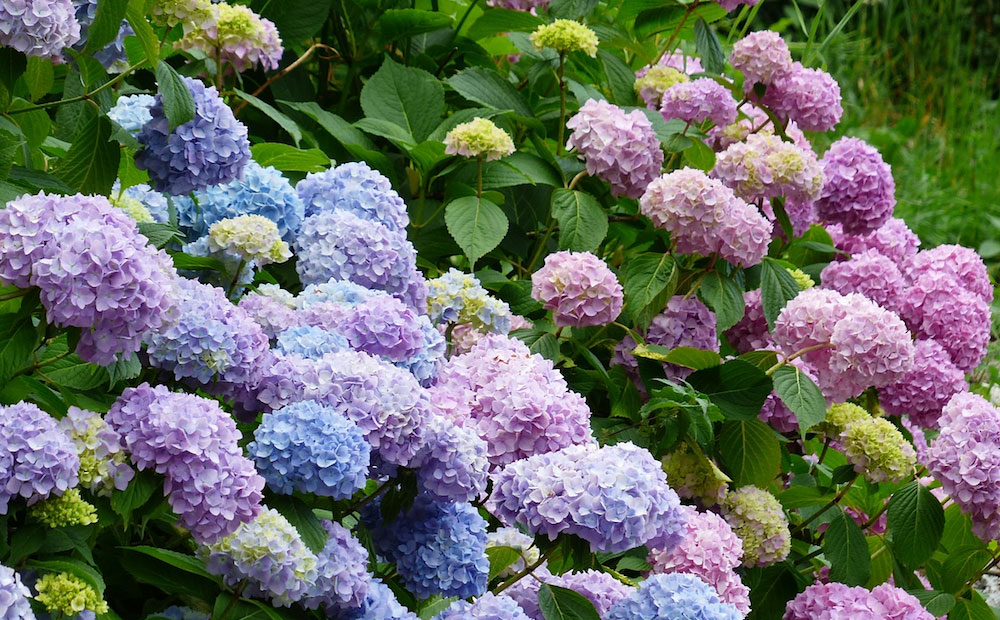
- Acidic soils (pH below 6.0): Hydrangeas tend to produce blue flowers.
- Neutral to alkaline soils (pH 6.5 and above): Blooms turn pink or reddish-purple.
- Aluminum Availability
The presence of available aluminum in the soil affects hydrangea color. In acidic soils, aluminum becomes more soluble and accessible to the plant, resulting in blue blooms. In alkaline soils, aluminum is less available, causing pink flowers.
Key takeaway:
To keep hydrangeas blue, you need to maintain acidic soil with a pH below 6.0 and ensure sufficient aluminum is available for plant uptake.
Best Hydrangea Varieties for Blue Blooms
Not all hydrangeas are capable of producing blue flowers, even with soil adjustments. Focus on selecting color-changeable types like:
- Hydrangea macrophylla (Bigleaf or Mophead Hydrangeas)
- Hydrangea serrata (Mountain Hydrangeas)
Panicle hydrangeas (Hydrangea paniculata) and smooth hydrangeas (Hydrangea arborescens) do not respond to soil pH changes and will remain white, cream, or greenish, regardless of conditions.
Steps to Keep Hydrangeas Blue
Now let’s get practical. Here’s a comprehensive guide to maintaining those stunning blue blooms season after season:
1. Test Your Soil pH
Before making any adjustments, it’s essential to know your starting soil pH. Use a reliable home soil test kit or send a sample to a local agricultural extension office.
- Ideal pH for Blue Hydrangeas: Between 5.2 and 5.5
- If your soil is higher than 6.0, it will likely produce pink blooms without intervention.
2. Lower Soil pH
If your soil is too alkaline, you’ll need to acidify it gradually. Here are safe and effective ways to lower soil pH:
- Apply Aluminum Sulfate:
The most direct method to maintain blue hydrangeas. It both acidifies the soil and adds aluminum for uptake.- Mix 1 tablespoon of aluminum sulfate per gallon of water.
- Apply in early spring and mid-summer.
- Water well after application to avoid root burn.
- Use Organic Acidifying Mulches:
Mulch around your hydrangeas with:- Pine needles
- Oak leaves
- Coffee grounds
- Peat moss
- Apply Garden Sulfur:
Garden sulfur works slowly to reduce pH over several months.- Use 1–2 pounds per 100 square feet.
- Best applied in fall or early spring.
Caution:
Always follow package directions and avoid over-acidifying, which can harm plant roots and beneficial soil microbes.
3. Ensure Aluminum Availability
In addition to lowering pH, you need to ensure the soil contains sufficient aluminum. If your soil lacks it naturally, you can:
- Use aluminum sulfate as described above.
- Avoid using phosphorus-heavy fertilizers, as high phosphorus levels bind aluminum in the soil, making it unavailable to plants.
Recommended Fertilizers:
Look for formulations labeled for acid-loving plants, with higher nitrogen and potassium but lower phosphorus content. Example N-P-K ratio: 25-5-30.
4. Select the Right Planting Site
To maintain blue hydrangeas:
- Choose a location with morning sun and afternoon shade to prevent heat stress.
- Ensure well-drained, moisture-retentive soil.
- Avoid areas near lime-treated lawns, concrete walls, or sidewalks, as these can leach alkaline compounds into the soil and raise pH.
5. Water Regularly and Mulch Generously
Consistent soil moisture is essential for hydrangeas:
- Water deeply 2–3 times per week during dry spells.
- Use organic mulches to retain moisture and maintain cooler root conditions.
6. Container Gardening for Easier pH Control
If your garden soil is too alkaline and difficult to adjust, consider growing hydrangeas in containers:
- Use potting soil specifically formulated for acid-loving plants.
- Easier to monitor and adjust pH.
- Move containers to optimal light conditions as needed.
Common Mistakes to Avoid
To preserve blue hydrangea blooms, avoid these pitfalls:
- Using lime-based soil amendments (like garden lime or wood ash), which raise soil pH.
- Over-fertilizing with high-phosphorus products, which reduces aluminum availability.
- Allowing soil to dry out completely, causing stress and reduced bloom color intensity.
- Neglecting regular soil pH checks, as rainfall, irrigation, and fertilizers can shift pH over time.
How Long Does It Take to Change Hydrangea Color?
If you’re adjusting an existing pink hydrangea to blue:
- It can take several weeks to a full growing season for changes to become noticeable.
- Results depend on soil type, amendment rates, and plant maturity.
- Color changes occur gradually as the plant absorbs aluminum and responds to soil chemistry shifts.
Bonus: Companion Plants for Blue Hydrangeas
To enhance your hydrangea display, pair them with plants that enjoy similar acidic soil conditions:
- Azaleas
- Camellias
- Ferns
- Hostas
- Heucheras (Coral Bells)
These companions not only thrive in similar conditions but also complement hydrangeas’ rich blue hues.
Conclusion
Maintaining the perfect shade of blue in your hydrangeas requires a blend of art and science. By understanding the connection between soil pH, aluminum availability, and plant care practices, you can effectively manage the growing conditions that support rich, vibrant blue flowers.
Key steps include regularly testing and adjusting soil pH, applying aluminum sulfate, using acidifying mulches, choosing suitable planting locations, and adopting consistent watering and fertilizing routines. While it may take a season or two to see full results, the striking, cool-toned blooms of blue hydrangeas are well worth the effort.
By following these proven techniques, your hydrangeas will grace your garden with the serene beauty of endless summer skies — in perfect shades of blue.