
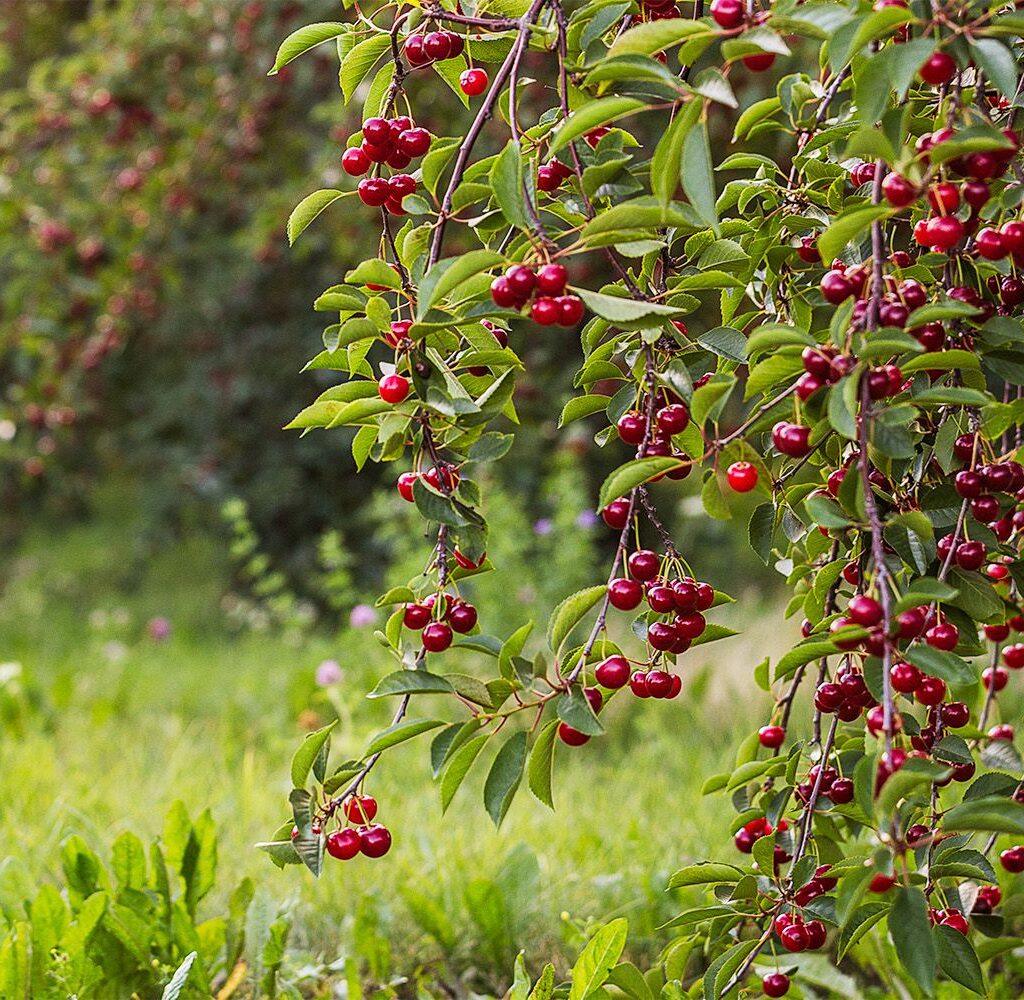
Imagine plucking a juicy, ripe cherry from a tree you grew yourself—from nothing more than a simple pit. It sounds like a dream, but it’s entirely possible. Growing a cherry tree from a pit is not only a satisfying gardening project but also a remarkable lesson in patience, nature, and sustainability. Though it takes time and care, the rewards—a blossoming tree and potentially a harvest of fresh cherries—are well worth the effort.
This complete step-by-step guide will walk you through everything you need to know: from choosing the right cherry variety and preparing the pit to planting, growing, and nurturing your tree. Whether you’re a beginner gardener or an experienced horticulturist, this guide will help you grow a cherry tree successfully from a seed.
Understanding Cherry Trees: Before You Begin
There are two main types of cherry trees:
- Sweet Cherries (Prunus avium) – Ideal for fresh eating. Varieties include Bing, Rainier, and Stella.
- Sour or Tart Cherries (Prunus cerasus) – Often used for baking and preserves. Montmorency is the most popular variety.
While sweet cherries require cross-pollination and more space, tart cherries are self-pollinating and better suited to small gardens and cooler climates. Growing from a pit may not produce the exact fruit of the parent tree, especially if the original cherry came from a hybrid. However, the resulting tree can still be beautiful, healthy, and potentially fruitful with care.
Step-by-Step Guide to Growing a Cherry Tree from a Pit
Step 1: Choose the Right Cherry Pits
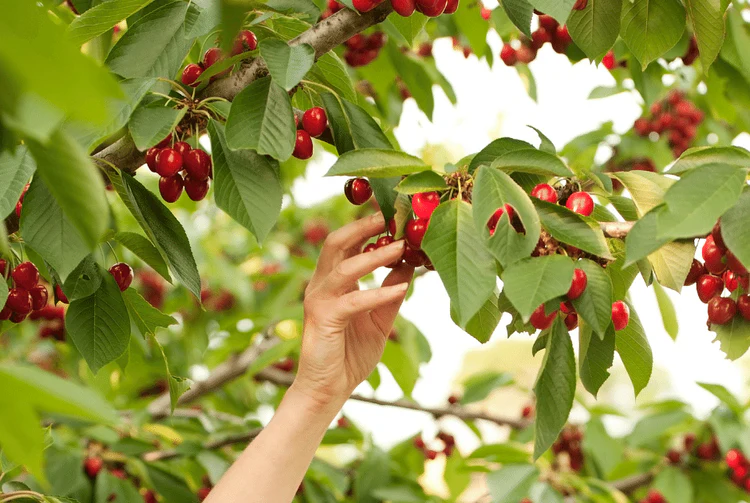
Start with organic, non-GMO cherries from a local farmer’s market or organic grocery store. Avoid store-bought cherries treated with chemicals, which may inhibit germination.

- Choose ripe and unblemished cherries.
- You can try both sweet and tart varieties, but tart cherries have a higher germination success rate.
Tip: Try to source local cherries that grow well in your climate. This increases your chances of growing a tree that thrives.
Step 2: Clean and Prepare the Pits
After enjoying your cherries, it’s time to clean the pits:
- Rinse the pits in water and remove any fruit residue.
- Soak the pits in warm water for a few minutes to loosen any remaining pulp.
- Scrub them gently with a toothbrush.
- Lay the pits on a paper towel to air-dry for 3–5 days.
Once dry, store them in an airtight container if you’re not planting immediately.
Step 3: Cold Stratification (Mimicking Winter)
Cherry seeds need cold stratification—a period of cold to break dormancy and encourage sprouting. Here’s how to do it:
- Wrap the clean, dry cherry pits in a damp paper towel.
- Place them inside a resealable plastic bag.
- Label the bag with the date and type of cherry.
- Store the bag in the refrigerator (not freezer) at about 4°C (39°F) for 10–12 weeks.
Check periodically to ensure the towel stays moist, but not soggy or moldy. After several weeks, some pits may begin to sprout inside the bag.
Step 4: Planting the Sprouted Pits
Once your cherry pits have sprouted:
Materials Needed:
- Small pots with drainage holes
- Well-draining potting mix (a mix of peat, sand, and perlite is ideal)
- Spray bottle or watering can
Instructions:
- Fill pots with moist potting mix.
- Plant each sprouted pit about 1–2 inches deep, root-side down.
- Place the pots in a sunny indoor window or under grow lights.
- Keep the soil consistently moist but not wet.
- Once the seedlings grow 2–4 inches tall with several leaves, they are ready to transplant.
Step 5: Transplanting to the Outdoors
Once the danger of frost has passed and your seedlings are 6–12 inches tall, it’s time to transplant outdoors.
Site Selection:
- Full sun (6–8 hours daily)
- Well-draining soil
- Protected from strong winds
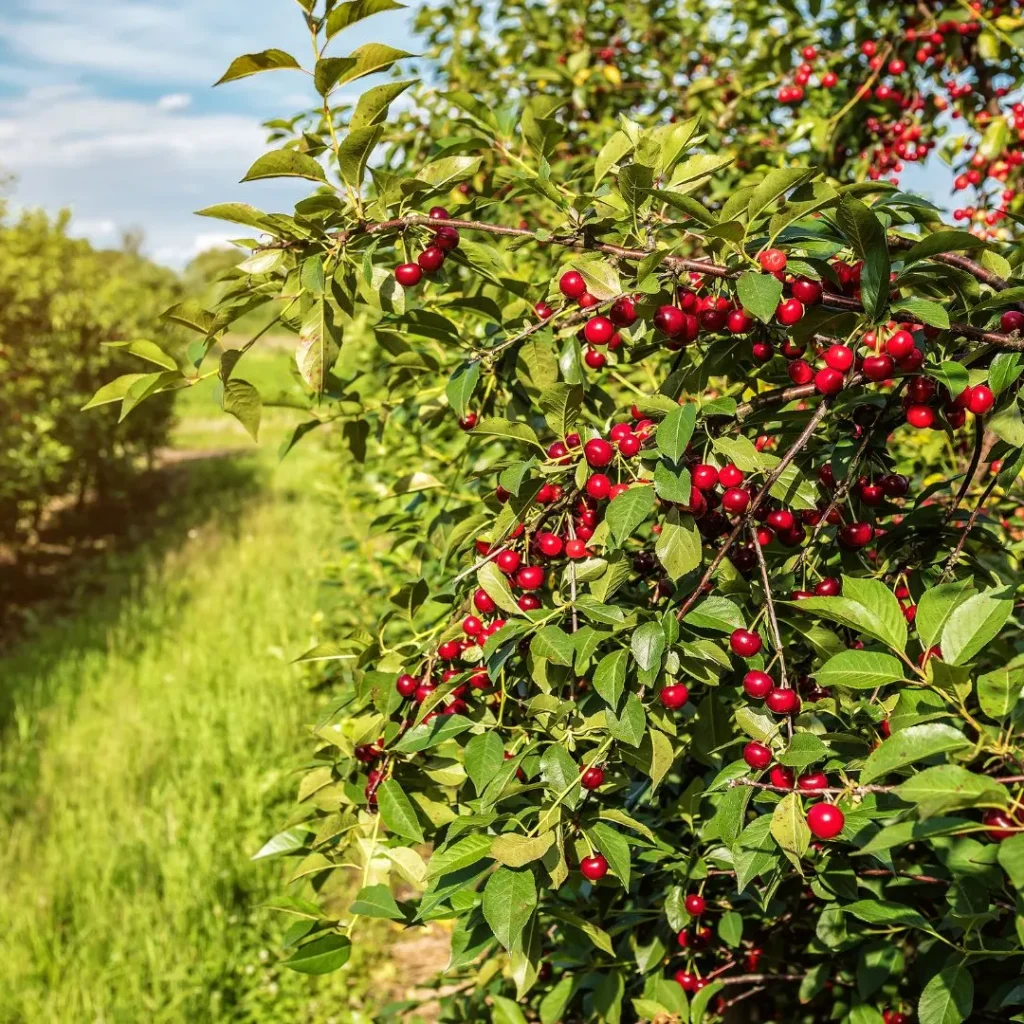
- Adequate space (sweet cherries: 20–30 ft; sour cherries: 15–20 ft)
Steps:
- Dig a hole twice the width of the root ball.
- Mix in organic compost if soil is poor.
- Gently remove the seedling from the pot and place in the hole.
- Fill in with soil and water deeply.
- Apply mulch around the base (2–3 inches thick) but keep it away from the trunk.
Caring for Your Young Cherry Tree
Growing a tree from a pit takes patience. Here’s how to care for your cherry tree through the years:
Watering
- Water deeply once or twice a week during the first growing season.
- Reduce watering once the tree is established.
Fertilizing
- In the second year, apply a balanced fertilizer (10-10-10) in early spring.
- Avoid over-fertilizing, as this can harm young roots.
Pruning
- Begin pruning in the second or third year.
- Remove dead or diseased branches.
- Shape the tree to encourage an open center and good air circulation.
Pest & Disease Management
- Watch for aphids, cherry fruit flies, and fungal diseases.
- Use organic pest control methods or neem oil when needed.
- Keep the area around the tree clean to avoid disease.
When Will Your Cherry Tree Bear Fruit?
Growing a cherry tree from a pit is not a fast process:
- Sour cherries: May fruit in 3–5 years
- Sweet cherries: May take 5–7 years or more
Keep in mind that pit-grown trees may produce fruit different from the parent due to genetic variation. Some may produce sour or small fruit, while others might bear no fruit at all. However, even non-fruiting trees are still beautiful additions to any landscape.

Tips for Success
- Grow multiple pits to improve your chances of germination and fruit-bearing.
- Label your cherry varieties if experimenting with different types.
- Patience is key—fruiting takes several years but is highly rewarding.
- If your climate is not ideal, grow your cherry tree in a large container and overwinter indoors.
Conclusion
Growing a cherry tree from a pit is a rewarding journey that combines gardening, science, and a little bit of magic. With the right steps—cleaning, stratifying, sprouting, planting, and nurturing—you can transform a discarded cherry pit into a flourishing tree.
While growing from seed may take longer than planting a nursery sapling, it offers an unmatched sense of achievement. Plus, there’s always the exciting possibility that your pit-grown tree may produce a new variety of cherry, uniquely yours.
So the next time you enjoy a sweet cherry, don’t toss the pit—plant it, and watch it grow into a beautiful legacy of patience and nature.
Leave A Comment