
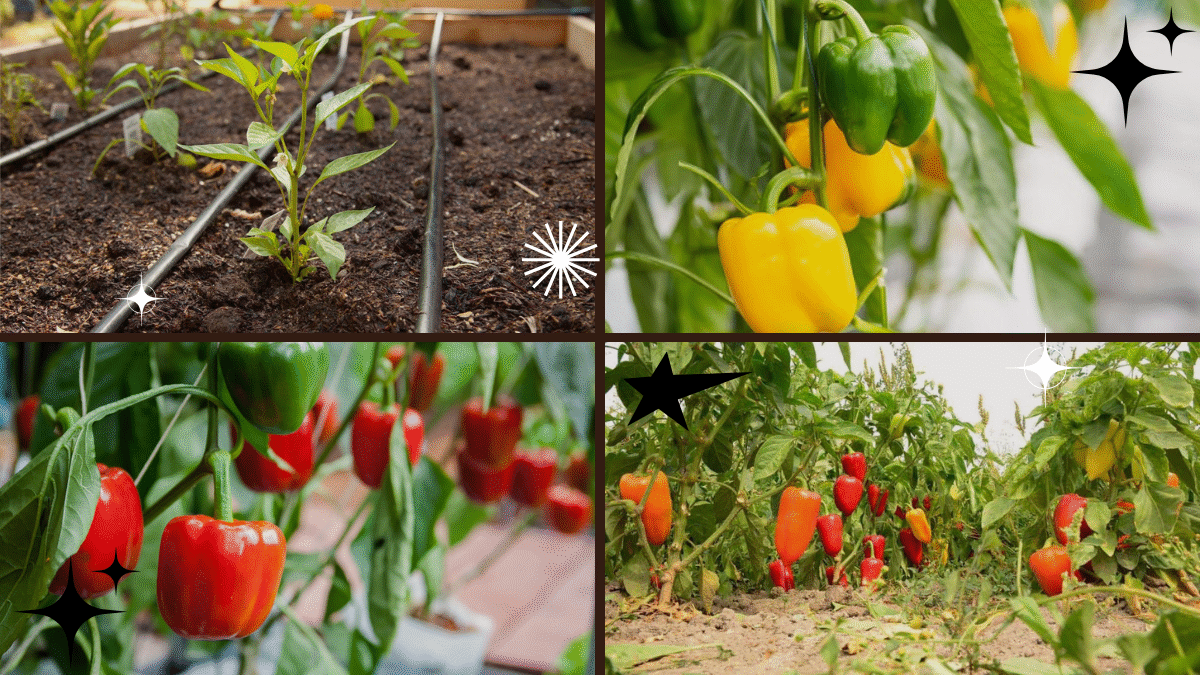
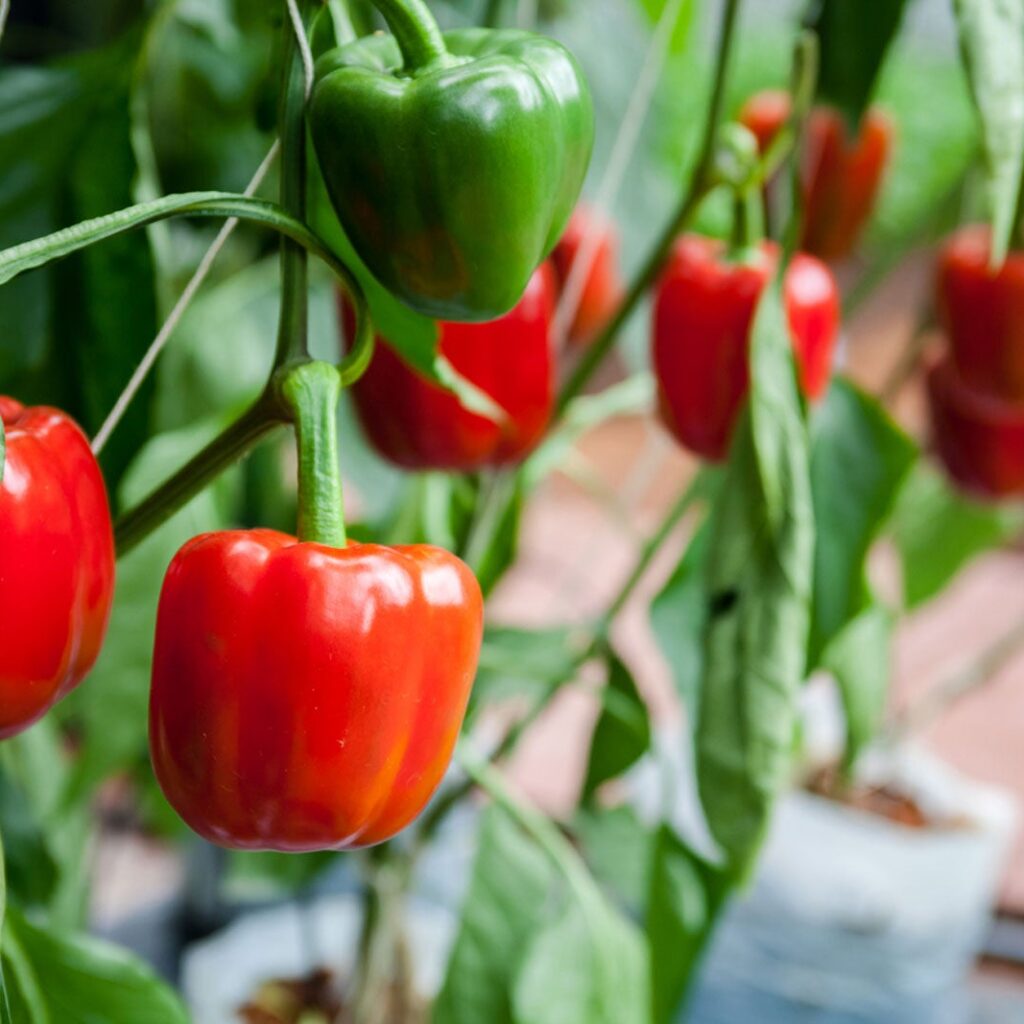
Bell peppers are among the most vibrant and versatile vegetables you can grow in your garden. Their glossy fruits come in a spectrum of colors—from green, red, yellow, and orange to even purple and chocolate brown—adding not only nutritional value but a splash of beautiful color to your garden beds. Whether you’re a seasoned gardener or a beginner eager to add some flavor and flair to your outdoor space, growing bell peppers can be incredibly rewarding.
This guide will walk you through everything you need to know about how to plant bell peppers successfully—from choosing the right varieties and preparing your soil to caring for your plants and harvesting colorful, crunchy peppers.
Why Grow Bell Peppers?
Before diving into the planting process, it’s worth highlighting why bell peppers are a fantastic addition to your garden:
- Colorful appeal: Their vivid colors brighten any garden plot, container, or raised bed.
- Nutritional powerhouse: Bell peppers are packed with vitamins A, C, and antioxidants.
- Culinary versatility: Perfect raw in salads, cooked in stir-fries, stuffed, or grilled.
- Relatively easy to grow: With proper care, they thrive in many climates.
- Extended harvest: Produces fruits over a long season, providing ongoing satisfaction.
Step 1: Choose the Right Bell Pepper Varieties
Bell peppers come in many colors, shapes, and sizes. Selecting the right variety depends on your climate, garden space, and taste preferences.
Popular bell pepper varieties include:
- California Wonder: Classic blocky green turning red; reliable and productive.
- Purple Beauty: Stunning deep purple fruits with sweet flavor.
- Golden California Wonder: Bright yellow, sweet, and crisp.
- Orange Sun: Vibrant orange peppers that add a tropical pop.
- Chocolate Beauty: Unique brownish peppers with rich flavor.
Tip: Choose a mix of colors to create a vibrant pepper patch that doubles as a colorful garden focal point.
Step 2: Start Seeds Indoors (If You’re in a Cooler Climate)
Bell peppers need warm soil and air temperatures to germinate and thrive. If you live in a cooler region, start seeds indoors about 8-10 weeks before your last expected frost date.
How to start seeds:
- Use seed trays or small pots with a quality seed-starting mix.
- Plant seeds about 1/4 inch deep and keep the soil moist but not soggy.
- Maintain a warm environment (70-85°F) to encourage germination—using a heat mat helps.
- Provide plenty of light—either natural south-facing windows or grow lights for 12-16 hours daily.
- Transplant seedlings into larger pots once they develop 2-3 true leaves.
Step 3: Prepare Your Garden Bed or Containers
Bell peppers thrive in well-draining, nutrient-rich soil with a slightly acidic to neutral pH (6.0 to 6.8). Before planting outdoors:
- Choose a sunny spot that receives at least 6-8 hours of direct sunlight daily. Bell peppers are sun lovers!
- Amend the soil with plenty of organic matter like compost or well-rotted manure to boost fertility and moisture retention.
- Loosen the soil to a depth of about 12 inches for good root development.
- If your soil is heavy clay or sandy, add organic amendments and consider raised beds or large containers.
Tip: If planting in containers, use a pot at least 12 inches deep with drainage holes, filled with high-quality potting mix enriched with compost.
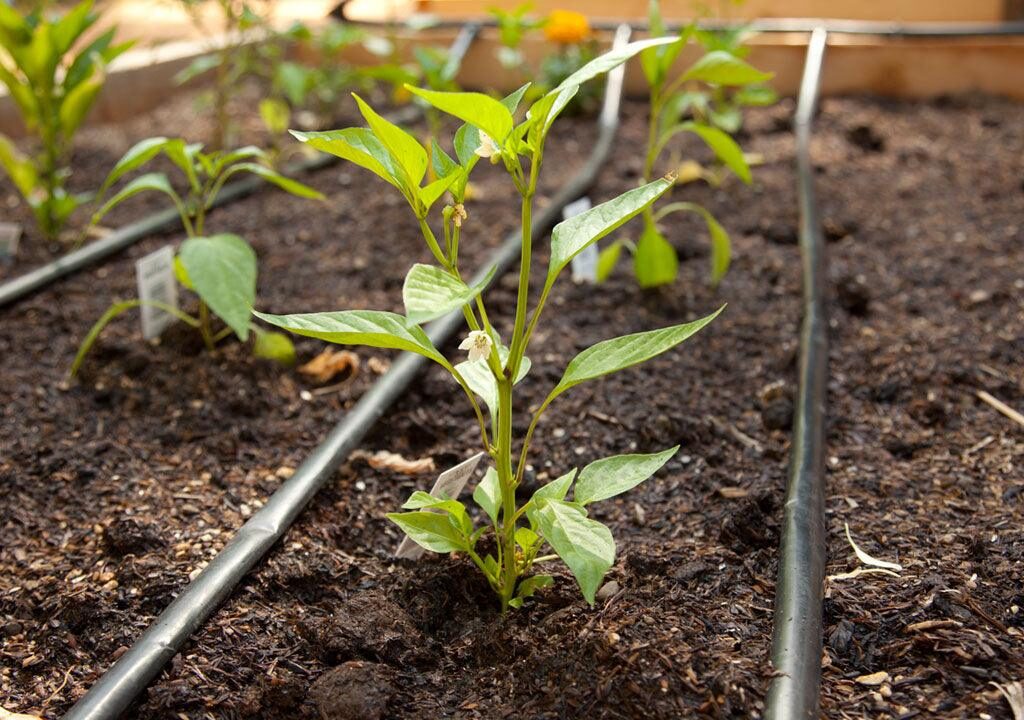
Step 4: Transplant Seedlings Outdoors
Once the danger of frost has passed and nighttime temperatures are consistently above 50°F (10°C), your seedlings are ready for transplanting.
How to transplant:
- Harden off your seedlings by gradually exposing them to outdoor conditions for about a week.
- Space plants 18-24 inches apart to allow good air circulation and growth.
- Dig holes slightly larger than the root balls and plant seedlings at the same soil depth they were growing indoors.
- Water well after planting to settle the soil around the roots.
- Mulch around the plants with straw, shredded leaves, or bark to retain moisture and suppress weeds.
Step 5: Watering and Feeding Your Bell Peppers
Bell peppers prefer consistently moist soil but dislike soggy roots.
Watering tips:
- Water deeply about 1-2 times per week depending on rainfall and temperature.
- Avoid overhead watering to reduce the risk of fungal diseases; drip irrigation or watering at the base is best.
- Mulching helps maintain moisture and prevent soil from drying out too quickly.
Feeding tips:
- Fertilize with a balanced vegetable fertilizer (such as 10-10-10) every 3-4 weeks during the growing season.
- Alternatively, side-dress with compost or well-rotted manure to provide slow-release nutrients.
- Avoid excessive nitrogen, which can encourage foliage growth at the expense of fruit production.
Step 6: Support Your Plants
Some bell pepper varieties can become top-heavy as fruits develop. To prevent plants from bending or breaking:
- Use stakes, cages, or tomato supports to keep stems upright.
- Tie plants loosely with garden twine or soft ties.
- Regularly check supports as the plants grow to adjust ties and prevent damage.
Step 7: Watch for Pests and Diseases
Bell peppers are generally hardy but can be vulnerable to some pests and diseases.
Common pests include:
- Aphids
- Spider mites
- Pepper maggots
- Cutworms
Control methods:
- Introduce beneficial insects like ladybugs for aphid control.
- Spray with insecticidal soap or neem oil if infestations occur.
- Remove affected leaves and debris promptly.
Common diseases:
- Blossom end rot (caused by calcium deficiency or uneven watering)
- Bacterial spot
- Powdery mildew
Preventive tips:
- Maintain consistent watering and good soil nutrition.
- Provide proper spacing and airflow to reduce humidity.
- Rotate crops yearly to avoid soil-borne diseases.
Step 8: Encourage Flowering and Fruit Set
Bell peppers produce flowers before fruits, and good flower development is key to a bountiful harvest.
Tips for promoting flowers:
- Ensure your plants get plenty of sunlight (at least 6-8 hours daily).
- Avoid excessive nitrogen fertilization, which can delay flowering.
- Maintain steady watering to prevent flower drop.
- Hand pollinate flowers by gently shaking or tapping blossoms to mimic insect activity (especially useful in greenhouses or indoor setups).
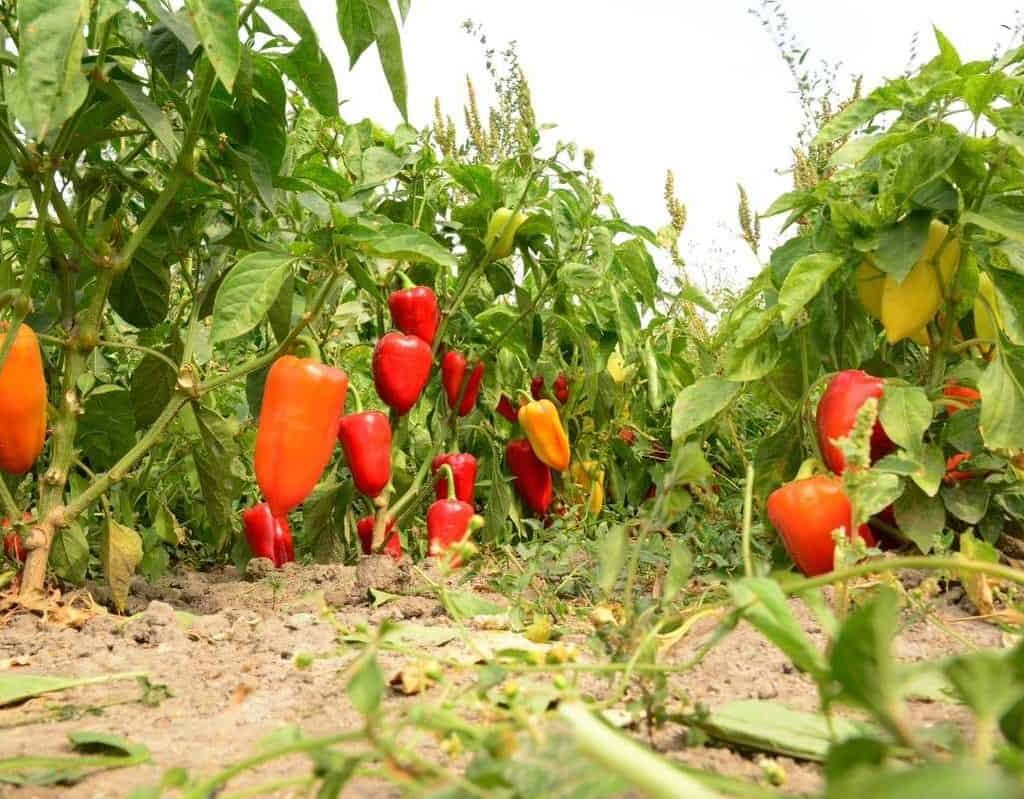
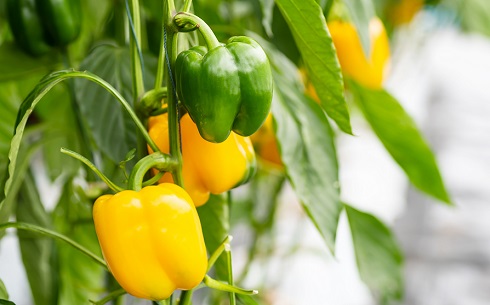
Step 9: Harvest Your Bell Peppers
Bell peppers can be harvested when they are still green or when they reach their mature color—red, yellow, orange, purple, or brown—depending on the variety.
Harvest tips:
- Use sharp scissors or pruners to cut peppers off the plant to avoid damage.
- Harvest peppers when they are firm, glossy, and fully sized for the best flavor and crunch.
- Pick regularly to encourage the plant to keep producing more fruit.
- If you want sweeter peppers, allow them to ripen fully on the plant, but watch out for over-ripening or pest damage.
Step 10: Extend Your Growing Season
In cooler climates, you can extend your bell pepper harvest with a few smart strategies:
- Use row covers or cloches to protect plants from chilly nights.
- Grow peppers in containers that can be moved indoors or to sheltered spots during cold spells.
- Start seeds indoors early or buy transplants from local nurseries.
- In warmer regions, plant a fall crop for a second harvest.
Bonus Tips for Growing Bell Peppers Successfully
- Rotate your crops yearly to keep soil healthy and reduce disease risks.
- Companion plant with basil, onions, or carrots to repel pests and improve growth.
- Avoid planting peppers near beans or fennel, which can stunt growth.
- Keep an eye on soil pH and amend with lime if it’s too acidic.
- Harvest regularly to prevent plants from becoming overcrowded with fruit.
Final Thoughts
Bell peppers are an excellent choice for gardeners looking to add both beauty and bounty to their gardens. Their colorful fruits make your garden pop visually, while the fresh harvest delights your kitchen with nutritious, tasty produce. By following these 10 essential steps—from seed selection to harvest—you can enjoy a flourishing bell pepper patch all season long.
So why wait? Grab some seeds, prepare your soil, and get ready to add a vibrant splash of color and flavor to your garden with bell peppers!
Leave A Comment