
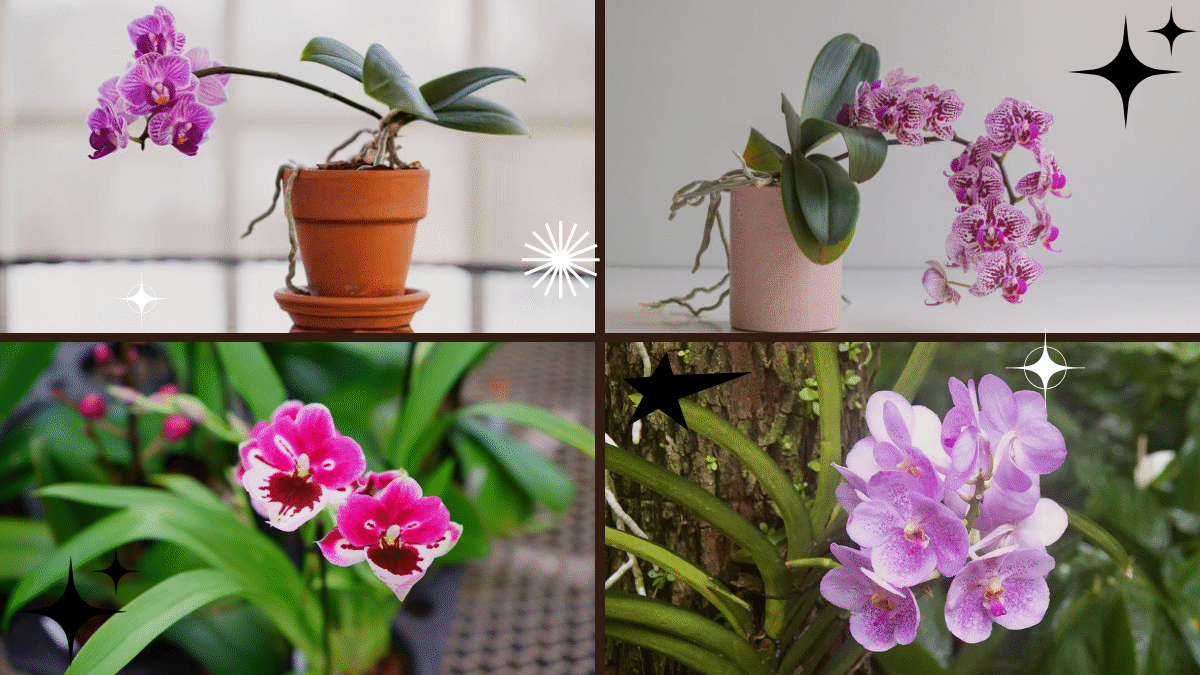
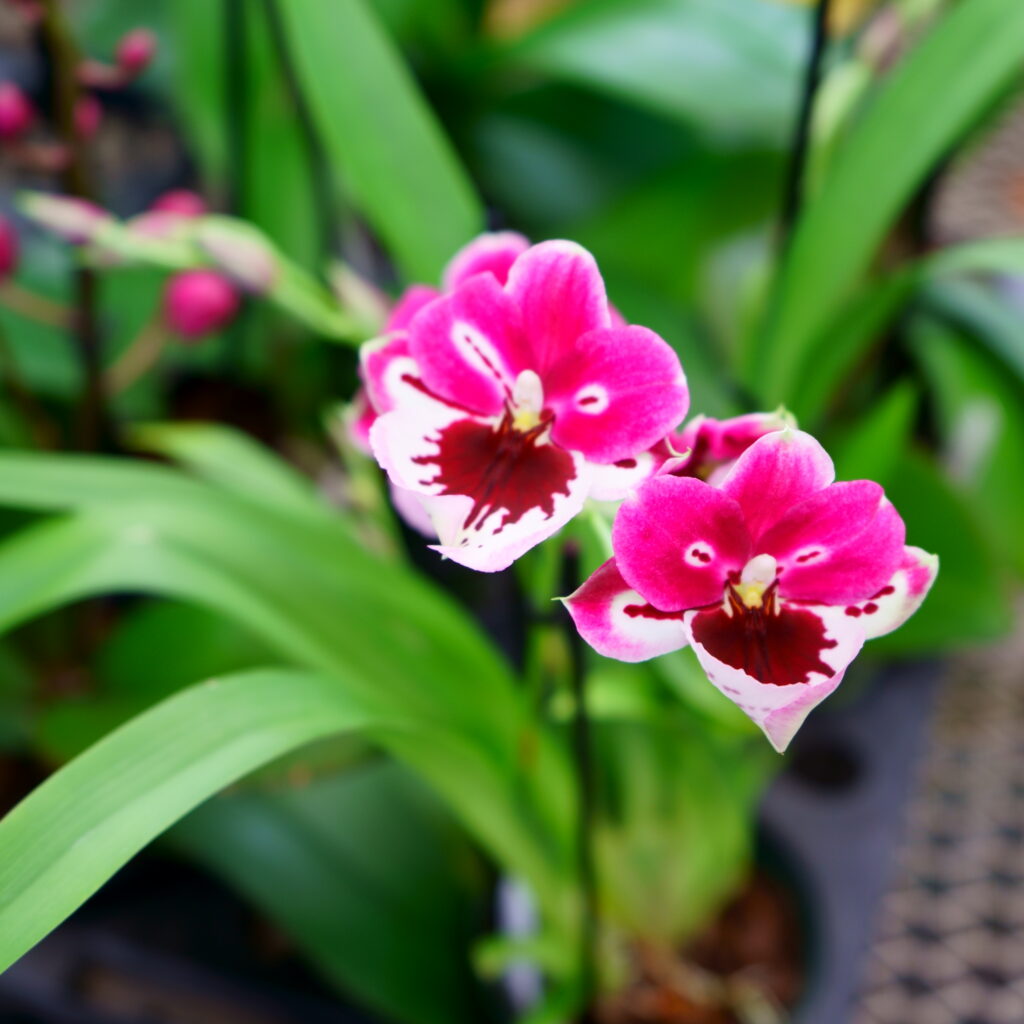
Few plants capture the exotic beauty and elegance of an orchid in full bloom. Their delicate, intricate flowers, ranging from pure whites to vibrant purples and yellows, make orchids a favorite for home gardeners and plant enthusiasts alike.
But while orchids have a reputation for being finicky, the truth is — with the right planting techniques and care, they can thrive and bloom beautifully in your home. This detailed guide will walk you through how to plant orchids for gorgeous blooms, including everything from choosing the right type to potting methods and ongoing care.
Why Choose Orchids?
Orchids are one of the largest and most diverse plant families, with over 25,000 species worldwide. Their popularity lies in their:
- Strikingly beautiful flowers in a variety of colors and patterns.
- Long-lasting blooms, often lasting several months.
- Air-purifying properties.
- Ability to be grown indoors, on patios, or in greenhouses.
With the right approach, orchids can reward you with stunning blooms year after year.
Choosing the Right Orchid for Your Space
Before you plant an orchid, it’s essential to select the type that best suits your environment and experience level. Some are easier to care for than others.
Popular Beginner-Friendly Orchids:
- Phalaenopsis (Moth Orchid): Most common and easiest to grow indoors. Blooms can last up to 3 months.
- Cattleya: Known for their large, fragrant flowers.
- Dendrobium: Graceful blooms with slender stems.
- Oncidium (Dancing Lady): Cheerful flowers, typically yellow with brown spots.
Consider your lighting, temperature, and humidity levels when choosing your orchid variety.

The Best Time to Plant Orchids
Orchids can be planted at any time of year, but the best periods are early spring or fall, when temperatures are moderate and conditions encourage root establishment.
If you’re repotting an existing orchid, wait until after its flowering cycle is complete and when new root growth appears.
Materials You’ll Need
Before planting, gather the following supplies:
- A healthy orchid plant or seedling
- Orchid potting mix (not regular soil)
- A pot with drainage holes
- Sterile scissors or pruners
- Water spray bottle
Optional: Orchid stakes and clips to support flower spikes later.

How to Plant Orchids for Gorgeous Blooms
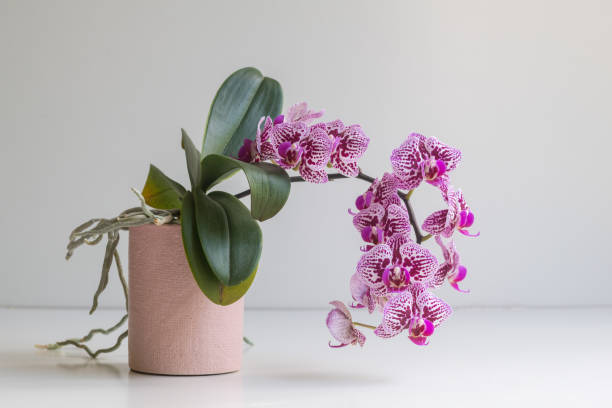
Step 1: Select the Right Pot
Orchids don’t thrive in regular, deep pots. They prefer containers that promote airflow and drainage around the roots.
Recommended pots:
- Clay or terracotta pots with side slits
- Clear plastic orchid pots with multiple drainage holes
- Hanging baskets or wooden slat containers for epiphytic orchids
Clear pots allow you to monitor root health and moisture levels, especially for beginners.
Step 2: Prepare the Potting Mix
Orchids need a light, well-aerated growing medium — not soil, which is too dense and retains too much moisture.
Ideal Orchid Potting Mix:
- Bark chips (pine or fir bark)
- Sphagnum moss
- Perlite or charcoal
- Coconut husk chips
Note: Some orchid species may prefer different mixes. Phalaenopsis, for example, thrives in a bark-based mix, while Paphiopedilum might enjoy more moss.
Step 3: Remove Old Potting Medium and Trim Roots
If you’re repotting or planting a new orchid:
- Gently remove the orchid from its container.
- Shake off old potting medium.
- Inspect roots — healthy roots are firm, green, or white.
- Trim away any mushy, black, or dead roots with sterile scissors.
Tip: Let trimmed roots dry for a couple of hours before repotting to reduce the risk of rot.
Step 4: Plant the Orchid
- Add a base layer of potting mix to the pot.
- Position the orchid in the pot, spreading roots gently.
- Fill in around the roots with the mix, leaving the crown (where leaves meet roots) above the mix to prevent rot.
- Tap the pot lightly to settle the medium, but don’t compact it tightly.
- If necessary, secure long spikes with a stake.
How to Water Newly Planted Orchids
Orchids prefer to dry out between waterings. Overwatering is a leading cause of failure.
Watering Tips:

- Wait 1-2 days after planting before the first watering.
- Use room-temperature, distilled, or rainwater.
- Water thoroughly until it drains out the bottom.
- Never let the pot sit in water.
Frequency:
- Bark mix: Once a week
- Moss mix: Every 10-14 days (check moisture)
In hot, dry weather, increase watering slightly. In cooler, humid environments, reduce frequency.
Light Requirements for Blooming Orchids
Without proper lighting, your orchid won’t bloom.
Ideal Light Conditions:
- Bright, indirect light is best.
- Avoid direct afternoon sun, which can scorch leaves.
- East or west-facing windows are ideal.
- Use a sheer curtain to diffuse light if necessary.
Signs of Too Little Light:
- Dark green leaves
- No flower spikes
Signs of Too Much Light:
- Yellowing leaves
- Brown, sunburned patches
Humidity and Air Circulation
Most orchids enjoy 50-70% humidity.
Ways to Increase Humidity:
- Place a humidity tray under the pot.
- Mist the leaves daily (avoid misting flowers directly).
- Use a small humidifier nearby.
Good air circulation prevents mold and pests. Use a fan on low in the room if needed.
Fertilizing for Beautiful Blooms
Orchids are light feeders but benefit from regular nutrients, especially during growth and blooming.

Feeding Schedule:
- Use a balanced, water-soluble orchid fertilizer (20-20-20 or 30-10-10).
- Dilute to half strength.
- Feed every two weeks in spring/summer and monthly in fall/winter.
Tip: Stop fertilizing when the plant enters dormancy after blooming.
When and How to Repot Orchids
Orchids typically need repotting every 1-2 years when:
- Roots outgrow the pot.
- Potting mix decomposes.
- Plant shows signs of stress.
Repot right after flowering, using fresh potting mix, and follow the steps above.
Common Orchid Problems and Solutions
| Problem | Cause | Solution |
|---|---|---|
| Drooping leaves | Overwatering | Reduce watering, improve drainage |
| No blooms | Insufficient light, poor feeding | Increase light exposure, fertilize during active growth |
| Brown leaf tips | Low humidity, too much fertilizer | Increase humidity, flush potting mix with clean water |
| Yellow leaves | Old age or too much direct sun | Remove old leaves, adjust lighting |
| Root rot | Waterlogged potting mix | Repot, trim dead roots, improve drainage |
Final Thoughts
Planting orchids might seem intimidating, but with the right setup and care, they’re one of the most rewarding houseplants you can grow. Remember, it’s all about:
- Choosing the right type for your space.
- Using a breathable pot and airy, orchid-specific mix.
- Watering sparingly and fertilizing lightly.
- Providing bright, indirect light with moderate humidity.
With patience and proper care, you’ll be rewarded with gorgeous, exotic blooms that can last for weeks or even months. Once you’ve successfully planted one orchid, you may find yourself happily collecting many more.
Leave A Comment