
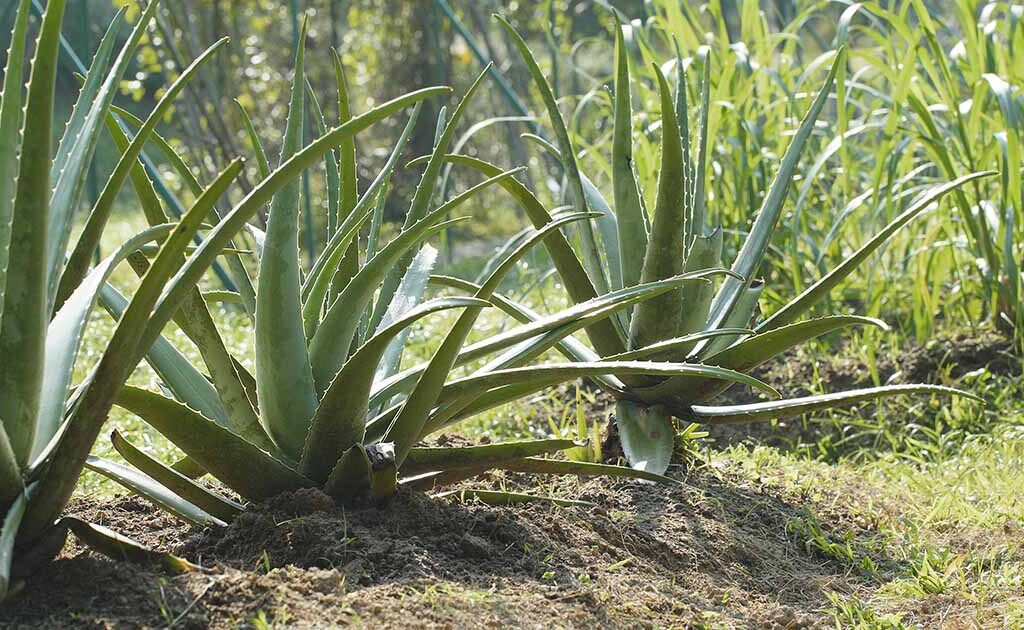
Aloe vera is one of the most popular and versatile succulent plants worldwide, cherished for its easy care and remarkable healing properties. Whether you want to grow it for its medicinal gel, use it as a decorative houseplant, or simply enjoy its low-maintenance beauty, understanding how to look after an aloe vera plant properly is essential for its health and longevity.
In this comprehensive guide, we’ll cover everything you need to know about caring for aloe vera plants—from the best soil and light conditions to watering tips, pruning, repotting, pest control, and more. By the end, you’ll be fully equipped to nurture a thriving aloe vera that rewards you with vibrant leaves and soothing gel.
Why Aloe Vera Is a Great Plant to Have
Aloe vera is not just an attractive succulent with spiky, fleshy leaves; it’s also a powerhouse of natural benefits:
- Medicinal Uses: The gel inside aloe leaves is known for soothing burns, cuts, and skin irritations.
- Air Purification: Aloe vera improves indoor air quality by removing toxins.
- Easy to Care For: It’s drought-tolerant and resilient, perfect for beginners.
- Decorative Appeal: Its architectural shape fits well in modern, minimalist, and desert-themed décor.
Now, let’s dive into how to care for your aloe vera so it stays healthy and beautiful.

1. Choosing the Right Location and Light
Aloe vera plants thrive in bright, indirect sunlight. Here’s how to choose the perfect spot:
- Ideal Lighting: Place your aloe vera near a south- or west-facing window where it can get 6-8 hours of indirect sunlight daily. Too much direct sun, especially in very hot climates, can cause leaf scorch (brown or reddish spots).
- Avoid Low Light: Aloe vera will survive in low light but won’t thrive or grow well. Leaves may become leggy and pale.
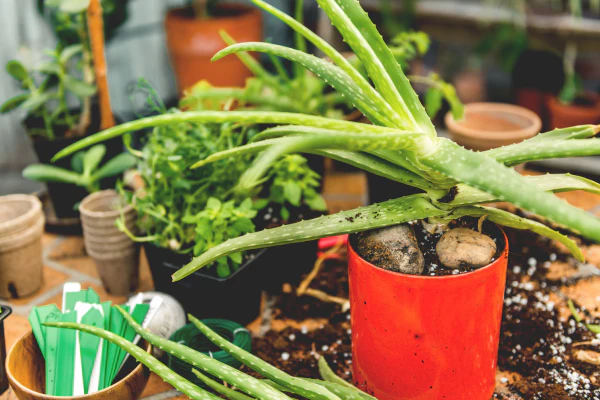
- Outdoor Growing: If you live in USDA hardiness zones 9-11 (warm climates), aloe vera can be grown outdoors in a sunny spot. Just be cautious of frost and protect the plant during cold spells.
2. Selecting the Right Soil
Good soil is crucial for healthy aloe vera because it prevents waterlogging and root rot.
- Well-Draining Soil: Use a cactus or succulent potting mix that contains sand, perlite, or pumice to ensure excellent drainage.
- Avoid Regular Potting Soil: Ordinary soil retains too much moisture and can cause roots to rot.
- DIY Mix: You can mix 2 parts potting soil, 1 part perlite, and 1 part coarse sand to create your own well-draining medium.
3. Watering Your Aloe Vera Properly
One of the most common mistakes is overwatering aloe vera plants. These succulents store water in their leaves and prefer dry conditions.
- Watering Frequency: Water your aloe vera deeply but infrequently. During the growing season (spring and summer), water every 2-3 weeks, allowing the soil to dry out completely between waterings.
- Reduce in Winter: Aloe vera enters dormancy in the winter months and needs even less water—sometimes only once a month.
- How to Water: Water the soil directly until it’s moist but never let water pool in the saucer. Avoid getting water on the leaves as this can cause rot.
- Signs of Overwatering: Soft, mushy leaves and yellowing tips indicate too much water.
- Signs of Underwatering: Thin, curled leaves mean your aloe is thirsty.
4. Temperature and Humidity Preferences
- Temperature Range: Aloe vera grows best between 55°F and 80°F (13°C – 27°C). Avoid exposing it to temperatures below 40°F (4°C).
- Humidity: Aloe vera prefers dry air and doesn’t need extra humidity. Avoid placing it in very humid areas like bathrooms.
- Frost Sensitivity: If grown outdoors in cooler climates, bring your aloe inside before the first frost.
5. Fertilizing Aloe Vera
Though aloe vera is a low-maintenance plant, occasional feeding encourages healthy growth:
- Type of Fertilizer: Use a balanced, water-soluble fertilizer diluted to half strength or a fertilizer formulated for succulents and cacti.
- Feeding Schedule: Fertilize once in early spring and again in mid-summer. Avoid feeding in winter when the plant is dormant.
- Avoid Overfertilizing: Excess fertilizer can cause brown leaf tips or burn the roots.

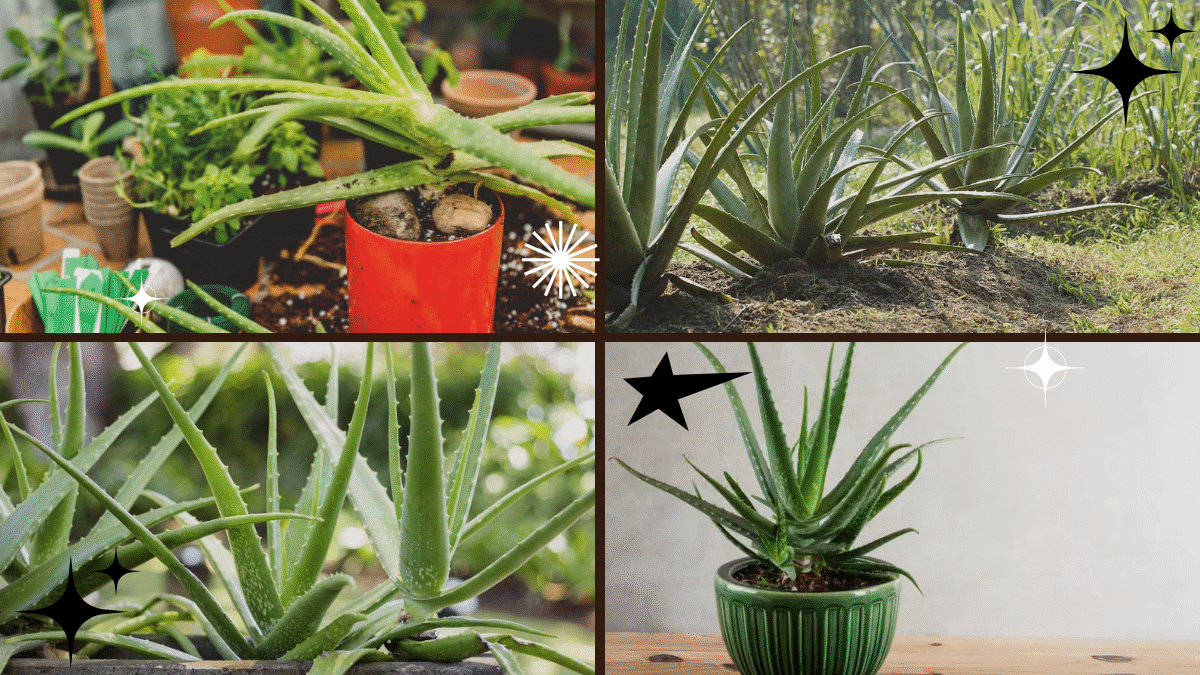
6. Potting and Repotting Your Aloe Vera
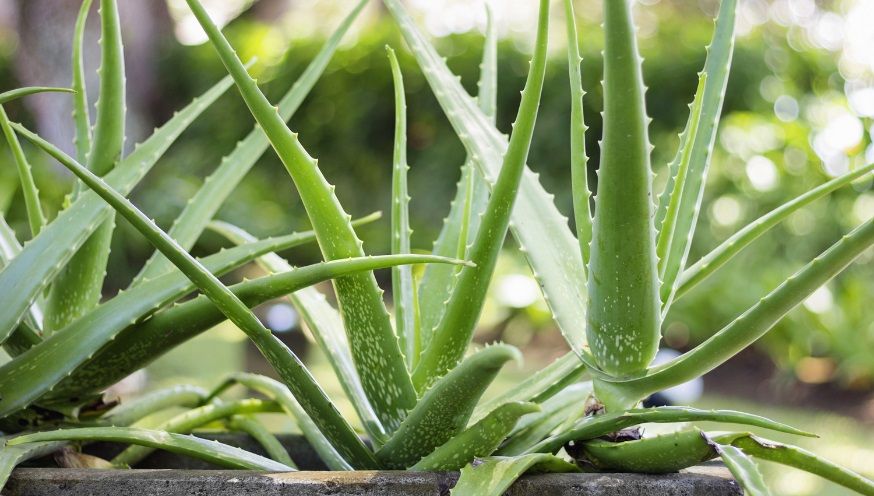
- Choosing the Right Pot: Select a pot with drainage holes to prevent water accumulation. Terracotta pots are excellent because they allow moisture to evaporate.
- Repotting Signs: Repot your aloe vera every 2-3 years or when it becomes root-bound (roots growing out of drainage holes).
- How to Repot: Carefully remove the plant, shake off old soil, trim any dead roots, and place it in fresh, well-draining soil. Avoid deep pots because aloe roots prefer shallow spaces.
7. Pruning and Propagating Aloe Vera
- Pruning: Remove any damaged, dead, or dried leaves by cutting them at the base with a sharp, clean knife.
- Propagation: Aloe vera produces offsets or “pups” around the base of the plant that can be separated and potted individually.
- Wait until pups are 3-4 inches tall.
- Gently remove the pup, ensuring it has roots attached.
- Plant it in a small pot with well-draining soil.
- Water lightly and place in bright indirect light.
8. Managing Common Pests and Problems
Aloe vera is generally pest-resistant but can occasionally attract:
- Mealybugs: Look for white cotton-like clusters on leaves and stems. Treat with rubbing alcohol on a cotton swab or insecticidal soap.
- Aphids: Small green or black insects that cluster on new growth. Use insecticidal soap or neem oil spray.
- Root Rot: Caused by overwatering; affected plants have mushy roots and leaves. Discard severely rotted plants or trim roots and repot in fresh soil.
9. Using Aloe Vera Gel Safely
One of the biggest perks of growing aloe vera is its gel’s soothing properties:
- Harvesting Gel: Cut a mature leaf near the base, slice it open, and scoop out the clear gel.
- Use on Skin: Apply directly to minor burns, sunburns, or dry skin.
- Storage: Store leftover gel in a sealed container in the fridge for up to a week.
- Avoid Oral Consumption: Do not ingest aloe vera gel without proper preparation and guidance, as some parts can be toxic.
10. Troubleshooting Common Aloe Vera Issues
- Brown or Yellow Leaves: May indicate too much sun, overwatering, or poor drainage.
- Leaf Curling or Shriveling: Usually a sign of underwatering.
- Soft or Mushy Leaves: Root rot due to excess moisture.
- Leggy Growth: Insufficient sunlight causing the plant to stretch.
Adjust light, watering, and soil conditions accordingly to fix these issues.
Final Thoughts
Looking after an aloe vera plant properly is straightforward when you know the basics of its needs. Bright light, well-draining soil, cautious watering, and the right temperature range will keep your plant healthy and happy. With minimal effort, your aloe vera will reward you with its natural beauty and useful gel.

Whether you’re a beginner or a seasoned plant lover, aloe vera is a wonderful addition to any home or garden. Follow these care tips, and you’ll enjoy a flourishing plant that’s as beneficial as it is beautiful.
Leave A Comment