
Is there anything better than a sun-ripened, juicy tomato plucked straight from the vine? Whether you love slicing them for summer salads, making homemade sauces, or enjoying them fresh off the plant, growing your own tomato plants can be one of the most rewarding and flavorful gardening projects you’ll ever take on.
Tomatoes are a warm-weather favorite for home gardeners, and with a little attention and care, you can enjoy baskets of fresh, juicy harvests all season long. In this article, we’ll cover everything you need to know about how to grow tomato plants for juicy harvests — from choosing the right varieties to planting, caring for, and harvesting them like a pro.
Why Grow Your Own Tomatoes?
Store-bought tomatoes often lack the rich flavor and texture that homegrown varieties offer. Growing your own ensures:
- Fresher, better-tasting fruit
- A wide range of varieties you won’t find at the grocery store
- The satisfaction of harvesting produce from your own backyard
- A natural, chemical-free food source for your family
Plus, tomatoes are relatively easy to grow, even for beginners!
Step 1: Choose the Right Tomato Variety
The first step toward a juicy harvest is selecting the right type of tomato for your climate, taste, and intended use.
Types of Tomatoes:
- Determinate (Bush) Tomatoes
- Grow to a set height and produce fruit all at once
- Great for sauces and canning
- Examples: Roma, Celebrity, Marglobe
- Indeterminate (Vining) Tomatoes
- Grow continuously and produce fruit throughout the season
- Ideal for fresh eating and salads
- Examples: Beefsteak, Brandywine, Sweet 100
- Cherry and Grape Tomatoes
- Small, bite-sized, and perfect for snacking or salads
- Examples: Sun Gold, Black Cherry, Sweet Million
Tip: Check seed packets or plant labels for notes on heat tolerance and disease resistance, especially if you live in a humid or hot climate.
Step 2: Start Seeds Indoors or Buy Transplants
If you live in a region with a short growing season, starting seeds indoors gives your plants a head start.

Starting from Seed:
- Begin 6–8 weeks before your last expected frost date
- Use seed starting trays and a light, well-draining seed-starting mix
- Plant seeds 1/4 inch deep
- Keep soil moist and provide a heat mat or sunny windowsill
- Move seedlings under grow lights or outdoors on warm days for hardening off
OR
Purchase healthy, sturdy transplants from a local nursery if you prefer a head start without seed-starting work.
Step 3: Prepare the Planting Site
Tomatoes love sun, heat, and fertile soil.
Ideal Conditions:
- Full sun: At least 6–8 hours daily
- Well-drained, rich soil: Amend with compost or aged manure
- Soil pH: Between 6.0 and 7.0
- Avoid planting where tomatoes, peppers, eggplant, or potatoes grew in the past two years to reduce disease risk.
Tip: If space is limited, you can successfully grow tomatoes in containers at least 18 inches wide.
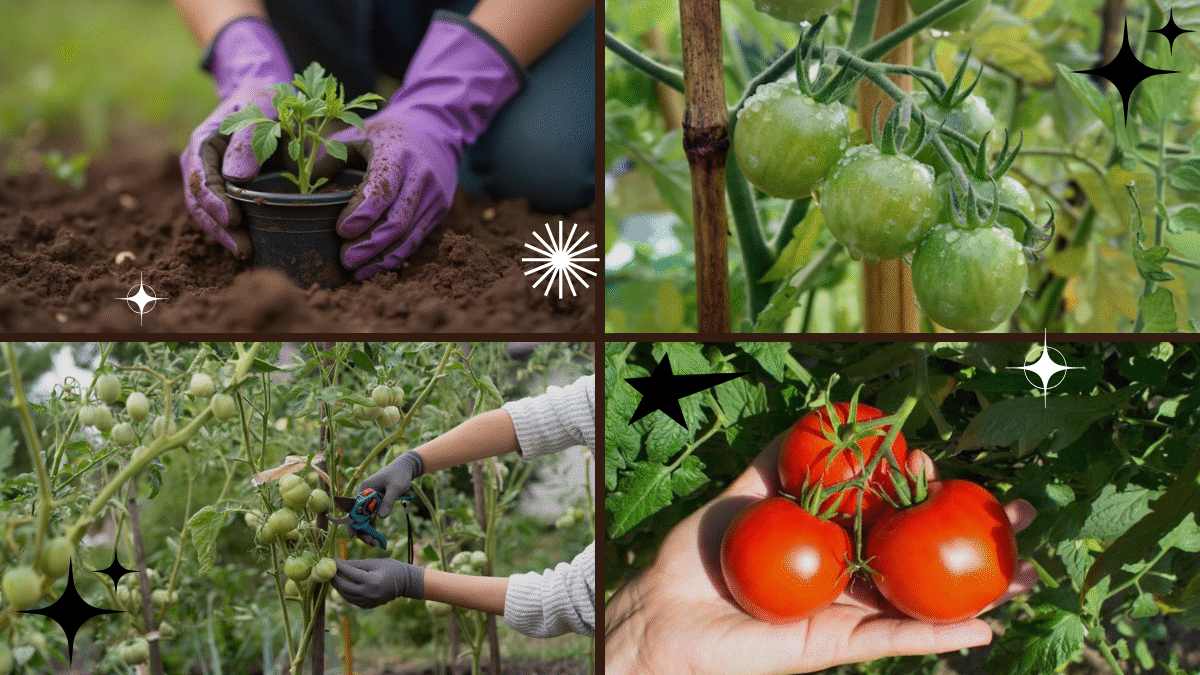
Step 4: Planting Tomato Plants
Once your seedlings or transplants are 6–10 inches tall and the soil temperature reaches 60°F (16°C), it’s time to plant.
How to Plant:
- Dig deep holes or trenches so you can bury two-thirds of the stem (including several sets of leaves).
- Remove lower leaves, leaving only the top 2–3 sets.
- Place the plant in the hole, burying it deep to encourage strong root growth.
- Backfill with soil, press gently, and water thoroughly.
Tip: Adding crushed eggshells, compost, or a handful of organic fertilizer into the hole can give your tomato plants a nutrient boost.
Step 5: Provide Proper Support
Tomatoes grow quickly and need support to keep fruit off the ground and prevent disease.

Support Options:
- Tomato Cages: Great for bush types and small spaces.
- Stakes: Tall wooden or metal stakes work well for indeterminate types.
- Trellises: Ideal for vining tomatoes in raised beds or against walls.
Tie plants loosely with soft garden ties or twine as they grow.
Step 6: Watering and Mulching
Proper watering is critical for plump, juicy tomatoes.
Watering Tips:
- Keep soil consistently moist but not soggy.
- Water deeply at the base of the plant 2–3 times per week.
- Avoid overhead watering to reduce fungal issues.
- During hot spells, you may need to water daily.
Mulching with straw, shredded leaves, or compost helps retain moisture, suppress weeds, and regulate soil temperature.
Step 7: Fertilizing for Healthy Growth
Tomatoes are heavy feeders and benefit from regular fertilization.
Fertilizing Tips:
- Start with a balanced fertilizer (10-10-10) at planting time.
- Switch to a fertilizer lower in nitrogen and higher in phosphorus and potassium once flowers appear (like a 5-10-10 mix).
- Avoid over-fertilizing with nitrogen, as it leads to lush foliage and few fruits.
Organic gardeners can use compost tea, fish emulsion, or seaweed extract.
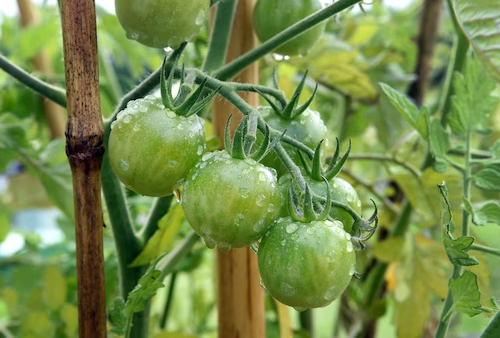
Step 8: Pruning and Maintenance
Pruning encourages better airflow, reduces disease risk, and promotes larger fruit.
How to Prune:
- Remove suckers (small shoots growing from the leaf axils) on indeterminate varieties.
- Trim off yellowing or diseased leaves regularly.
- Remove lower branches once fruit sets to improve air circulation.
Step 9: Watch for Pests and Problems
Tomatoes can be vulnerable to pests and diseases.
Common Issues:
- Aphids: Spray with water or insecticidal soap.
- Tomato Hornworms: Handpick these large green caterpillars.
- Blight: Avoid overhead watering and remove infected leaves.
- Blossom End Rot: Prevent with consistent watering and adequate calcium.
Using crop rotation, good sanitation, and organic pest controls will keep your plants healthy.
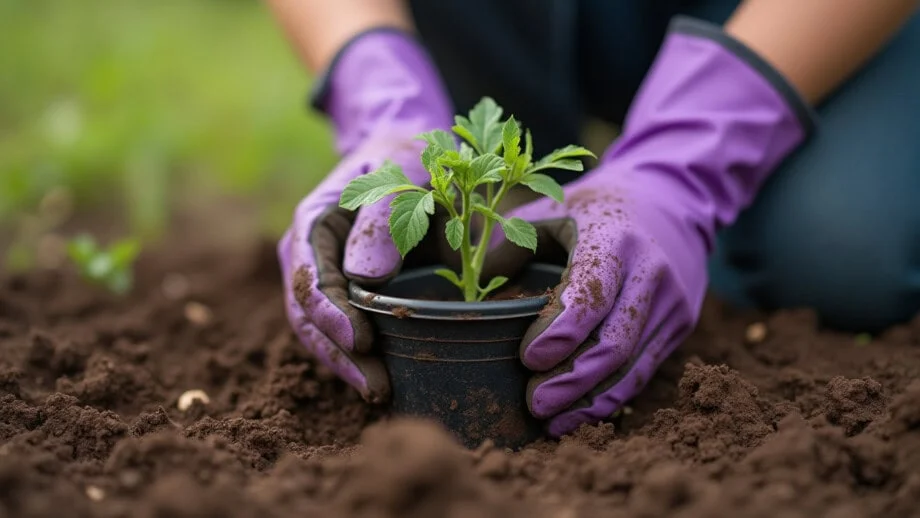
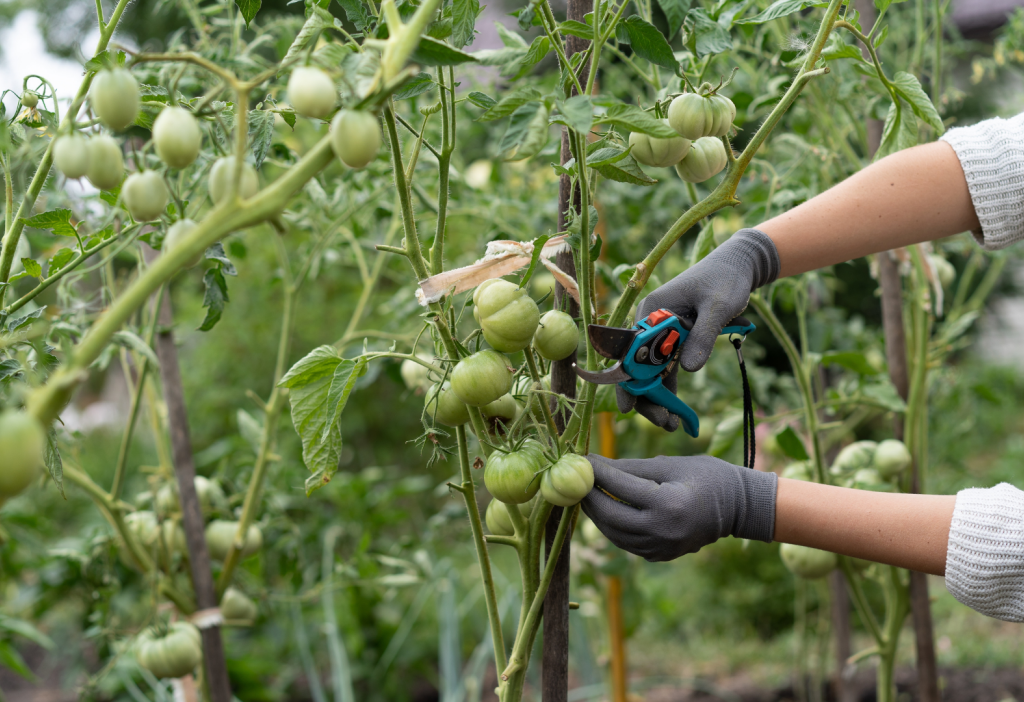
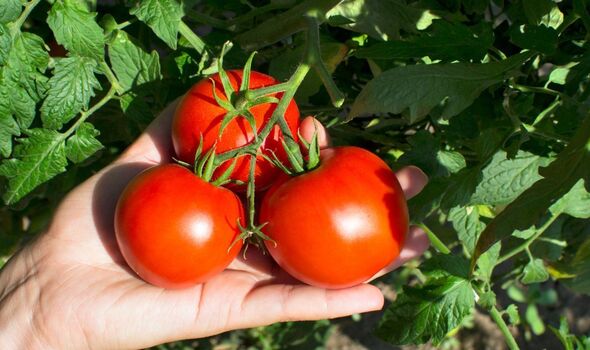
Step 10: Harvesting for Peak Flavor
Tomatoes are usually ready to harvest 60–85 days after planting (depending on the variety).
When to Pick:
- Fruit should be fully colored (red, orange, yellow, or pink, depending on type).
- The tomato should feel firm but slightly soft to the touch.
- Pick by gently twisting the fruit or cutting with scissors.
Allowing tomatoes to ripen on the vine results in the best flavor.
Bonus Tips for Juicy Tomatoes:
- Epsom Salt: Adding a tablespoon of Epsom salt around each plant mid-season can boost magnesium levels, improving fruit quality.
- Companion Planting: Grow basil, marigolds, or nasturtiums nearby to deter pests and improve pollination.
- Consistent Care: Fluctuating water levels can cause cracked or bland tomatoes — consistency is key.
Final Thoughts
With their rich flavor, versatility, and ease of growth, tomatoes remain a backyard garden staple. By following these detailed steps — from choosing the right variety and planting deeply to pruning, watering, and timely harvesting — you’ll be rewarded with basketfuls of juicy, sun-kissed tomatoes all season long.
Whether you have a spacious backyard or a sunny balcony, you can cultivate your own crop of delicious tomatoes and enjoy the satisfaction of homegrown flavor like never before.
Leave A Comment